Netapi32.dll Error - Step-by-Step Fixes
![]() 3 min. read
3 min. read
![]() Updated on
Updated on
Share this article
Improve this guide
Read our disclosure page to find out how can you help Windows Report sustain the editorial team. Read more
Netapi32.dll is a common error that can disrupt your Windows system, leading to problems with network connectivity and overall system stability. It occurs due to a corrupted or missing DLL file, conflicts with other software, or malware infections. Luckily, there are several ways to fix it.
But before we start, try out these quick fixes:
- Update Windows. Press Windows + I > Update & Security > Check for updates > Install any available updates > Restart your computer to apply the updates.
- Scan for viruses. Press Windows + I > Update & Security > Windows Security > Open > Virus & threat protection > Quick scan.
- Check hardware. Power off the computer, check whether the RAM and network adapters are correctly seated, and clear any dust buildup.
If these steps don’t resolve the issue, check out the rest of the guide for more detailed steps.
How To Fix Netapi32.dll Error
Simply follow the instructions:
Clean Boot
A clean boot helps you identify if background services or applications are causing the Netapi32.dll error. This process temporarily disables non-essential services to isolate the issue. Here are the steps to follow:
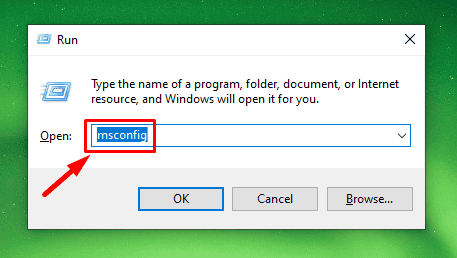
- Press Windows + R, type msconfig, and press Enter.
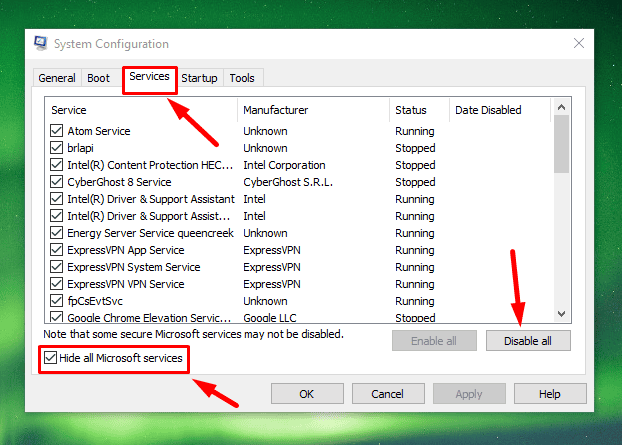
- In the System Configuration window, go to the Services tab. Check “Hide all Microsoft services” and click “Disable all.”
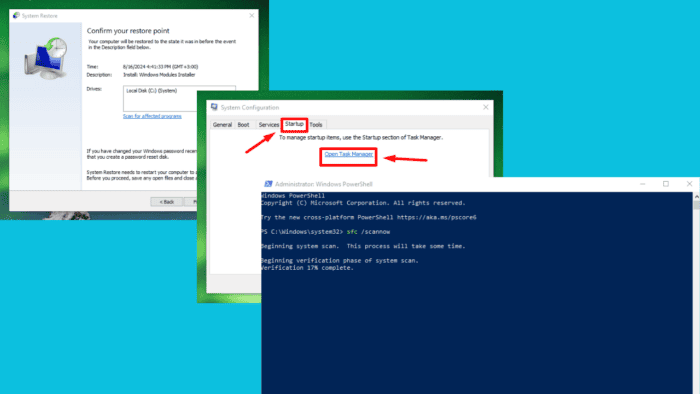
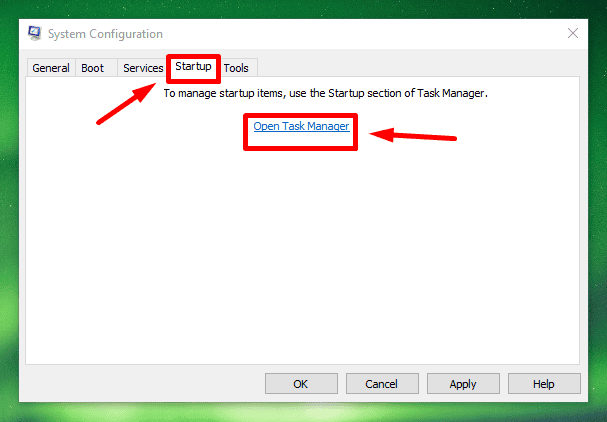
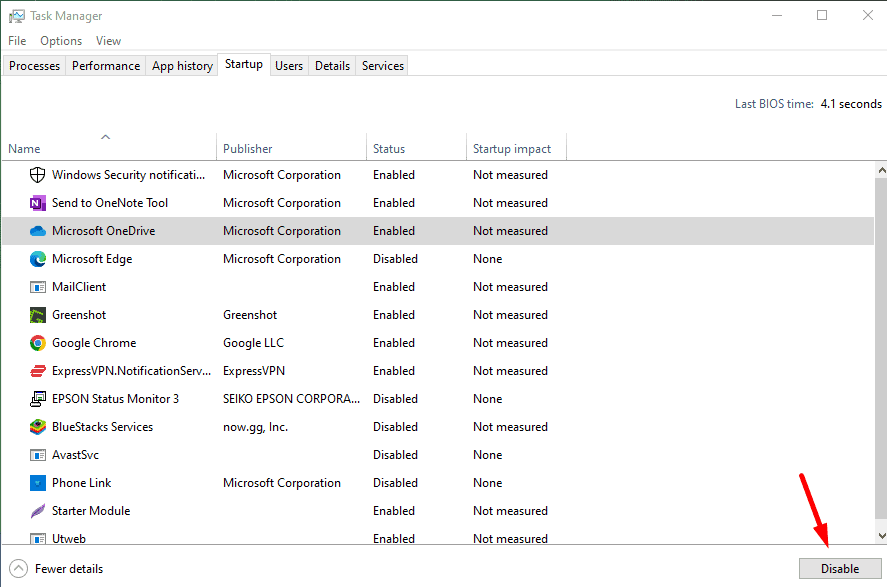
- Go to the Startup tab and click “Open Task Manager.“
- Disable all startup items and restart your computer.
Run System File Checker Tool
The System File Checker tool scans and repairs corrupted system files, including Netapi32.dll. Running it can automatically fix issues related to missing or damaged DLL files. Here’s how to do it:
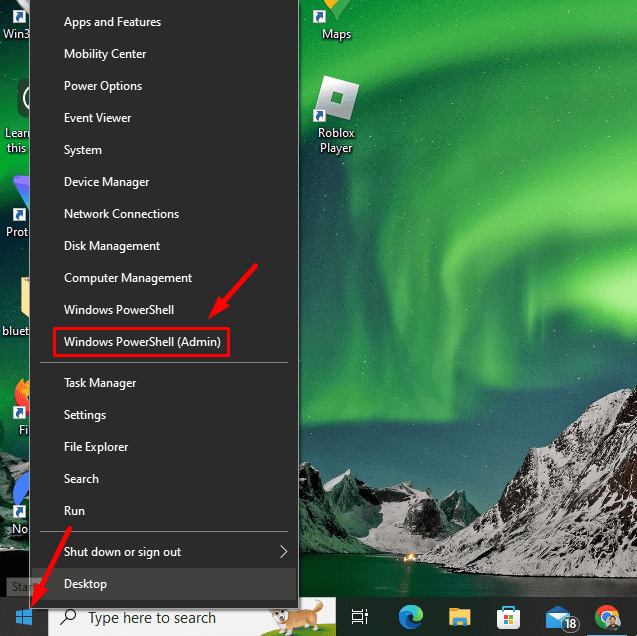
- Right-click the start button and tap Windows PowerShell (Admin).
- Type sfc /scannow and press Enter.
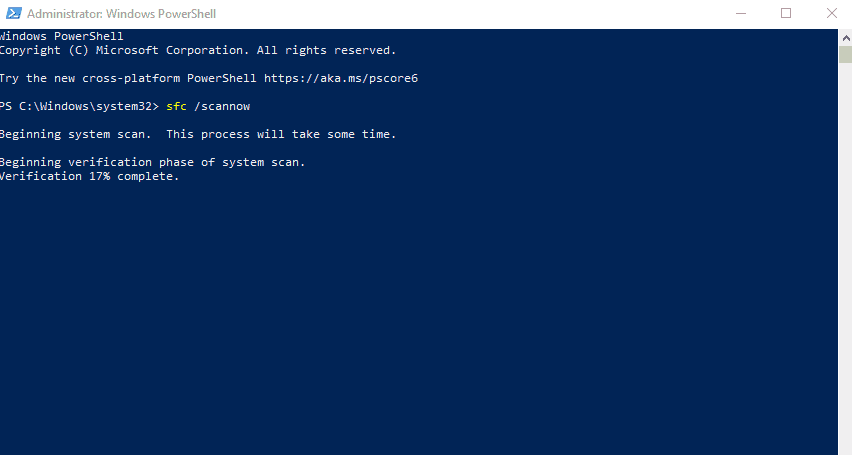
Wait for the scan to complete, restart your computer, and check if the error has been solved.
System Restore
System Restore allows you to revert your system to a previous working state. This can resolve this error if it started after recent changes to your system. Follow the below steps:
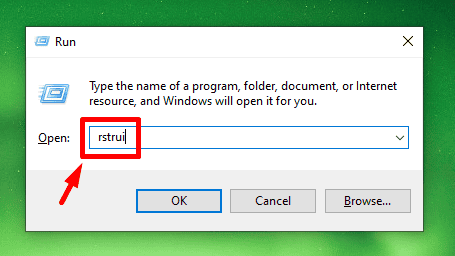
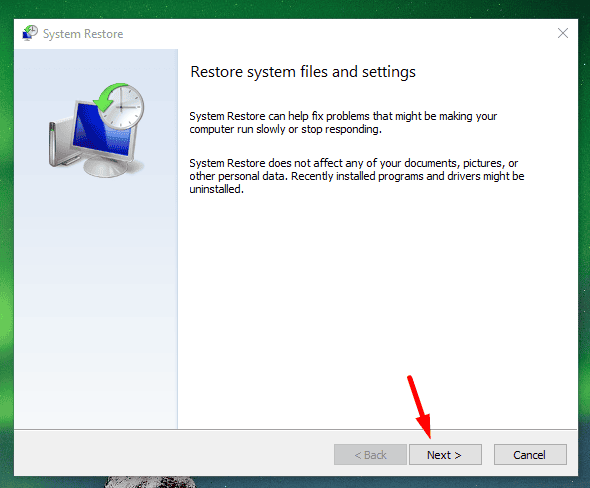
- Press Windows + R to open the Run dialog. Type rstrui and press Enter or OK to open the System Restore tool.
- Click Next in the System Restore window.
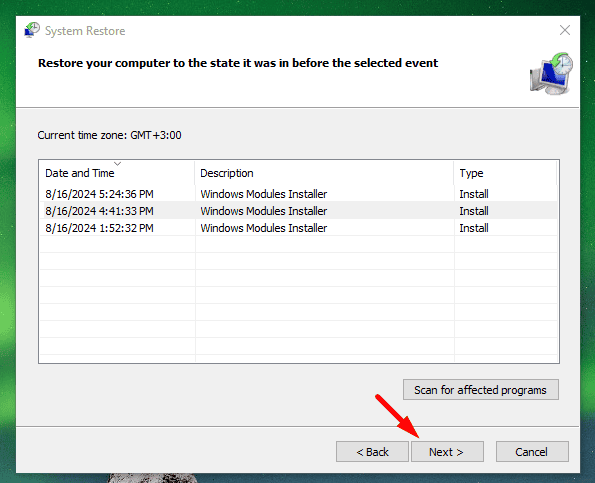
- Select a restore point from the list that predates the issue, then click Next.
- Review your selection and click Finish.
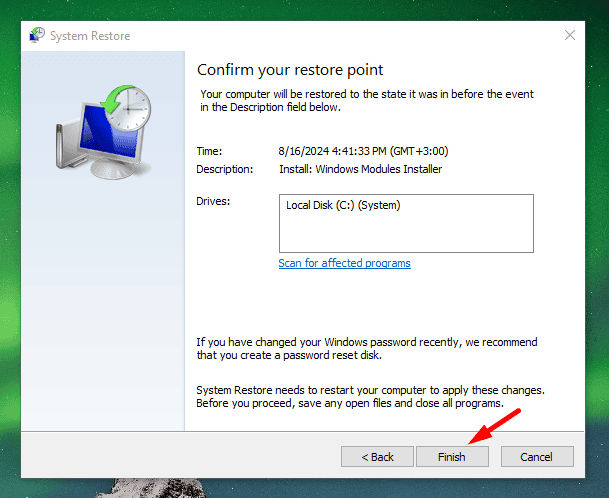
Wait for the process to complete and your computer to restart automatically.
Install NetAPI32.dll Manually
Installing the Netapi32.dll file can fix errors caused by a missing or corrupted DLL. This method involves downloading and registering the correct version of the file on your system. Here’s what to do:
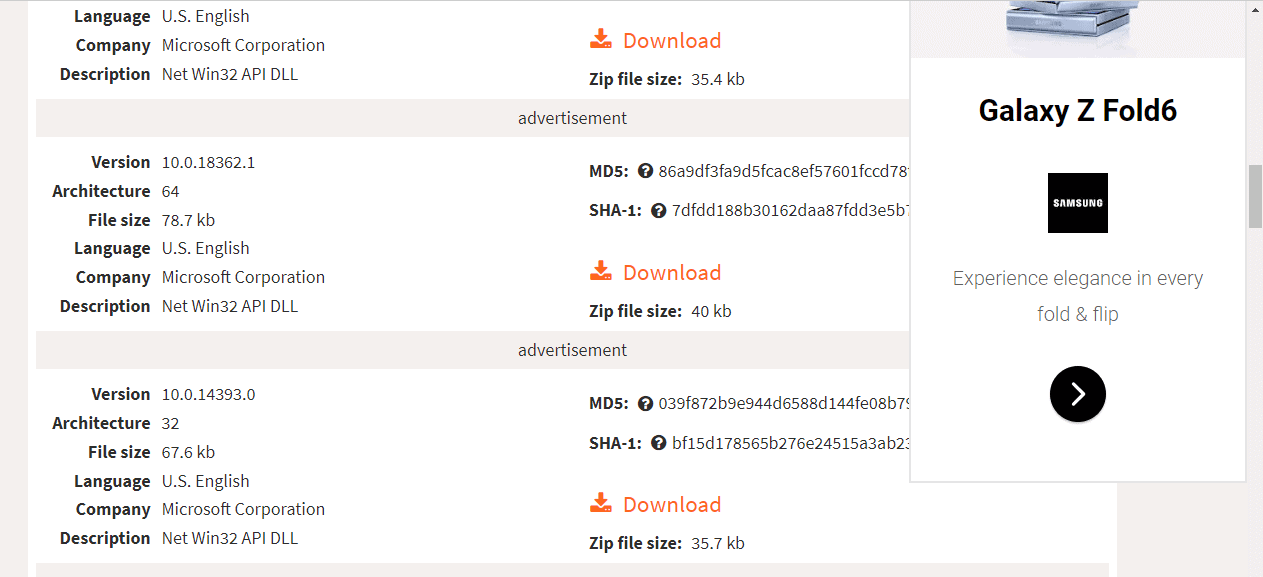
- Visit a trusted DLL download site. Download the Netapi32.dll file compatible with your Windows version.
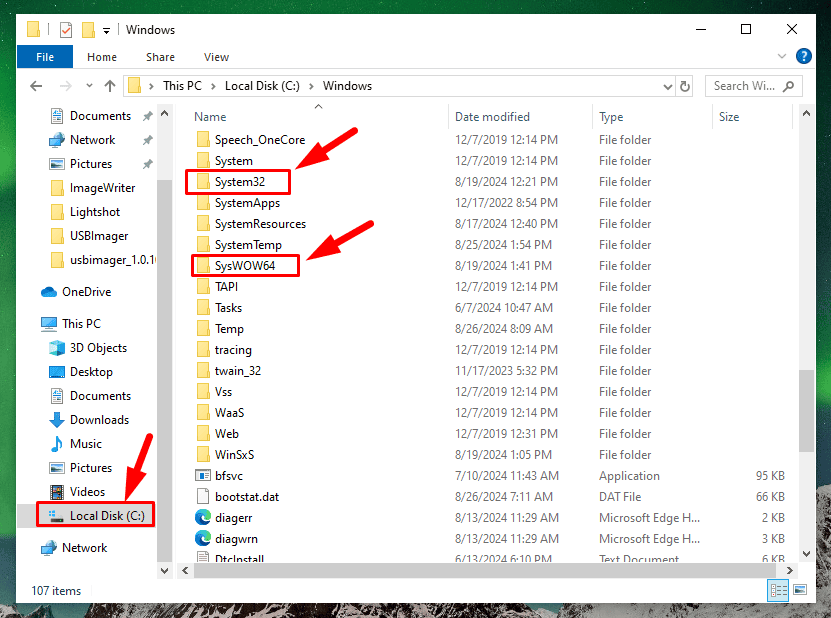
- Copy the downloaded DLL file to C:\Windows\System32\ for 32-bit systems and C:\Windows\SysWOW64 for 64-bit systems.
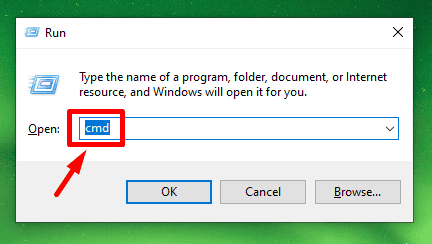
- Press Windows + R, type cmd, and press Enter to open Command Prompt.
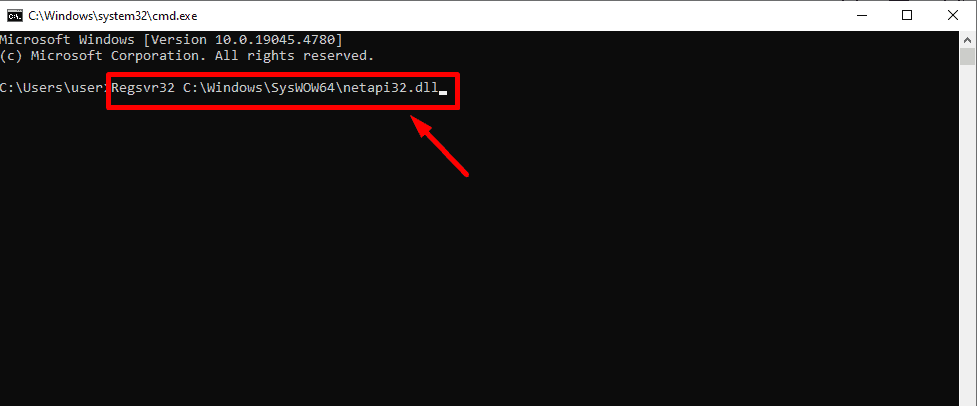
- Type Regsvr32 C:\Windows\System32\netapi32.dll for 32-bit Systems or Regsvr32 C:\Windows\SysWOW64\netapi32.dll for 64-bit systems. Hit Enter to register the DLL file.
Resolving the Netapi32.dll error requires systematic troubleshooting, from performing a clean boot to manually installing the DLL file. These steps will help restore your system’s functionality and network operations.
You can also learn to fix other Windows errors, including RGSS102E.DLL, mediatoolbox.dll., Msv1160cp10.dll, and Galaxypeer.dll.


User forum
0 messages