How to Use Snip & Sketch to Capture, Edit, and Share Images
Give a try to our quick procedure right away
3 min. read
Updated on
Read our disclosure page to find out how can you help Windows Report sustain the editorial team. Read more
Key notes
- Snipping Tool will display the message saying that Snipping Tool will move to a new home and the recommendation to use Snip & Sketch or to try the new shortcut Win + Shift + S.
- So, if you want to capture a screen, an image, or just a portion of the screen, press the Windows key, then the Shift key, and then the S key.

If you used to make any captions with the old Snipping Tool, you can still use it even in the latest Windows 10 versions.
However, as for the last years, Snipping Tool will display the message saying that Snipping Tool will move to a new home and the recommendation to use Snip & Sketch or to try the new shortcut Win + Shift + S.
If you read the Microsoft page about what’s new in the new Windows 10 version 2004 update, they say that Screen Sketch is now called Snip & Sketch.
How can I use the new Snip & Sketch?
So, if you want to capture a screen, an image, or just a portion of the screen, press the Windows key, then the Shift key, and then the S key.
If you do that, you will see a captioning toolbox just like in the picture below.
The first, and default option is to capture a rectangular screen. You just need to left-click and drag with the mouse the perimeter you want to caption.
After you release the left-click, the caption will be copied into the clipboard for you to paste wherever you need it.
The second option is for a freeform snip and the third option is for capturing the active window. The last one is for capturing the whole screen.
How to open and use the Snip & Sketch app?
To open the app, just search for Snip & Sketch in the Windows Search and click on it from the results.
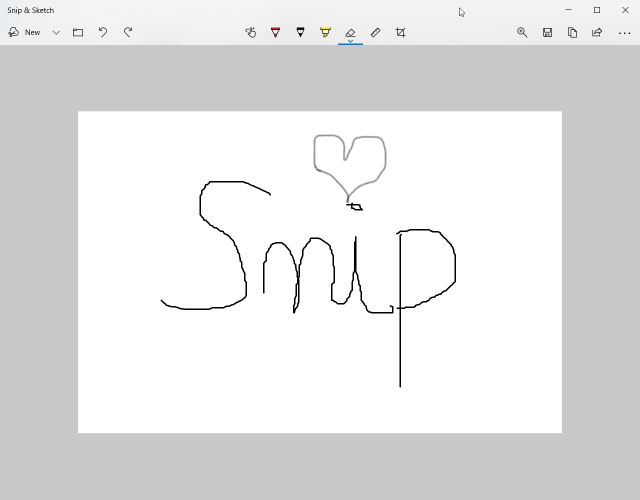
You can also open the app by clicking on the notification you receive after you capture an image. If you do that, you will get an image with your caption like the one below.
To edit the caption, Snip & Sketch offers options to save, copy, or share and includes a pen, highlighter, and an eraser, all with variable line widths.
How to change the settings in Snip & Sketch
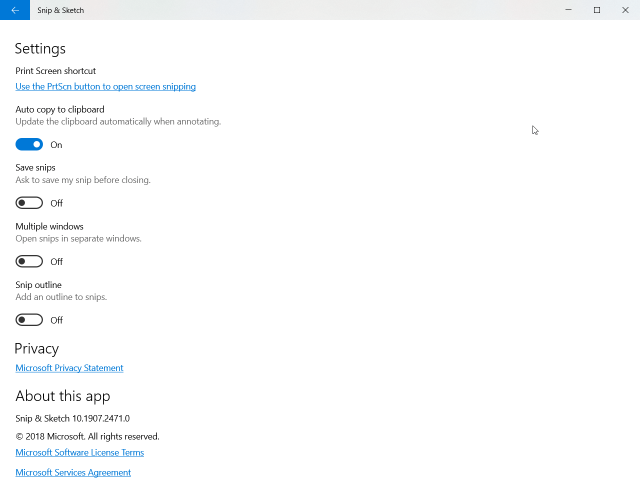
To get to the settings options of Snip & Sketch, click on the three horizontal lines from the top right corner of the screen and select Settings from the drop-down menu.
From the Settings menu, you can change how Snip & Sketch behaves after you capture an image.
You might also be interested in reading our guide on how to crop images on Windows 10.
It’s a pretty basic app with basic features. Did you try it? Tell us about your experience in the comments section below.


User forum
0 messages