How to center text in GIMP [Quick Guide]
1 min. read
Updated on
Read our disclosure page to find out how can you help Windows Report sustain the editorial team. Read more
Key notes
- GIMP is a popular open-source image manipulation tool available for the Windows platform.
- In this article, we walk you through a step by step guide to center text in GIMP.
- Check out our dedicated How-To hub for more detailed guides.
- Explore our thorough Software section for more software recommendations.

GIMP is a multi-platform open-source image editing/manipulation tool that offers an advanced set of editing tools found in more expensive software like Photoshop.
The text editing tool allows you to add text to your project. Apart from the type of text, you can also choose the alignment of the text.
In this article, we walk you through the steps required to center text in GIMP.
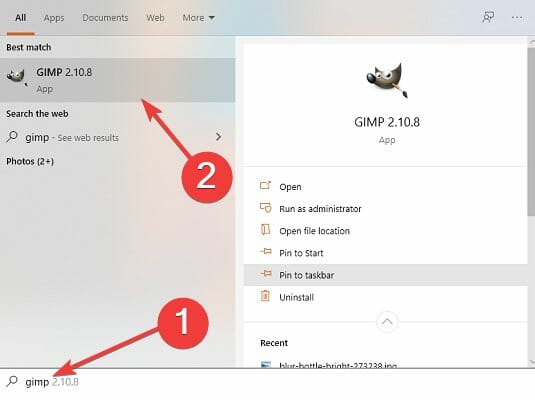
1. Launch GIMP.
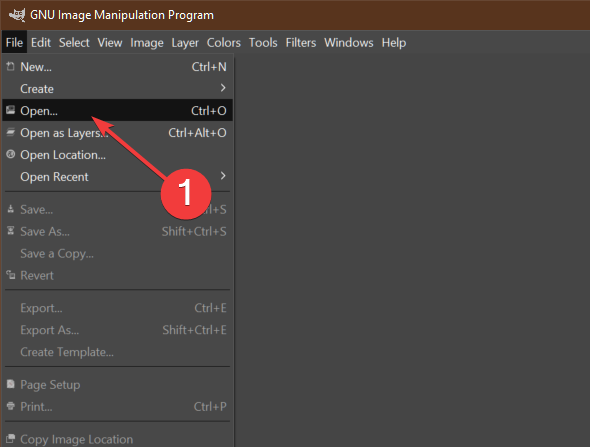
2. Open a project a file where you want to add the text.
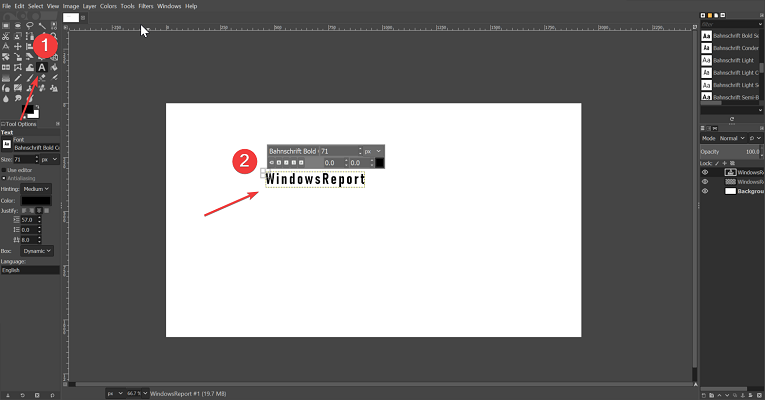
3. Select the text tool. You can access it by clicking on the A icon.
4. Click anywhere on the image and type the text.
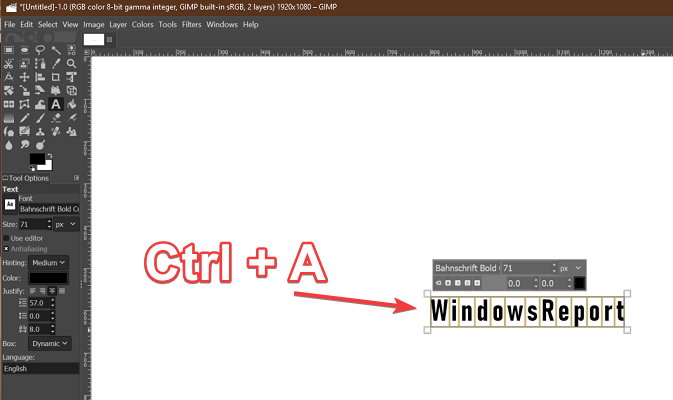
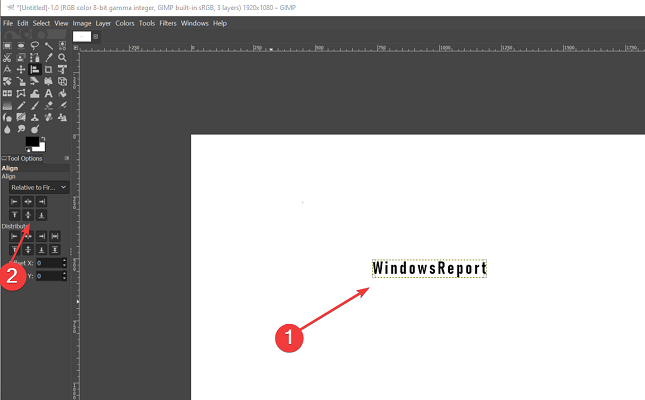
5. Once done, highlight all the text (Ctrl + A ).
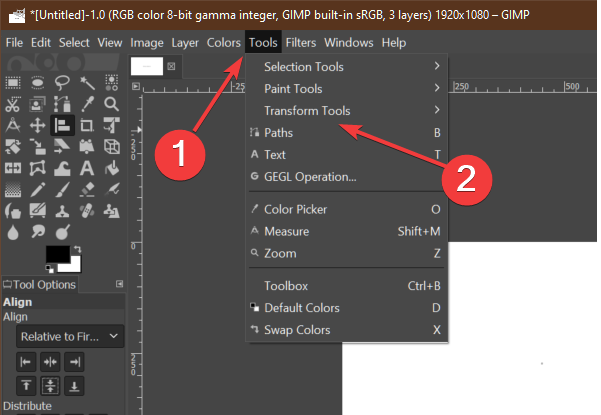
6. Click on Tools (toolbar).
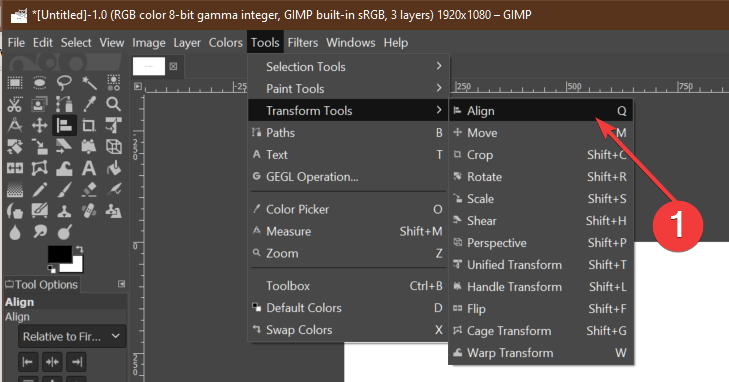
7. Select the Transform Tool.
8. Select Align from the context menu.
9. From the left pane, choose Align middle of the target.
How to center text in GIMP
You can easily center text in GIMP using the built-in Align tool. The Align tool is useful to align the image layers with various image objects. GIMP offers a decent set of tools to align texts as per your preference.
Note: You can also change the alignment to left or right using the same steps. Simply change the alignment in step 9.
By following the steps in the article, you can center text in GIMP. Follow the steps to learn how to use the alignment feature in GIMP. Do let us know if you have any GIMP related queries in the comments.


User forum
0 messages