How to Unblur Images in Adobe Photoshop [Quick Guide]
2 expert-tested ways to get rid of the blur on your pictures
2 min. read
Updated on
Read our disclosure page to find out how can you help Windows Report sustain the editorial team. Read more
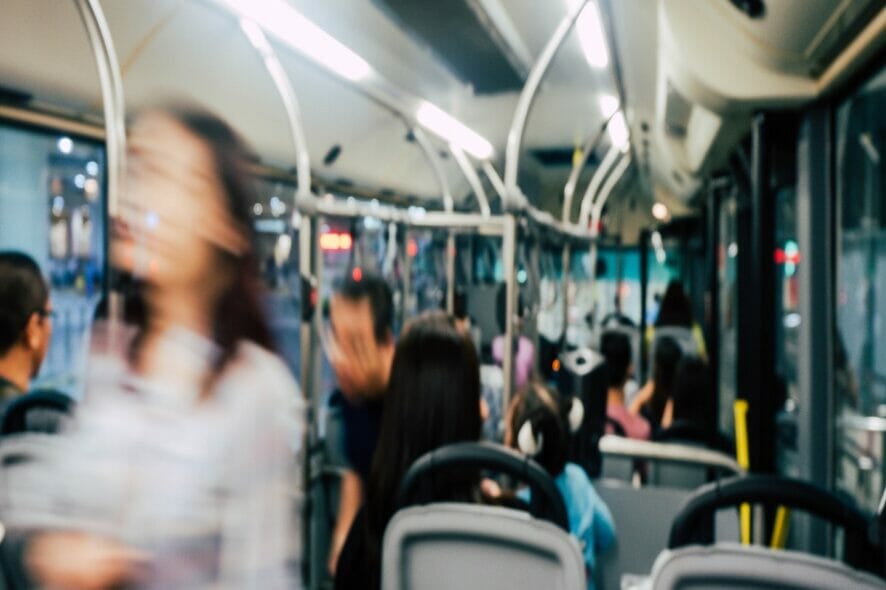
No matter how good a photographer you are, some pictures can be blurry.
You can retake the picture, but if you found out too late or only had one chance, you can unblur the picture in Adobe Photoshop.
If you don’t have the application, you can also use Photoshop in your browser.
For designers and photographers, Photoshop is a go-to application for adjusting images.
Thankfully, the software also lets you remove blurriness in pictures. In this guide, we’ll explore the two most effective methods with which you can unblur pictures in Adobe Photoshop.
How can I unblur pictures on Adobe Photoshop Express/ Elements?
1. Unblur images using the shake reduction filter
1. Open the picture that you want to unblur.
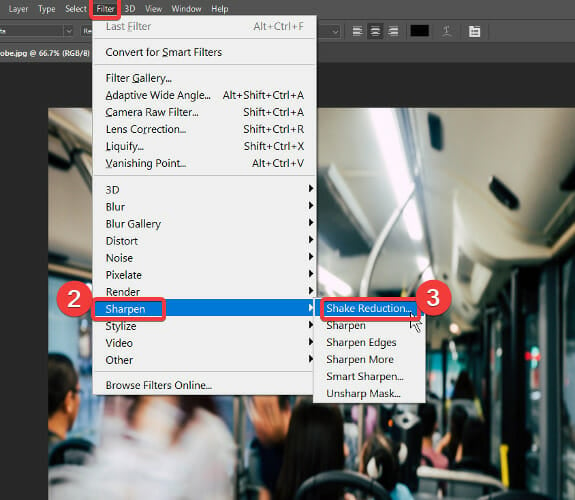
2. Click on the Filter tab.
3. Go to Sharpen, and choose Shake Reduction from the list of options.
4. Drag the corners of the blur trace to adjust it or click the circle to drag it around.
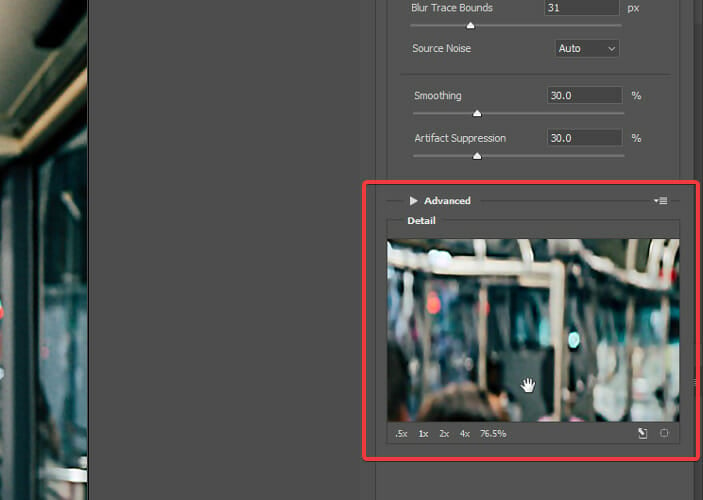
5. Go to the Advanced panel.
6. Click on the Add Suggested Blur Trace.
7. Select the Detail loupe to focus on more blurry areas.
8. Use the Enhance At Loupe Location icon to change the focus automatically.
9. Apply the blur traces.
10. Save the image to your PC.
The best method to unblur pictures is to use the shake reduction filter in Photoshop. With the shake reduction filter, Photoshop automatically finds one area of the picture with high edge contrast and encloses this portion in dotted lines called a blur trace.
You can find and review the unblurred picture in the Shake Reduction dialog.
Photoshop creates only one blur trace, but creating multiple blur traces will give you a sharper image. You can also save blur traces to use on a different picture using the Load option in the Advanced panel.
2. Unblur images with an extra layer
- Open the picture that you want to unblur in Photoshop.
- Press the CTRL + J combination to duplicate the background layer.
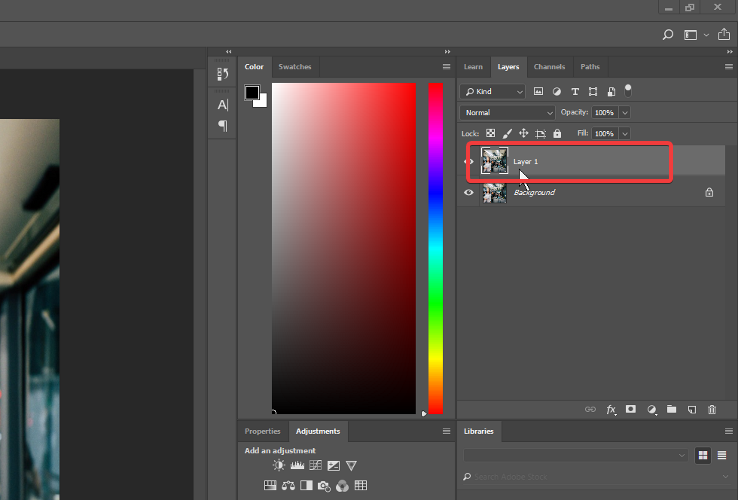
- Go to the Layers panel and select Layer 1.
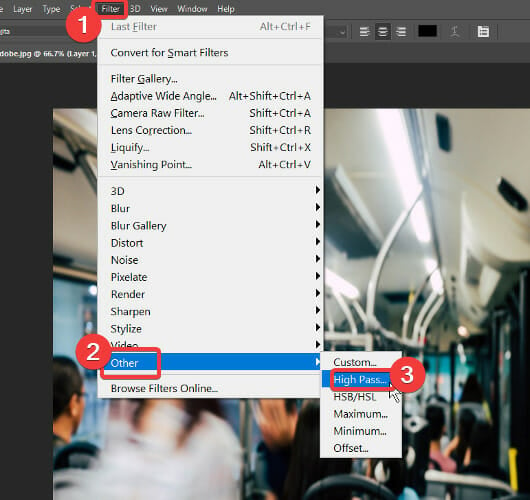
- Go to Filter and choose Other.
- Select High Pass.
- Change the blending mode to Hard Light.
- Set the Opacity to a value that looks good on the image (ideally 100% or 50%).
The Shake Reduction Filter is my preferred method of unblurring pictures in Adobe Photoshop. Also, for some images, leaving the default values and blur traces gave better results. Manually creating and adjusting the blur traces worked better for other pictures.
An extra layer also works wonders when you unblur pictures in Adobe Photoshop. Hopefully, this guide was easy to follow.
If you’re curious and want to learn more today, check out this guide on how to invert colors on PDFs using Photoshop.
Bookmark our How-to section to quickly access tons of similar guides.
Don’t hesitate to explore our in-depth Adobe Photoshop review to find out more details. We also have a great guide on how to unblur an image on a website, so don’t miss it.
If you want to learn more about blurring images, we have a great guide on how to blur the background in Photoshop, so don’t miss it.
Use the comment section below to share your experience with us.


User forum
0 messages