How to Backup iPhone Photos to PC over WiFi
2 min. read
Updated on
Read our disclosure page to find out how can you help Windows Report sustain the editorial team. Read more
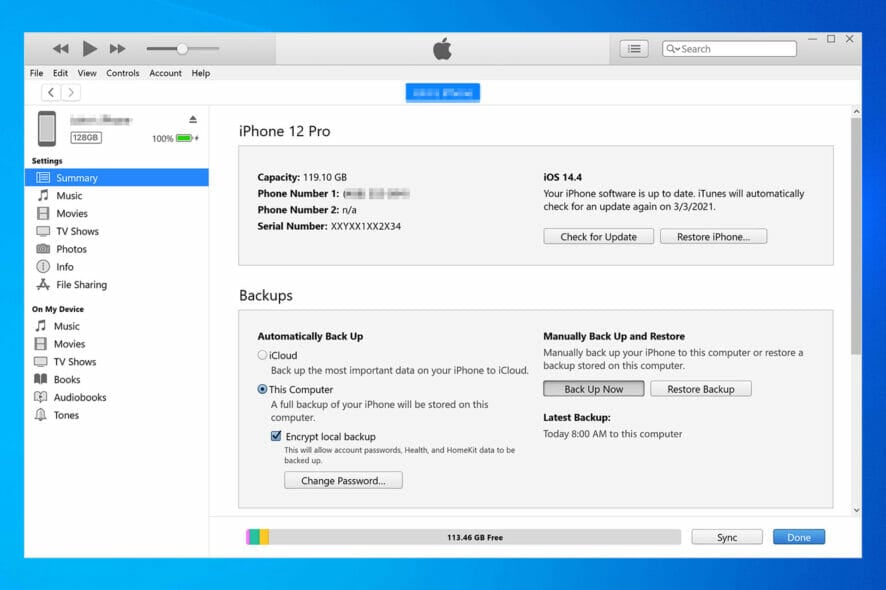
To backup iPhone photos to a PC over WiFi, you have to sync your photos to a cloud storage, send them to yourself, or use iTunes’ WiFi sync option.
So, if you can’t use the USB to transfer photo files from your iOS to your Windows PC, don’t worry. We outlined easy-to-follow instructions for all methods below. Let’s check them out.
How can I back up iPhone photos to PC over Wi-Fi?
1. Use cloud storage
- Upload your images to iCloud.
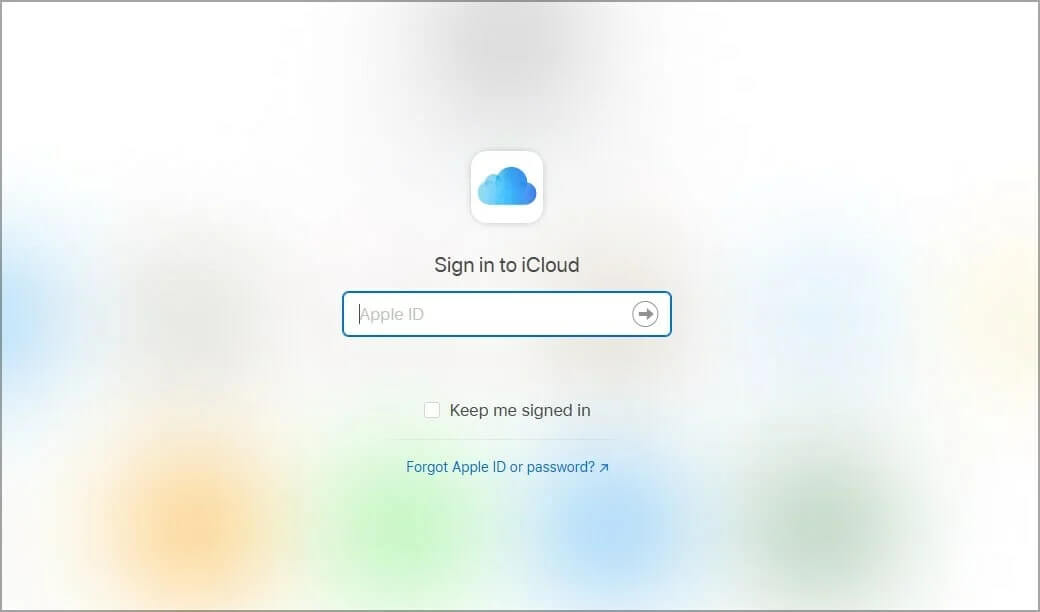
- Now visit the iCloud website.
- Log in with your Apple account.
- Download the files from your browser.
- Optional: Download and install iCloud software for seamless synchronization.
You can use any other cloud storage service, but we recommend iCloud since it’s already available on all iOS devices.
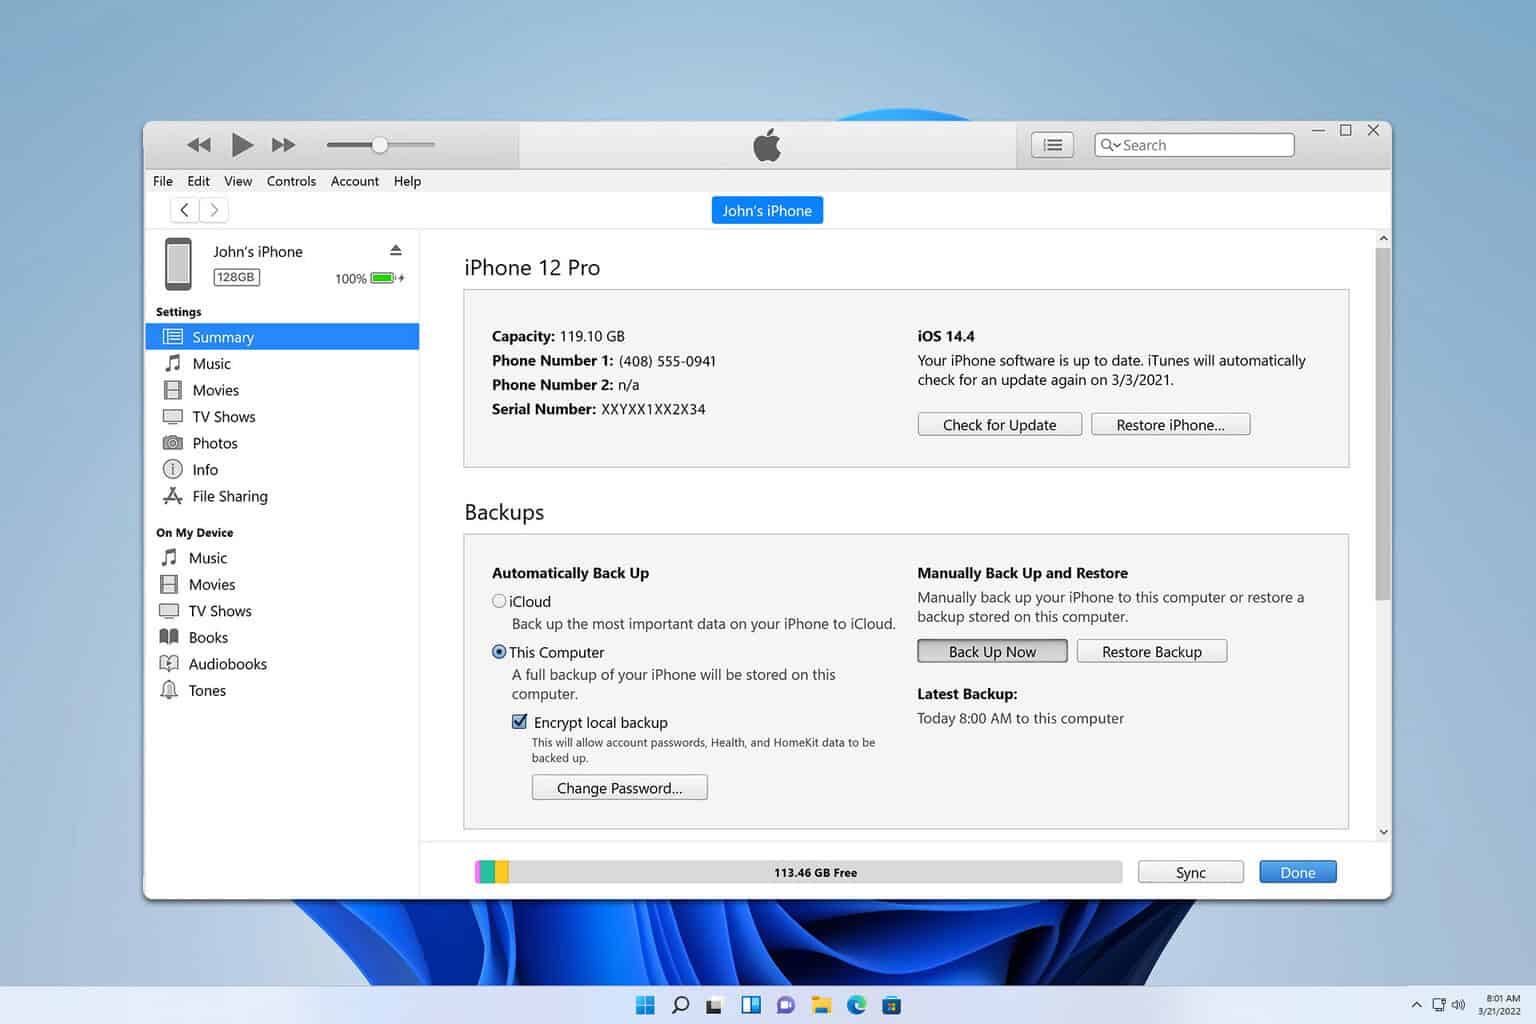
2. Use iTunes
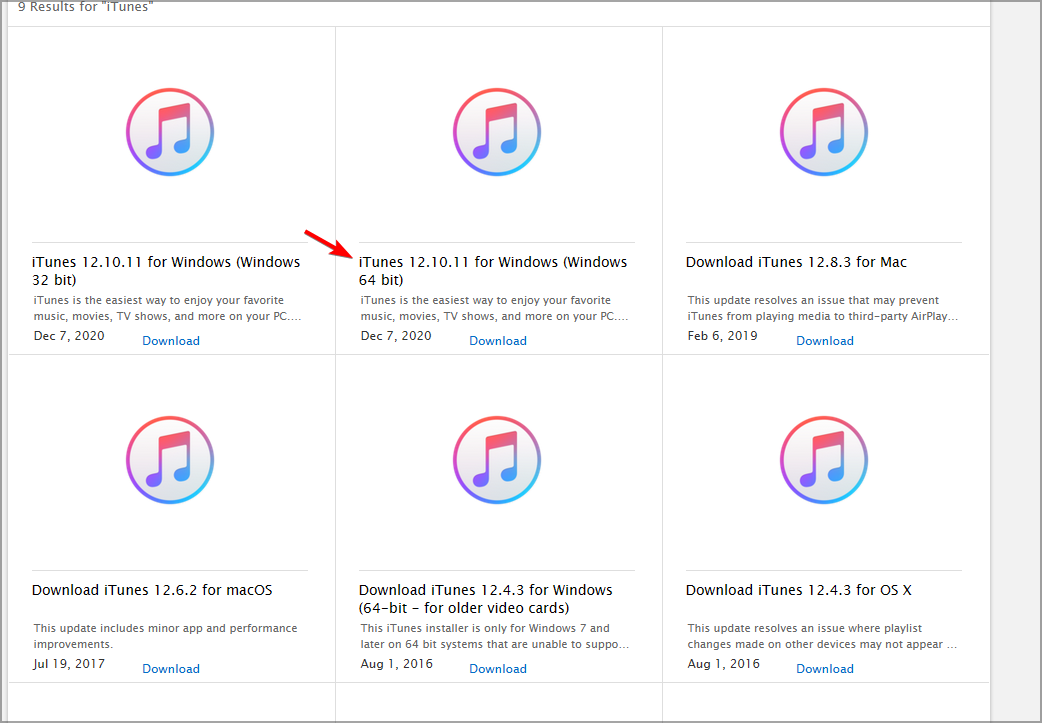
- Download iTunes and install it on your PC.
- Open iTunes.
- Now click the phone icon at the top.
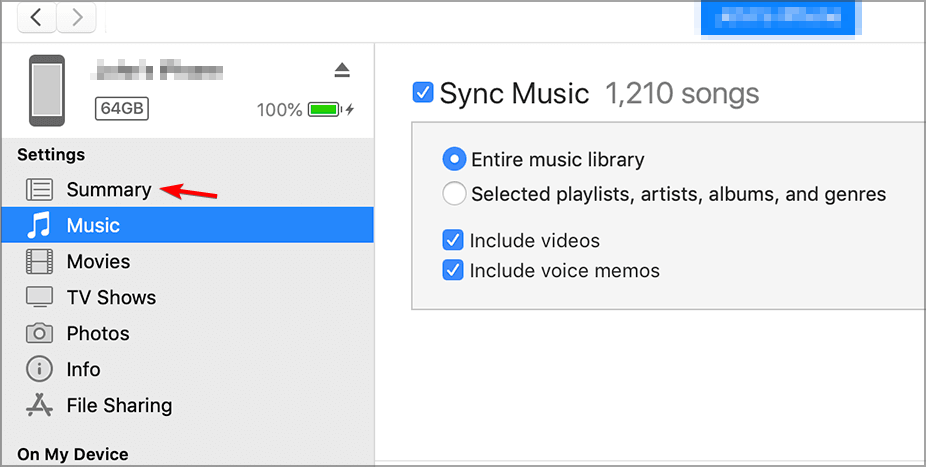
- Select Summary.
- Now check Sync with this device over Wi-Fi.
- Alternatively, you can just select Photos from the sidebar and enable the synchronization.
3. Send images via email
- On your phone, open the email client.
- Now compose a new email and set your email address as the recipient.
- Add the desired photos and tap on Send.
- Once the photos are sent, open your email on PC and download the photos.
This isn’t the most effective solution, and it can take you a lot of time, so use it only if you need to back up a small batch of photos.
In case you encounter any problems, you might want to read our Photo import not working guide to see how to fix this problem.
Did we miss your favorite wireless backup method? Let us know in the comments section below!




User forum
0 messages