FIX: Windows Defender error code 0x80073afc [Full Guide]
![]() 9 min. read
9 min. read
![]() Updated on
Updated on
Share this article

Improve this guide
Read our disclosure page to find out how can you help Windows Report sustain the editorial team Read more
Key notes
- The Windows Defender error code 0x80073afc signals that your security system is compromised.
- Make sure you properly uninstall any third-party antivirus and remove leftover files.
- Changing registry files, performing DISM and SFC scans will get rid of the issues.
- You could also check for problematic updates or reset the system entirely.

Keeping your PC safe is crucial, and in order to protect it from malicious software Windows 10 relies on the Windows Defender.
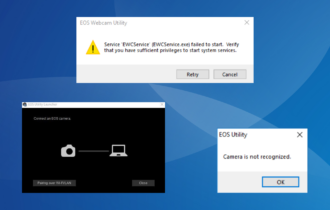
This tool works as an antivirus, but users reported certain issues with it. One issue that appears while using Windows Defender is the error 0x80073afc.
If you get this error, it means that your Windows Firewall is malfunctioning. That’s really bad news since it will leave your device vulnerable to viruses, malware, and other dangerous files.
How can I fix the Windows Defender error 0x80073afc?
- Uninstall your antivirus software
- Change your registry
- Remove the malicious software
- Check for problematic updates
- Use System Restore
- Wait for the official fix
- Update Windows
- Run the SFC scan
- Run DISM
- Clean your registry
- Check environmental values
- Change system permissions
- Restart the Security service
- Change the group policy
- Reset Windows 10
1. Uninstall your antivirus software
Windows Defender is designed to work as a default antivirus software on Windows 10, however, it can’t work with other security tools.
If the installer encountered the error code 0x80093acf, be sure to uninstall your antivirus and check if that solves the problem.
By default, Windows Defender will turn itself off after you install a third-party antivirus program.
One way to eliminate such issues is to simply replace the in-built Windows solution with a modern antivirus that will not interfere with your system in any way.
Therefore, we suggest a powerful security suite that will protect your PC against all kinds of malicious programs such as spyware, ransomware, viruses, rootkits, exploits, and more.
Emerging threats make no exception as this well-balanced antivirus relies on a smart, cloud-based technology that allows it to update its signatures automatically and never fail to stay on top of the cybersecurity game.

ESET HOME Security Essential
Enjoy seamless protection and flawless security thanks to ESET HOME Security Essential and its wide range of features.2. Change your registry
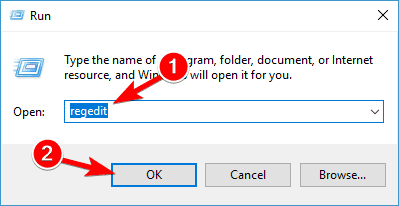
- Press Windows Key + R, enter regedit, and press Enter or click OK.
- Go to the following path in the left pane:
HKEY_LOCAL_MACHINESOFTWAREMicrosoftWindows NTCurrentVersionImage File Execution Options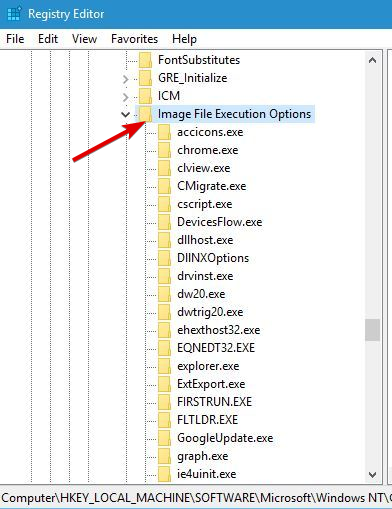
- Try to find MSASCui.exe, MpCmdRun.exe, MpUXSrv.exe, or msconfig.exe keys. If you find any of them, right-click them and choose Delete.
- After deleting the problematic keys, check if the problem is resolved.
It’s possible that your registry was altered by a malicious program, thus causing error code 0x80073afc to appear. To fix this problem you’ll need to change your registry.
Before you start altering your registry, keep in mind that changing the registry can be potentially dangerous, therefore be sure to create a backup of your registry just in case.
3. Remove the malicious software
Sometimes malicious software can be located on your PC and cause this error to appear.
You need to look for MpCmdRun.exe, MpUXSrv.exe, MSASCui.exe, and msconfig.exe files or folders in the following directories:
- %AppData%
- C:WindowsTemp
- %temp%
- C:Program Files.
You can easily access any of these folders simply by pasting the folder’s address into File Explorer and pressing Enter.
If you find any of the aforementioned files or folders, delete them and check if that fixes the problem.
4. Check for problematic updates
- Open the Settings app. (If you’re unable to open the Settings, here are some fixes).
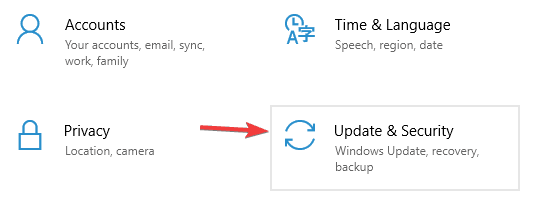
- Go to the Update & Security section.
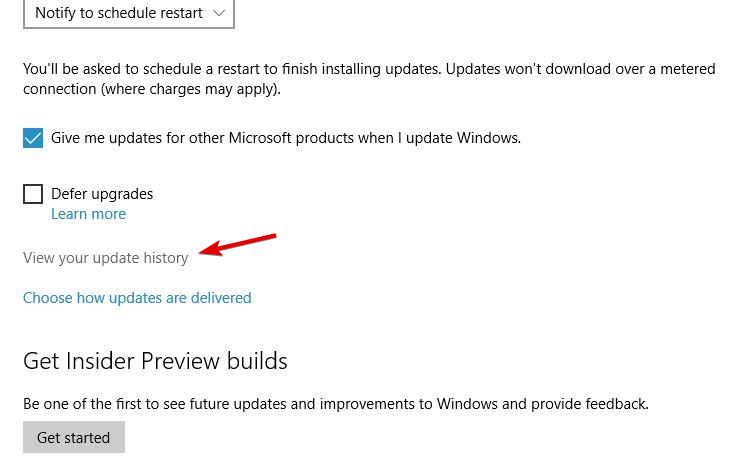
- In the Windows Update tab click on Advanced options.

- Now click on View your update history.
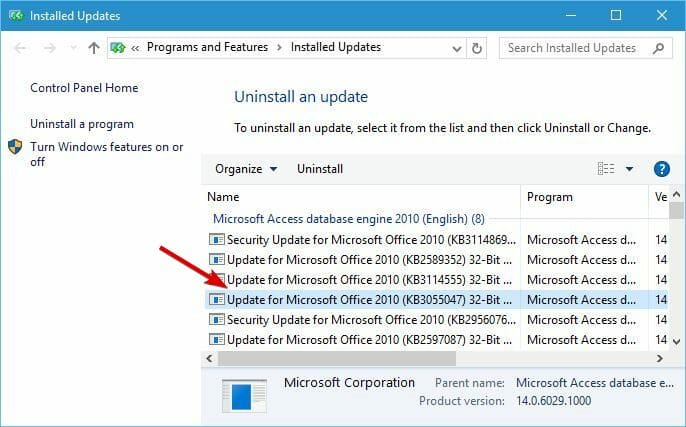
- Click Uninstall updates.

- Now, the Installed Updates window will appear. Locate the update that you want to remove and double click it to remove it.
Users reported that certain Windows updates caused this error to appear, hence you need to find and remove the problematic ones.
Bear in mind that you need to remove the problematic update, so keep a close eye on all installed updates.
To prevent this issue from appearing again, block the problematic update from installing. If you encounter problems with the process, this great guide about fixing Windows Update problems will help you.
5. Use System Restore
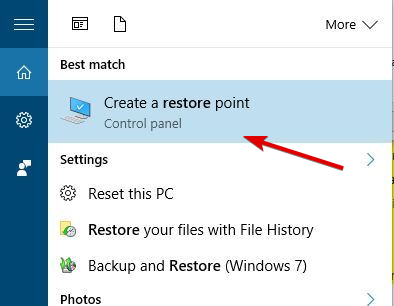
- Press Windows Key + S and enter restore. Select Create a restore point option.
- When the System Properties window opens, click the System Restore button.
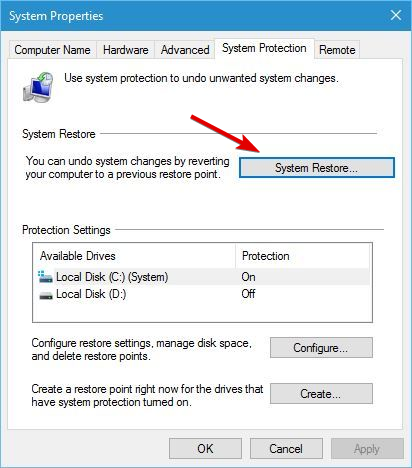
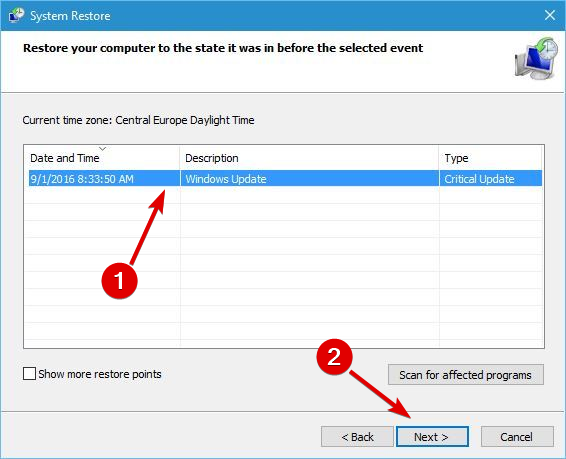
- When System Restore starts, click Next.

- Select the restore point you want to revert to and click Next.
- Follow the instructions to restore your PC.
Few users reported that they fixed this issue simply by restoring their computer with the System Restore feature. Restoring your PC is easy, and can be done using the aforementioned steps.
6. Wait for the official fix
Few users reported that their issue was fixed by installing the latest updates, so you might want to wait for Microsoft to solve the problem themselves.
Usually, Windows updates fix these kinds of issues, so you might have to wait a bit until the official fix is released. This might take a while, unfortunately.
The time it takes for such problems to be solved by Microsoft depends on the number of people that signal the problem to them, so don’t hesitate to make a ticked or a post on the official forums.
7. Update Windows
- Go to Settings.
- Then, Update & Security.
- Select check for updates.
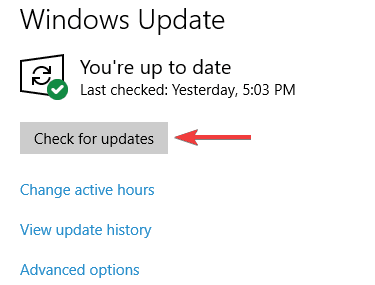
- Wait for the Windows to finish updating.
This step is, in a way, tied to the 6th one. You need to keep your Windows updated at all times, so make sure you are using the latest versions.
As Windows Defender is a part of Windows 10, it receives updates through Windows Update. So, maybe the issue you’re facing is acknowledged by Microsoft, and the company is working on a fix.
8. Run the SFC scan
- Right-click on the Start Menu button, and open Command Prompt (Admin).
- Enter the following line and press Enter:
sfc/scannow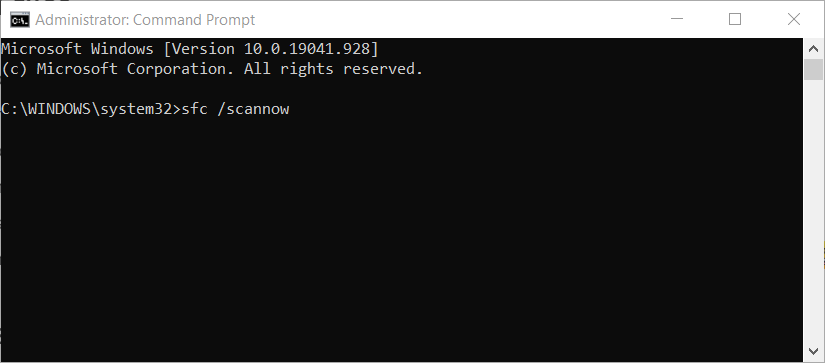
- Wait until the process is done (it may take a while).
- If the solution is found, it will automatically be applied.
- Now, close the Command Prompt and restart your computer.
If none of the previous solutions worked, let’s try a few troubleshooting tools. The first one is the SFC scan.
This command-line tool scans your computer for potential issues and resolves them if possible. So, it might be helpful in this case, as well.
9. Run DISM
- Open the Command Prompt as shown above.
- Enter the following command and press Enter:
DISM.exe/Online /Cleanup-image /Restorehealth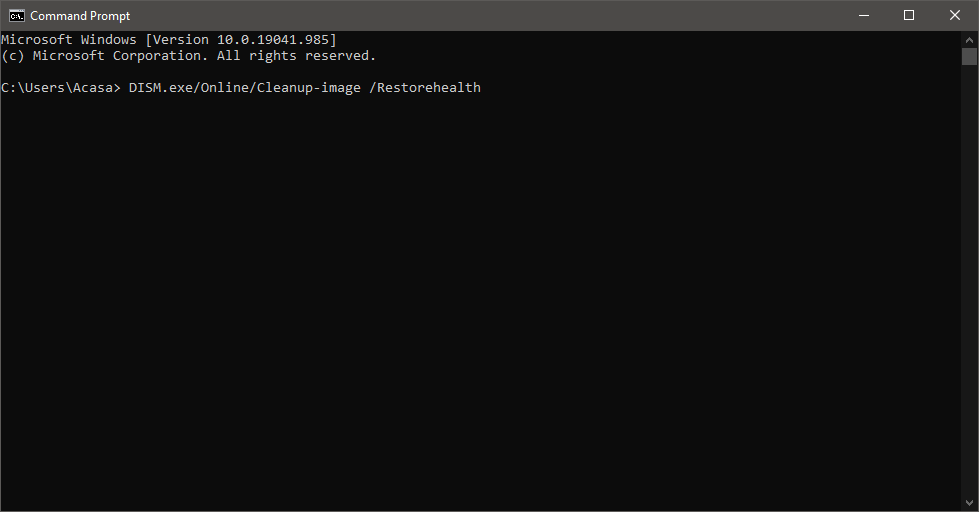
- Wait for the process to finish.
- Restart your computer.
- In case the DISM can’t obtain files online, try using your installation USB or DVD.
- Insert media and type the following command:
DISM.exe/Online /Cleanup-Image /RestoreHealth /Source:C:RepairSourceWindows /LimitAccess
DISM is another tool that we’re going to try. It will scan your system’s disks. Make sure to replace the C:RepairSourceWindows path of your DVD or USB and follow further on-screen instructions.
10. Clean your registry
Some users report that Windows Defender won’t work because there are issues with your registry. To eliminate the doubt, go ahead and clean your registry.
The best way to clean the registry in Windows 10 is by using a third-party registry cleaner.
If you don’t have the first choice already, check out our list of the best registry cleaners for Windows 10 to get some ideas.
Additionally, note that you should look for a registry cleaner that scans your PC periodically for corrupted files and other issues. Such an app will make sure that your device is working smoothly.
11. Check environmental values
- Press Windows Key + S and enter advanced system settings.
- Select View advanced system settings from the menu.

- Now click the Environment Variables button.
- Locate the %ProgramData% variable and check if it’s set to
C:ProgramData - If not, change the variable accordingly.
Environmental values are handy, but a less-known feature that helps your system access certain directories which contain important data and values.
Sometimes third-party apps may change these values, and that could lead to interferences with Windows Defender resulting in potential problems like the error 0x80073afc.
12. Change system permissions
- Go to C:ProgramData directory.
- Now locate the Microsoft directory and right-click it.
- Choose Properties from the menu.
- Now go to the Security tab and click Advanced.
- Now you should remove all inherited permissions. After doing that, save changes and check if the problem is resolved.
Another reason for Windows Defender issues may be the system permissions. If some permissions are set to block Windows Defender, it obviously won’t work.
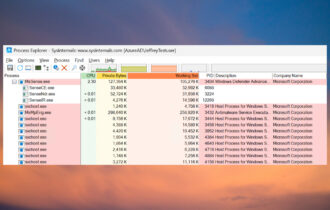
13. Restart the Security service
- Press the Windows key + R and launch Run.
- Type services.msc and hit Enter or click OK.
- In Services, search for Security Center.

- Right-click Security Center and click Restart.
Everything in Windows 10 has its own service, and Windows Defender is not different. Make sure that the Security service is running in order for Windows Defender to function normally.
14. Change the group policy
- Press the Windows Key + R and enter gpedit.msc.
- Now press Enter or click OK.
- When the Group Policy Editor opens, in the left pane navigate to the following path:
Computer ConfigurationAdministrative TemplateWindows ComponentsWindows Defender Antivirus - In the right pane, double-click Turn off Windows Defender Antivirus.
- Select Not Configured and click Apply and OK to save changes.
If you have all the necessary permissions, and the service is running, you might need to make a few changes in the Group Policy editor. Here’s what you need to do:
15. Reset Windows 10
If you still have this issue, you might want to reset Windows 10. You can check this in-depth guide about resetting Windows 10 to factory settings to learn more about the process.
Resetting Windows 10 will delete all installed applications and in some cases, all your files from the primary partition, so use this option as the last resort.
We strongly encourage you to switch to a better security tool. You can choose one from this list of antivirus software with lifetime license.
Windows Defender error code 0x80073afc can cause a lot of problems, so be sure to try some of our solutions and let us know what worked for you in the comments section below.