6 Easy Ways to Fix Bad Image Error on Windows 10
Using a system maintenace tool is the easiest solution

You should read this guide entirely if you have encountered a bad image error in Windows 10 or 11.
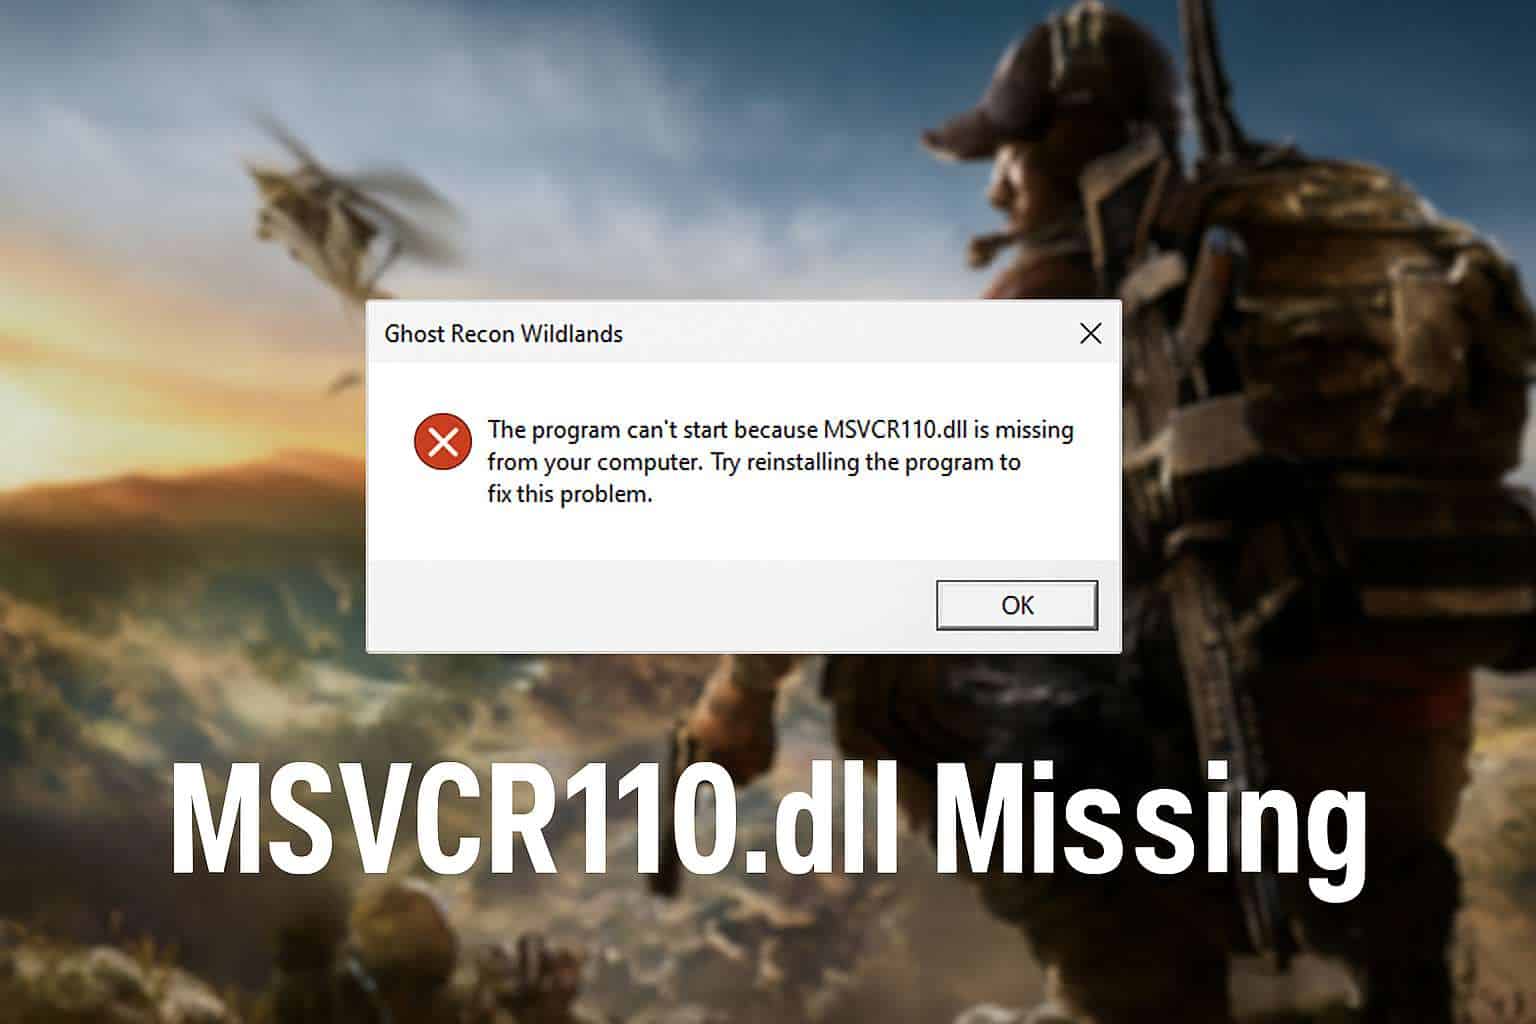
DLL errors are not uncommon on Windows platforms. These error messages usually pop up because a Dynamic Link Library file has gone missing or is corrupted. This message highlights an issue with the DLL file specified in it.
The error message above can specify many different DLL files. Users can’t run and utilize the software for which the Bad Image DLL error arises.
Maintenance software can help resolve the issue, but other options are described below.
What causes bad image error?
When you try to run a Windows program, but it does not run correctly, it is a poor image error.
The cause is that the user may encounter a poor image error because the program’s required files or libraries may be damaged, or the operation may be interrupted.
Additionally, any of the following can lead to the error:
- Software uninstallation or incomplete installation – When you do not correctly uninstall or install software, users notice this is a massive trigger to the error.
- Installation of faulty Windows updates – If you have installed a bad update, this will also trigger the error.
- Malware attack – You should run a full scan as this is often a reason for the bad Image Windows error.
- Improper shutdown of the system – You must shut down your devices properly, as a bad shutdown can trigger several errors.
Whatever the case may be, you should try our solutions listed below.
What are other instances of the Bad Image error?
As we outlined above, the Bad Image error is an issue with a missing or corrupt DLL; thus, it can occur in many Windows applications. Here are some of the most encountered Bad Image errors:
- Bad Image error in Microsoft Office – Repairing the app from Settings should fix this problem, but you may also follow the steps below.
- Bad image error Windows 10 0xc000012f – The error indicates that specific system files are damaged and interfere with the system’s functions.
- Fortnite Bad Image error – Verify if you have the latest updates on the game, and also check the general guide below.
- Bad Image error when opening programs – The cause is that the user may encounter a poor image error because the program’s required files or libraries may be damaged, or the operation may be interrupted.
- Bad Image error Windows 10 0xc0000020 – This suggests that the app you were attempting to launch has been corrupted or damaged.
- dxdiag exe – bad image – It’s a problem with DirectX, but a software reinstallation will help you immediately.
- Bad image error Windows 10 msvcp140.dll – The error indicates that although the DLL was already installed on your PC, it was corrupt somehow.
- Bad image error Windows 10 after update – Many users reported getting the error after an update, which indicates a bug in the latest version or that the update didn’t go through successfully.
- Chrome.exe bad image error Windows 10 – This indicates that a specific file isn’t intended to run on Windows or has a bug.
- Bad image error Windows 10 0xc000007b – The error is seen when running certain third-party applications after an update/upgrade.
- Bad image error Windows 10 Fortnite – A lot of users encountered the error when playing Fortnite.
- MicrosoftSecurityApp.exe Bad Image: The error appears due to corrupt DLLs or running multiple Windows Security apps.
Is Bad Image error a virus?
Though unlikely, a virus could throw the Bad Image error persistently. Some known malware replicate the error box and message and have the user purchase a fake antivirus. Running a full system scan with an effective antivirus should clear things up.
In case the scan cannot identify any virus or malware on the system, it’s safe to believe that the error message is genuine. Here, you can easily fix things with the solutions listed in the next section.
How can I fix the Bad Image error?
1. Fix the issue with system maintenance software
Some third-party system maintenance software might fix the Bad Image DLL issue.
There are different forms of system maintenance software, but some include repair tools that can fix various PC issues.
2. Run DISM and SFC scans
- Click the Start button, type cmd, and select Run as administrator to start Command Prompt with full privileges.

- First, type this command in the window and hit Enter:
DISM.exe /Online /Cleanup-image /Restorehealth
- Then, when the Deployment Image Servicing scan is complete, type in this SFC command and press Enter to run it:
sfc /scannow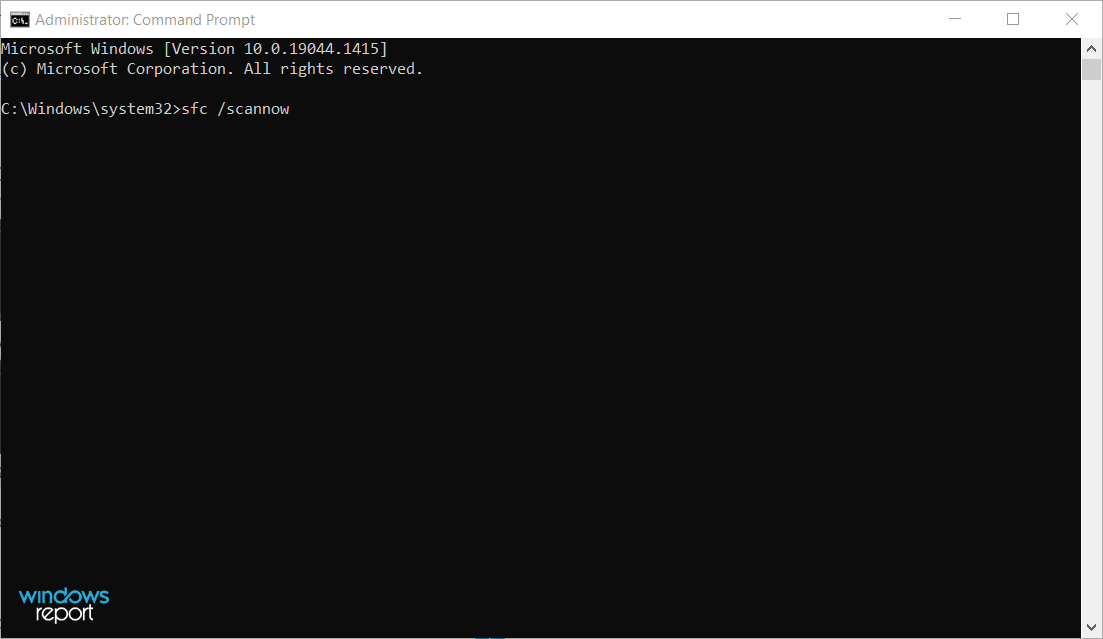
- Wait for the scan to reach 100 percent verification.
- Then restart your desktop or laptop if the scan reports that Windows Resource Protection fixed system files.
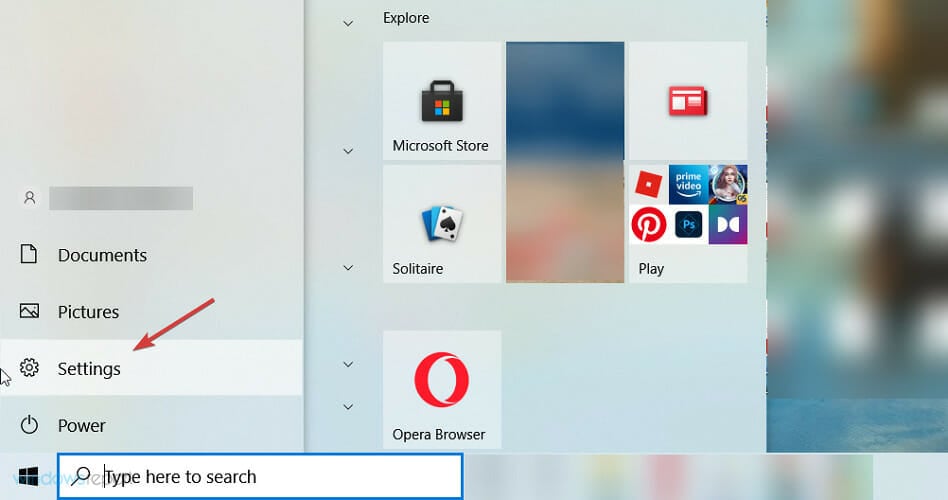
3. Uninstall recent Windows updates
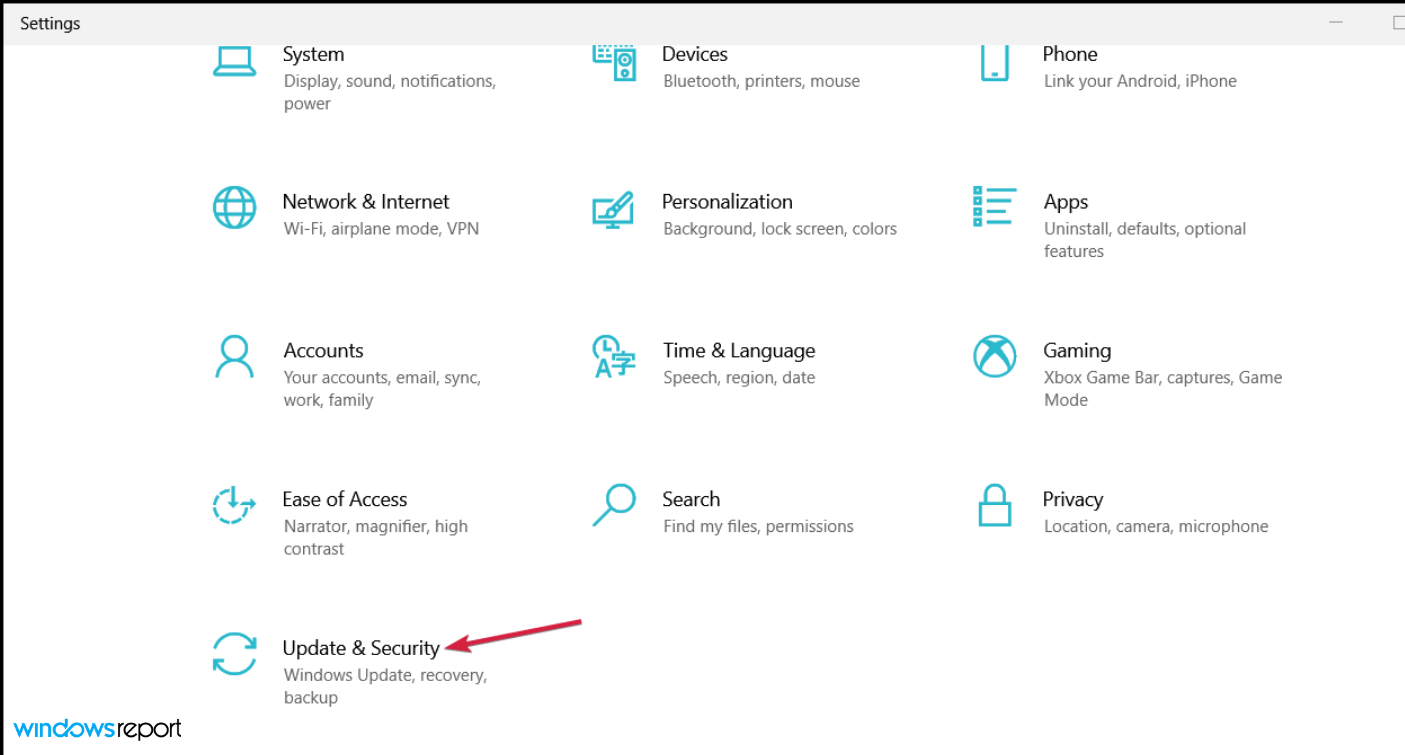
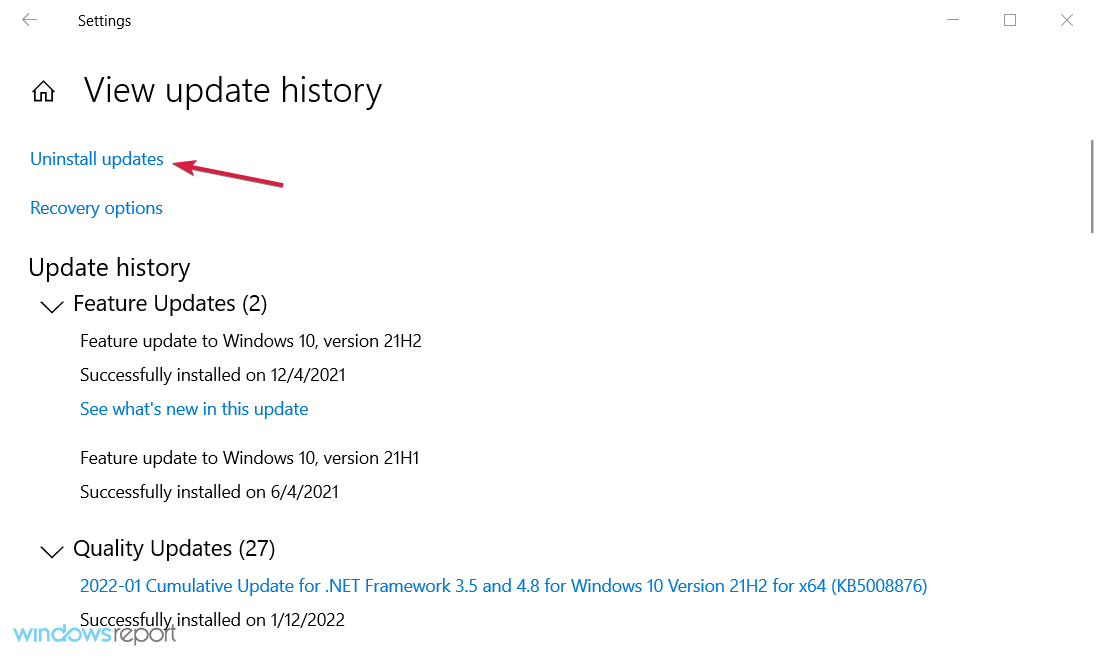
- Press the Start button and select the Settings app.
- Click on Update & Security.
- Select Windows Update from the left pane, then select View update history from the right.
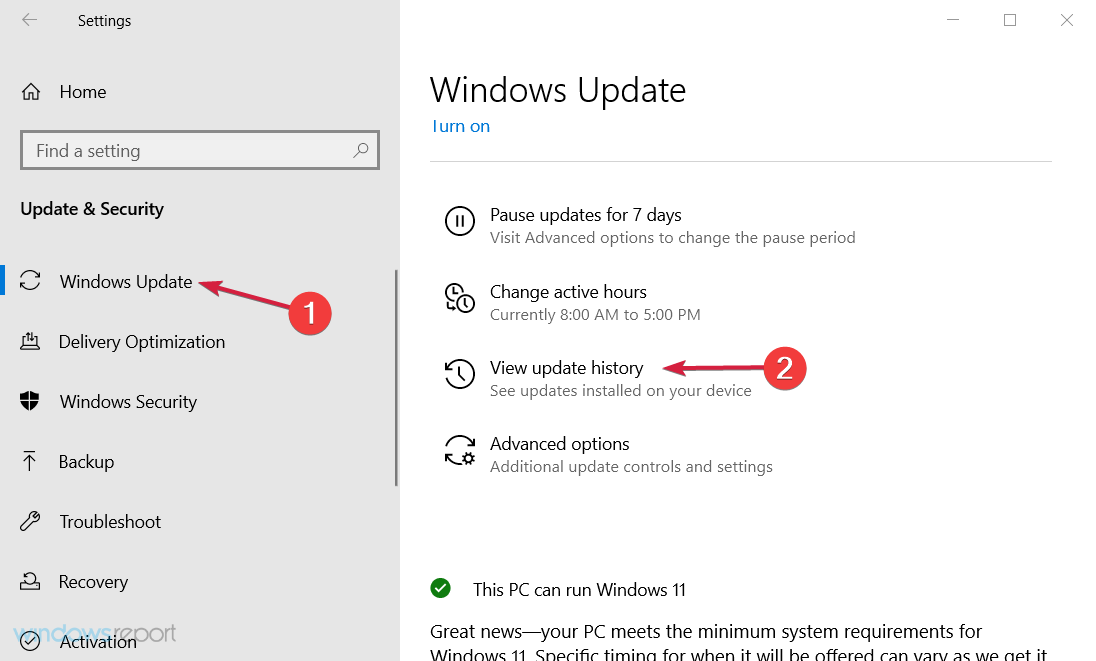
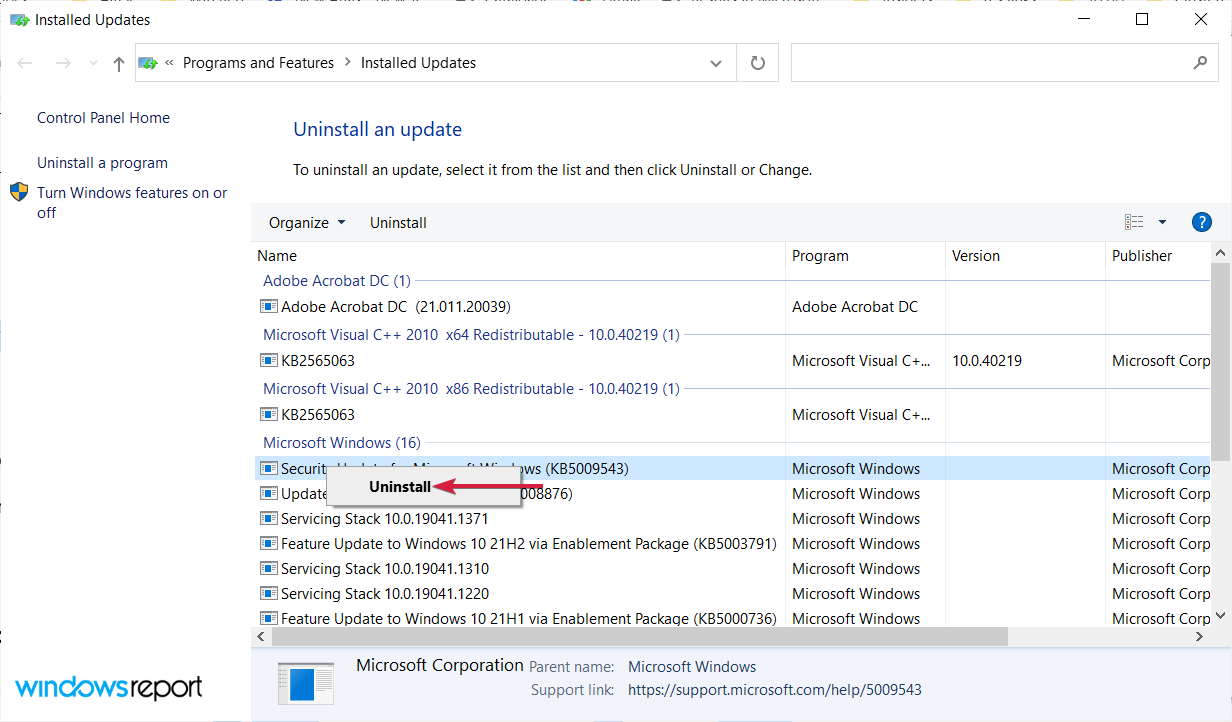
- Then click Uninstall updates.
- Right-click the most recently installed patch update and select Uninstall.
This resolution is for fixing the Bad Image error when it arises after recent Windows updates. For example, a defective update might be the culprit if the Bad Image DLL issue occurs when your PC has just received updates.
4. Reinstall the software that manifests the Bad Image error
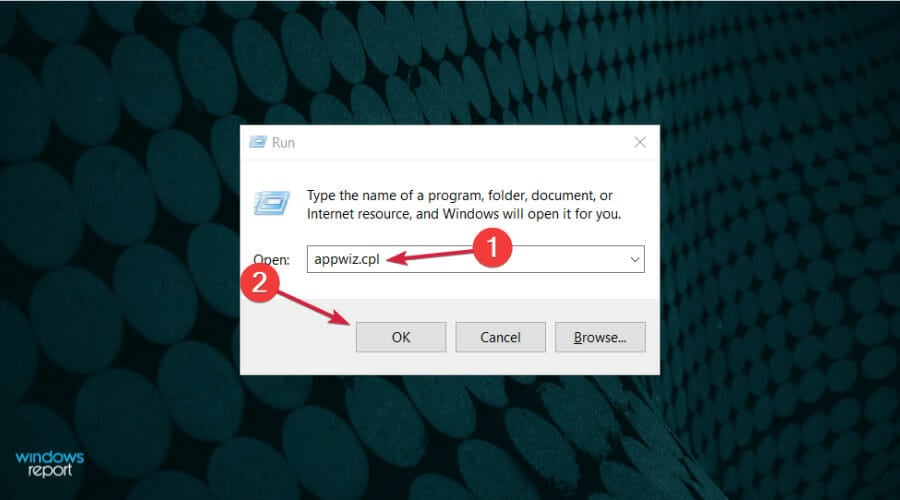
- Press the Windows key + R to start the Run window, type appwiz.cpl, and press Enter.
- Next, right-click the software for which the Bad Image error occurs and select Uninstall.
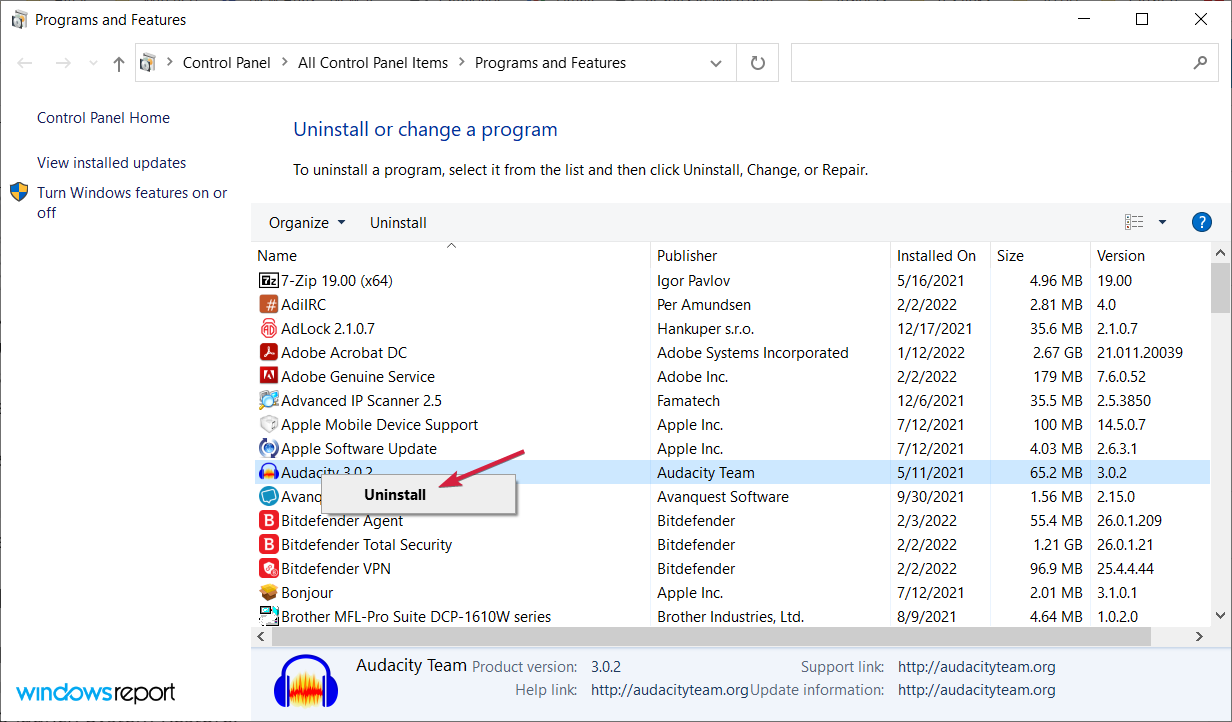
- Restart your PC after you’ve removed the software.
- Then reinstall the software with its installation media or download the installer for its latest version from the publisher’s website.
You can uninstall software and more thoroughly remove leftovers with third-party uninstaller utilities.
Thus, you can proceed with the most efficient uninstaller programs offering complete uninstallation for any problematic apps on your PC.
5. Roll back Windows
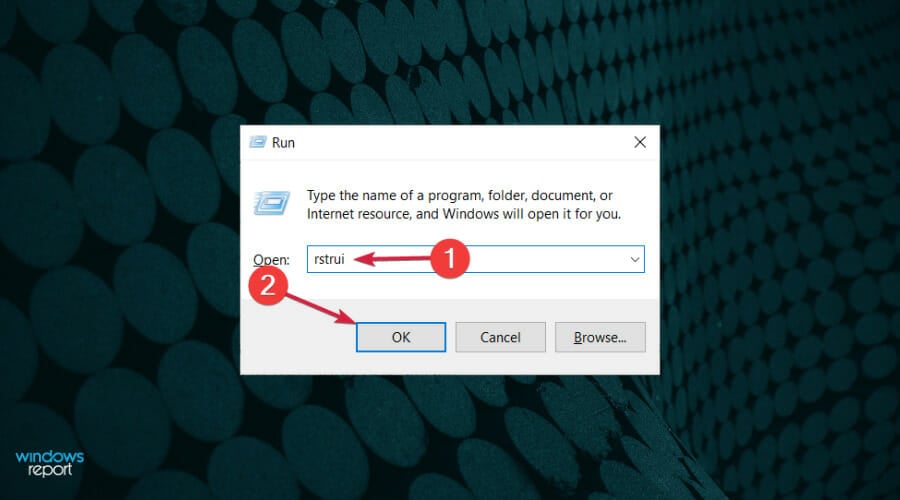
- Press the Windows key + R keyboard combination to start the Run app, type rstrui, and press Enter or click OK.
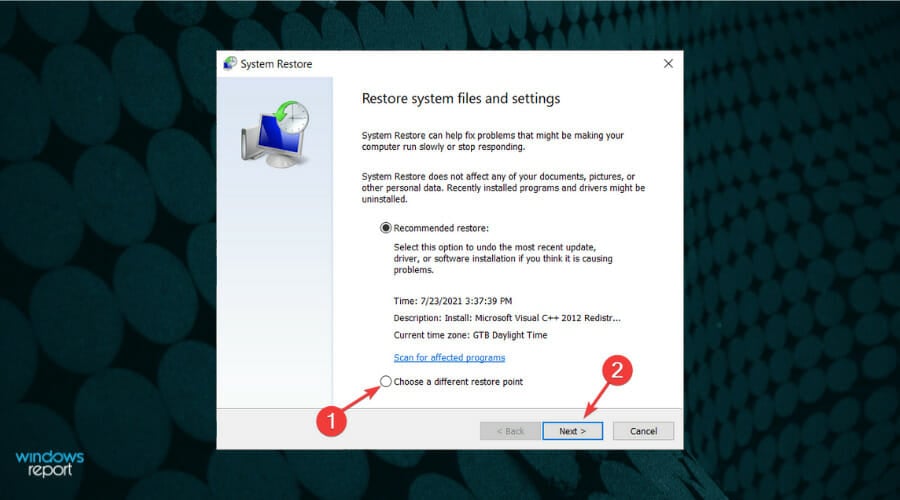
- Select the Choose a different restore point option if there’s a recommended restore point and hit Next.
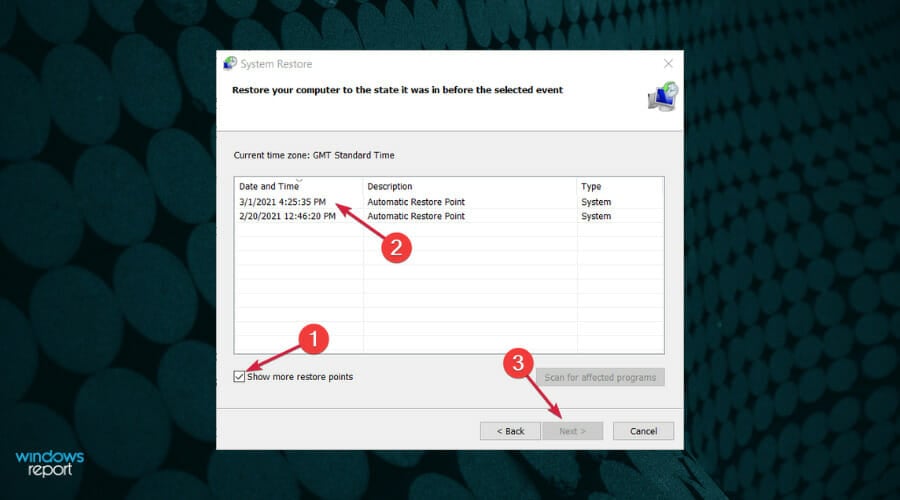
- Click the Show more restore points check box, then select a point that has the date before the error occurred the first time and hit Next.
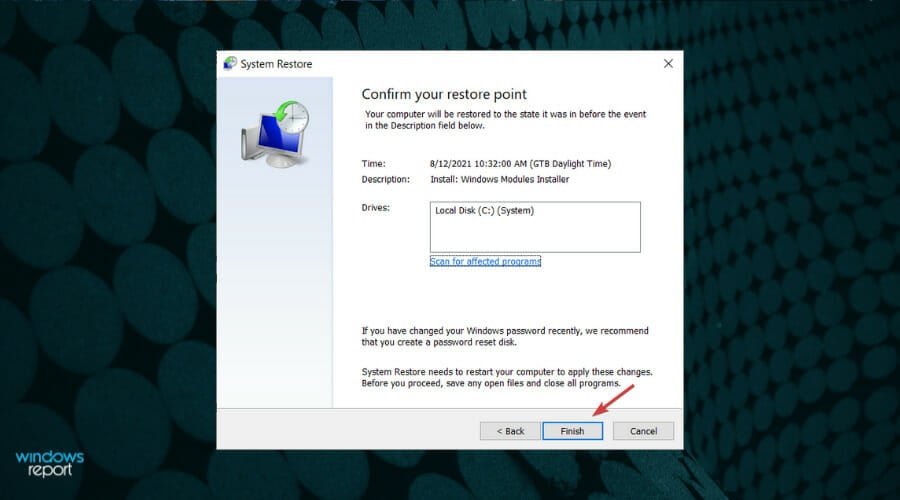
- Click Finish to confirm your selected restore point and initiate the Windows restoration process.
 NOTE
NOTE
6. Copy the specified DLL from another PC
- Turn on a PC that shares the same Windows platform and 64 or 32-bit system architecture as the one you need to fix the Bad Image error on.
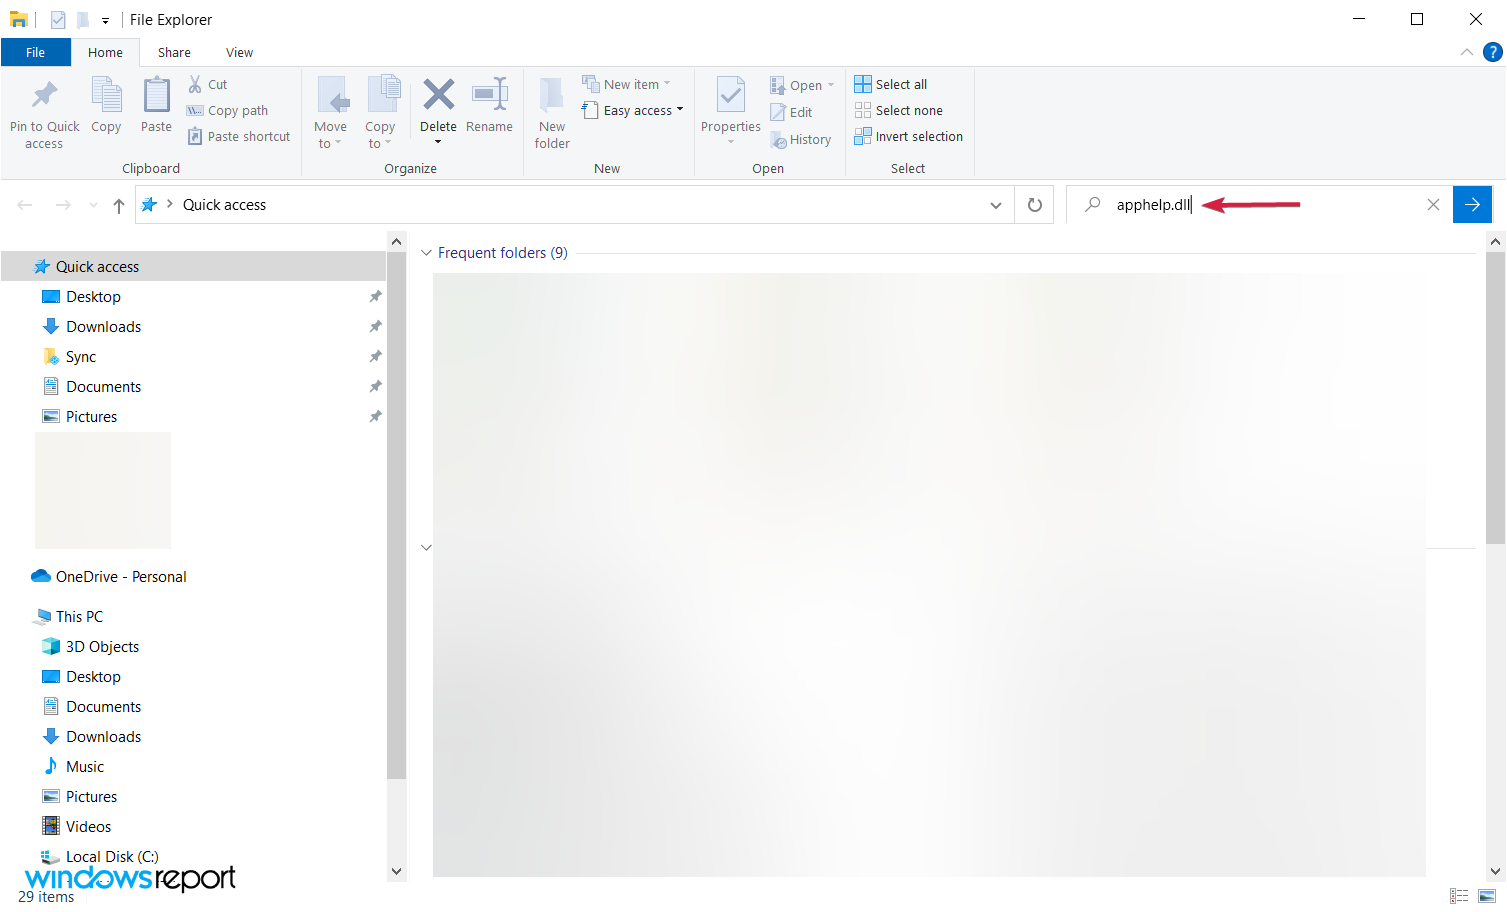
- Press the Windows key + E to start File Explorer.
- Click on the Search tab and type in the exact filename of the DLL specified within the Bad Image error message.
- Then right-click the DLL file found and select Open File location.
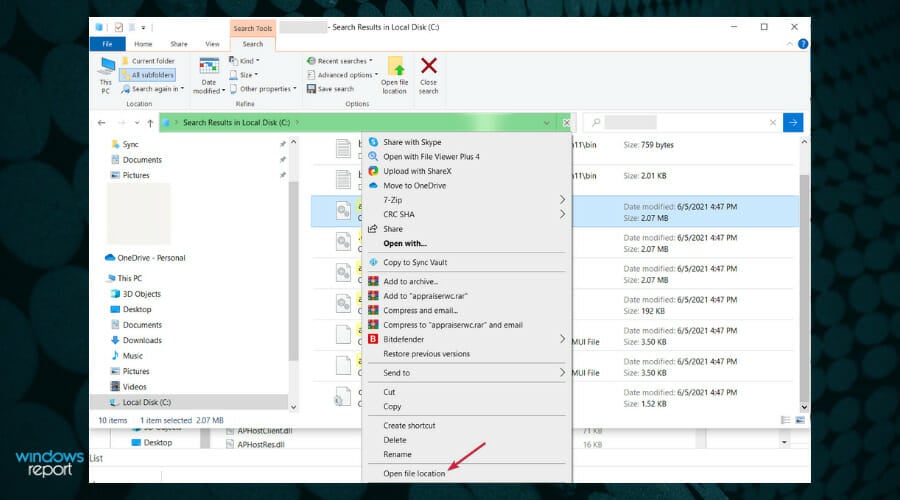
- Right-click the DLL specified within the Bad Image error and select Copy.

- Insert a flash drive into a USB slot on the PC, open a folder on the flash drive within File Explorer and press the Ctrl + V hotkey to copy the DLL file onto the USB stick.
- Then boot up the PC you need to fix the Bad Image error and insert the flash drive that includes the copied DLL file.
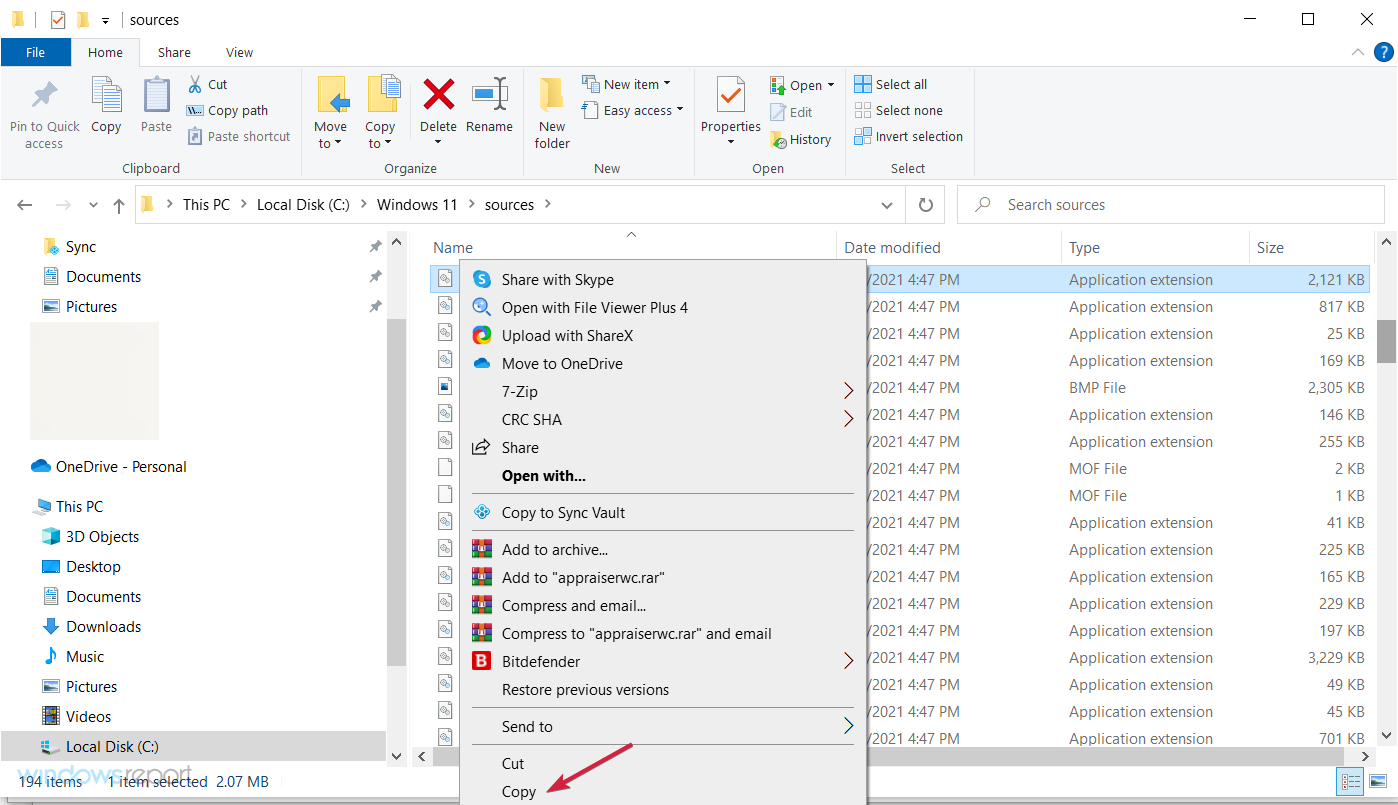
- Right-click the DLL file on your USB drive within File Explorer and select Copy again.
- Then paste the DLL file to one of these folders:
C:\Windows\SysWOW64 (for 32-bit DLL files)
C:\Windows\System32 (for 64-bit DLL files)
- If a Replace or Skip Files window opens, select the Replace the file in the destination option.
- To register the DLL, open the Command Prompt as an administrator (outlined in Solution 1).

- Enter this command with an actual DLL filename included and press Enter:
regsvr32 filename.dll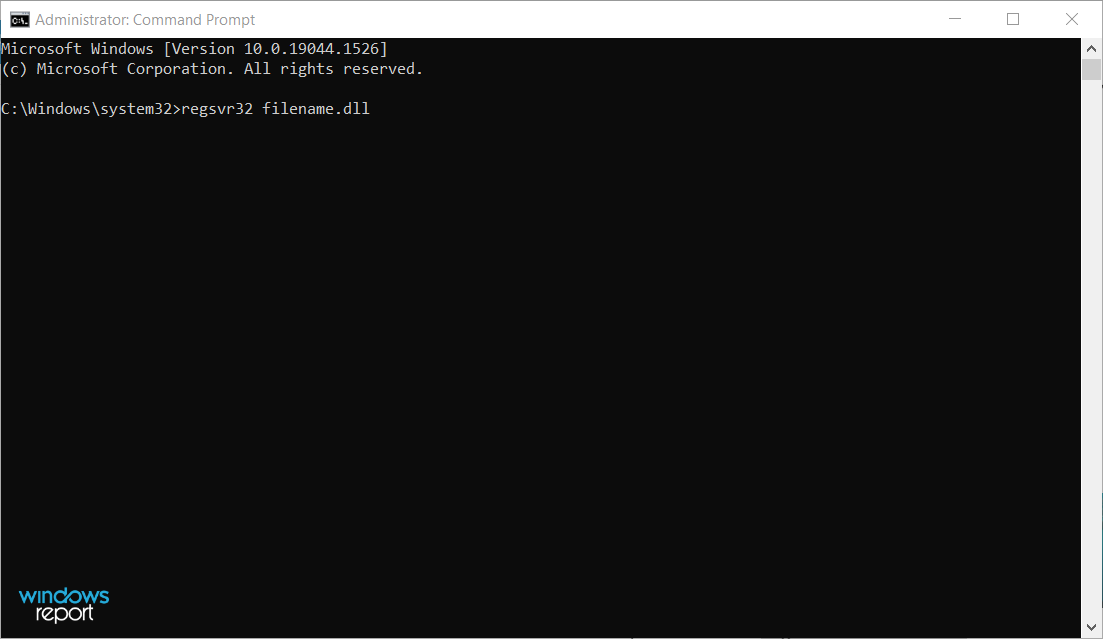
You can also download DLL system files from DLL websites. However, make sure you download the DLL from a reputable source.
Scan any downloaded DLL with an antivirus utility, back up the original DLL file before replacing it with an alternative.
How can I fix a bad image error on Windows 11?
If you have read this far, we have good news for you. The solutions listed in this guide to fix bad image errors in Windows 10 will work on Windows 11.
Both operating systems are very similar, so you should be able to reproduce these steps without breaking a sweat.
Pick the most appropriate solutions and try them out on your Windows 11 devices.
So, now you know how to fix the Bad Image error in Windows 7, 8, and 10. The last resort resolution is to reinstall or reset Windows.
In extreme cases, you may have to perform a factory reset, which will help you get a fresh start on your device and resolve any old issues.
Before you go, you might want to check our guide on the Bound Image Unsupported and see how to fix it properly.
If you have any other solutions or suggestions, don’t hesitate to mention them in the comments section below.
Read our disclosure page to find out how can you help Windows Report sustain the editorial team. Read more


Improve this guide


User forum
0 messages