How to fix Bitdefender update failed errors on Windows 10/11
Key notes
- Those that want the best results from a top antivirus will encounter the Bitdefender update error.
- Avoid Bitdefender Windows update problems by checking out this software’s settings.
- Users can also prevent the Bitdefender update failed error by trying out another antivirus solution.
- Make sure your Windows firewall is not the cause of the Bitdefender update failure.

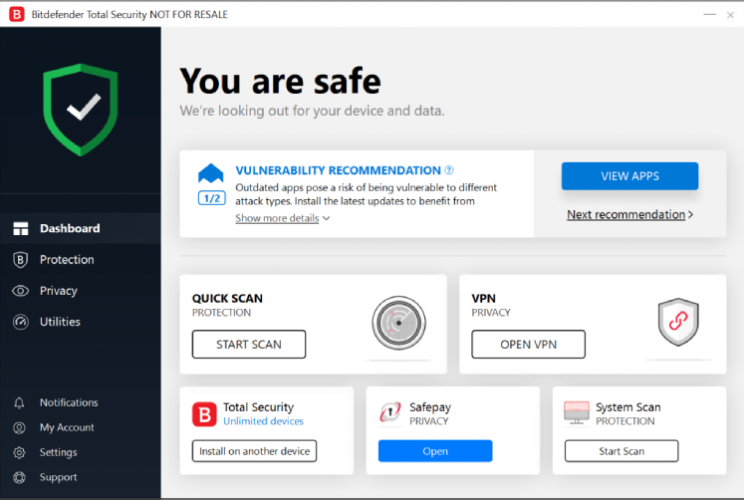
Without a doubt, Bitdefender is one of the best antivirus solutions for both personal devices and PCs. But it needs to be regularly updated for the best results.
Now, a lot of times users have complained of encountering various Bitdefender update errors forcing them to abandon the update process and risking their Windows 10 PCs.
The good news is that you don’t have to give up since most of these errors are easy to fix. Here is how to maneuver around various Bitdefender update errors.
What can I do if the Bitdefender update fails?
1. Make sure Bitdefender update has been properly set up
- Open your Bitdefender main window.
- Click on the gear Settings.
- Click on the Bitdefender’s Update tab and make sure it indicates the correct update location as shown here.

This applies to some Bitdefender versions, especially the older ones. Note that for the latest editions, Bitdefender auto-update file location is configured automatically during installation.
2. Try out a different antivirus solution
Users looking for an error-free antivirus experience will most likely appreciate our pick for today.
No matter if you are a regular user or a hardcore gamer, this software offers you the best protection against different types of online threats.
It is an excellent choice for protecting your privacy and is useful for when you use the Internet to shop, for online banking, to work, and to communicate. Use it for your Windows, Mac, Android, and Linux devices.
When it comes to sensitive data, passwords, online payments, webcam,s and smart devices, all of them are secured with this powerful antivirus.
When it comes to online banking, this software offers you a high level of protection so you won’t have to worry about unauthorized access to your computer.

ESET HOME Security Essential
ESET HOME Security Essential protects your computer against viruses, malware, spyware, and unauthorized access.3. Verify that Bitdefender isn’t being blocked by the firewall
- Click on Bitdefender’s Protection.
- Go to the Firewall module then click on the gear/Settings icon to confirm that the firewall is OK.

- First, under the Network Adapters option, your network adapter should be set to home/office.

- The next edit is on stealth mode. Still, in the firewall tab, click the edit Stealth settings and set it to off.

 NOTE
NOTE
Bitdefender comes with its own built-in powerful firewall and thatu2019s should be your next stop if Bitdefender has reported an update error. Here is how to check if the firewall is set and running right:
4. Turn off other firewalls
Well, in some cases, the problem fails to go away even after implementing the first two recommendations so it’s time to turn our attention to other Firewall software.
And here the remedy is straightforward: Just turn off or uninstall any other Firewall software (Including Windows own Firewall) and see if you’ll get lucky.
5. Verify that your proxy settings are properly set up
- Open the normal Bitdefender window.
- Click on the gear/Settings icon to access the Settings options.
- Select the shown Advanced tab.
- On the proxy usage option, click on the on/off switch to turn on the proxy.

- Now click on the manage proxies hyperlink to specify how Bitdefender should access the required proxy settings.
- Click import proxy settings from the default browser to have Bitdefender automatically detect the current user’s proxy settings from the default browser. Here you might be required to re-enter your username and password to proceed. This is the easiest option route to take although it occasionally refuses to work meaning in you may be forced to specify the settings manually. You will proceed to step 7 to do it manually.

- Click Custom proxy settings (to manually configure your proxy). Here is the information you will be asked for:
- Address– this is the IP address of your proxy server.
- Port– this is the port that Bitdefender will be using to connect to your proxy server.
- Username– this is the username that the proxy recognizes.
- Password– this is the password for the specified user account.
- Save the changes by clicking OK.

Bitdefender will now use the specified proxy settings to connect to the Internet for update purposes.
If you use a proxy to connect to the Internet, you must have properly configured Bitdefender with the correct proxy settings for the Bitdefender program updates to work.
In general, Bitdefender antivirus should automatically detect and import the existing proxy server settings from your system.
But there is no guarantee that it will always do this so sometimes a manual configuration is necessary.
6. Manually update Bitdefender
- First, download the weekly.exe file and save it on your local hard disk.
- Download weekly.exe (32-bit Windows operating systems)
- Download weekly.exe (64-bit Windows)
- Double-click the downloaded file to commence the setup wizard.
- Click next to run the programs/updates installation process.
- Select I accept the program terms and click Next.
- Click Install to start the installation.
- Click Finish to wind up the installation.
Bitdefender releases its combined virus definitions (and scan engine updates) on a weekly basis (every Friday) in form of the weekly.exe application and you could still use it though this should everything else prove unsuccessful.
That’s all. Your Bitdefender should now be up to date.
7. Uninstall and reinstall Bitdefender
- Use this link to uninstall the program.
- Reinstall your BitDefender version.
- Now attempt to update (if necessary).
If you are not yet lucky, try uninstalling your BitDefender version then restart the computer.
8. Upgrade to a newer version
- Go to the website and download Bitdefender (The latest version).
- Install the download and see how it behaves.
NOTE
You can always upgrade to the newest version of Bitdefender. The process should be free as long as your subscription is still valid.
9. Contact Bitdefender’s support
- Open the usual Bitdefender’s interface.
- Under the Settings menu, click the Notifications.
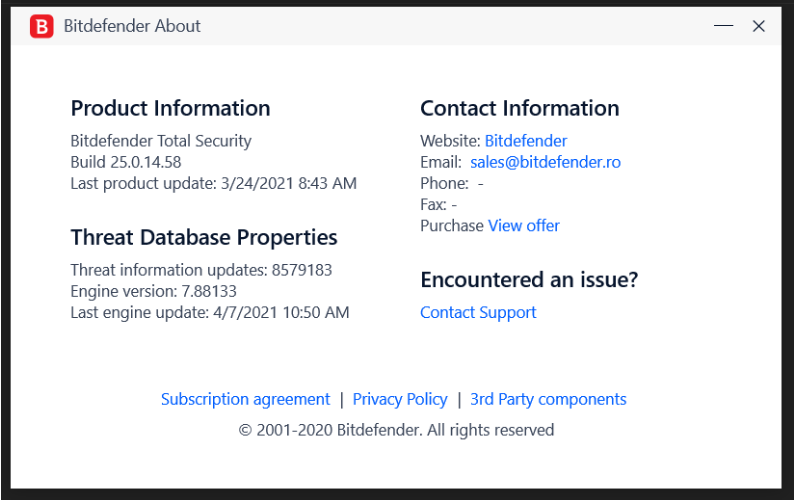
- Now click the Critical tab to see the exact Bitdefender error message.

Contacting Bitdefender’s highly professional technical support team could be the way to go if the said Bitdefender update errors still remain.
You need to open a ticket to do this. The technical team will then request the exact error message which you can obtain as described above.
How can I fix Bitdefender Free Update Failed Error 2024?
1. Scan your PC for errors
- Click the Start button.
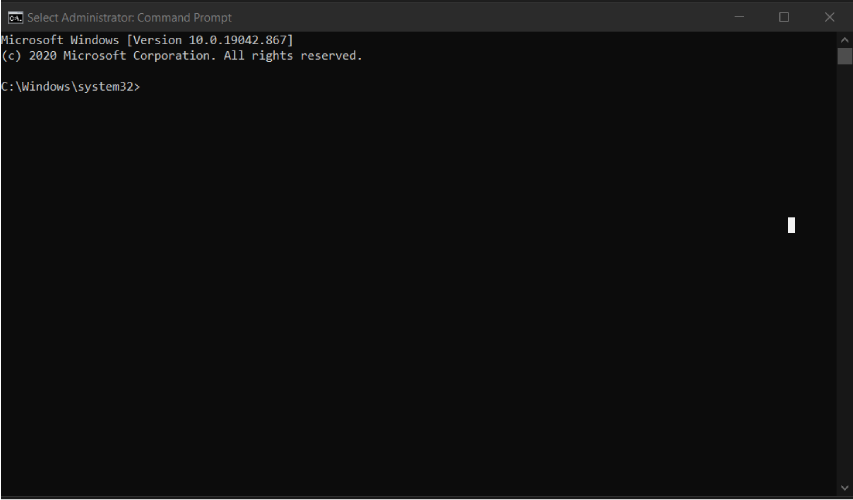
- Then get into the search bar and type exe then press enter to search for the command prompt. Right-click and choose run as administrator.
- Once the black command screen appears, type the following command and press Enter:
sfc/scannow - The system will be scanned and healed of any errors hindering the update.
2. Free up space
Empty the Temp Folder
- Click the Start button.
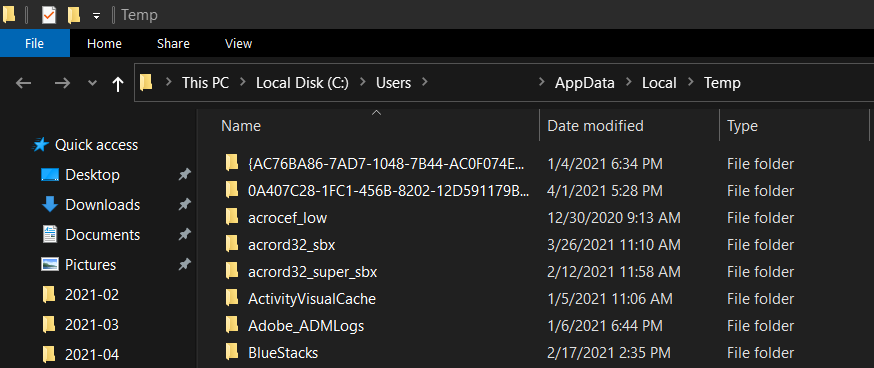
- Then get into the search bar and type %temp% then enter to search for the temporary files.
- Once the Temp folder opens, select (CTRL+A) to delete all the files here. This could create enough memory space for the update to be executed.
Empty The Prefetch
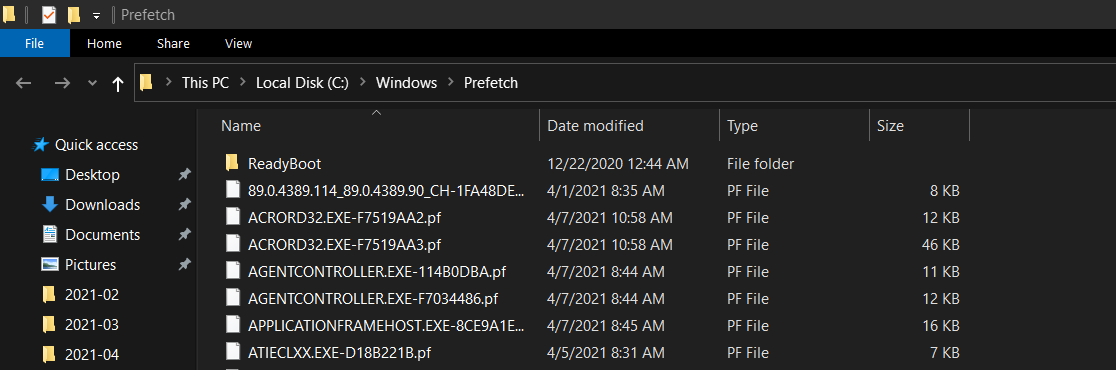
- Click the Start button.
- Get into the search bar, type the following command, and press Enter:
prefetch - Now delete all the files found here (if any).
3. Manual update
You can as well try to update the Bitdefender virus definition files manually using the steps I highlighted earlier (download the weekly.exe file).
Most of the Bitdefender Update errors are triggered by Internet connectivity issues.
For instance, your connection may have temporarily failed, your proxy settings are wrong, or you have a firewall blocking an ongoing Bitdefender update.
Luckily, as you have seen, all these are problems you can easily beat using the above solutions. Try the above fixes and alert us (via the comments section) if you encounter further problems.
Read our disclosure page to find out how can you help Windows Report sustain the editorial team. Read more


Improve this guide


User forum
0 messages