BlueStacks is Already Installed: 4 Easy Fixes to use
Reinstalling BlueStacks is a quick way around this error message
4 min. read
Updated on
Read our disclosure page to find out how can you help Windows Report sustain the editorial team. Read more
Key notes
- If you are dealing with the BlueStacks is already installed error, it might be because of the leftover files on your PC.
- A quick yet effective solution to this problem is to use a dedicated uninstaller to remove BlueStacks.
- Another solution to try is to delete BlueStacks' junk files in File Explorer.
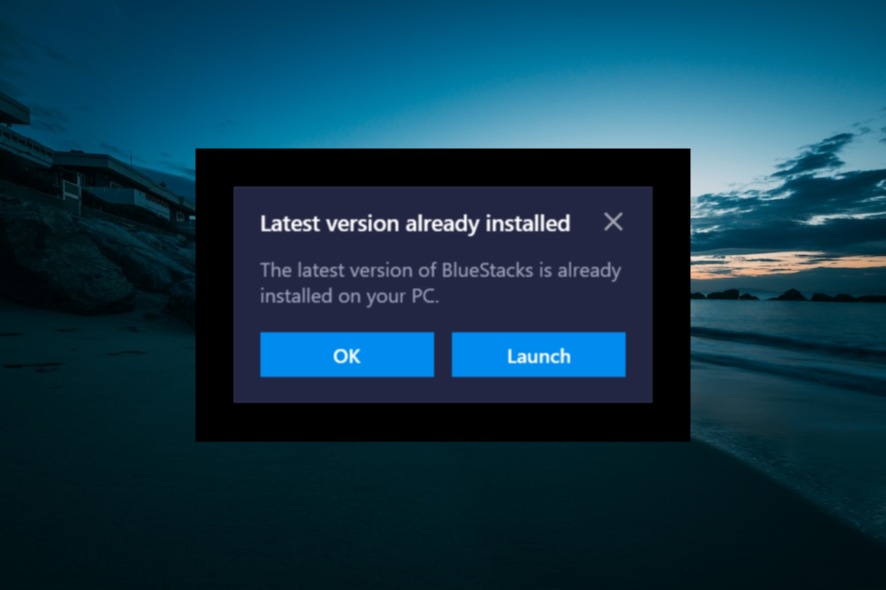
BlueStacks is one of the best Android emulators currently available. The developers sometimes release updates to improve the software, but some users complain that the latest version of BlueStacks is already installed error while trying to apply them.
This can be frustrating, as it makes you miss out on the app’s latest features. Thankfully, this error can be easily eliminated, and we will show you how to go about it in this guide.
Below are some of the potential causes of the BlueStacks already installed error message on your PC:
- Accumulation of leftover files: Sometimes, this problem can be due to the collection of corrupt leftover BlueStacks files. You need to clear these files manually or with the help of PC cleaner software.
- Present versions not supporting updates: if you have the BlueStacks 5 Beta version, you might not be able to update it directly. You need to uninstall the app and download the latest version on your PC.
How can I fix BlueStacks already installed error?
1. Delete BlueStacks Registry Keys
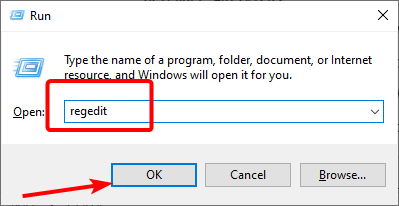
- Press the Windows key + R, type regedit, and click the OK button.
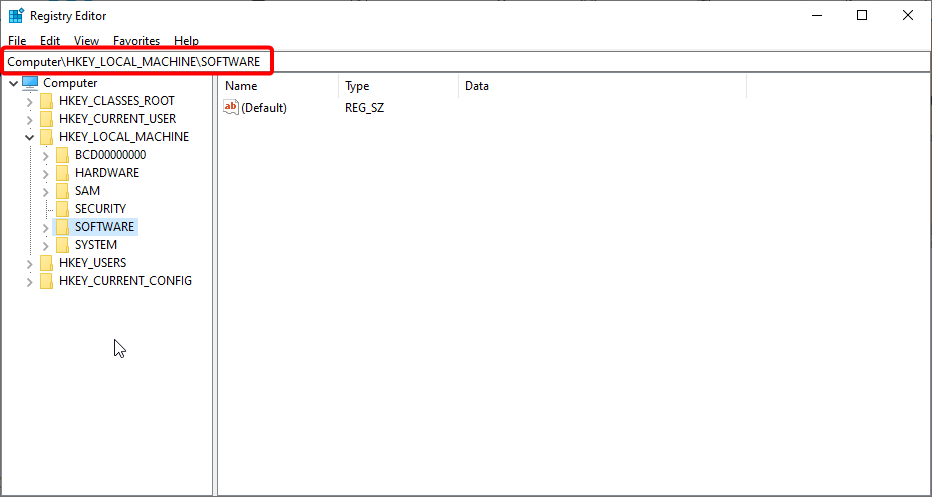
- Navigate to the path below in the left pane:
Computer\HKEY_LOCAL_MACHINE\SOFTWARE - Now, right-click the BlueStacks key in the left pane and select Delete.
- Next, click the Yes button to confirm.
- Finally, delete the BlueStacksGP key too.
BlueStacks is already installed error messages can often be due to leftover registry entries. Users have confirmed that erasing leftover registry entries solves the problem.
2. Delete Leftover BlueStacks Folders
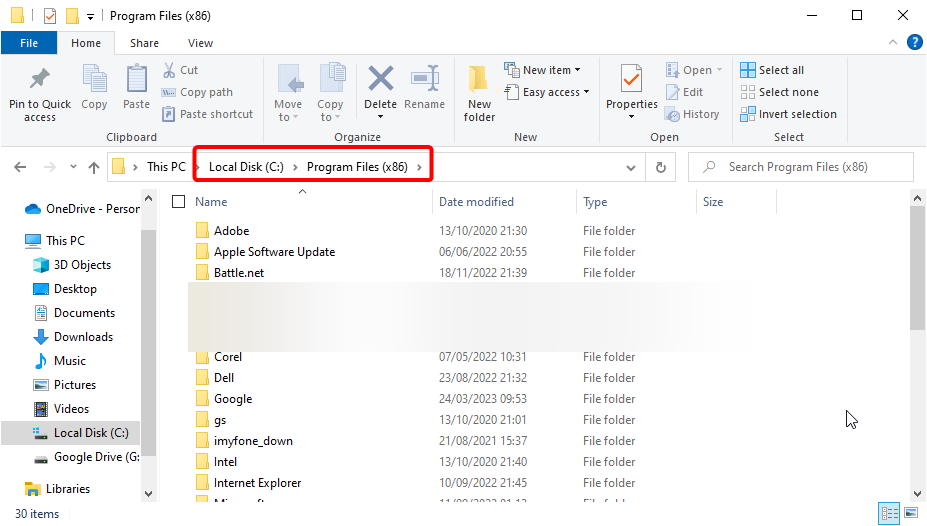
- Press the Windows key + E to open File Explorer.
- Navigate to the following paths and delete their content:
C:\Program Files (x86)\BlueStacksC:\ProgramData\BlueStacksC:\ProgramData\BlueStacks\Setup - Finally, restart your PC and try updating the app.
There might also be some leftover folders for BlueStacks in File Explorer, causing the latest version already installed error. As such, you must delete the BlueStacks folders in the paths above.
Alternatively, you can use a dedicated PC cleaner in CCleaner to remove the leftover files. This tool eliminates unwanted files in your PC registry and hard drive with just a few mouse clicks.
Also, it can work as an uninstaller software to remove any app on your PC. It is just the perfect tool to keep your PC clean and create valuable space.
3. Uninstall the app on your PC
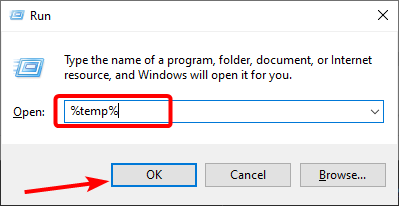
- Press the Windows key + R, type %Temp%, and click OK.
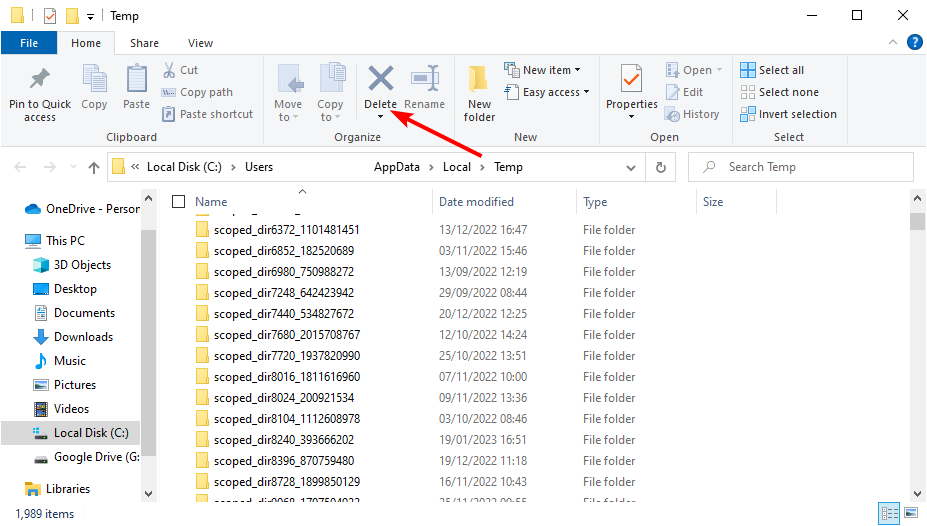
- Press the Ctrl + A hotkey to select all the files in the opened folder and click the Delete icon at the top.
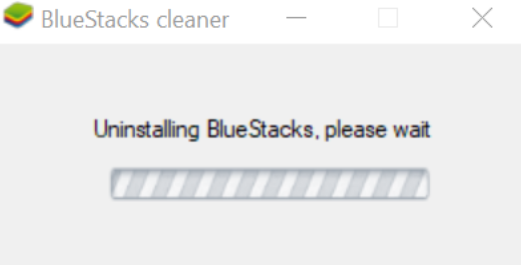
- Now, download BstkCleaner.exe and run the downloaded file.
- Click the Yes button when prompted to start the BlueStacks removal process.
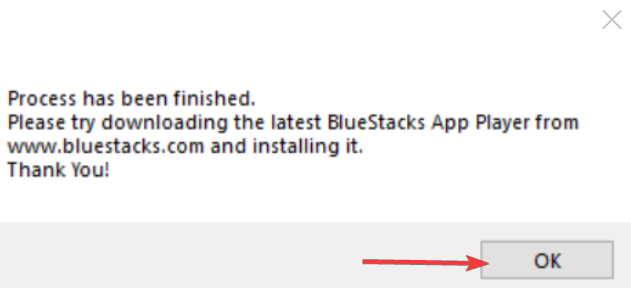
- Next, click OK after the process is complete to close the cleaner.
- Finally, go to the official website to download and install the latest version of BlueStacks.
Sometimes, the BlueStacks is already installed error is caused by issues with the current version of the app on your PC. To fix this, you need to clear the content of the Temp folder and use the official BlueStacks uninstaller to remove the app.
Reinstalling the app can help you fix issues like error code 2004 on BlueStacks. To learn more about the error and what causes it, read this guide.
4. Open the Program Install and Uninstall Troubleshooter
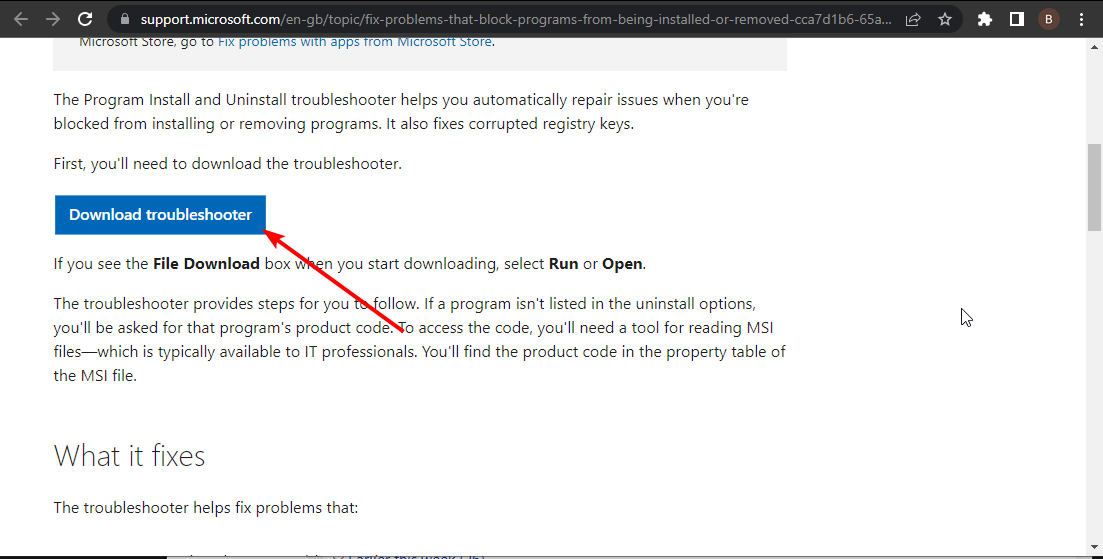
- Click Download troubleshooter on the troubleshooter’s Windows Support page to download it.
- Now, double-click the downloaded file to run it.
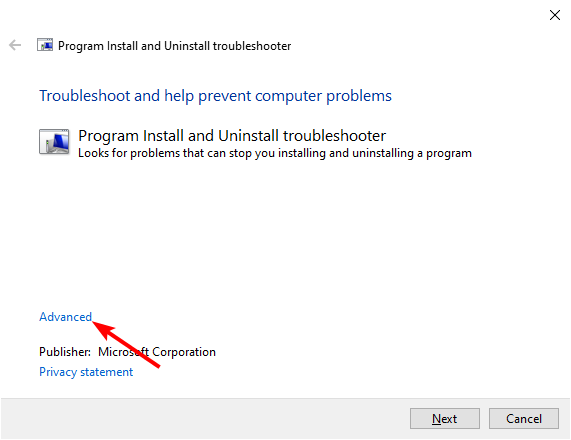
- Click the Advanced link.
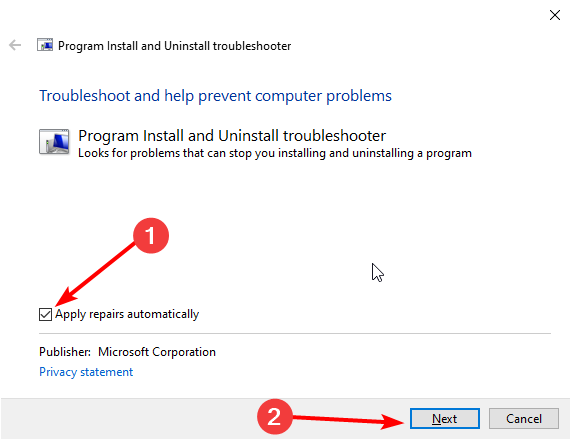
- Select the Apply repairs automatically option and click the Next button to initiate the troubleshooting.
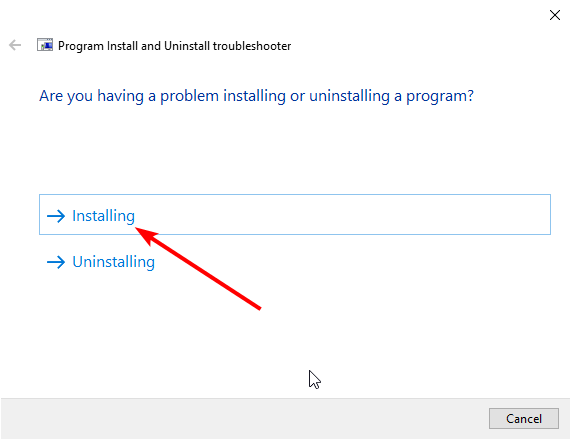
- Now, select the Installing option.
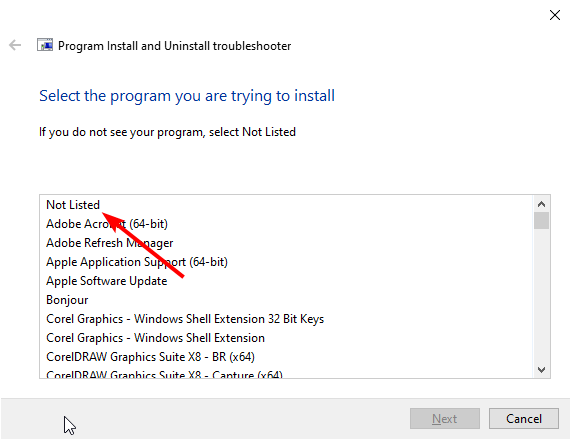
- Choose BlueStacks as the program you’re trying to install if it’s listed. Select the Not Listed option if BlueStacks isn’t listed.
- Finally, click Next to go through the troubleshooter’s resolutions.
If you still can’t fix the BlueStacks’ installation error, check out the Program Install and Uninstall troubleshooter for Windows 10. That troubleshooter repairs system errors that block software installation.
Those resolutions should fix the BlueStack’s already installed error. You should now be able to upgrade the app quickly, provided you follow the steps above carefully.
If BlueStacks is not installing at all on your Windows 10 PC, check our detailed guide to fix it.
Feel free to let us know the solution that helped you solve this problem in the comments below.


User forum
3 messages