The drive cannot locate a specific area or track on the disk [FIX]
![]() 6 min. read
6 min. read
![]() Updated on
Updated on
Share this article

Improve this guide
Read our disclosure page to find out how can you help Windows Report sustain the editorial team Read more
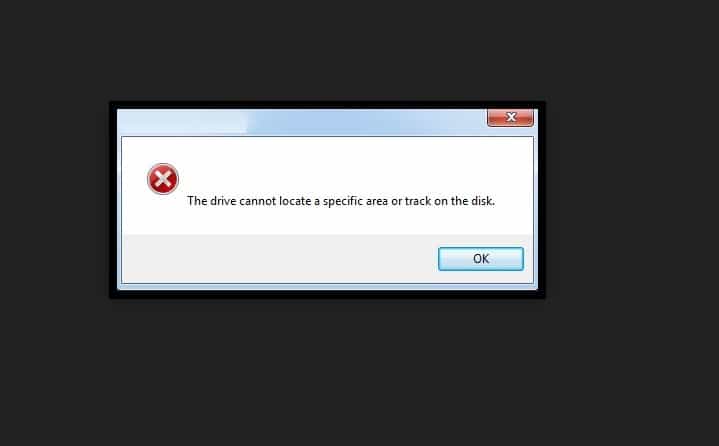
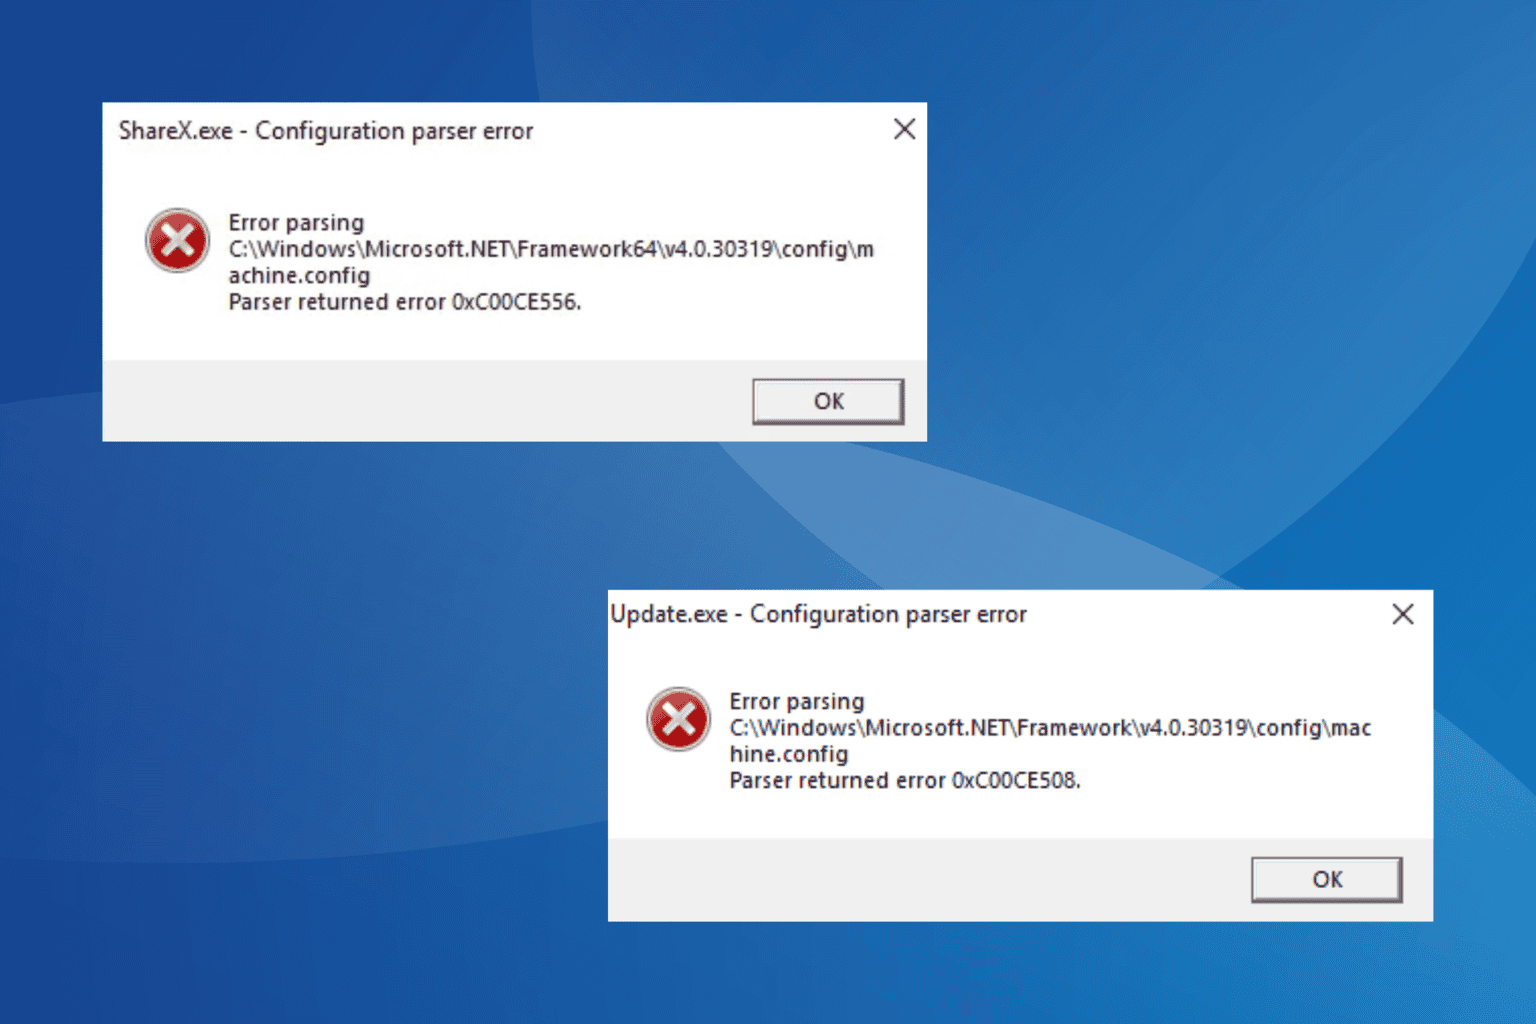
If you’re getting ERROR_SEEK with the ‘The drive cannot locate a specific area or track on the disk‘ description, follow the troubleshooting steps listed in this article to fix it.
ERROR_SEEK: What it is and why it occurs?
ERROR_SEEK occurs when users try to copy, move or delete data from their drives. In rare cases, this error also occurs when users try to access and launch various apps located on the respective drive.
Microsoft explains that ERROR_SEEK occurs mainly because the disk may be damaged, unformatted, or simply not compatible with the operating system.
Fix the ‘The drive cannot locate a specific area or track on the disk’ error
Solution 1 —Unplug and re-plug the external drive
If you’re getting this error with removable storage, unplug the storage device. Close all software on your taskbar and plug the external storage back in. You can also restart Windows before you plug the external HDD back in. Then, retry the action that triggered the ERROR_SEEK error.
Solution 2 — Reinstall external hard drives
Reinstalling the storage device might also fix this issue. Of course, you can’t do that for HDDs with Windows on them, but you can reinstall external storage drives with the ERROR_SEEK error.
- Go to Start > type ‘device manager’ to launch Device Manager.
- Click Disk drives to expand that section > right-click the external disk drive to fix.
- Select the Uninstall option on the context menu.
- Press the Scan for hardware changes button to reinstall the disk drive.
Solution 3— Check your disk for errors
On Windows 10, you can run a disk check using Command Prompt.
Start Command Prompt as administrator and type the chkdsk C: /f command followed by Enter. Replace C with the letter of your hard drive partition.
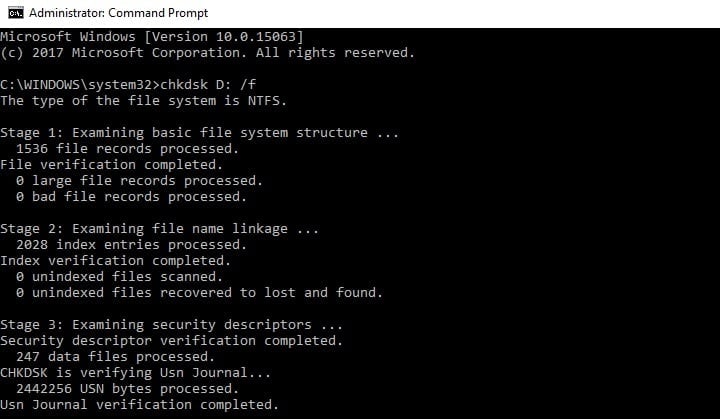
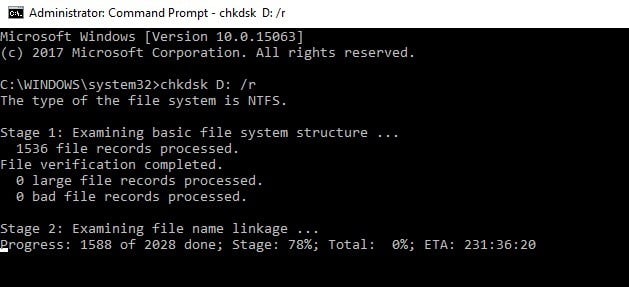
As a quick reminder, if you do not use the /f parameter, chkdsk displays a message that the file needs to be fixed, but it does not fix any errors. The chkdsk D: /f command detects and repairs logical issues affecting your drive. To repair physical issues, run the /r parameter as well.
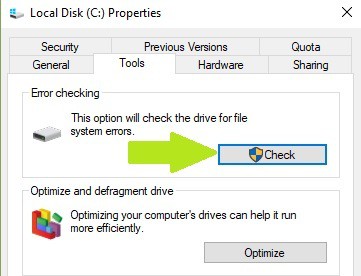
On Windows 7, go to hard drives > right-click the drive that you want to check > select Properties > Tool. Under the ‘Error checking’ section, click Check and check the ‘Automatically fix system file errors’ option.
Solution 4— Clean your temporary files and folders
The simplest and quickest manner to delete your temporary files and folders is to use Disk Cleanup. As you use your computer or browse the Internet, your PC accumulates various unnecessary files.
These so called junk files may affect your computer’s performance and also trigger various error codes, including the ERROR_SEEK error code. Clean your temporary files and then try to use your drive again.
Here’s how to use Disk Cleanup on Windows 10:
1. Go to Start > type Disk Cleanup > launch the tool
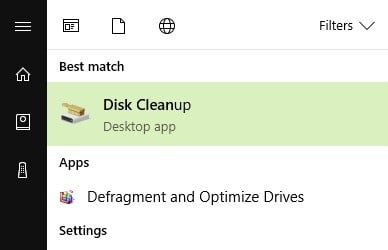
2. Select the disk that you want to clean > the tool will them tell you how much space you can free up
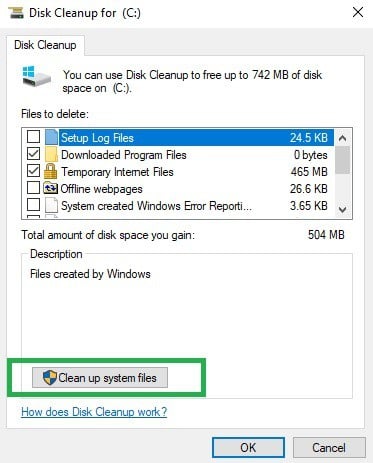
3. Select “Clean up system files”.
Here’s how to use Disk Cleanup on Windows 7:
- Go to Start > type Disk Cleanup > open Disk Cleanup.
- In Disk Cleanup’s description section, select Clean up system files and select the drive that you want to clean up > click OK.
- On the Disk Cleanup tab, select the check boxes for the file types that you want to delete > click OK > select Delete files.
Solution 5 — Use the previous drive letter/ change the drive letter
If the ERROR_SEEK error code occurred after you changed the letter of your drive, try restoring the previous letter.
1. Go to Search > type “disk management” > select the first result > launch the tool
2. Select the problematic drive > right-click it > select Change driver letters and paths
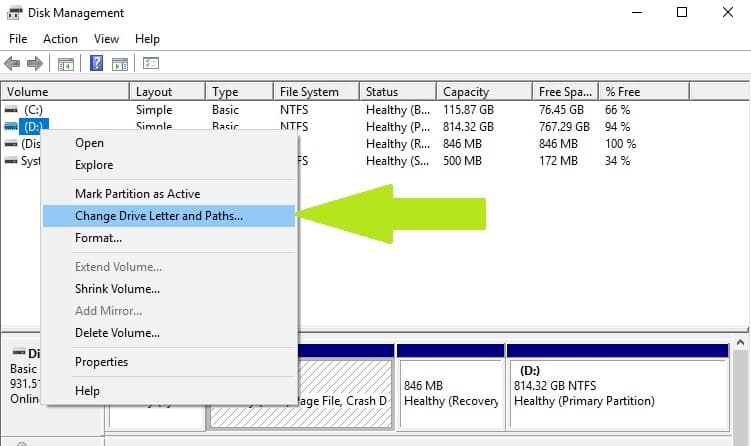
3. Click on the Change button > restore the previous driver letter > click OK.
Solution 6 — Run a full system scan
Malware may cause various issues on your computer, including errors. Perform a full system scan in order to detect any malware running on your computer. You can use Windows’ built-in antivirus, Windows Defender, or third-party antivirus solutions.
Here’s how to run a full system scan on the latest Windows 10 version:
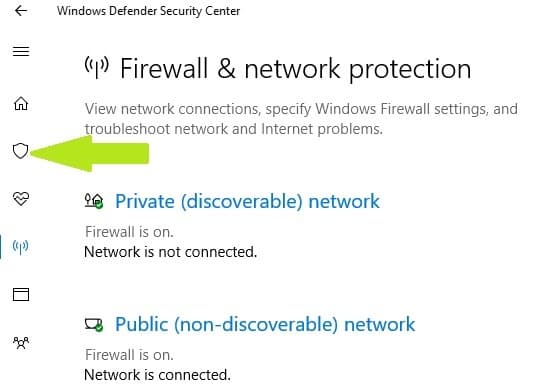
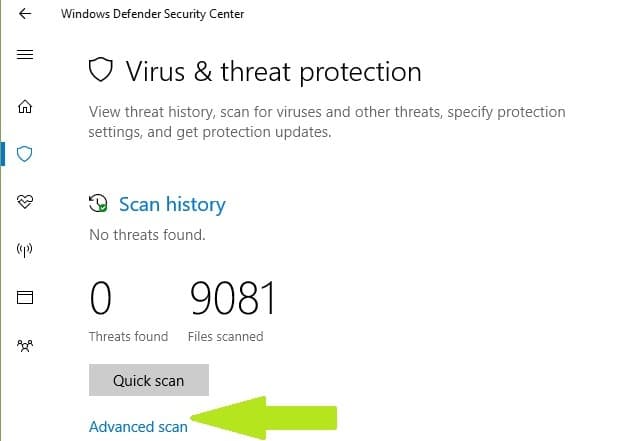
- Go to Start > type ‘defender’ > double click Windows Defender to launch the tool
- In the left hand pane, select the shield icon

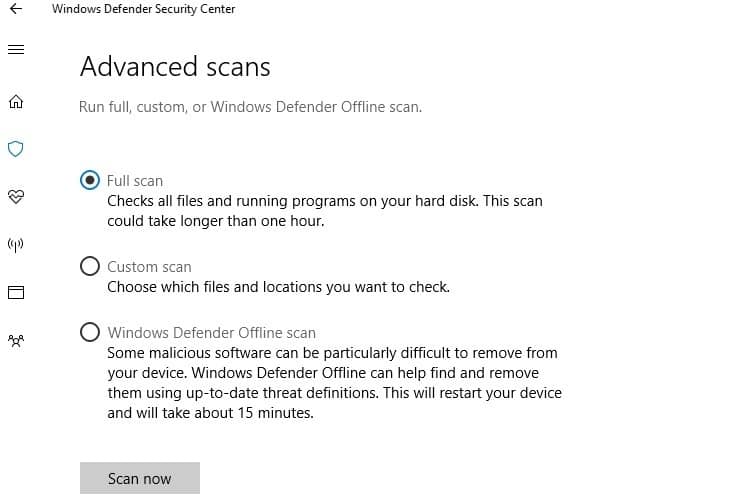
- In the new window, click the Advanced scan option

- Check the full scan option to launch a full system malware scan.
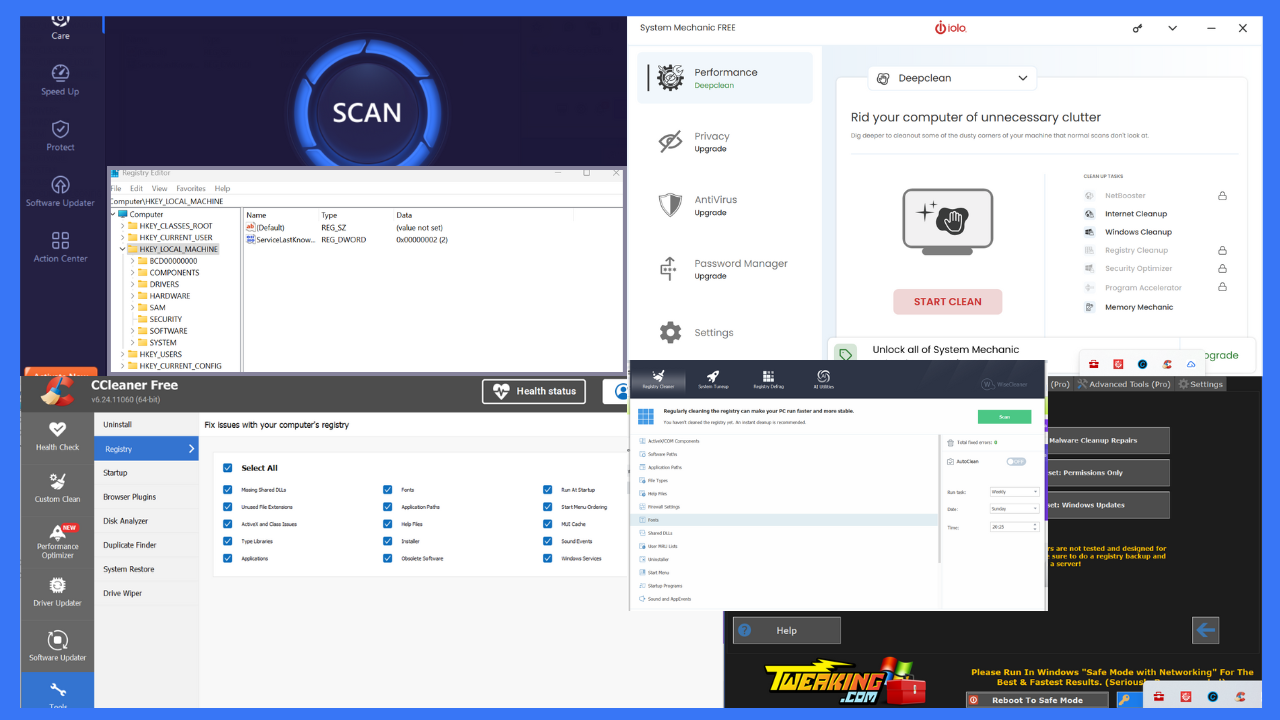
Solution 8 — Repair your registry
The simplest way to repair your registry is to use a dedicated tool, such as CCleaner. Don’t forget to first backup your registry in case anything goes wrong.
You can also use Microsoft’s System File Checker to check for system file corruption. The utility verifies the integrity of all protected system files and repairs files with problems when possible. Here’s how to run an SFC scan:
1. Go to Start > type cmd > right-click Command Prompt > select Run as Administrator
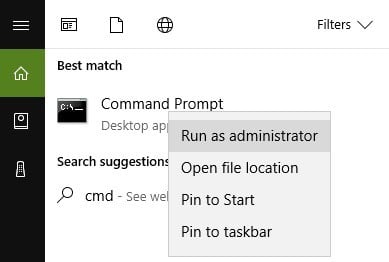
2. Now type the sfc /scannow command
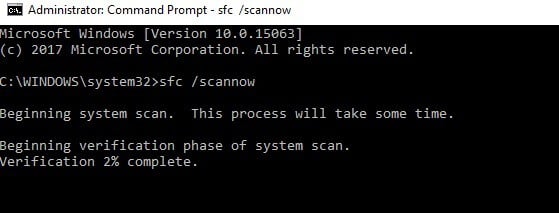
3. Wait for the scanning process to complete and then restart your computer. All corrupted files will be replaced on reboot.
Solution 9— Format your hard drive
If the solutions above didn’t work, try formatting the problematic drive. Formatting and restoring the default drive settings should fix this error. Keep in mind that formatting your drive means deleting all the files and folders stored on the respective drive.
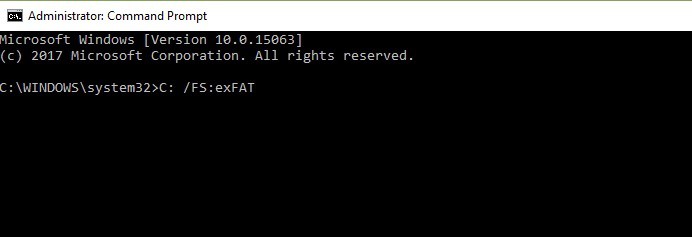
You can format your drive using Command Prompt:
1. Go to Start > type cmd > right-click the cmd search result > select “Run as administrator”
2. Type format C: /FS:exFAT > hit Enter to begin formatting the C drive as exFAT. Replace C: with the letter of the problematic drive.
You can also format your drive using the Disk Management utility:
1. Go to Start > type ‘disk management‘ > select the Disk Management utility
2. Right-click the drive that you want to format > select the Format option
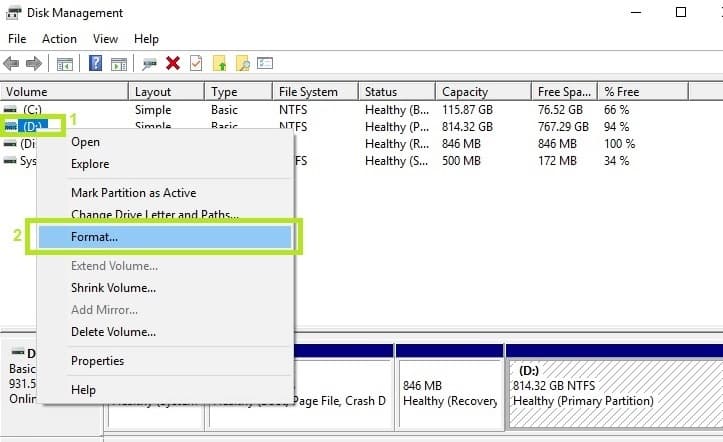
3. Follow the on-screen instructions to further customize the format process > click OK on the warning window.
4. Once the format process finishes, you can use your drive. Try to install the updates again to see if this action fixed the problem.
We hope that the solutions listed above helped you fix the ERROR_SEEK error code. As always, if you’ve come across other workarounds to fix this problem, you can help the Windows community by listing the troubleshooting steps in the comments below.
RELATED STORIES YOU NEED TO CHECK OUT: