The Computer Unable to Establish Two-Way Communication With Device [FIX]
![]() 5 min. read
5 min. read
![]() Updated on
Updated on
Share this article

Improve this guide
Read our disclosure page to find out how can you help Windows Report sustain the editorial team Read more
Sometimes the HP printers, be it Wireless or wired printers, may stop printing and show unable to establish error while printing a document. This is a common error attributed to the HP Printers.
How do I fix the Computer is unable to establish two-way communication with the device error? Firstly, try running the HP Print and Scan Doctor. This dedicated tool by HP should fix the error upon scanning. If that doesn’t help, try updating and reinstalling the HP printer driver. Finally, if that fails as well and you’re still stuck with the error, try restoring network settings to default. Find out about these steps in detail below.
Fix the Computer is unable to establish two-way communication with the device error
- Run HP Print and Scan Doctor
- Uninstall and Reinstall HP Printer Driver
- Restore Network Settings to Default
1. Run HP Print and Scan Doctor
Before applying any of the fixes listed in this article, it is always recommended that you perform a quick restart of your computer. At times, rebooting your system can fix the temporary error with the computer as well as the printer.
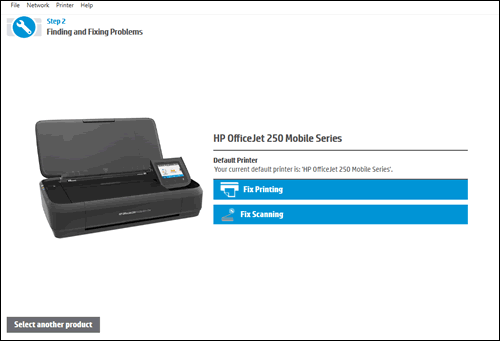
HP offers an HP Print and Scan Doctor troubleshooting software utility to diagnose your HP devices on Windows computer. The tool can automatically find and resolve the issues related to wireless printers and other printing machines.
- Go to the HP Support page.
- Under “HP Print and Scan Doctor for Windows PC” click on the Download button.
- Run the diagnostic tool after the download is complete. Follow the on-screen instructions to diagnose and repair the printer.
2. Uninstall and Reinstall HP Printer Driver
Most of the time this error is caused by a faulty driver installation or corrupted driver software. In any case, you can uninstall the HP Printer driver from your system and then reinstall it to fix the error. Here is how to do it.
- Press Windows Key + R to open Run.
- Type control and hit enter.
- In the Control Panel, go to Programs > Programs and Features.

- Select your HP Printer and click on Uninstall.

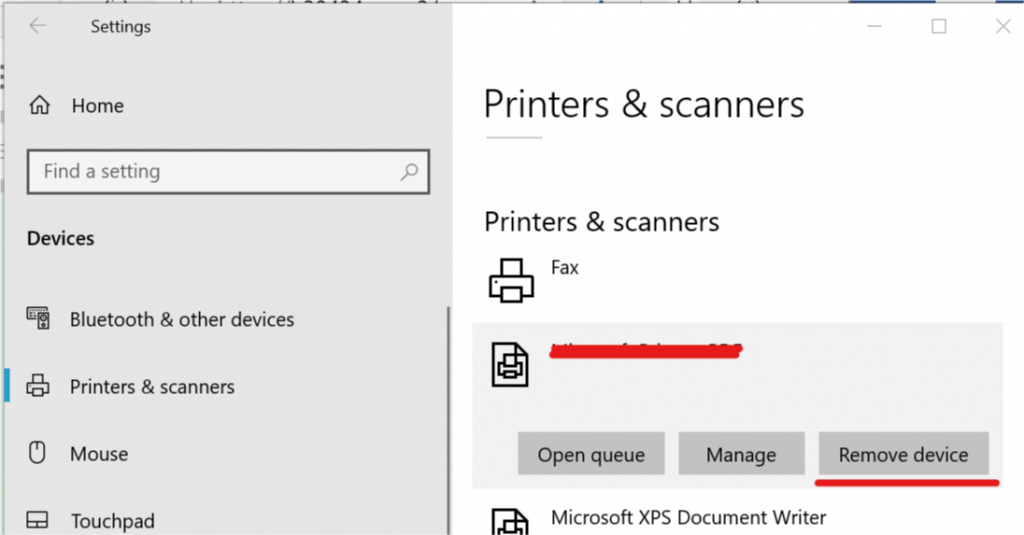
Remove the Printer from the Setting
After uninstalling the HP Printer, you need to remove the device from the Settings. Here is how to do it.
- Click on Start and select Settings.
- Click on Devices.
- From the left pane, click on Printers and Scanners.

- Under Printer and Scanner, look for your HP printer.
- Select your HP printer and click on Remove Device.
Uninstall Printer Drivers
After removing the Printer from the Device tab in settings, you need to uninstall the driver for the printer from the Printer Server Properties. Here is how to do it.
- Press Windows Key + R, to open the Run dialogue box.
- Type printui.exe /s and hit enter. It will open the Print Server Properties.
- Go to the Driver tab.
- Under “Installed Printer drivers” look for HP Printer.
- Select the HP Printer driver and click on Remove button.

- Click OK to confirm the choice.
- Click Apply and OK to save the changes.
- Close the Print Server Properties window.

Install New Printer Drivers
- Restart your system. After the restart, you need to install HP printer drivers from the official website.
- Go to HP website drivers section.
- Find the drivers compatible with your Printer as well the Windows version.
- Download the drivers and install the driver for the first printer. If successful try to install the driver for the second printer as well.
3. Restore Network Settings to Default
On your Wireless printer, you can try to restore the network setting to default to fix the error. By resetting the settings, you force the printer to use fresh configuration thus removing any old broken configuration.
- On your Printer, press the Wireless button and the Cancel button simultaneously.
- Keep the buttons pressed for three seconds and then release them.
Once the Settings are restored to factory default, connect the printer to the network.
- Press and hold the Wireless button on your printer for 3 seconds. It will start the WPS (Wi-Fi Protected Setup) push mode. The Wireless lights should start blinking once the WPS mode is activated.
- Press the WPS button your network router to begin the connection.
Use the Pin Method
You can also connect your printer to the network using the PIN method.
- Press the Wireless button and information button at the same time on your printer. This will print the Network configuration page. Locate the WPS PIN in the page (top of the page).
- Press and hold the Wireless button on your printer until the Wireless lights start blinking.
- Open the Router software on your computer and enter the WPS PIN generated from the printer to connect it to the network.
RELATED STORIES YOU MAY LIKE: