How to Change MTU Size on Windows 11
Your sites could load faster with a change in MTU settings!

Problems may arise if your system sends or receives data with the wrong MTU size. In this guide, we’ll show you how to change the MTU size on your Windows 11 PC.
How do I modify MTU settings on Windows 11?
 Tip
Tip
Before going through the steps below, take note of the following:
- Check your computer’s maximum MTU size and ensure not to exceed these limits. Open a command line as an administrator, enter the following command to find the current MTU:
netsh interface ipv4 show subinterfaces
Below is how you can adjust your MTU settings:
1. Use the Control Panel
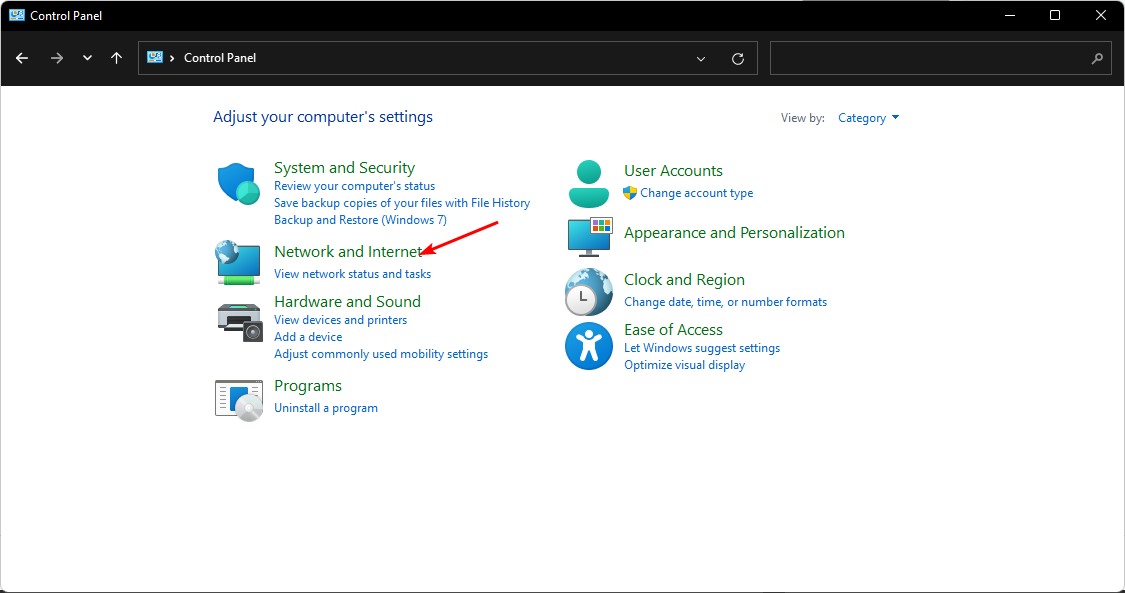
- Hit the Windows key, type Control Panel in the search bar, and click Open.

- Navigate to Network and Internet.
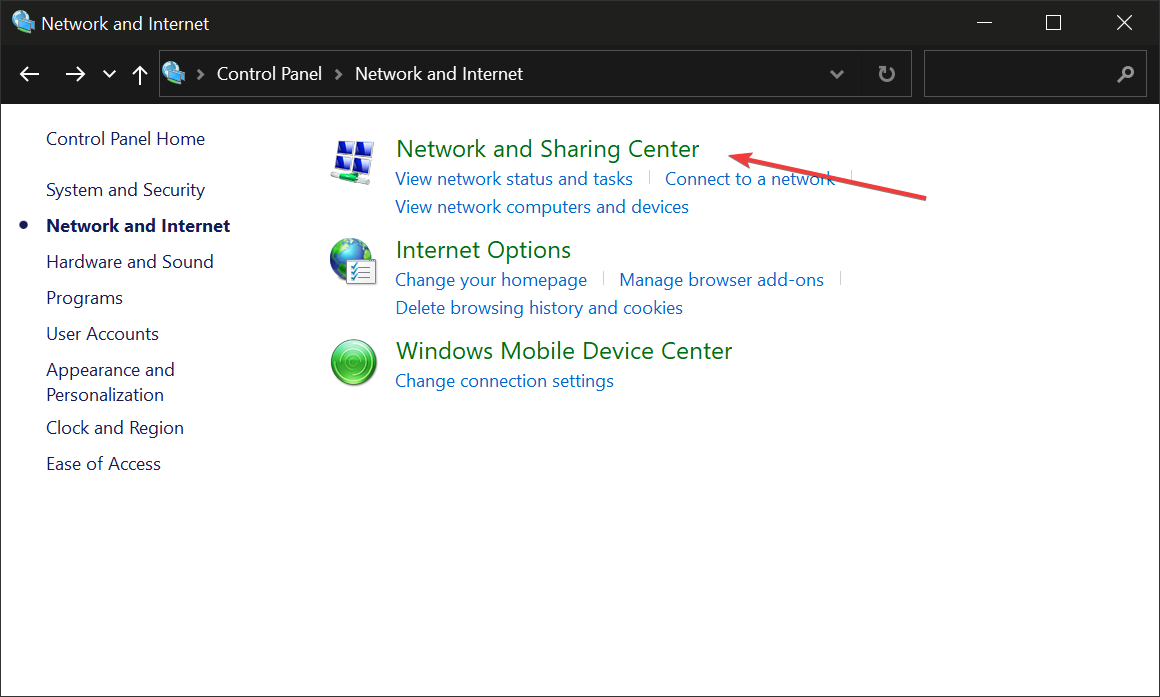
- Click on Network and Sharing Center.
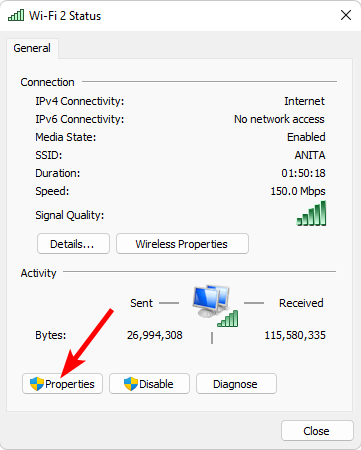
- Next, click on your Wi-Fi adapter and select Properties.
- Hit the Configure button.
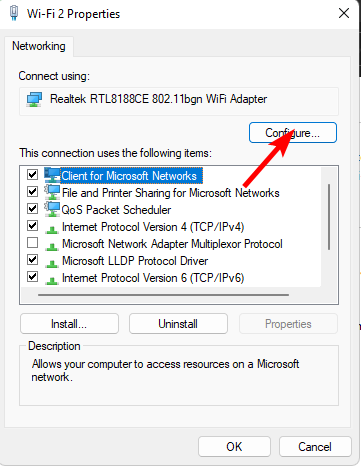
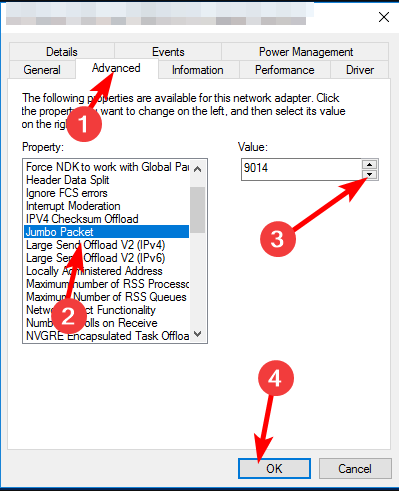
- Navigate to the Advanced tab, locate the Jumbo Packet under Property, then under the Value option, select an option from the drop-down menu, and hit OK.
2. Use the Command Prompt
- Hit the Windows key, type cmd in the search bar, and click Open.

- Type the following command and hit Enter:
netsh interface ipv4 show subinterfaces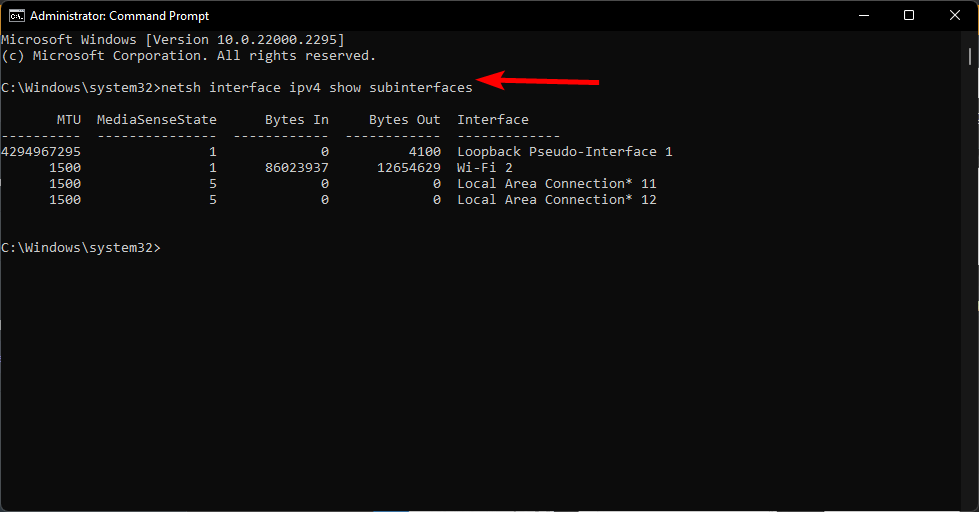
- Note down the interface you’d like to change, then enter the next command. Remember to replace subinterface name with the one you noted down and 9000 with a new MTU value within the accepted limits:
netsh interface ipv4 set subinterface <subinterface name> mtu=9000 store=persistent
How to verify the changes and ensure optimal performance
After changing your MTU settings on your Windows PC, we recommend running a few tests to ensure everything is working as intended:
- Check that your Internet connection is working by performing a speed test. You can try downloading some files from the web or playing online games.
- Run some hardware diagnostic tests on your computer. This will help you identify issues with your hardware or software that might have arisen after changing the MTU size.
- Check if your firewall or antivirus is blocking any connections.
A key tell-tale would be to run a ping command. If your gaming performance has improved, file sharing is faster, and sites load a little bit faster, you can conclude the change in MTU settings was successful.
However, if the result is vice versa, and you experience slow internet speeds, it is possible the process was unsuccessful.
Hopefully, these steps have enabled you to edit your network settings for the best MTU value optimization.
Read our disclosure page to find out how can you help Windows Report sustain the editorial team. Read more


Improve this guide


User forum
0 messages