CPU Fan Makes Noise in Windows 10/11 - Try these fixes
4 min. read
Updated on
Read our disclosure page to find out how can you help Windows Report sustain the editorial team. Read more

According to some forum postings, some users have reported increased CPU noise coming from their laptops after making the upgrade to Windows 10. We’re offering some fixes that might solve your problems
Windows 8.1 comes with a lot of software problems for new users, but apparently, it does some annoying things to the hardware, as well.
Recent reports suggest that the CPU noise on some laptops is actually increased after making the Windows 8.1 update. One of the frustrated users is using a Sony VAIO Windows 8.1 laptop, he said the following:
My laptop is a Sony VAIO and is less than 1 year old. I am referring to fan sound, I had no problem before the update to Windows 8. Called Sony and they told me to contact Microsoft. I noticed my laptop too hot on the side where the fan sound comes. I am not using my laptop on a flat surface, I usually use a little piece of wood in the back to have a 30 degree angle. The fan stop if I restart the laptop, couple minutes after, it started again at full power. When I explained this to SONY, they told me to contact Microsoft immediately, there’s nothing wrong with the machine.
The higher noise level coming from the CPU fan has been reported on Microsoft’s support forums, as well as on the forum of other laptop OEMs. The fact that the CPU fan is generating more noise than before, is caused by increased heat of the processor. Therefore, Windows 8.1 is requiring more CPU power which causes a temperature increase.
The Windows 8.1 system requirements aren’t that strict and they don’t require a lot of power or space:
- RAM: 1 gigabyte (GB) (32-bit) or 2 GB (64-bit)
- Processor: 1 gigahertz (GHz) or faster with support for PAE, NX, and SSE2
- Hard disk space: 16 GB (32-bit) or 20 GB (64-bit)
- Graphics card: Microsoft DirectX 9 graphics device with WDDM driver
Some potential fixes for the CPU noise in Windows 10
[Update] Upgrading on Windows 10, some users have encountered similar issues with CPU constantly making a whirring/buzzing noise.
I have an Asus Vivobook S200e which has been running fine. However, since I have upgraded to Windows 10 the fan has been constantly running at the highest speed as soon as I turn on my computer. I’ve checked task manager and the CPU is very low, between 2 and 15%. I tried closing programs in task manager however nothing seems to affect the fan speed. I’ve been on the forums and tried a lot of what has been recommended however nothing has worked.
Microsoft officially listed the minimum hardware requirements for Windows 10 as follows:
- Processor: 1 gigahertz (GHz) or faster processor or SoC.
- RAM: 1 gigabyte (GB) for 32-bit or 2 GB for 64-bit.
- Hard disk space: 16 GB for 32-bit OS 20 GB for 64-bit OS.
- Graphics card: DirectX 9 or later with WDDM 1.0 driver.
- Display: 800×600.
1. Clean CPU Fan in order to clear CPU noise
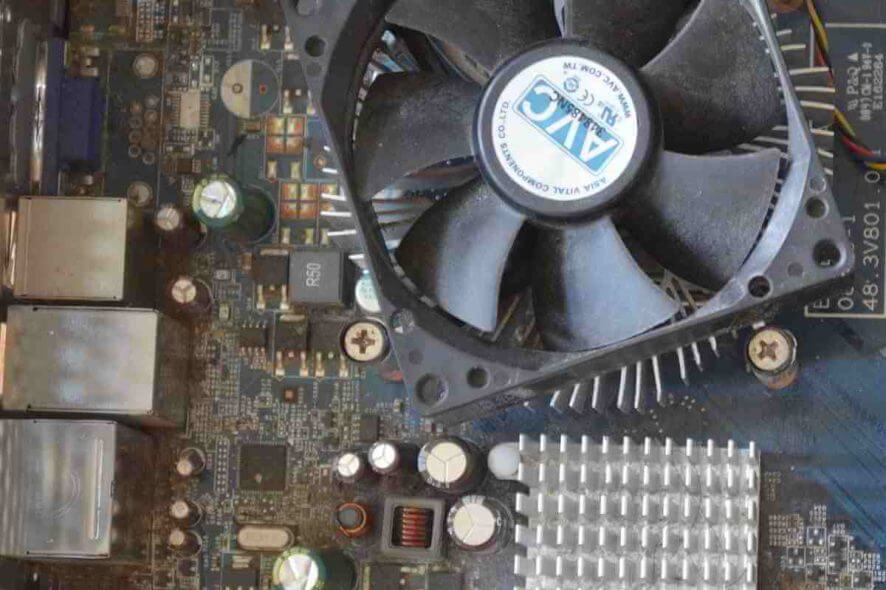
First of all, you need to make sure that Windows 8.1 is indeed the culprit. To do that, just clear fans carefully from dust so that you’re sure it’s not the dust that is causing the noise. You can find more details on how to manage increased fan noise by checking our article How to Reduce Fan Noise.
After you have done this, here’s what one user is suggesting
If you run Task Manager and go to the Performance tab, you’ll probably see that the CPU utilization is really high (80-100%) for no apparent reason. Also, if you go to the Processes or Details tab, you’ll notice multiple instances of a process called “sdclt.exe” appearing & re-appearing every few seconds.
So, here are the steps that you need to take:
- Go to Task Scheduler
- Task Scheduler Library -> Microsoft -> Windows -> Windows Backup
- Disable the “ConfigNotification” task
- Restart your computer
2. Fix Memory issue through Registry Hack
Try hacking your way out of this issue by performing one Registry tweak. Here’s exactly what you need to do:
- Go to Search, type regedit, and go to Registry Editor
- Go to the following path:HKEY_LOCAL_MACHINESYSTEMCurrentControlSetControlSession ManagerMemory Management
- Find ClearPageFileAtShutDown and change its value to 1.
- Save changes
- Restart the computer.
3. Update drivers to fix the issue
It’s highly recommended to make sure you have the latest drivers installed. For a detailed procedure on how to check for driver issues and update them, read our article How to update outdated drivers in Windows 10.
If you are looking for an even faster way to update your PC drivers, use a dedicated automatic tool, such as PC HelpSoft Driver Updater. This type of software will update your drivers within a few clicks and always keep your device secure.
Let us know by leaving your comment if you have managed to fix the annoying CPU noise problem.


User forum
1 messages