How to Fix Error Code Weasel in Destiny 2
Your account is not neccessarily banned
5 min. read
Published on
Read our disclosure page to find out how can you help Windows Report sustain the editorial team. Read more
Key notes
- To fix the weasel error code in Destiny 2, switch to another network, use a VPN, or verify the integrity of game files.
- The problem is usually network-related but could arise due to corrupt game files or cache.
- Read this guide to find out how to get rid of the connectivity error!

Destiny 2 errors are common, but they are usually quite straightforward, except for the weasel error code. There’s a certain lack of clarity as to what the error entails.
And until recently, a quick search on Google highlighted that it’s related to a ban applied to your account, which added to the confusion.
What is the error code weasel in Destiny 2?
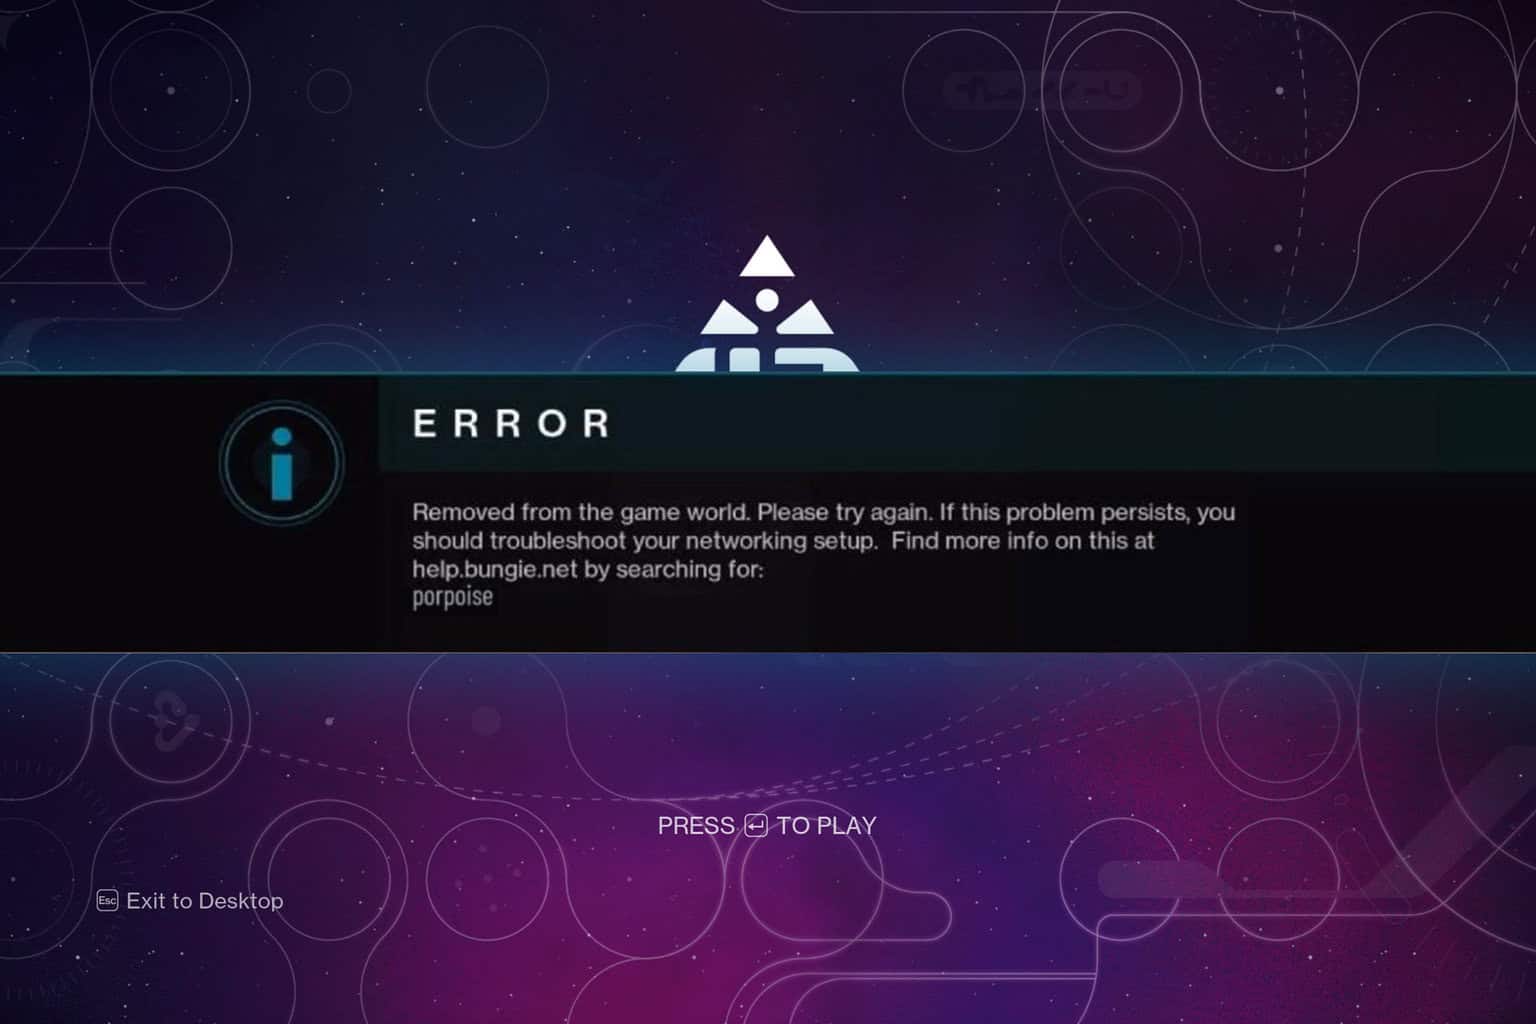
As per the official website, Weasel is an all-encompassing error message indicating an issue with the network. Though it also shows up when a user is banned, and they are returned to the title screen.
The weasel error arises due to a problem with the Internet connection, using non-compatible mods, or network restrictions.
How do I fix error code Weasel in Destiny 2?
Before we start with the slightly complex solutions, try these quick ones:
- Check Destiny 2’s Server Network and Update Status, and make sure everything is up and running.
- Verify that you don’t have the Empowering Finisher equipped along with another finisher mod if you are getting the Destiny 2 error code weasel when changing loadout. Also, check for other invalid combinations and change the class item mods.
- Switch to another network. If on a wireless connection (Wi-Fi), switch to a wired connection (Ethernet cable), and vice-versa. Besides, you could connect to a mobile hotspot. Also, perform a power cycle of the console, or if it’s a PC, simply restart it.
 NOTE
NOTE
1. Use a VPN
Your primary approach when faced with the error code weasel in Destiny 2 should be to use a reliable VPN solution. Often, selecting a server based in another region helps bypass any local local or network-related issue.
Remember, you will have to try out the different servers or, sometimes, even switch servers after a session to continue playing. But it should, in all likelihood, work out.
We recommend for this task a reliable and powerful VPN, such as ExpressVPN. This tool has servers in 105 countries so you can always pick a new one if you were not satisfied at first.
ExpressVPN also offers very high connection speeds and very good security features, which you know for sure are very important when playing your favorite online games.
2. Verify the integrity of game files
- Launch the Steam app, and go to Library.
- Right-click on Destiny 2 from the game list, and select Properties.
- Go to the Installed Files tab, and click on Verify integrity of game files.
- Once done, relaunch Steam, run Destiny 2, and check for improvements.
When corrupted game saves, missing app data or issues with the cache are to blame for Destiny 2’s error code weasel, using the built-in file repair option will work.
3. Whitelist the game in the firewall
- Press Windows + S to open Search, type Allow an app through Windows Firewall in the search bar, and click the relevant result.
- Click the Change settings button.
- Make sure Destiny 2, and the platform have both the Private and Public checkboxes ticked.
- If you can’t find one, click on Allow another app at the bottom.
- Click the Browse button.
- Now, go to the app launcher’s location, select the .exe file, and click Open.
- Click on Add.
- Tick the checkboxes for Private and Public, and click OK to save the changes.
If the firewall is blocking a port or program, you will have to whitelist it manually. It will get rid of the Destiny 2 error code weasel on a PC. Also, do the same for any third-party firewalls.
This also helps with Destiny 2 error code calabrese.
4. Change the DNS server
- Press Windows + R to open Run, type ncpa.cpl in the text field, and hit Enter.
- Locate the active network adapter, right-click on it, and select Properties.
- Choose Internet Protocol Version 4 (TCP/IPv4), and click the Properties button.
- Select Use the following DNS server addresses, and input the following:
- Click OK to save the changes, reboot the PC, and check for improvements.
While we used Google’s DNS server, it also makes sense to use the fastest DNS server near you as long as it works.
5. Enable UPnP
- Open your router settings using a web browser. The internal IP address is usually printed on the router’s backside.
- Go to the Advanced Network tab, and then select Advanced.
- Tick the checkbox for Enable UPnP and save the changes.
- Relaunch Destiny 2 and check whether the error code weasel is fixed.
6. Reinstall the game
- Press Windows + R to open Run, type appwiz.cpl in the text field, and click OK.
- Select Destiny 2 from the list of apps, and click the Uninstall button.
- Follow the on-screen instructions to complete the process.
- Once done, reboot the PC and download Destiny 2 again.
If the game error persists, use an effective software uninstaller tool to get rid of any leftover files.
7. Contact support
When nothing works, you can always contact Bungie support. Though, as per user feedback, it’s not a very pleasant experience. Also, if you were indeed banned and believe that it was wrongly imposed, raise a ticket to support.
Besides, while waiting for a response, you can always contact the ISP (Internet Service Provider) and check for issues with the network connection. If it’s an unstable Internet connection, increase the Wi-Fi signal strength or switch to a faster plan.
These solutions will help get rid of the weasel error code in Destiny 2.
Remember, a similar approach helps with most gaming issues, including the Destiny 2 error code buffalo. And if you are looking for something more comprehensive, discover all Destiny 2 error codes and their solutions.
For any queries or to share which fix worked for you, drop a comment below.


User forum
0 messages