Fix: Destiny 2 mouse lag on Windows 10/11
Key notes
- To fix Destiny 2 mouse lag, you might have to lower the visual quality in settings.
- Outdated drivers can also cause this problem, so updating them is a great way to prevent issues.
- Certain features of your mouse configuration software can cause issues as well, so you might have to disable them.

Destiny 2 is an amazing title, but it has a couple of issues, and many have reported mouse lag while playing Destiny 2.
Any type of lag will reduce your performance in a multiplayer game, and we wrote in-depth on how to fix Destiny 2 packet loss, but this is a different kind of issue.
Fixing this problem doesn’t have to be too hard, and in today’s guide, we’re going to show you the best methods that you can use to fix mouse lag while in game.
Why does Destiny 2 mouse input lag appear?
This issue can appear due to your graphics settings, and if your framerate and Vsync settings don’t match properly, you might encounter some lag.
In some instances, this can be a framerate issue, and lowering the settings can help. To see how to properly fix this problem, be sure to keep on reading.
How can I fix Destiny 2 mouse lag?
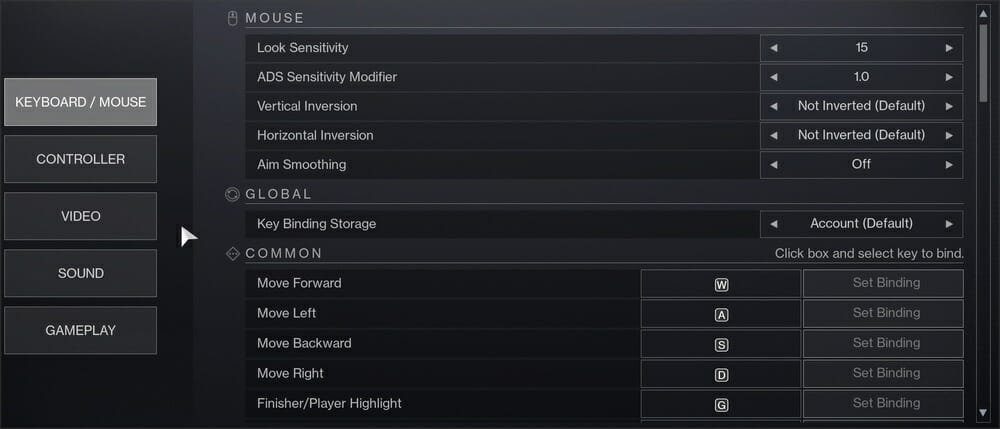
1. Change graphics settings
- Click the Settings icon in the top right corner.

- Now go to the Video tab.

- Now adjust Window Mode, Resolution, Vsync, and Framerate Cap settings.

- Experiment with different values and check if there’s a change in performance.
Your settings can also cause Destiny 2 graphics runtime error, so it’s crucial that they are properly set.
2. Update your drivers
- Visit your hardware manufacturer’s website and navigate to drivers section.
- Fill out the search form and click on Search.

- Click the Download button.

- Wait for the driver to download.
- Once the download is finished, run the setup file.
- Now follow the instructions on the screen to complete the process.
The most common cause for lag are your drivers, so it’s advised to update them. There are many ways you can do that, and most users choose to update drivers manually.
This can be a tedious process, especially if you need to update multiple drivers and you don’t know where to download the right drivers from.
Luckily, there are specialized tools, such as Outbyte Driver Updater that will scan your PC and automatically update all outdated drivers with just a few clicks.
3. Lower your graphics settings
- In Destiny 2, navigate to Settings.
- Now pick Video.
- Scroll down to Graphics Quality and set it to Low.

- Alternatively, you can try adjusting other graphic settings and try to find the perfect balance between the visual quality and performance.
4. Adjust the configuration files
 NOTE
NOTE
- Press Windows key + R and enter %appdata%. Press Enter.

- Now navigate to the following directory
Bungie\DestinyPC\prefs\ - Locate and double-click the cvars.xml file.

- Right-click the file and select Open with. Now pick Notepad or any other code editor.

- Locate cvar name=”window_mode” and make sure that it is set to value=”2”.
- If you’re running the game in windowed mode, make sure you find this line and adjust it so it matches your resolution, for example:
<cvar name="windowed_resolution_width" value="1280" />
<cvar name="windowed_resolution_height" value="720" /> - In case you’re running the game in full screen mode, adjust the following line accordingly:
<cvar name="fullscreen_resolution_width" value="1920" />
<cvar name="fullscreen_resolution_height" value="1080" />
5. Exit your mouse configuration software
- Open the Logitech gaming software.
- Open Settings by clicking the gear icon.
- In the General tab, locate Game Integration and enable Show Game Integration Customization View.
- Click the Applets icon in the bottom left corner.
- Now click the wrench icon in the blue box.
- Select Discord and click on Stop Applet.
- Now select Never launch.

- Check if that fixes the problem.
- If the issue is still there, make sure that your mouse gaming software isn’t running in the background.
Many reported that Logitech software was the culprit behind the mouse lag in Destiny 2, but keep in mind that other software can cause this issue as well.
6. Adjust your mouse polling rate
- Open the mouse configuration software.
- Locate the polling setting.
- Set the polling rate to 250Hz or 125Hz.

- Save changes.
What causes Destiny 2 mouse issues?
Your drivers can be the cause for many input issues in Destiny 2, so be sure to update your graphics card and other drivers to the latest version.
Sometimes your mouse configuration software can cause the issue, and by adjusting the polling rate or by disabling certain features, you can fix this problem on your PC.
Fixing mouse lag in Destiny 2 doesn’t have to be hard, and we hope that our solutions helped you fix this issue for good.
We also wrote about other issues that can occur in this game, and if you want to learn more, we suggest reading our Destiny 2 error codes guide for more information.
What solution did you use to fix this issue in your game? Let us know in the comments section below.
Read our disclosure page to find out how can you help Windows Report sustain the editorial team. Read more


Improve this guide


User forum
0 messages