Bluestacks for Windows 11: How to Download & Install
Here's the right version of BlueStacks for Windows 11
Key notes
- BlueStacks is an application that you can install on your Windows computer, and it's the best way to get Android apps on a PC.
- With so many versions out there, it can be confusing which one is the best for your Windows 11. We clear that up for you in this article.
Windows 11, the latest iteration from Microsoft, has made Android users’ dreams come true with the introduction of the Windows Subsystem for Android that allows you to sideload Android apps.
Still, some users prefer to sideload apps using alternatives like Bluestacks for Windows 11. Bluestacks is a very popular Android emulator, and if it’s your choice of poison, we show you how to download it.
Can you download BlueStacks on Windows 11?
Yes, you can download BlueStacks on Windows 11. Whenever you get a question on whether you can download an app on Windows 11, you should already know it has something to do with the system requirements.
The OS came with stringent hardware and software requirements, so if you don’t meet these prerequisites, you should probably look toward Android emulators for low-end PCs.
Luckily, BlueStacks is somewhat lenient on the requirements and almost everyone can easily achieve them. All you need is:
- An updated OS
- At least 4GB RAM
- Updated drivers
- At least 5GB free storage space
- A working Internet connection
How do I install BlueStacks on Windows 11?
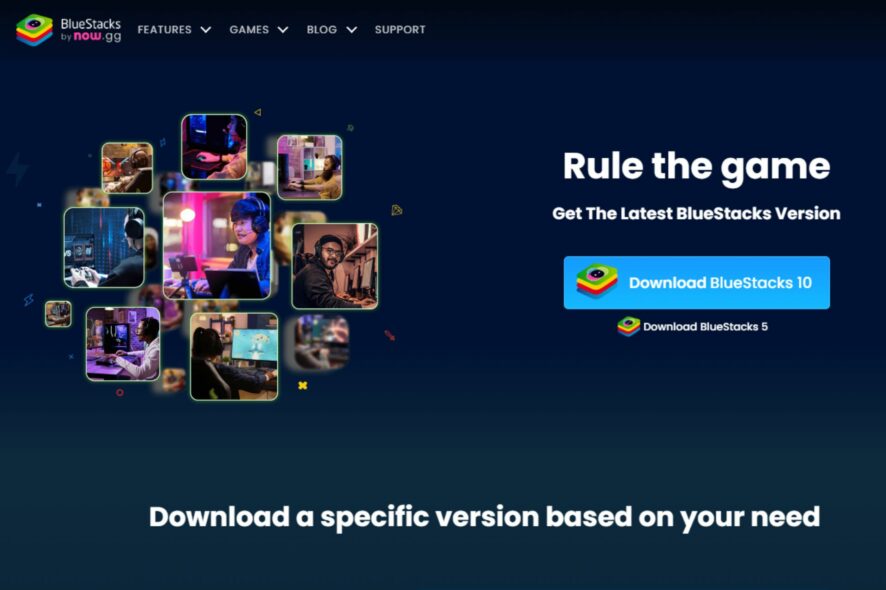
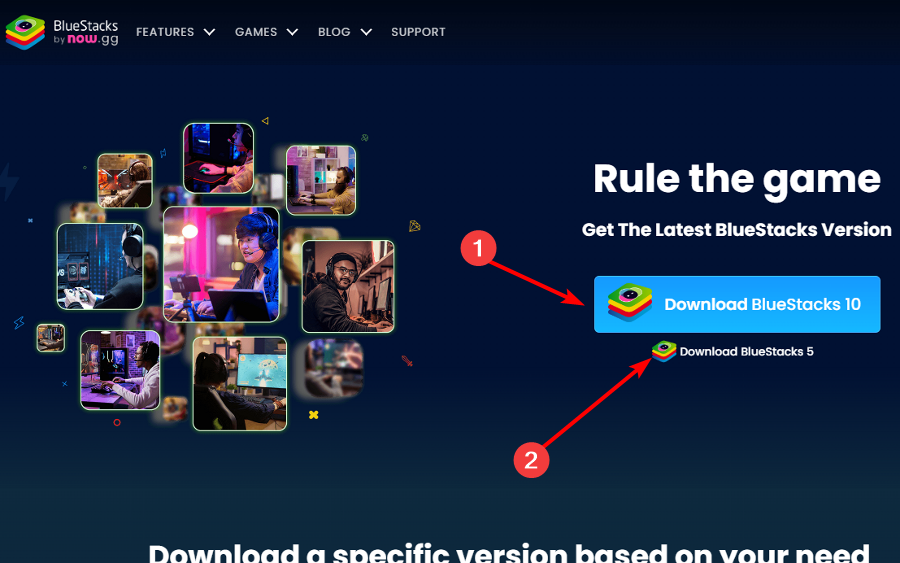
- Navigate to your browser and go to the BlueStacks site.
- You’ll find two options: BlueStacks 10 and BlueStacks 5. If your PC meets the requirements mentioned above, proceed to hit the download button for BlueStacks 5, which is the offline installer. However, if you have a lower-end PC and don’t want to download the file, you can go for BlueStacks 10, the cloud version.
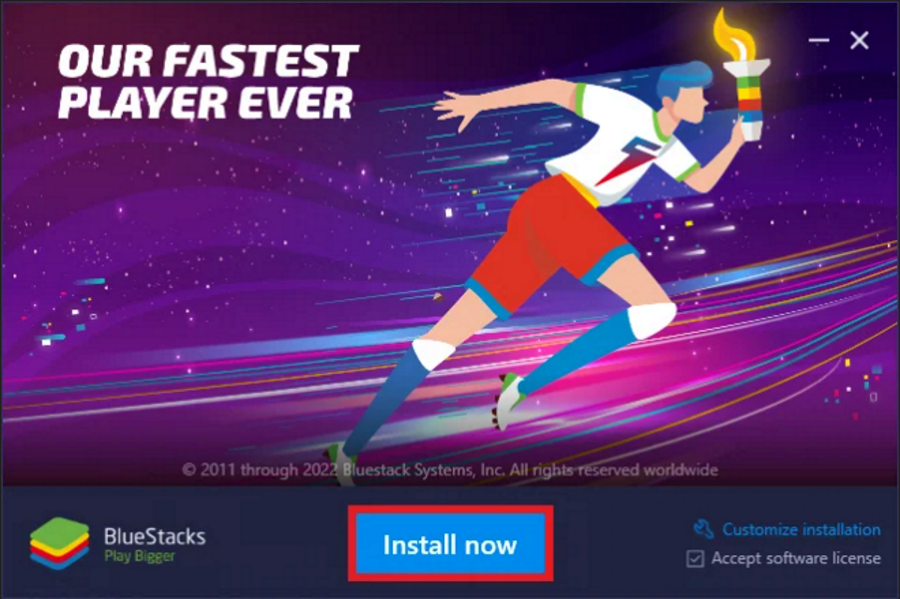
- Once you’ve downloaded the installation file, click on it once it and hit Install now.
- Wait for the emulator to finish the installation. If you feel it is taking too long, your firewall or antivirus may be blocking the installation, so disable it temporarily until this process is complete.
- You’ll be taken to the homepage, where you can download Android apps.
Users who choose to go for BlueStacks 10 must ensure they have a stable and strong Internet connection. They must also have enough free disk space to accommodate the game data.
The main advantage of the cloud-based version is syncing. This allows you to access your BlueStacks from another device and continue playing games wherever you are.
Which Bluestack is best for Windows 11?
The correct answer is always the latest version. BlueStacks comes in both 32-bit and 64-bit versions, so make sure you download the right one for your computer.
Since Windows 11 does not have a 32-bit system, it’s easier for you to get the 64-bit version and avoid confusion. However, there’s more to it.
Although BlueStacks 5 is the latest version, you’ll find four options on the download page which have all been optimized for Windows 11.
When you discard the 32-bit version, you remain with three. So which BlueStacks should you pick?
- Nougat 64-bit – You can only download and play games that support the 64-bit Android system.
- Pie 64-bit – You can only download and play games playable on Android 8 and 9.
- Android 11 – You can only download and play games playable on Android 11.
Most users prefer the Pie version because it has been optimized for enhanced gameplay. It is also Hyper-V enabled.
One of the benefits of BlueStacks being Hyper-V supported is that it allows you to use your BlueStacks emulator on a virtual machine.
This means that you can run your Android applications on a virtual machine, which will help save up on memory and processing power and increase security compared to using an emulator directly on your computer.
It’s as simple as that. With BlueStacks, you’re just minutes away from having all the favorite apps you use on your Android device available to you on your Windows computer.
With a host of features, including virtualization, emulators, and compatibility with numerous Android apps, it’s worth having on your PC.
Have you downloaded BlueStacks on your Windows 11? What do you like most about it? Let us know in the comment section below.
Read our disclosure page to find out how can you help Windows Report sustain the editorial team. Read more


Improve this guide


User forum
0 messages