FIX: The directory cannot be removed error message
![]() 6 min. read
6 min. read
![]() Updated on
Updated on
Share this article

Improve this guide
Read our disclosure page to find out how can you help Windows Report sustain the editorial team Read more
Key notes
- Registry repair is a solution for this error. Check out this list with some of the best registry cleaners for Windows 10.
- If running a diagnose via the Windows Troubleshooter after reboot did not work, you can try one of these troubleshooting tools.
- Booting in safe mode doesn't work for you? Find more solutions in this handy guide.
- To find more Windows error fixes go to our dedicated Windows 10 errors page.

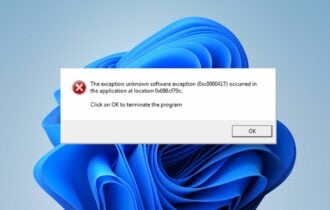
If you’re getting the ERROR_CURRENT_DIRECTORY error code with The directory cannot be removed description, follow the troubleshooting steps listed in this article.
Also known as error 16 (0x10), the ‘ERROR_CURRENT_DIRECTORY’ error code occurs when users try to delete a directory from their PC. This error occurs due to one of the following reasons:
- The directory not exist, or its directory name is misspelled
- The directory contains files or other subdirectories
- The directory has the same name as a reserved device name.
- There are files or subdirectories which need higher permissions
- There are files in use.
This error may also occur when setting up your Windows account. In this case, the error is accompanied by the following description: Something went wrong. Please try again later. Error 0x80090010: The directory cannot be removed.
How do I fix The directory cannot be removed error?
1. Correct the directory name
Make sure that the directory name is written correctly. Use simple directory names, and avoid extended characters and spaces which may trigger this type of error. Use any characters within a-z, A-Z and 0-9.
2. Empty the directory
Remove all the files and subdirectories from the directory, and then try to delete it again. Sometimes, the files located inside the problematic directory may prevent you from deleting it. After removing all the files and folders from the respective directory, users are able to delete it.
3. Use the Chdir command
The chdir command displays the name of the current directory or changes the current folder. If you use it with only a drive letter, it displays the names of the current drive and folder. If you use it without parameters, chdir displays the current drive and directory. In this particular situation, you’re going to use this command to change the current directory in all sessions that might be using it.
- Go to Start > type CMD > right-click the first result > launch Command Prompt as Admin
- Change the default directory on a drive different from the one you are on, by typing the following commands:
chdir [Drive:[directory]]
cd [Drive:[directory]] - Try to delete the problematic directory again.
For more information about the chdir command and how to use it in various contexts, go to Microsoft’s Support page.
4. Use the RMDIR command
- Go to Start > type CMD > right-click the first result > launch Command Prompt as Admin
- Use the rmdir [Drive:]Path/s command to delete the problematic directory.
The RMDIR command allows you to completely remove directories. However, this command comes with a few limitations:
- it cannot delete directory with hidden or system files. If you attempt to do so, the ‘The directory is not empty’ message appears on the screen.
- it cannot delete the current directory. If you attempt to delete the current directory, the following message appears:’ The process cannot access the file because it is being used by another process.’ You must first change to a different directory, and only then use rmdir with a path.
Example: If you want to delete the MyDir directory, use this command: rmdir /s / mydir. If you want Command Prompt to delete the directory without asking for confirmation, type this command: rmdir /s /q mydir.
5. Remove the device with the directory name
If the directory name is the same as an installed device, simply remove the device. This should fix the problem and you should be able to remove the directory.
6. Repair your registry
-
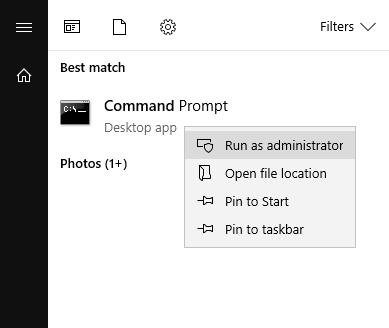
- Go to Start and type CMD
- Right-click Command Prompt and select Run as Administrator

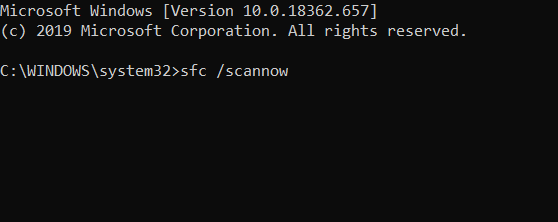
- Now type the sfc /scannow command

- Wait for the scanning process to complete and then restart your computer. All corrupted files will be replaced on reboot.
The easiest way to repair your registry is to use a dedicated tool, such as CCleaner. Don’t forget to first backup your registry in case anything goes wrong.
If you haven’t installed any registry cleaner on your computer, check out our article on the best registry cleaners to use on Windows 10 PCs.
You can also use Microsoft’s System File Checker to check for system file corruption.
7. Run a full system scan
- From Start menu open System Security
- Go to Virus and threat protection
- Select Scan Options and from here select Full Scan

- Finally, click on the Scan Now button.
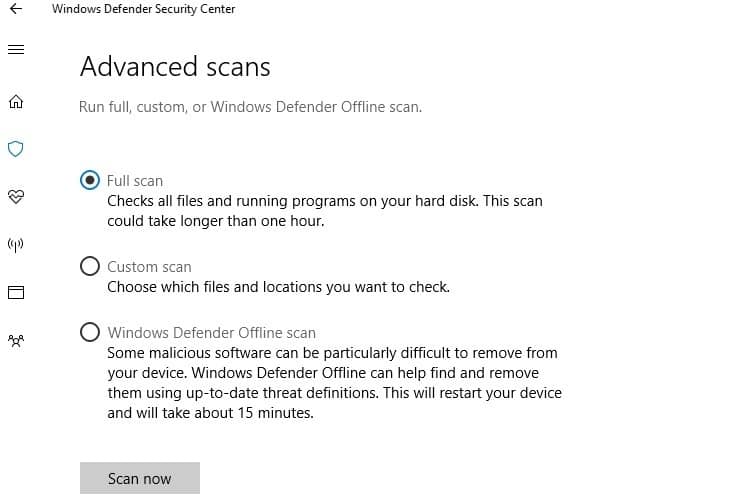
Malware may cause various issues on your computer, including errors. Perform a full system scan in order to detect any malware running on your computer. You can use Windows’ built-in antivirus, Windows Defender, or third-party antivirus solutions.
8. Check your disk for errors
- Go to Start and type CMD
- Right-click Command Prompt and select Run as Administrator
- Type the chkdsk C: /f command followed by Enter.
- Replace C with the letter of your hard drive partition.

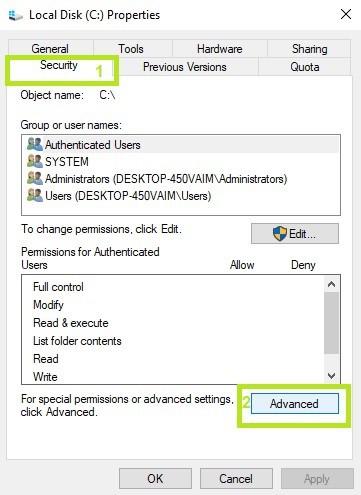
9. Check the permissions on the drive
- Log in as Admin > select the problematic drive > right-click it > go to Properties > select the Security tab >click on the Advanced button
2. In the new window, click on Users > click on the Change permissions button

3. Select Users one more time > go to Edit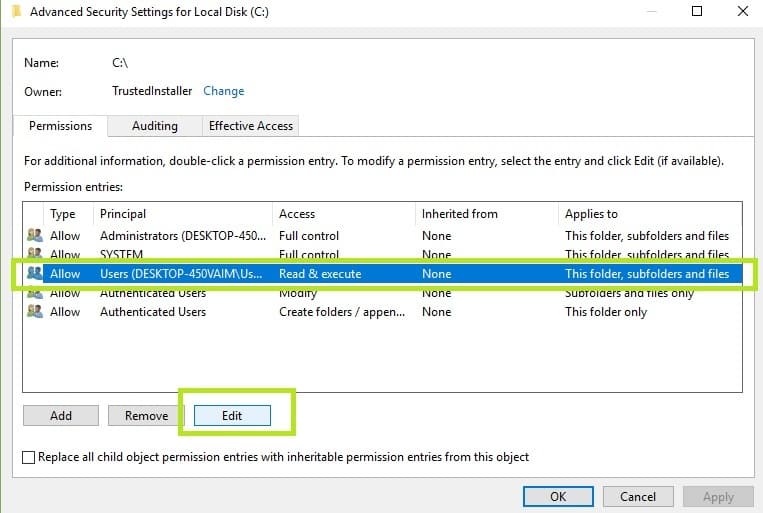
4. Under basic permissions, check Full control > OK.
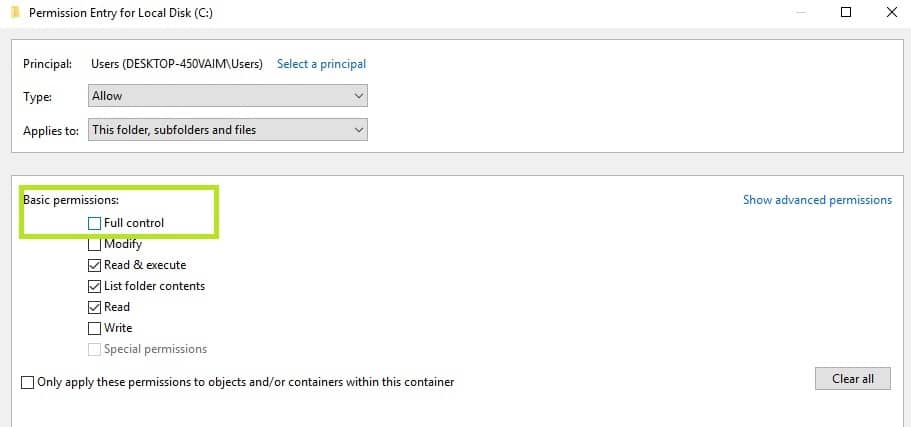
The ERROR_CURRENT_DIRECTORY error code may also occur if you don’t have the necessary permissions to access the drive where the problematic directory is located. Use the steps above to verify the permissions on the respective drive and change them to full control.
However, keep in mind that if you restart your computer or switch users, these settings will revert to default.
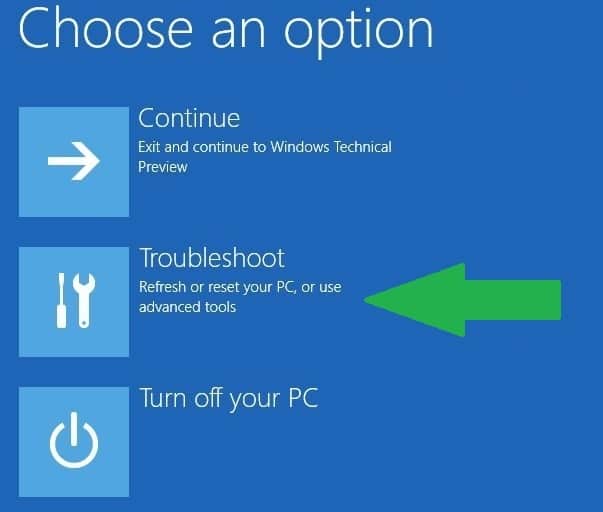
10. Boot into Safe Mode
- Hold down the shift key and click the on-screen power button
- Select the restart option while holding the shift key
- Select Troubleshoot > Advanced options > Startup Settings > hit Restart
4. Wait until Windows 10 reboots, and select Safe Mode.
5. Delete the problematic directory > restart your computer > check if the problem still persists.
11. Use another OS
If you own a dual-boot system, simply boot into another operating system and try deleting the directory from there. For more information on how to boot Windows with another operating system, check out our dedicated article.
We hope that the solutions listed above helped you fix The directory cannot be removed error. If you’ve come across other workarounds to fix this problem, you can help the Windows community by listing the troubleshooting steps in the comments below.