Some files can't be emptied from Recycle Bin [Windows 10/11]
5 min. read
Updated on
Read our disclosure page to find out how can you help Windows Report sustain the editorial team Read more
Key notes
- When you can't delete some files from the Windows 10 Recycle Bin you can either restore the files first, empty the Recycle Bin in Safe Mode or use the admin mode. Read the guide below to read all the possible methods.
- Can't follow the steps? We have prepared for you a top with the best Recycle Bin cleaner software for Windows 10.
- Did you encounter any other problems with Recycle Bin? We covered all the existing issues.
- How to fix other problems in Windows 10? Look for your problem in our Windows 10 errors hub.

What to do when you cannot delete certain files from Recycle Bin in Windows 10?
- Restore files
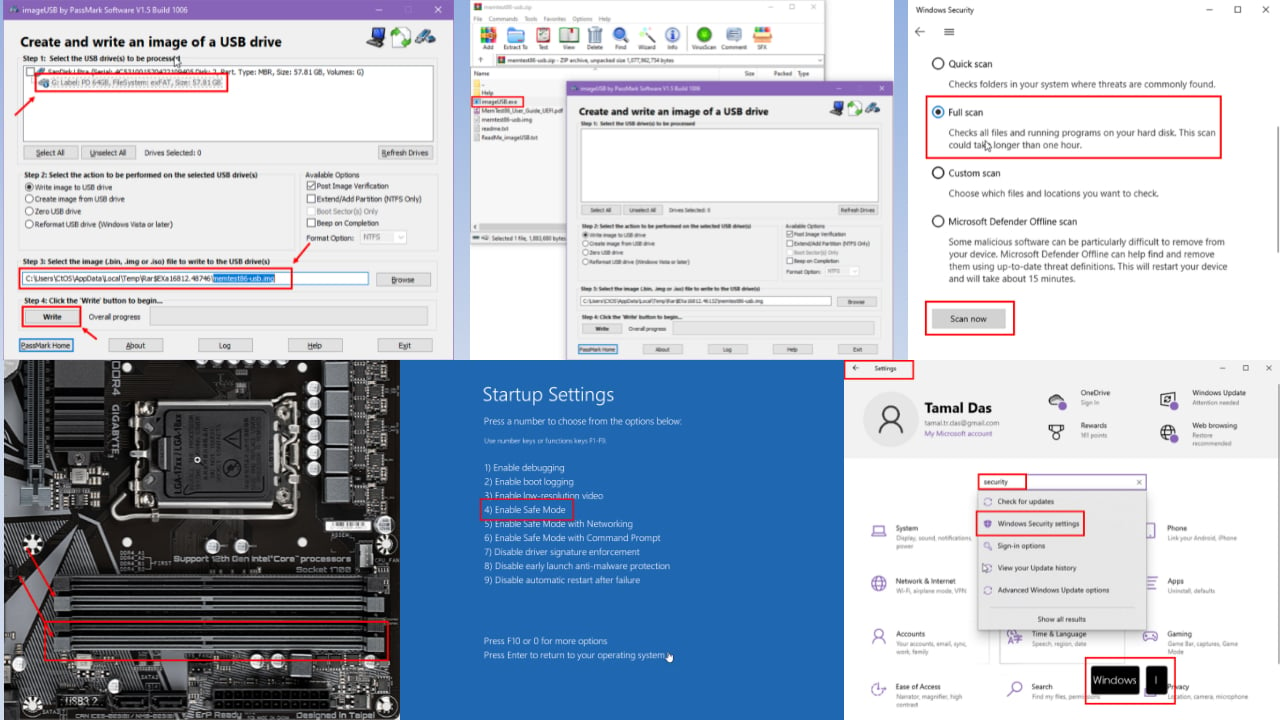
- Empty Recycle Bin in Safe Mode
- Empty Recycle Bin as Admin
- Empty Recycle Bin automatically
Like many of our Windows 10 users, you to might want to permanently delete at a certain point a file or a folder permanently from your operating system.
Seeing that some of our Windows 10 users are having difficulty with this issue you will find out a couple of lines below what you can do to fix the Recycle Bin and get your files permanently deleted.
In many of the cases, you will either not have the sufficient permissions to delete the specific folder from the Recycle bin or your Windows 10 OS is blocking your access to that folder because of a number of registry errors that it may encounter.
Either way, we will apply the methods posted below in order to solve your issue and get your system back and running in no time.
How do I fix Recycle Bin if it doesn’t empty completely in Windows 10?
1. Restore files
- Move the mouse cursor over to the upper right side of the screen in Windows 10, 8.1
- From the menu that appears you will need to left click or tap on the Search feature presented there.
- Write in the search box the following: restore your files.
- After the search is finished left-click or tap on the Restore your files with file history.
- You will be presented with a search box and you will need to write there the folder from Recycle Bin that you are not able to delete.
- Left-click or tap to select the file or files that you are not able to delete normally and left click or tap on the “Restore” button.
- Now that file should be restored where it was before you deleted it.
- Close the Restore your files with file history window and go to the file that you are having issues with.
- Left-click or tap on it to select it.
- Press and hold the button Shift and the button Delete.
- Left-click or tap on the Yes button to confirm the deletion.
- This should bypass your Recycle Bin folder and permanently delete your file.
2. Empty Recycle Bin in Safe Mode
- Move the mouse cursor over to the upper right side of the screen.
- When the menu bar appears left click or tap on the Search feature present there.
- In the search box, you will need to write the following: Control Panel
- After the search is finished left-click or tap on the Control Panel icon.
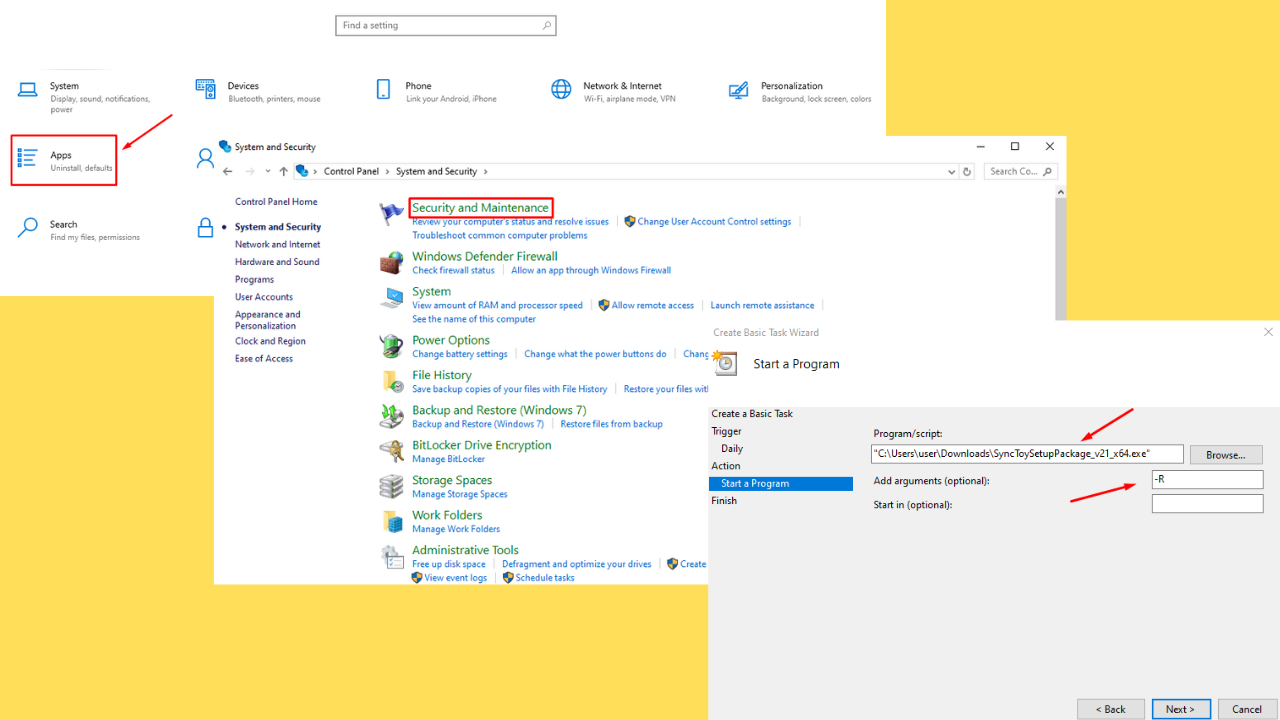
- Left-click or tap on the System and Security feature.
- Left-click or tap on the Administrative tools feature.
- In the list on the right side find and open the System Configuration feature.
Note: You can also open system configuration by pressing and holding the Windows button and the R button and in the Run box you will need to write: msconfig.exe without the quotes. Then press the Enter button on the keyboard. - Left-click or tap on the Boot tab situated in the upper side of the window.
- You will see there a topic named Boot options.
- Check the box next to the Safe Boot feature.
- Left-click or tap on the OK button to save the changes.
- Left-click or tap on the Restart button if you are asked if you do not then restart your computer anyway.
- After the restart of the Windows 8.1 operating system is completed it should get you to the safe mode configuration.
- Go to the Recycle Bin folder and try to delete the files you are having trouble with.
- To get back your normal startup system you will need to go again to the System Configuration window as you did above but this time uncheck the box next to Safe boot and reboot your operating system.
3. Empty Recycle Bin as Admin
- Log in with your administrative account in Windows 8.1 and access your Recycle bin folder.
- Try emptying it now.
- If it worked then you might not have sufficient permissions on the user you were logged in with.
4. Empty Recycle Bin automatically
You might try to empty your Recycle Bin using an automatic feature. Following the instructions from the previous link, you will see how to use the task scheduler in order to empty your Recycle Bin automatically.
On Windows 10 system you also have a great function that you can use in order to do the same thing.
Check this guide and see how can you enable this awesome feature that will automatically empty your recycle bin.
These are the steps that will get your Recycle Bin empty feature work again in Windows 10.
Please write us any other questions related to this article in the comments section of the page a little bit below and we will help you further with this situation.

