4 ways to quickly fix DISM error 50 on Windows 10/11
Key notes
- Refreshing and preparing a Windows image are operations that can be completed by using dedicated DISM commands.
- So, if you tried to execute a certain DISM command, but you got the Error 50 DISM does not support servicing Windows PE with the /online option message, you are in the right place.
- You can try to repair corrupted registry keys that may cause this error to appear on your Windows 10 or 11 computer.
- At the same time, you may try to access your BIOS and change certain options to repair this DISM issue efficiently.

Refreshing and preparing a Windows image are operations that can be completed by using dedicated DISM commands.
The Deployment Image Servicing and Management (DISM) command-line tool can also be used for repairing the most common Windows software-related problems, so being able to execute DISM commands is quite important.
That’s why, when experiencing the error 50, you should learn how to address the malfunctions that are preventing DISM from running correctly.
Even though such system issues may require more technical know-how, you can dive deep into the problem and resolve it step-by-step.
There are also specific commands you can use in order to fix the persistent error on your Windows device.
So, if you tried to execute a certain DISM command, but you got the Error 50 DISM does not support servicing Windows PE with the /online option message, you are in the right place. In this guide, we will see how to fix the DISM toolkit on Windows 10.
How to fix DISM error 50 on Windows 10/11?
1. Delete the associated registry key
When the error 50 appears it means that Windows thinks that the location from which you run the command is within Win PE (Pre-installation Environment) and this happens because of a misplaced registry key. So, for fixing this error you need to remove this key by following:
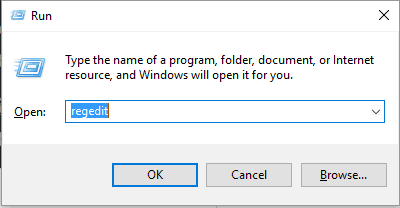
- Press the Win+R keyboard keys for bringing up the Run box.
- There, type Regedit and press Enter.
- From Registry Editor located the HKEY_LOCAL_MACHINE entry and expand it – just click on it.
- From the new list that will be displayed expand HKEY_LOCAL_MACHINESYSTEMCurrentControlSetControl.
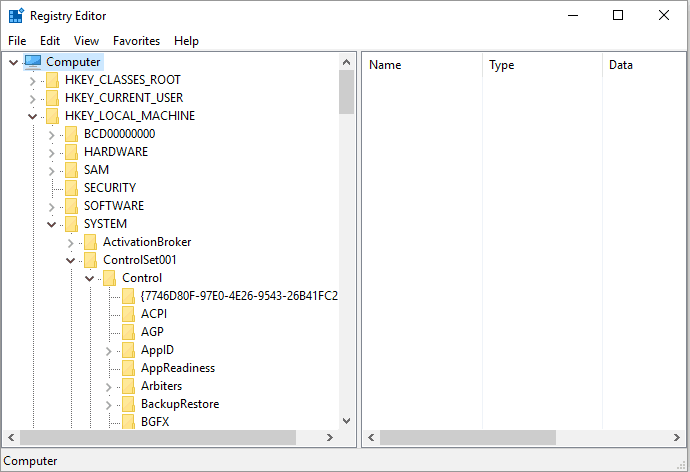
- Under the Control field, there should be a folder named MiniNT.
- Right-click on this folder and choose Permissions.
- Make sure that your username is mentioned there and also ensure that the Full control option is checked.
- Right-click on the MiniNT folder again and this time choose Delete.
- Confirm your changes and restart your Windows 10 system.
To clean your registry, you can also consider dedicated registry cleaner tools.
In case you require a professional cleaning tool that will repair any registry entries problems, you can employ CCleaner.
Using this software you can detect different problems in your Windows registry and fix them automatically in a more secure manner.
2. Reset BIOS
On your computer access BIOS (reaching BIOS is different depending on each manufacturer).
From BIOS look for the Default Options entry and access it. From the menu that will be displayed on your computer choose reset to default or factory default. Confirm your changes and restart your device.
That should be all and the Error 50 DISM does not support servicing Windows PE with the /online option should be now resolved.
3. Refresh the DISM software
 NOTE
NOTE
- In your cmd window (which should be already opened since you received the DISM 50 error) type dism.exe /image:C: /cleanup-image /revertpendingactions.
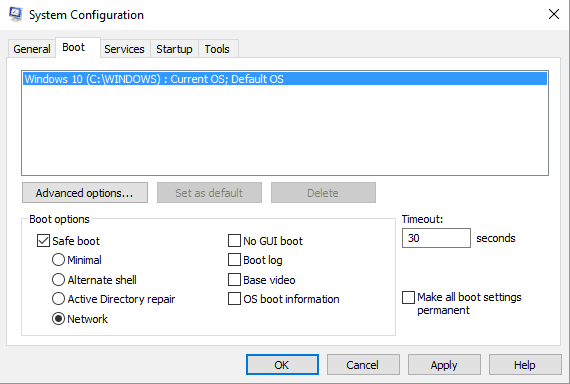
- Next, reboot safe mode on your Windows 10 system: press Win+R, enter MSConfig, switch to Boot, and choose Safe Mode.
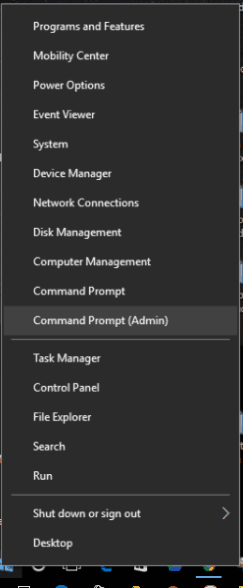
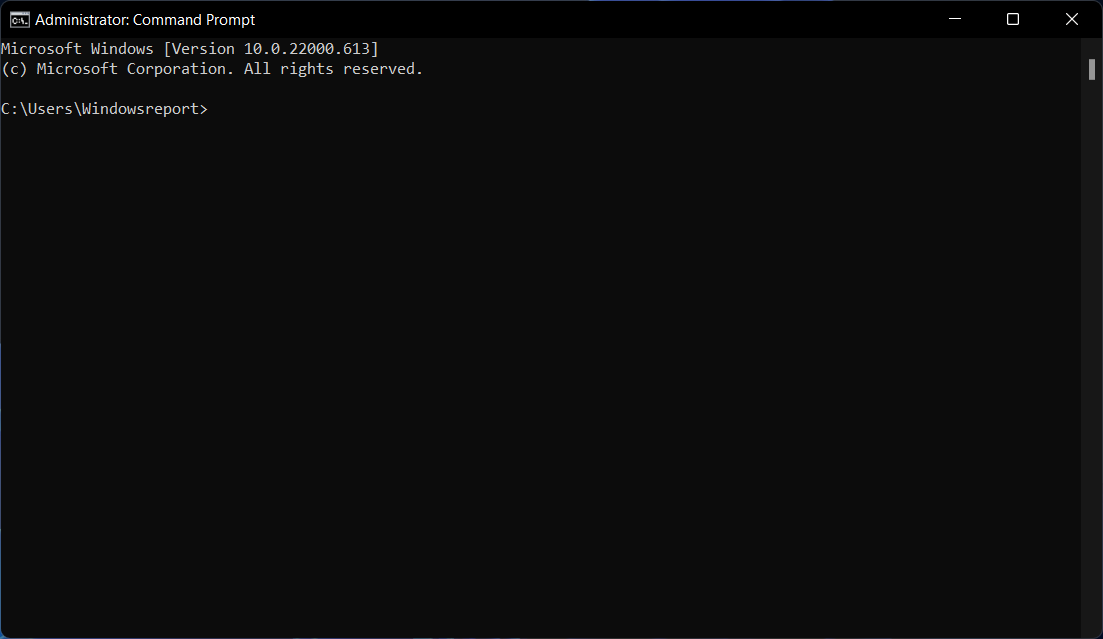
- From safe mode open an elevated cmd window: press Win+X and select Command Prompt (Admin).
- In the cmd window type SFC/ scannow and wait while the scan runs – it might take a while depending on how many files and programs are stored on your device.
- Afterward, reboot into Windows mode as that should be all.
4. Use Command Prompt
It’s possible to resolve DISM error 50 by using specific commands in the Windows Command Prompt utility.
There are a few commands that you can try in order to repair this operational issue and are as follows:
- Type Command Prompt in the Start Menu and then press Enter.
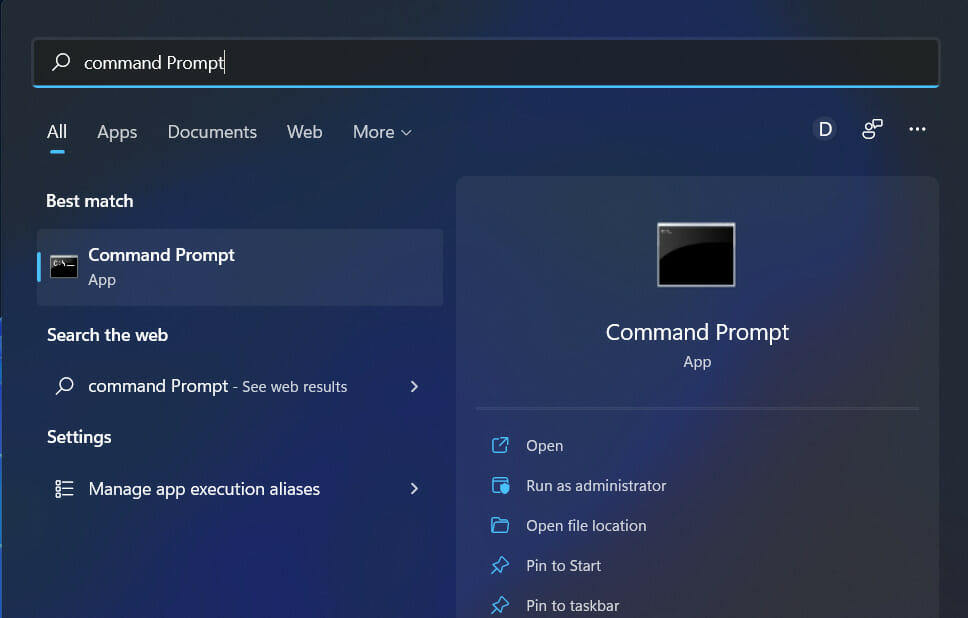
- Assure you have administrator rights before entering the commands.
- Type in the next commands to fix the specific DISM error.
wmic logicaldisk get name
dir drive-letter:
DISM /Online /Cleanup-Image /RestoreHealth
There you have it; those were the troubleshooting solutions for the Error 50 DISM does not support servicing Windows PE with the /online option error message.
If you are trying to find other Windows Update solutions, make sure to check the Windows Update hub.
Take a quick tour of our specially created Windows 10 Errors Hub. Here you will find more solutions like this one to help fix a multitude of system errors.
You can also share your own experience with us and our readers by using the comments field below.
Read our disclosure page to find out how can you help Windows Report sustain the editorial team. Read more


Improve this guide


User forum
0 messages