Easily Fix Games Stuttering on Windows 10 PC [2025 UPD]
Game stuttering is often connected to improper/faulty graphics drivers
![]() 8 min. read
8 min. read
![]() Updated on
Updated on
Share this article
This article is translated in
Improve this guide
Read our disclosure page to find out how can you help Windows Report sustain the editorial team. Read more
Key notes
- Game stuttering can be triggered by a plethora of reasons, from an underequipped system to uncomplying software.
- You can also experience game stuttering on high-end PCs if they are not efficiently optimized.
- Check our extensive article that covers this issue and will help you get back in the game!

Game stuttering, characterized by random delays in gameplay, is a frequent issue that can make games unplayable. Whether caused by outdated drivers or cluttered hard drives, this problem affects both high-end PCs and systems not meeting game requirements. This guide will explore the causes and provide solutions to fix and prevent game stuttering, enhancing your gaming experience.
What causes game stuttering?
Game stuttering usually occurs if your system is not powerful enough to run the specific game, but there are other possible reasons.
We will discuss each of them, thus allowing you to identify which ones apply to your case and deal with them accordingly. Here are some of the most common and preliminary checks you can try on your own to fix game stuttering on your PC:
Outdated drivers
Not having the latest drivers, especially the GPU driver, can affect how your hardware handles games. Ensuring all drivers are up-to-date is crucial to prevent problems. You can update them manually one by one from the Device Manager.

Lack of system optimization
Slow system performance due to clutter, like browser caches can greatly impact game speed. Utilizing the right optimization software can easily fix this issue without removing useful files.
Not meeting system requirements
If your system doesn’t meet the game’s recommended requirements, it may lead to stuttering or even closure of the game. Checking the developer’s page for hardware requirements is essential to avoid wasting money and time on an unplayable game.

How do I fix lagging games on Windows 10?

1. Reduce the game’s graphics settings
In case you are wondering why my games are stuttering suddenly, remember the graphics settings significantly influence the stuttering of games in Windows 10.
If your system’s capabilities fall short of the requirements for running the game optimally, then the stuttering of your game will be influenced considerably.
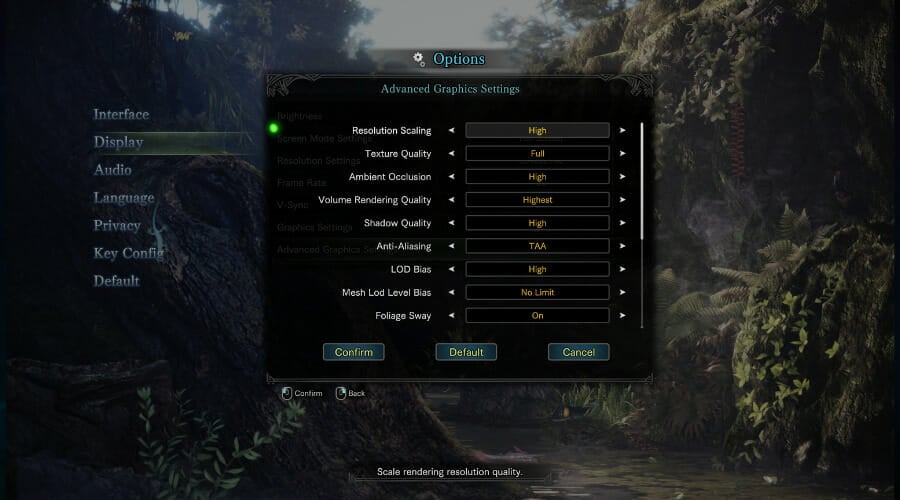
To change this option, simply open the game, navigate to its Settings, choose Graphics, and make sure to set a lower overall value or deactivate some features like Antialiasing, Shadow values, and others. This should also fix game stuttering with high FPS.
2. Update the Graphics card driver
- Press Win key + X and choose Device Manager from the list.

- Toggle the Display Adapters option.

- Right-click your GPU, and choose Update Driver.
- Choose Search automatically for drivers.
- Wait for the process to complete.


If you have the GPU stuttering constantly or even micro stuttering in Windows `10, updating the graphics driver should help. So, if you were wondering why my PC is stuttering in games, it could be the outdated graphics driver to blame.
3. Turn off the Windows Game Bar and DVR
- Press the Start button and select Settings.

- Click on Gaming from the left pane, then select Xbox Game Bar from the right.

- Un-toggle the Xbox Game Bar option.
- Go back to the previous screen and click Captures.
- Turn off the Record what happened option.


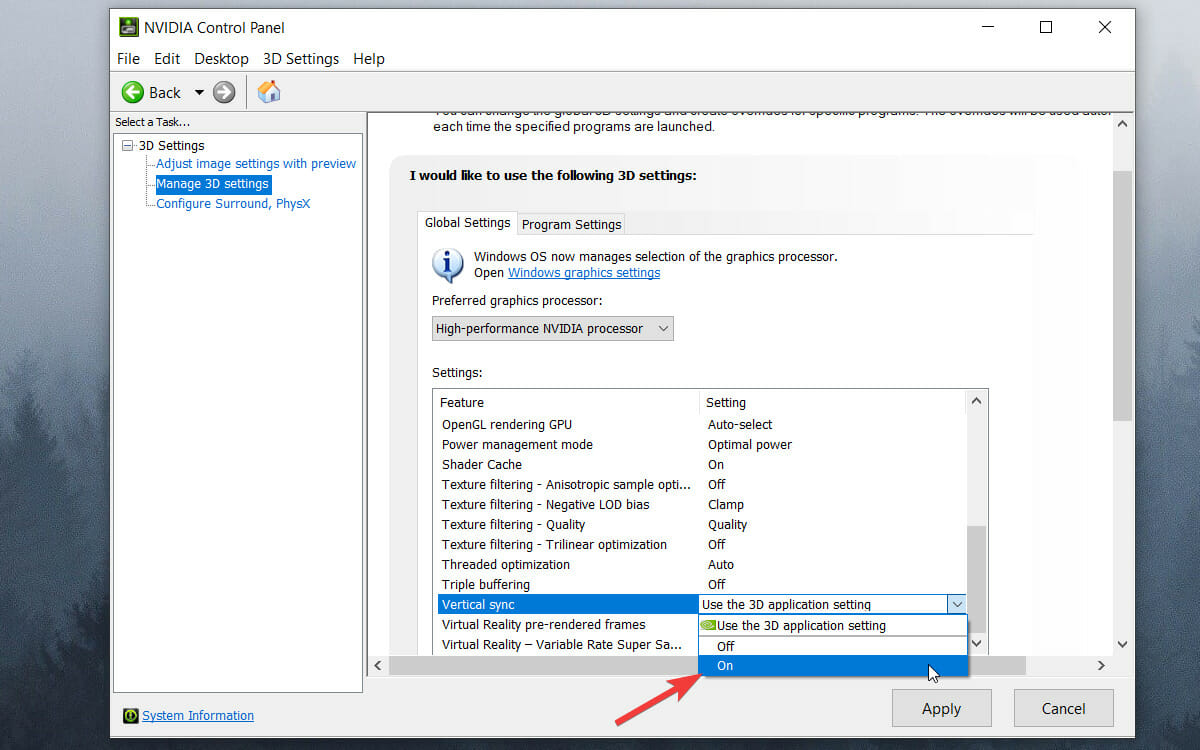
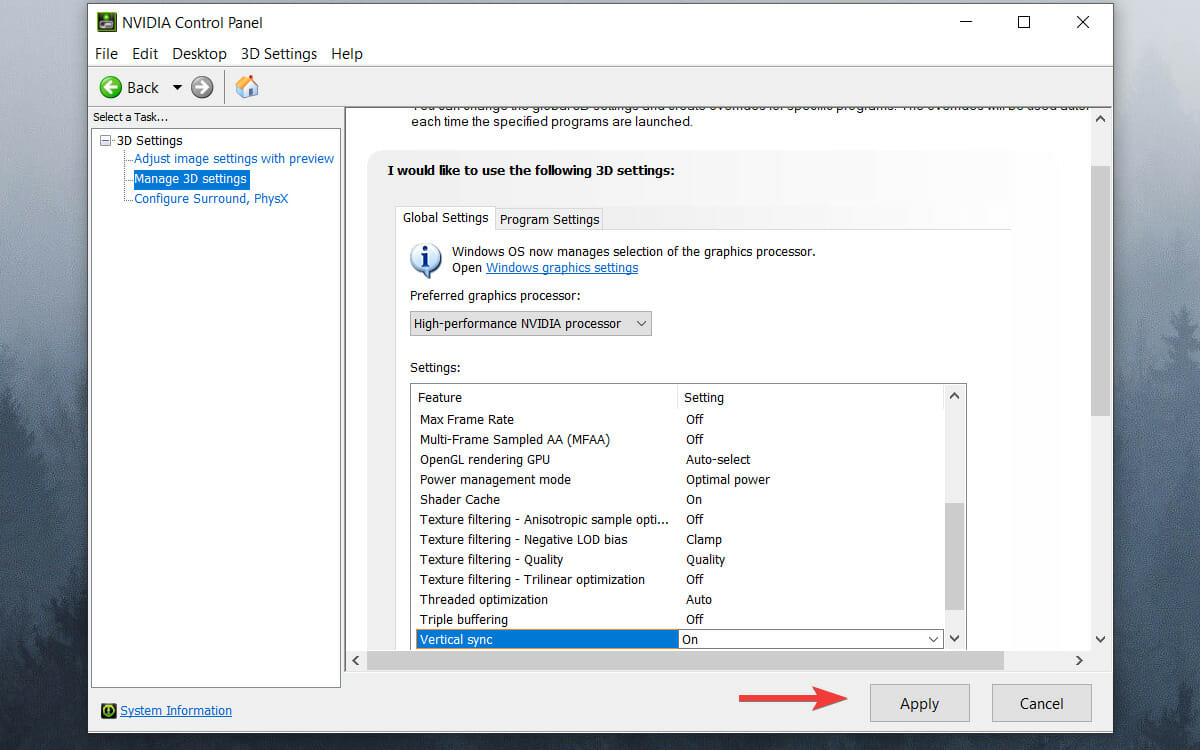
4. Enable V-Sync
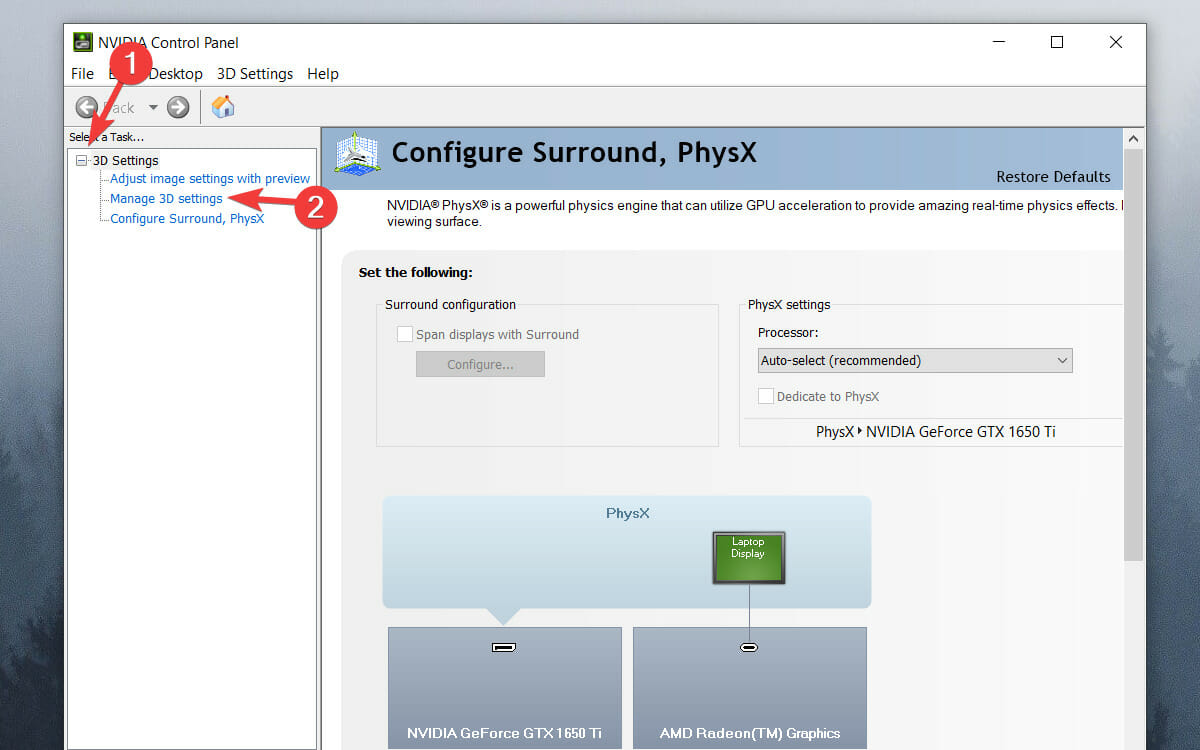
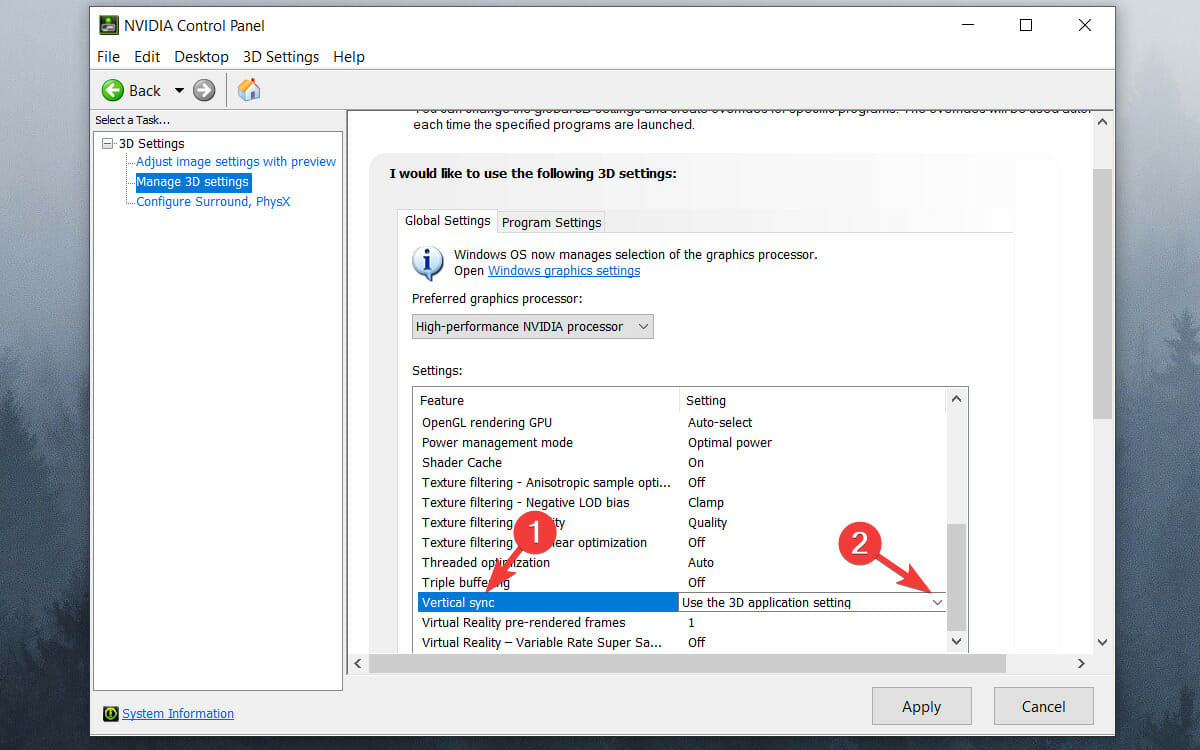
➡ Nvidia graphics
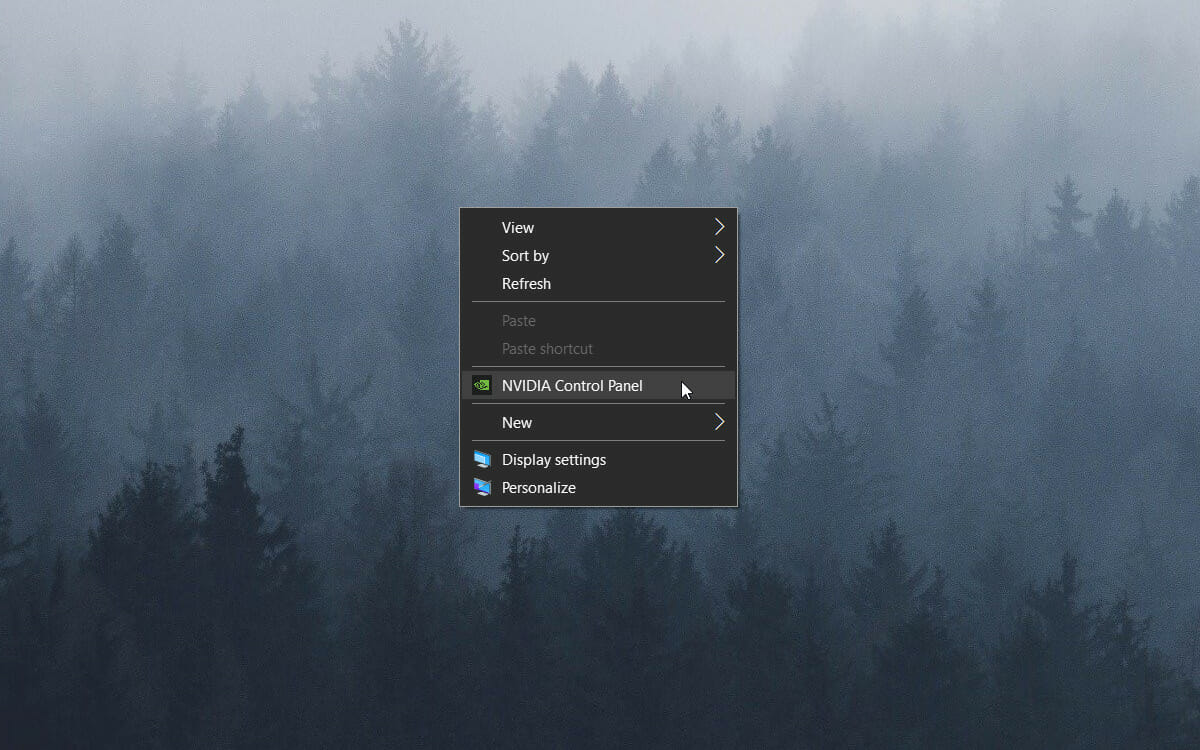
- Right-click the desktop and select NVIDIA Control Panel.
- Click 3D Settings and select Manage 3D Settings.
- Scroll down through the list, click on Vertical sync, and click the drop-down menu.
- Choose On from the drop-down menu.
- Press the Apply button.
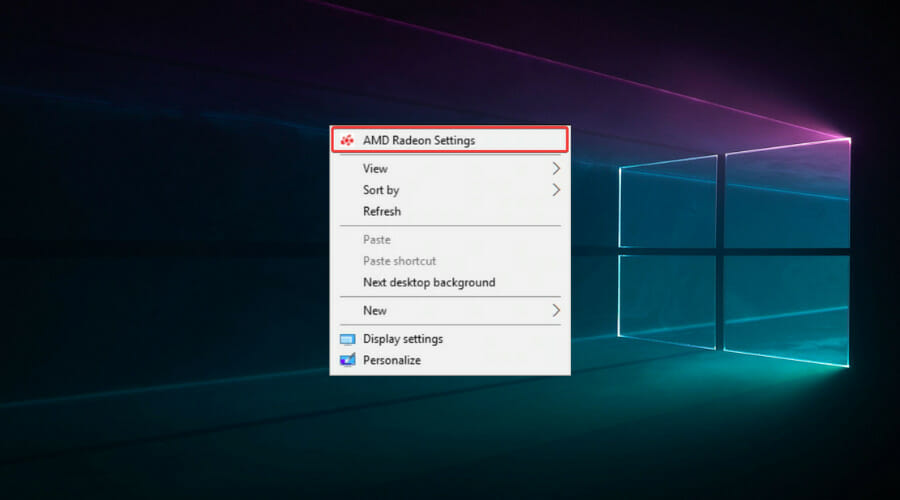
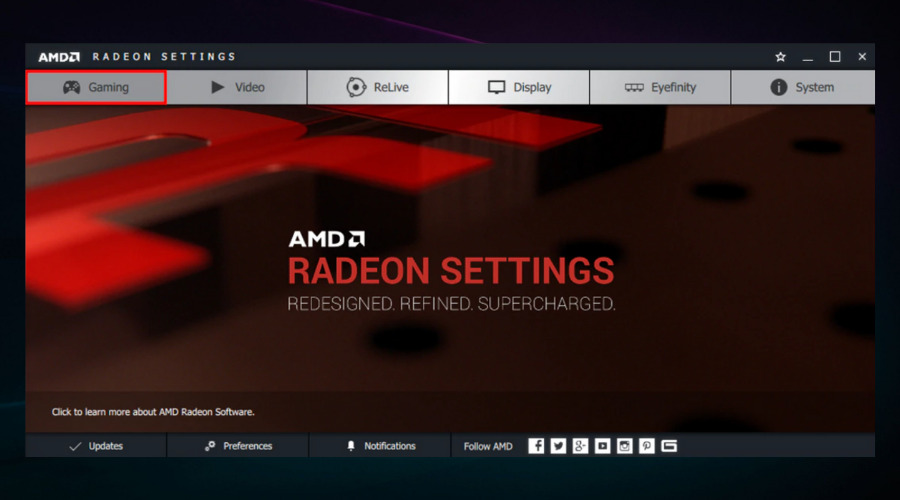
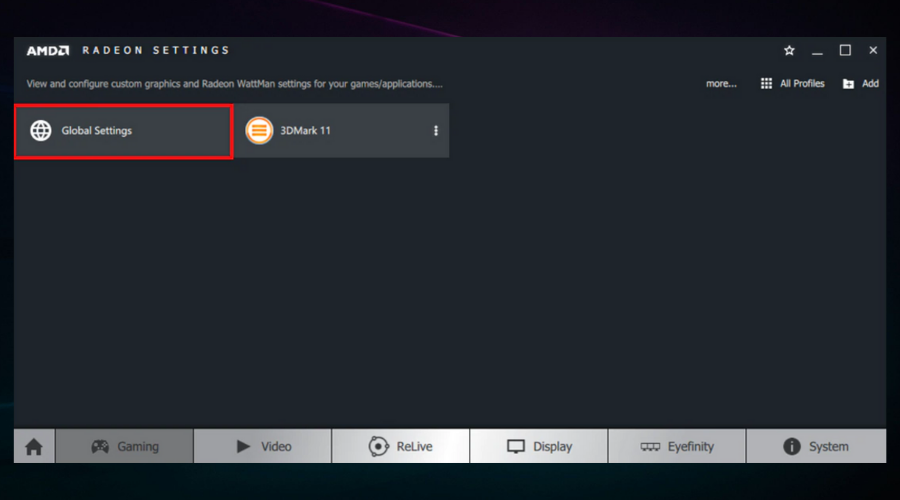
➡ AMD graphics
- Right-click the desktop and select the AMD Radeon Settings option.
- Click the Gaming tab.
- Choose Global Settings.
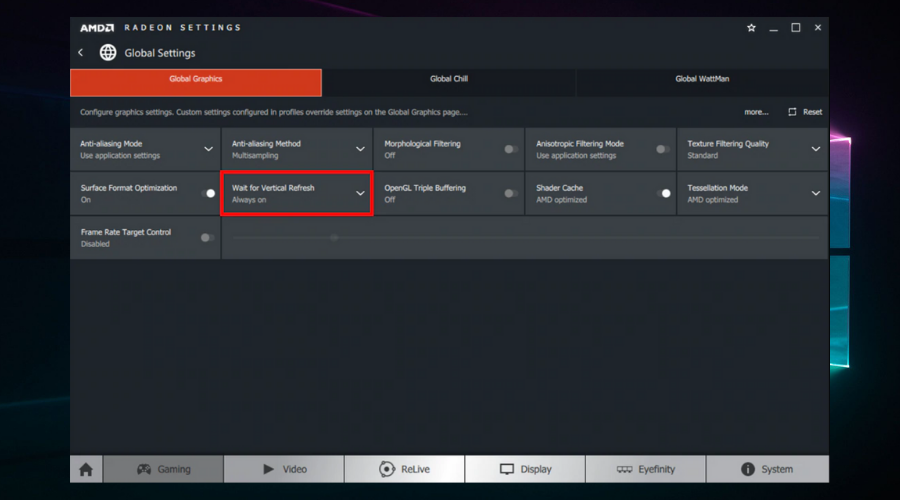
- Click Wait for Vertical Refresh and select the Always on option.
Remember turning on V-Sync can ruin FPS so be careful on your game’s specifics before you enable it.
5. Turn off Intel Turbo Boost
- Enter powercfg.cpl in Run, and select the OK option.
- Click Change plan settings next to the selected plan.
- Then click Change advanced power settings.
- Double-click the Processor power management to expand that category.
- Then double-click Maximum processor state.
- Adjust the On battery and Plugged in values to 99 %.
- Click the OK button.


6. Turn off Dynamic Tick
- Right-click the Start menu and select Windows Terminal (Admin). On Windows 10, you can use Windows PowerShell or Command Prompt as administrator instead.
- Type in the following command and press Enter:
bcdedit /set disabledynamictick yes - Input this line, and press Enter:
bcdedit /set useplatformclock true - Run the following command:
bcdedit /set tscsyncpolicy Enhanced - Close the command window and restart your system.


Note that there are a few game booster programs that optimize system resources for games.
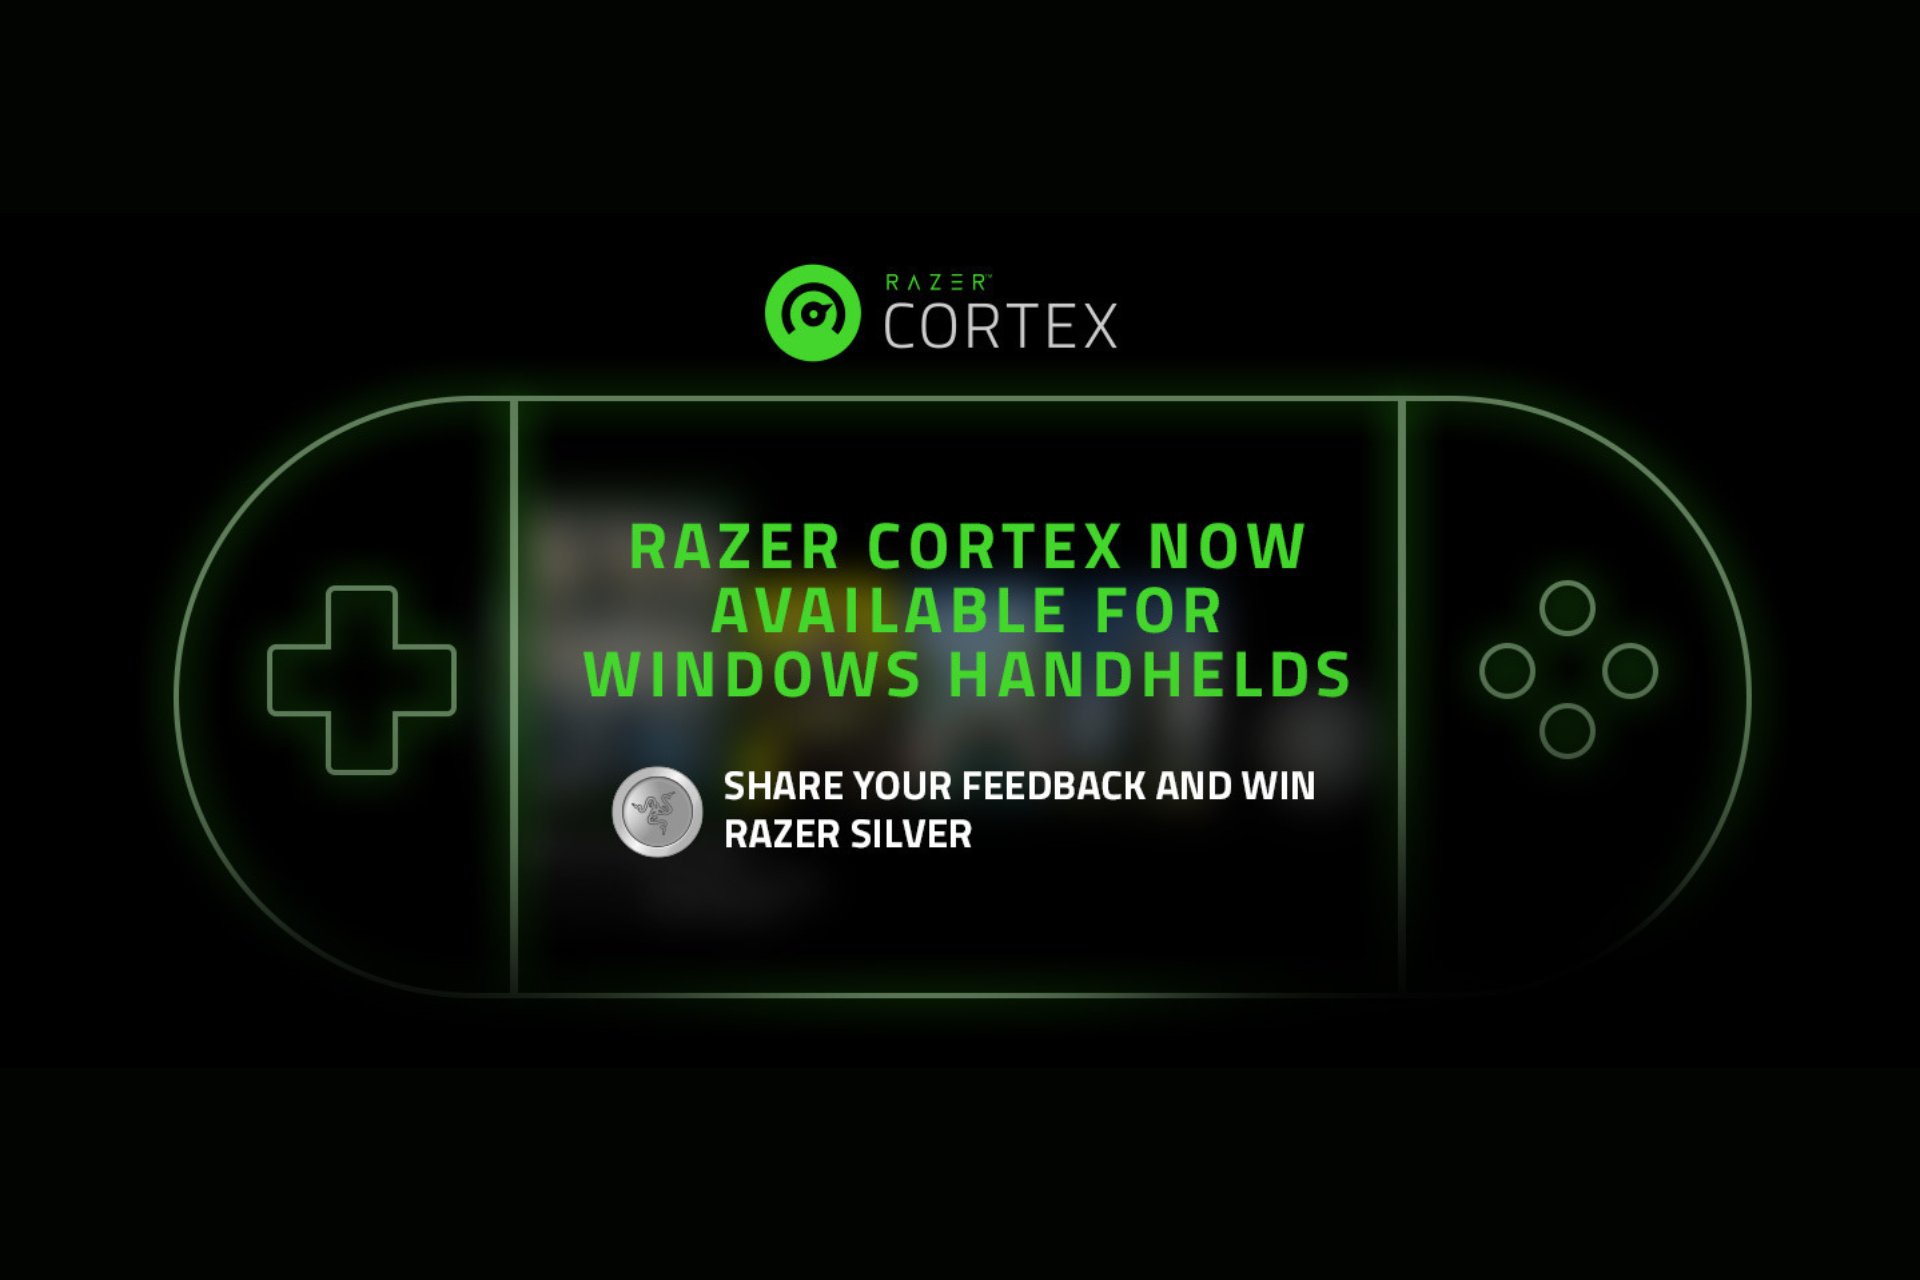
Software such as Game Fire 6, Razer Cortex, and Wise Game Booster include numerous resources for boosting games. This software will also close superfluous third-party programs and services for users.
Game stuttering is more likely when players don’t optimize system resources for games. As such, make sure there aren’t too many background programs consuming system resources before launching the game.
 NOTE
NOTE
bcdedit /set disabledynamictick no bcdedit /set useplatformclock no bcdedit /set tscsyncpolicy Default 7. Turn off the Diagnostic Policy Service
- Press Win key + R to open the Run dialog.
- Enter services.msc in Run and click OK.
- Double-click Diagnostic Policy Service.
- Select Disabled on the Startup type drop-down menu.
- Click the OK button and restart your system.


The most efficient ways to prevent in-game stuttering
➡ Buy some new components
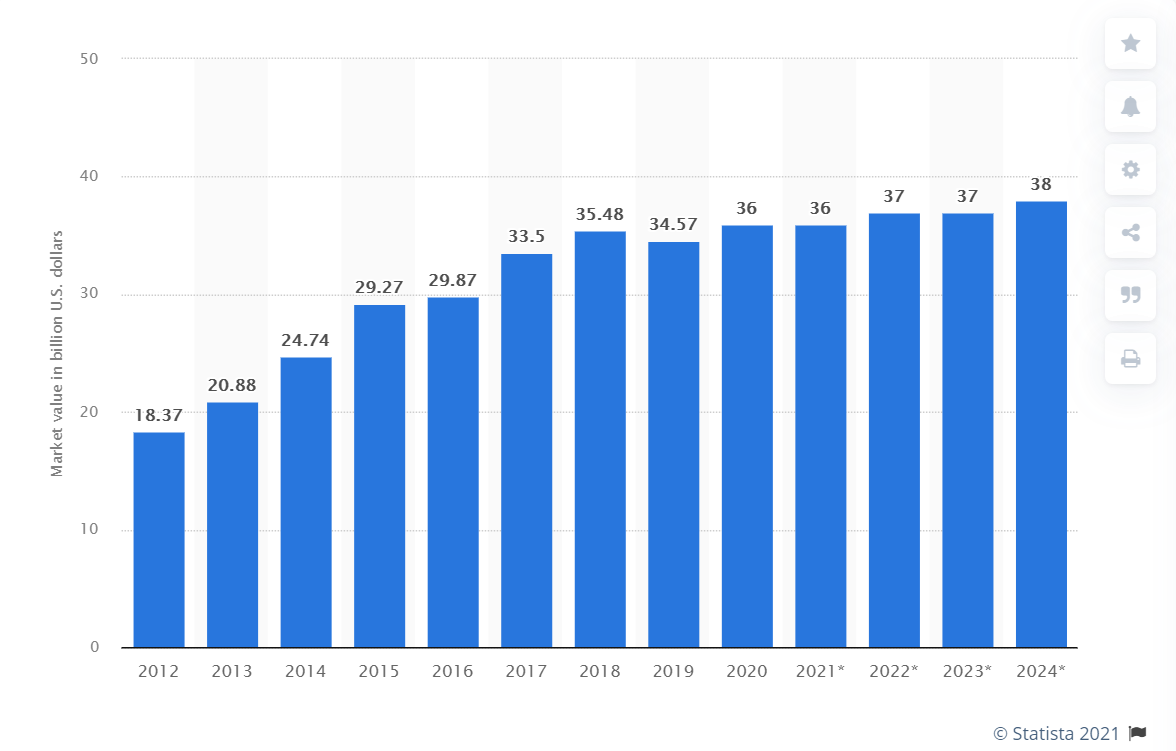
To avoid encountering the same issues in the future, the best way is to invest in better computer components for your gaming rig.
The PC components market growth estimates have been steadily increasing across time, but it does show a leveling when it comes to 2022 and 2023, so you might want to invest in some new components as soon as possible.
As it is the brain of your PC, a good processor (CPU) can make a huge difference in gameplay smoothness and overall experience.
Of course, a capable CPU will not only give you an advantage while gaming but also in everyday usage.
Besides the processing capabilities, a PC that will allow you to play games without encountering stuttering will also be equipped with a good Graphics Process Unit (GPU).
Contributing to a streamlined gaming experience also includes having enough RAM available and also high-speed storage like SSD.
➡ Update your game with the latest patches
As there might be situations where your PCs components are strong enough to run the game without issues, there might be a problem with the game itself.
Game developers release patches and fixes for known bugs regularly, so if you find yourself in this category, check out the producer’s websites for any updates.
Bonus: Games stuttering on high-end PCs
This very particular situation caught our attention, and it’s closely linked to the mentions above. In other words, the game or games may be unfit, buggy, or otherwise broken.
However, other potential culprits can cause serious lagging even on computers with superior specs.
For instance, virus and malware infections are generally responsible when you have games stuttering on a high-end PC. Thus, running a full system scan with a trustworthy antivirus program such as ESET makes sense.
You can also try these methods and see if they help solve or reduce the stuttering:
- Drop any intermediary wires and connect your GPU straight to the Power supply
- Check if your GPU’s firmware is up to date and take appropriate measures if it’s not
- Clean up some storage and memory space (erase temp files, junk files, optimize partitions, etc.)
- Check for signs of corruption at the system level
Can RAM cause stuttering in games?
Yes, the RAM, like any other component, can just as well be responsible for stuttering in games. Its role is to store the files for the programs currently running, and if the memory starts running low, the game’s performance is affected.
The RAM’s timing also plays a critical role here, and it has to be optimal for the best gaming experience, neither too high nor too low. Usually, adding more RAM modules to PC does help, but you can start by increasing the virtual memory.
As you can see, it is not complicated to fix game and PC stuttering in Windows 10 and 11 as long as you know what you’re doing.
Does HDD cause stutter?
If your HDD (Hard Disk Drive), or for that matter, even the SSD, is filled up with apps and files, then the required space to run the game and the OS might not be sufficient. In this case, the games will lag or even sometimes make the game crash on Windows 10.
This is why it is always recommended to keep your PC clean of any unused software and games, as any installed programs that haven’t been used lately are only slowing down your PC. Also, you could run Disk Cleanup or set up Storage Sense to automatically clear storage on the PC.
Our solutions cover all bases, from the least to the more invasive troubleshooting methods, thus allowing you to get the most results with the least effort.
You don’t need to worry about causing any extra issues as long as you’re following the steps exactly.
Preventing stuttering from appearing should be one of your top priorities as a gamer, but in case it happens suddenly, following our guide will ensure a quick resolution.
Don’t hesitate to share your thoughts about this topic with us. You can do so easily by using the comment section below.


User forum
10 messages