FIX: ESET Blocked VPN on Windows Computers [10 Easy Methods]
Configure your VPN correctly so it'll work well alongside ESET
Key notes
- ESET is one of the leading antivirus and antimalware solutions for businesses and individuals.
- It has been reported that ESET is sometimes blocking VPNs, but that shouldn't worry you too much.
- Generally speaking, security software will always try and find ways to block everything unknown on your PC.
- If ESET is blocking your VPN solution, check out our suggested fixes below and get it back on its feet.


World-class 24/7 support with 82% for a 2 years plan and 2 months free
70% of our readers choose Private Internet Access
70% of our readers choose ExpressVPN
Amazing connection speed with 61% off and 4 months free for the 2-years plan.
Best security protocols with 83% off and 2 months free for a 2-year plan.
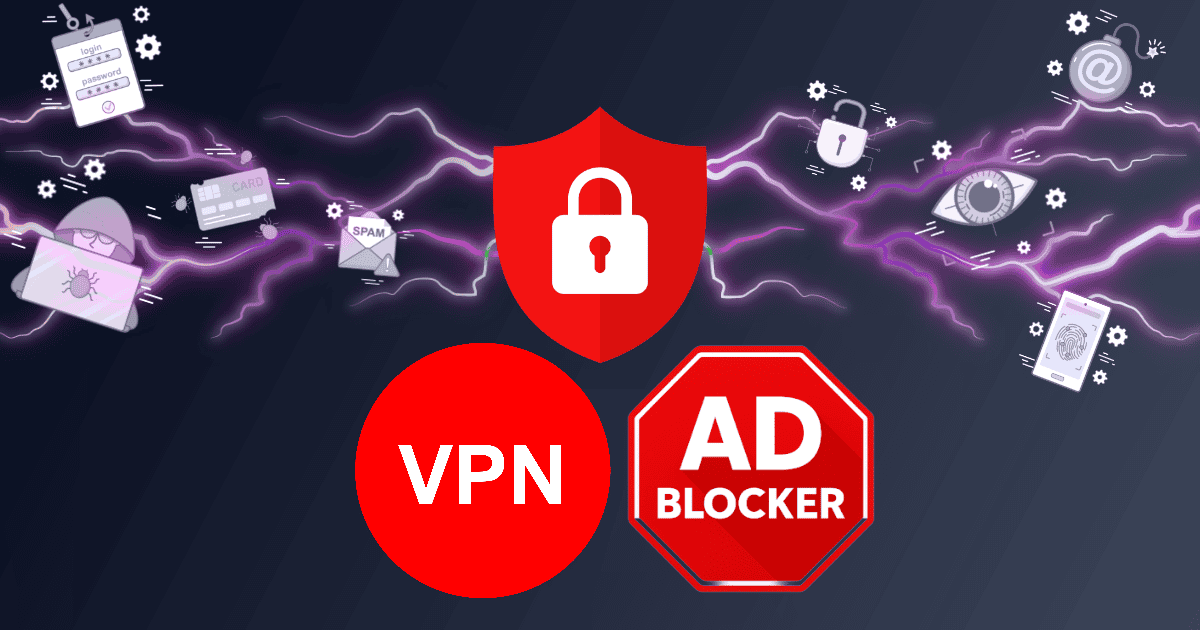
ESET is very strong security software, in fact, one of the best for Windows 10, with its comprehensive protection for your everyday home or business online activities.
Among its advantages and benefits include multi-layered security against any online or offline threats, privacy protection, safer connection and browsing, password management, data, and folder encryption, all backed by three decades of innovation built and run by security enthusiasts.
With such strong security, you can imagine what would happen when you try using your VPN with ESET and it gets blocked.
However, this doesn’t mean that it cannot be fixed. There are solutions to resolve the blockage and get back to enjoying the VPN services as soon as possible. Check out some of the fixes listed below.
Why is ESET blocking my VPN?
ESET antivirus blocks suspicious activity and connections. It can sometimes block certain DNS requests and connections, which can happen to be your VPN’s.
Another possible issue is that you mistakenly blocked the connection. When you access a new network, ESET asks you if you trust it, and if you picked No (by mistake) for your VPN, it will not let you connect.
This can be easily fixed by using a trusted VPN service. Additionally, you can remove all custom rules and manually add trusted addresses to ESET’s firewall.
How can I fix VPN blocked by ESET?
1. Allow VPN access
- Remove all custom rules
- Ensure all the subnets 192.168.1.0/24 and 10.1.1.0/24 are marked as Home or Office networks in the known networks setup
If this doesn’t help, run the Firewall troubleshooting wizard which shows a list of recently blocked communications and lets you create the appropriate allow rule with a few clicks.
2. Pause the ESET firewall
- Launch ESET to open the main program window
- Click Setup
- Select Network protection
- Click the slider bar next to Firewall
- Select Pause until reboot and click Apply. This will pause the ESET firewall till you restart your computer
VPN blocked by ESET can be resolved by pausing the ESET firewall until a system restart is performed. With the firewall paused, you can try to reconnect the VPN that is blocked.
While the ESET firewall is paused, the protection status will turn RED to indicate that the maximum protection isn’t ensured, and your PC is now vulnerable to threats.
If you are diagnosing potential firewall problems, connect the VPN that is blocked. If successful, then the problem is related to the firewall. Re-enable the firewall and complete the steps below to resolve connection issues. To do this:
- Launch ESET to open the main program window
- Click Setup and select Network protection
- Click the slider bar next to Firewall to enable the firewall status
- Try connecting your VPN again.
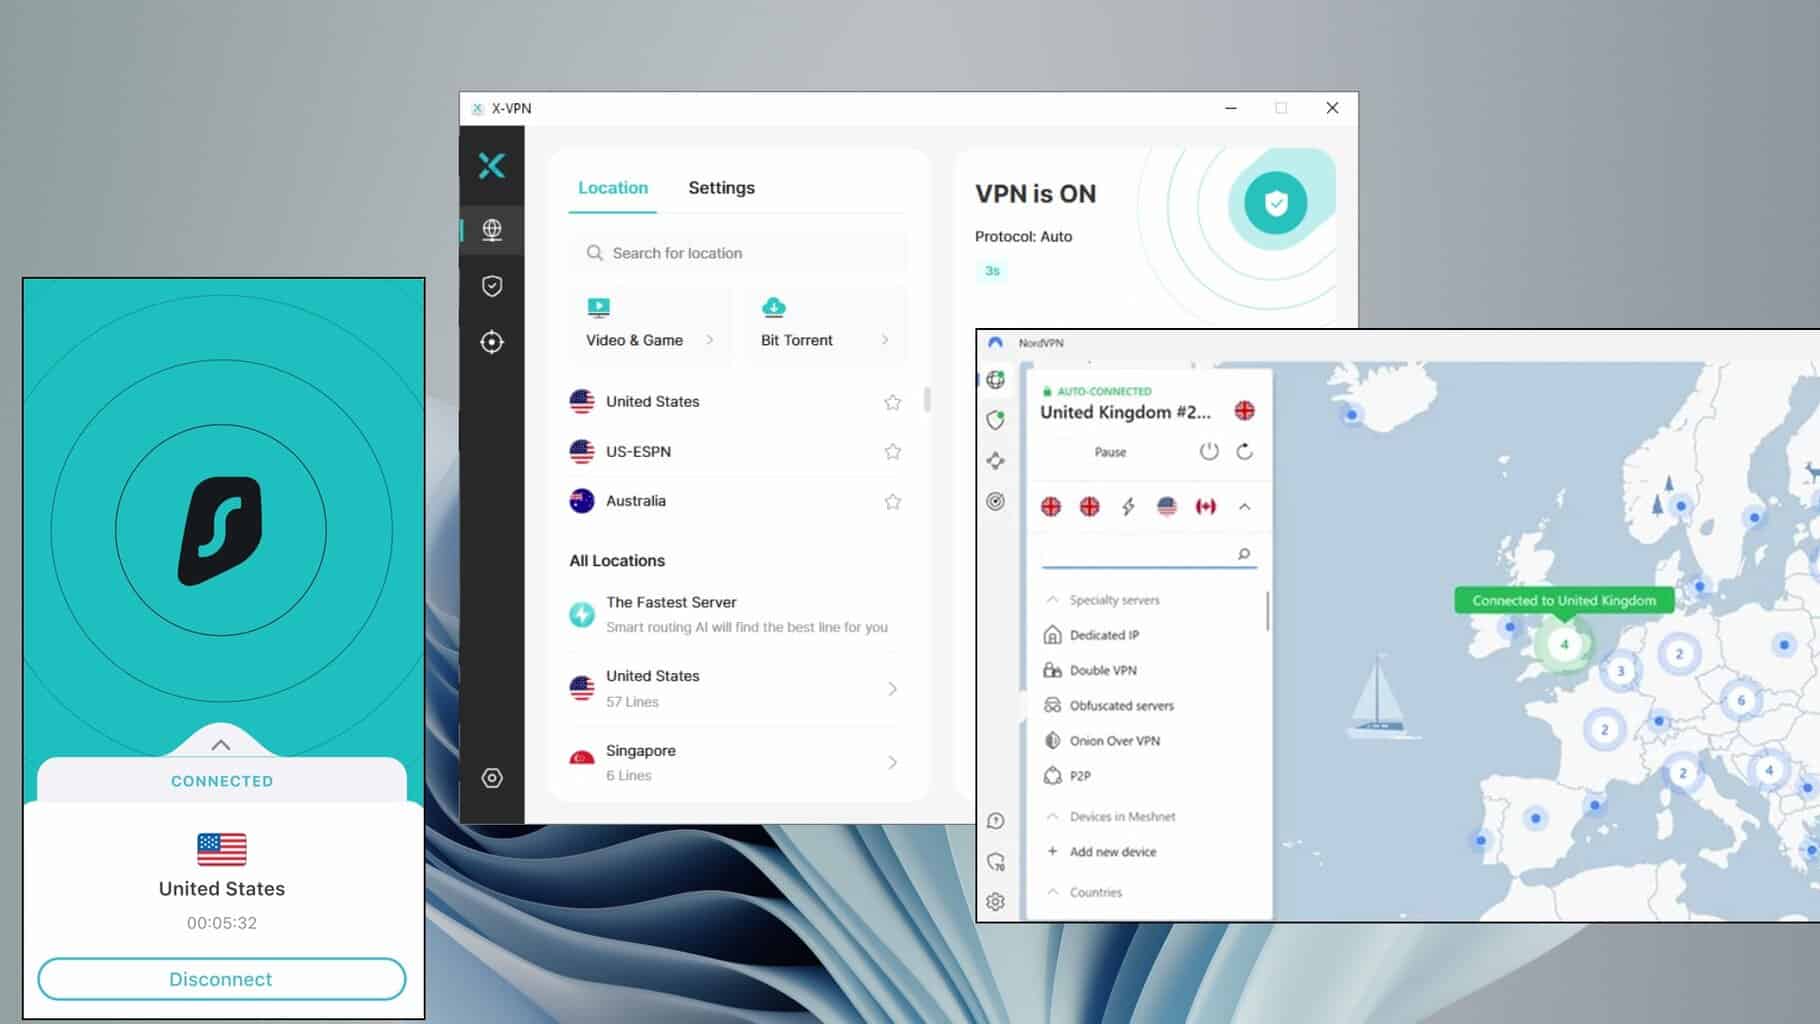
3. Use another VPN
If your current VPN client is being blocked by ESET, then the easiest solution is to switch to a different provider.
Private Internet Access is a reliable and ESET-compatible VPN service that works in conjunction with antivirus software to give you the maximum level of protection.
Whilst ESET will safeguard your PC from being infected with malware, PIA will create a secure tunnel between your machine and the target server.
This way, you reduce the likelihood of your PC being infected and you have the added benefit of having all your data encrypted and safe.
Signing up for PIA takes only a few minutes: just register an account, download the client, and select a server to connect to.
Moreover, once you start using Private Internet Access, you will benefit from all the other features offered:
- Protection for up to 10 devices simultaneously
- Blocks ads, trackers and malware
- Unlimited bandwidth for streaming content from all over the world
- Over 3300 servers in more than 45 countries
- Cross-platform support (Windows, Linux, macOS, Android, iOS)
- Support for Wireguard, PPTP, OpenVPN and L2TP/IPSec protocols
- P2P support
- Out-of-the-box compatibility with other software, including ESET
Private Internet Access
Private Internet Access will work alongside any software, including ESET and other antivirus solutions.4. Stop the ESET firewall from interrupting web browsing
- Launch ESET to open the main program window
- Press F5 to access Advanced setup
- Click Firewall and expand Advanced
- In the Filtering mode drop-down menu, select Interactive mode
- Next to Rules, click Edit
- Click Add
- In the Name field, type a name for your rule.
- In the Direction drop-down menu, select Both
- In the Action drop-down menu, select Allow and click OK
- Select the checkbox next to Show built-in (predefined) rules and select the rule you created in the Name field
- Click the UP arrow to move your rule to the top and ensure it is enforced
- Click OK to save changes
You can do this without exposing your system to security risks. If an intrusion is detected, the system will still be protected using this method. You can create a rule to permanently allow all network traffic.
5. Disable the firewall until re-enabled by you
- Launch ESET to open the main program window
- Click Setup
- Select Network protection
- Click the slider bar next to Firewall
- Select Disable permanently and click Apply.
This can potentially expose your system to an attack and isn’t recommended unless advised by ESET’s technical support to entirely disable the firewall. To disable HTTP, POP3 and IMAP scanning, follow the steps above.
Once you’re done, re-enable the firewall. The protection status won’t change to RED, though your PC will be at risk when the firewall is disabled.
6. Add a firewall exception
- Launch ESET to open the main program window
- Click Setup
- Select Network protection
- Click Troubleshooting wizard
- Locate your VPN in the list and click Unblock. If it isn’t in the list, check the temporary IP address blacklist. You may see other blocked communications unrelated to your problem, which is normal, and not related to your system security
- Click Done. Alternatively, click Unblock another and repeat these steps to unblock another communication.
The troubleshooting wizard helps resolve home network connectivity issues caused by ESET firewall with a VPN blocked by ESET. This fix will allow your VPN to work on your home network.
Check if the VPN can connect after doing the above.
7. Check temporary IP address blacklist and allow communication directly
- Launch ESET to open the main program window
- Click Setup
- Select Network protection
- Click Temporary IP address blacklist
- Select the blocked IP address you want to allow and click Add exception
- The IP address is removed from the Temporary IP address blacklist and is now on the IDS exceptions list. The IP address you allowed can now connect to your home network
The IP address of your VPN may have been added to the temporary IP address blacklist, and if it has, allow the communication directly from the list.
8. Use Firewall interactive mode
This mode helps you create personalized firewall rules to ensure your devices can connect to your home network. Network communication is handled based on predefined rules.
If there are no pre-existing rules applying to a detected communication, you will be prompted to allow or deny the connection. You can make this decision by saving it as a new rule for the firewall.
When the new rule is created, all future connections of this type will be allowed or blocked based on the rule.
Interactive mode will let you create a customized group of rules. This mode, however, isn’t intended for prolonged use. Disable it once you establish a set of rules for use in your environment.
Use it with caution especially in a corporate environment because inattentive users can create rules accidentally that may expose them to risks or hinder their ability to communicate over the network.
To create a firewall exclusion in Interactive mode, here’s what to do:
- Launch ESET to open the main program window
- Press F5 to access Advanced setup
- Click Firewall and expand Advanced
- In Filtering mode drop-down menu, select Interactive mode and click OK
- Run the VPN that was blocked. You will be prompted to allow or deny each connection that isn’t affected by an existing rule. To create the rules you need to unblock your VPN or device, select Create rule and remember permanently and then click Allow
- Press F5 on your keyboard to access Advanced setup
- Click Firewall, expand Advanced
- Click IDS and advanced options
- Expand Allowed Services and ensure the slider bars are all enabled. Don’t change settings in the Intrusion Detection or Packet Inspection sections. Click OK when you’re done.
- Once you finish creating rules, reset the filtering mode to automatic. Click Firewall, expand Advanced and select Automatic mode (from filtering mode drop-down menu)
- Click OK
9. Create a Firewall rule to permit specific connections
- Launch ESET to open the main program window
- Press F5 to access Advanced setup
- Click Firewall and expand Advanced
- Click Edit (next to Rules)
- Click Add
- Type a name for the rule in the Name field and select your desired options from the Direction and Action drop-down menus
- Click the Local tab and select Browse (…)
- Go to your VPN and click Open
- Click OK>OK>OK to save changes
10. Create a rule to allow/deny a connection from a remote IP address
- Launch ESET to open the main program window
- Press F5 to access Advanced setup
- Click Personal Firewall and expand Advanced
- Click Edit (next to Rules)
- Click Add
- Type a name for the rule in the Name field and select Both from the Direction and then select Allow or Deny from the Action drop-down menus depending on if you want to block or allow the specific IP address, or not
- Click Remote tab and type the IP address, range or subnet you want to allow/deny in the IP field and click OK
- Select the checkbox next to Show built-in (predefined) rules
- Scroll down and select the new rule you added and click the Top icon to move the rule up to the top
- Click OK twice to save changes and exit
These solutions should help you secure your traffic with the VPN whilst using ESET to protect against malware.
For those of you wondering wether ESET has a built-in VPN solution, they don’t, but it works great alongside most third-party VPNs if you configure it correctly.
Did any of these solutions help? Let us know in the comments section below.
Read our disclosure page to find out how can you help Windows Report sustain the editorial team. Read more


Improve this guide

User forum
0 messages