Download and Install Focusrite Scarlett Solo Driver on Windows
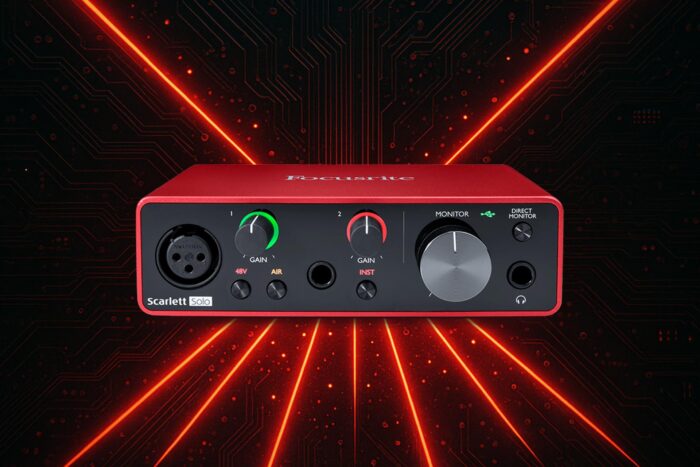
If your Focusrite Scarlett Solo is not detected or you face sound issues, the problem often comes from outdated or missing drivers. Installing the correct driver will restore proper functionality and give you the best audio performance.
How to download and install Focusrite Scarlett Solo driver?
Table of contents
1. Download the official driver
- Go to the Focusrite Downloads page.

- Select Scarlett Solo from the product list.

- Choose your operating system.
- Download the recommended driver package.
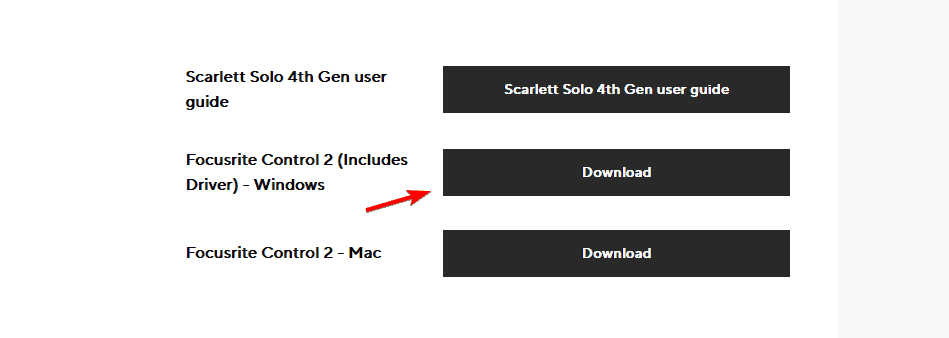
- Run the installer and follow the on-screen instructions.
2. Use Device Manager to update the driver
- Press Win + X and choose Device Manager.

- Expand the Sound, video and game controllers section.
- Right-click your Scarlett Solo device and select Update driver.

- Choose Search automatically for drivers.

- Restart your PC to apply the changes.
3. Reinstall the driver manually
- Open Device Manager again.
- Right-click your Scarlett Solo and choose Uninstall device.

- Confirm removal and restart your PC.
- Download the driver again from Focusrite’s official site.
- Install it fresh and test the device.
Additional fixes if the driver fails
Sometimes Windows can cause conflicts with USB audio devices. If your Scarlett Solo is still not recognized, check these resources for extra solutions:
- Learn how to properly set up a Windows USB audio driver.
- If Windows shows errors, here is what to do when it cannot find your audio device.
- If nothing works, follow this step-by-step to reinstall audio drivers on Windows 11.
Installing or updating the correct Focusrite Scarlett Solo driver ensures your audio interface runs smoothly and delivers the best sound quality. If Windows fails to recognize it, reinstalling the driver or checking for USB audio conflicts usually resolves the problem quickly.
Read our disclosure page to find out how can you help Windows Report sustain the editorial team. Read more


Improve this guide


User forum
0 messages