How to Optimize Your PC for Music Production
Using a PC optimization tool can solve that is seconds
![]() 4 min. read
4 min. read
![]() Updated on
Updated on
Share this article
Improve this guide
Read our disclosure page to find out how can you help Windows Report sustain the editorial team. Read more

When diving into music production, a well-optimized PC can make all the difference. Lag, crashes, and slow load times can disrupt your creative flow. Here’s a comprehensive guide to ensure your PC is running at its best for music production.
How do I optimize my PC for music production?
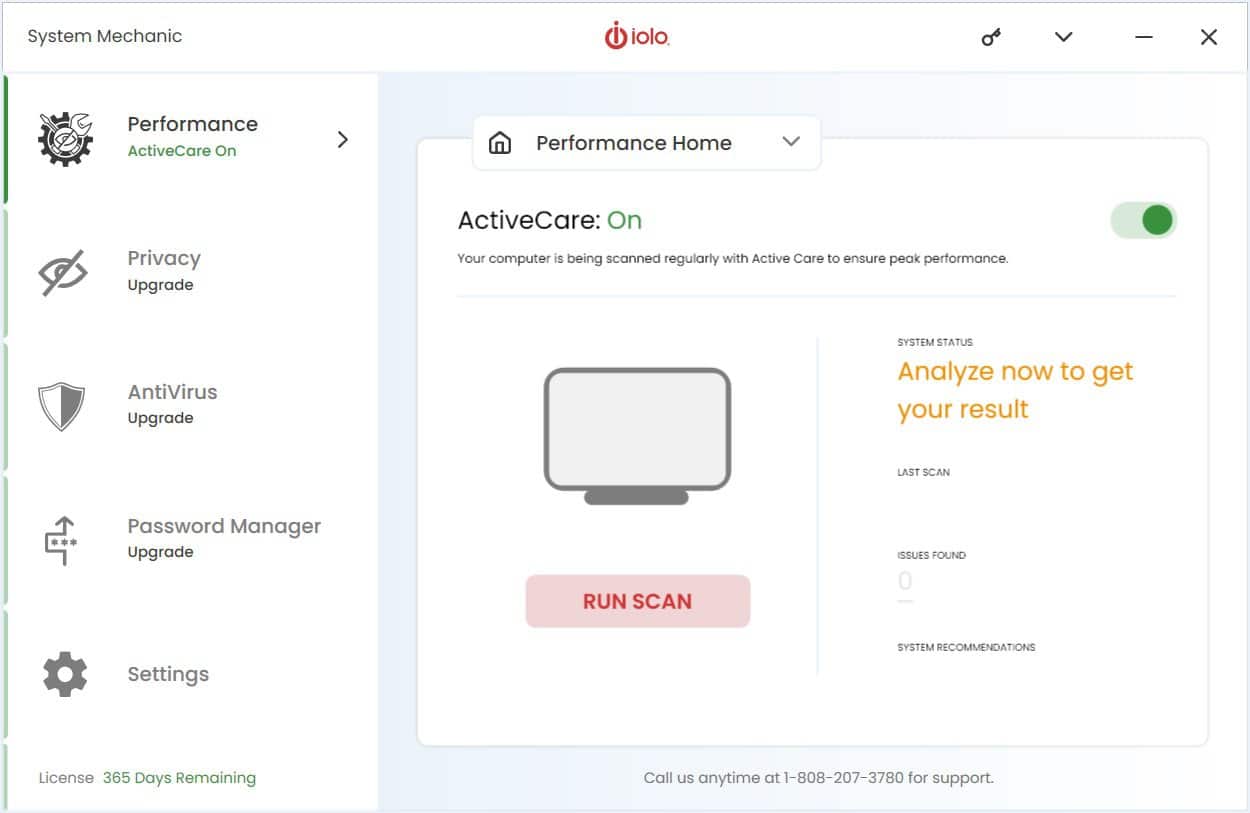
1. Run IOLO System Mechanic’s optimization tools
- Go to the dedicated IOLO website and get the System Mechanic software.
- Open System Mechanic from your Start menu.
- Go to the Performance tab from the left.
- Click the Performance drop-down menu and select LiveBoost.

- Now, from the Select a PowerSense Mode menu, choose Ultra Performance – Music/Video Production.
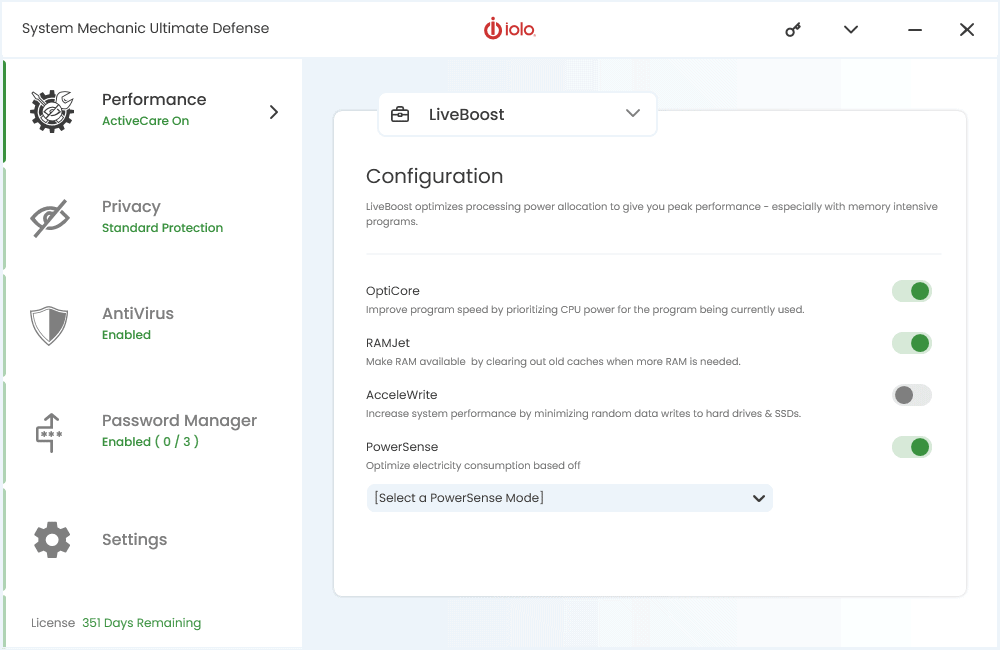
This setting will set up your computer for maximum performance when working for music/audio production software by adjusting the power consumption. Basically, System Mechanic will perform most of the necessary adjustments instructed in the methods below.
2. Adjust the performance & power options
- Click the Start icon, type Advanced system settings and press Enter.
- In the Performance section, click Settings.

- Under the Visual Effects tab, select Adjust for best performance.
- In the Advanced tab, under Processor Scheduling, select Background services.
- Change Data Execution Prevention settings to Turn on DEP for essential Windows programs and services only.
- Click Apply and OK.

Changing these settings ensures your system allocates maximum resources to background services and processes, improving your DAW’s performance.
3. Manage USB Power Settings
- Open the Start Menu and type “Device Manager,” then press Enter.
- Expand the “Universal Serial Bus controllers” section.
- Right-click each USB Root Hub and select “Properties.”
- Go to the “Power Management” tab and uncheck “Allow the computer to turn off this device to save power.”
- Repeat for all USB Root Hubs.
This prevents your PC from cutting power to USB ports, ensuring connected devices like MIDI keyboards and audio interfaces function without interruption.
4. Disable unnecessary background apps
- Press Ctrl + Shift + Esc to open Task Manager.
- Navigate to the Startup” tab.
- Right-click on any non-essential programs and select Disable.
- Go to the Processes tab and right-click on unnecessary processes, then select End Task.
Disabling these processes ensures your PC’s CPU and memory are focused on your DAW rather than other applications.
5. Optimize audio interface performance
- Install the latest drivers for your audio interface from the manufacturer’s website.
- If necessary, download and install ASIO4ALL, a third-party driver.
- Open your DAW and select the ASIO4ALL driver if your interface lacks a robust native driver.
- Adjust the buffer size and sample rate in your DAW settings for optimal performance.
Updating drivers and setting the correct buffer size ensures smoother audio processing and minimizes latency.
6. Use dedicated SSDs
- Install SSDs for your DAW projects, sound libraries, and plugins.
- Move these files to the SSDs to free up space on your main drive.
SSDs have faster read/write speeds than HDDs, significantly reducing loading times and improving overall performance.
7. Disable System Sounds and Notifications
- Open Control Panel and select Hardware and Sound.
- Click on Sound and go to the Sounds” tab.
- Under Sound Scheme, select No Sounds and click Apply.
- Open the Start menu, type Notifications & actions settings, and press Enter.
- Toggle off notifications for all unnecessary applications.
Disabling system sounds and notifications prevents interruptions and potential conflicts with your audio software.
8. Manually set page file size
- Open the Start menu, type Advanced system settings, and press Enter.
- Go to the Advanced tab and click Settings under Performance.
- Navigate to the Advanced tab and click Change under Virtual Memory.
- Uncheck Automatically manage paging file size for all drives.
- Select Custom size, set the initial size to 1024 MB or higher, and the maximum size accordingly.
Manually setting the page file size ensures your system has enough virtual memory allocated, preventing sluggish performance during intensive audio tasks.
By following these steps, you’ll ensure your PC is finely tuned for music production, allowing you to focus on creating without technical interruptions. Regular maintenance and updates can keep your system running smoothly in the long run.
If you’re interested in the best music production software, click the highlighted link for our dedicated list. We also have a list of the best music production apps for beginners.
For any questions or suggestions, hit the comments section below and let us know.

User forum
0 messages