How to upgrade from Hyper-V Server 2008 R2
Microsoft ceased support for Windows 7 earlier this year. Not only that, but Windows Server 2008 and Windows Server 2008 R2 is also being discontinued.
That being said, users are forced to migrate to Windows 10, and Windows Server 2012 respectively.
The discontinuation of Microsoft Server 2008 and 2008 R2 means that those of you still using Hyper-V Server 2008 R2 will also have to upgrade at some point.
While the upgrade isn’t mandatory, you will be exposed to security threats if you do not accept it.
Unlike Microsoft Server 2008, upgrading a Hyper-V Server is a bit more complicated, meaning that an in-place upgrade is impossible.
Thus, and the only way to upgrade is to install a new copy of the operating system.
Note: This installation will remove all your virtual machines from the console, so backing up all of your virtual machines is recommended.
How do I upgrade from Hyper V Server 2008 R2?
For starters, you should move the virtual machines to a new host that is running the version of Hyper-V Server that you want to use. Once all the guest machines have been moved, then you should reinstall the first machine.
However, if you need to upgrade in place then you will need to follow the steps below:
- Make sure that you have a backup
- Move all the guest virtual machines to known locations
- Avoid having configuration files saved in locations like C:\ProgramData
- This is because any data stored in such locations will get archived
- Keep tabs on all the virtual machines, settings and VHD file locations
- Make a note of any static MAC addresses set
- Make a note of all the iSCSI targets you have configured
- Keep tabs on SAN IPs, drive letters or mount points where these are referenced
- Make a backup of the virtual switch configuration on the machine
- Backup everything again
Since backing up Hyper-V is so important, might as well use a tool that is good at it!
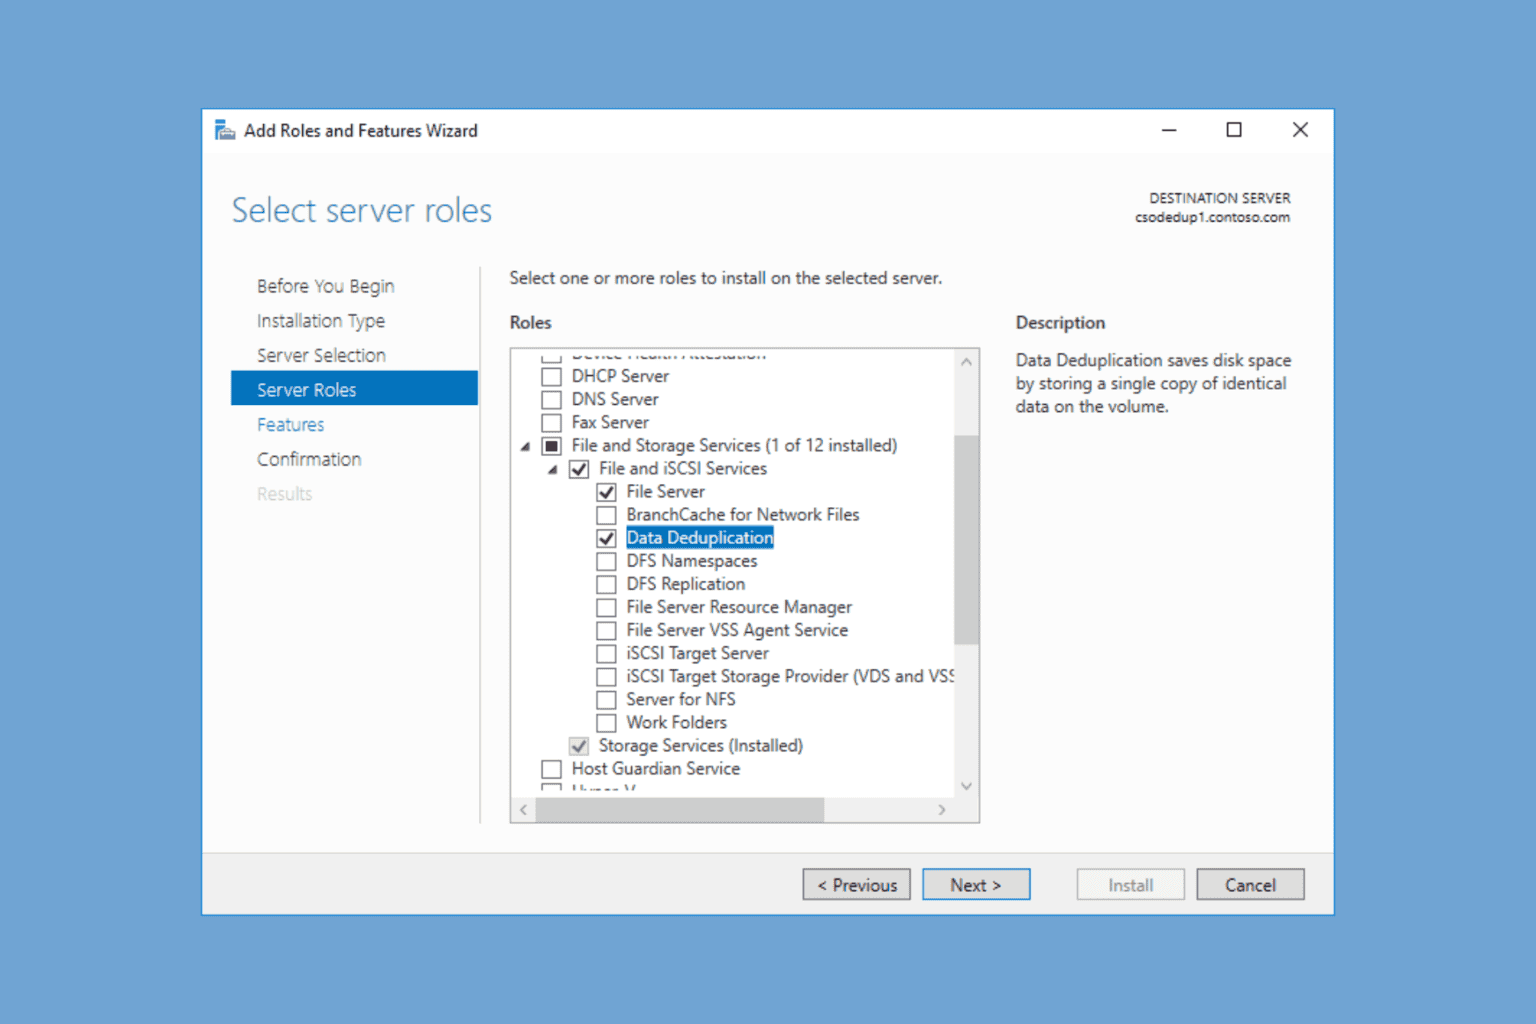
Once everything is backed up and relocated, you install Hyper-V Server by wiping the server and installing a new copy. There is no upgrade path.
Basically, you back up all of your data, and once you’ve installed Hyper-V Server 2012 or later, you just copy back the data you backed up.
While this workaround may be a bit frustrating, it is the only way you can migrate from Hyper-V Server 2008 without data loss.
Do you think Hyper-V Server should implement an in-place upgrade feature? Let us know in the comment section below.
RELATED ARTICLES YOU SHOULD CHECK OUT:
Read our disclosure page to find out how can you help Windows Report sustain the editorial team. Read more


Improve this guide


User forum
0 messages