Indexing Is Paused: How to Fix This Issue on Windows 11
Rebuild the search index on unsupported hardware
![]() 5 min. read
5 min. read
![]() Updated on
Updated on
Share this article
Improve this guide
Read our disclosure page to find out how can you help Windows Report sustain the editorial team. Read more
Key notes
- Search Indexing can be extremely helpful in Windows, but if you're using an unsupported device, you may run into problems.
- If indexing is paused, you can run a system file checker scan or uninstall the most recent Windows update.
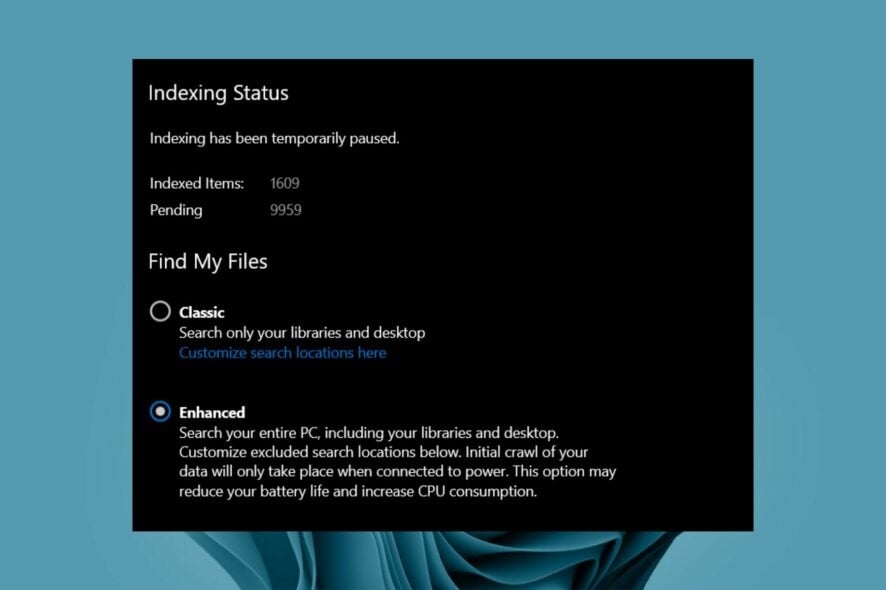
Indexing is useful when you want to quickly find something on your computer, such as an email message or a document. With indexing, you can search through your entire hard drive – everything from documents and pictures to music and videos.
While this is an easy way to find what you’re looking for, you may find that the feature is sometimes plagued by glitches. Users have reported getting a message saying Indexing is paused, meaning their search is cut short. Let’s look at possible fixes for this.
Why is indexing paused?
Below are some possible reasons why your indexing is paused in Windows 11:
- Corrupt Windows update – It is possible that a Windows update is the culprit. Windows Updates are not without their own share of faults.
- Power settings – According to some users, this issue occurs because indexing is paused by the local battery-saving policy. If you’re in power-saving mode, this may be the reason.
- Disabled Windows search – It’s possible that you may have disabled Windows search without knowing.
- Corrupt system files – If for some reason, you have corrupt system files, indexing may not work normally.
How do I fix the Indexing is paused error?
A few preliminary steps that could solve the issue before you proceed to the slightly technical solutions include:
- Close any running background apps and processes.
- Turn off indexing then turn it on again.
- Finally, try restarting your PC.
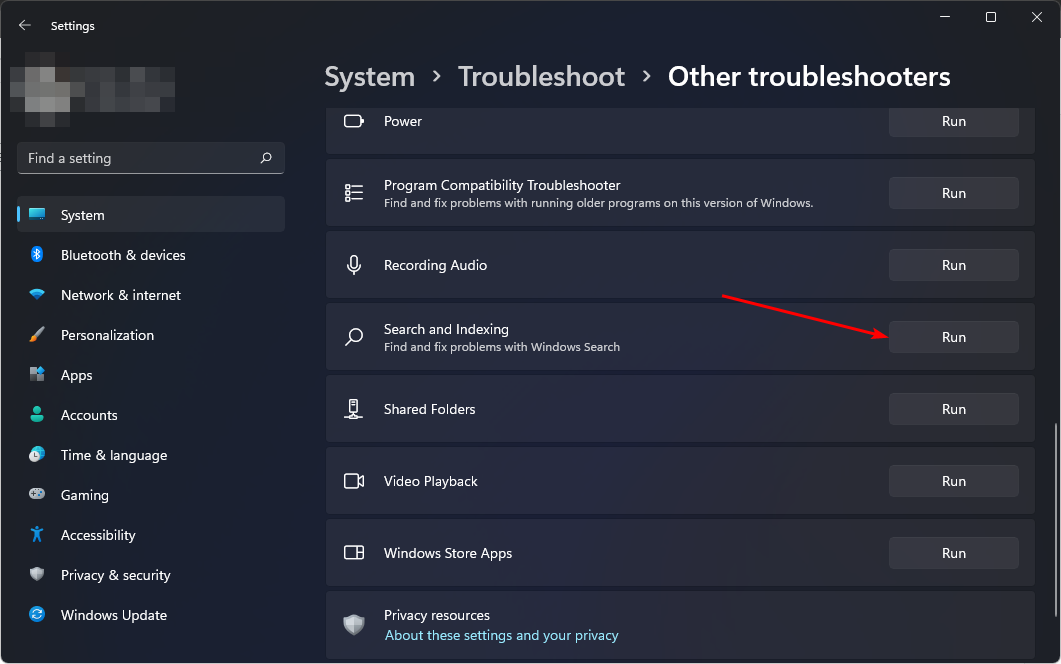
1. Run the Indexing troubleshooter
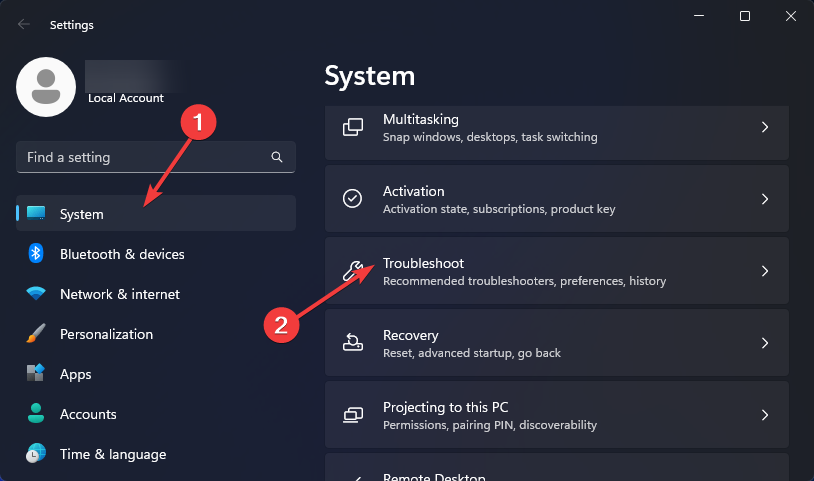
- Hit the Windows key and select Settings.

- Select System and click on Troubleshoot.

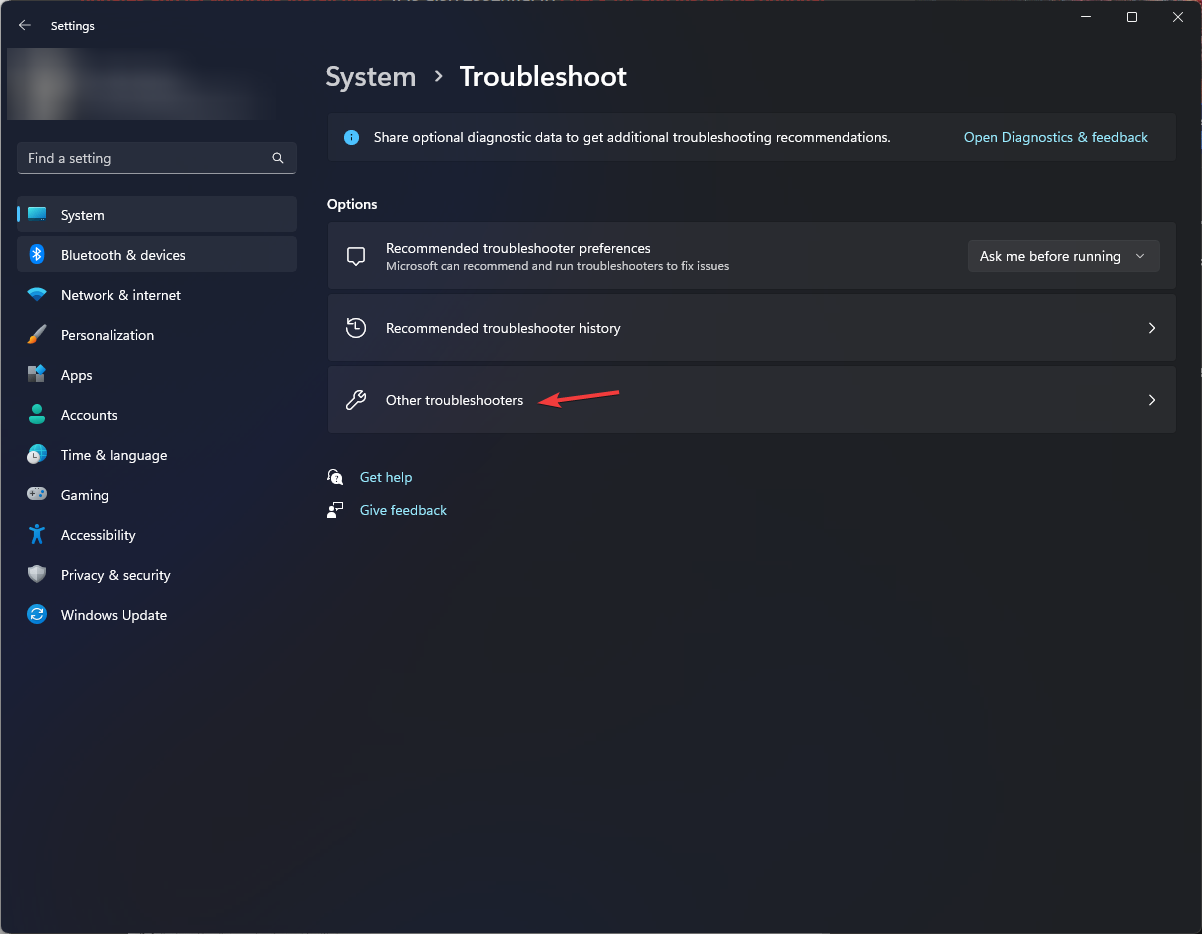
- Click on Other troubleshooters.

- Navigate to Search and Indexing troubleshooter and click the Run button next to it.

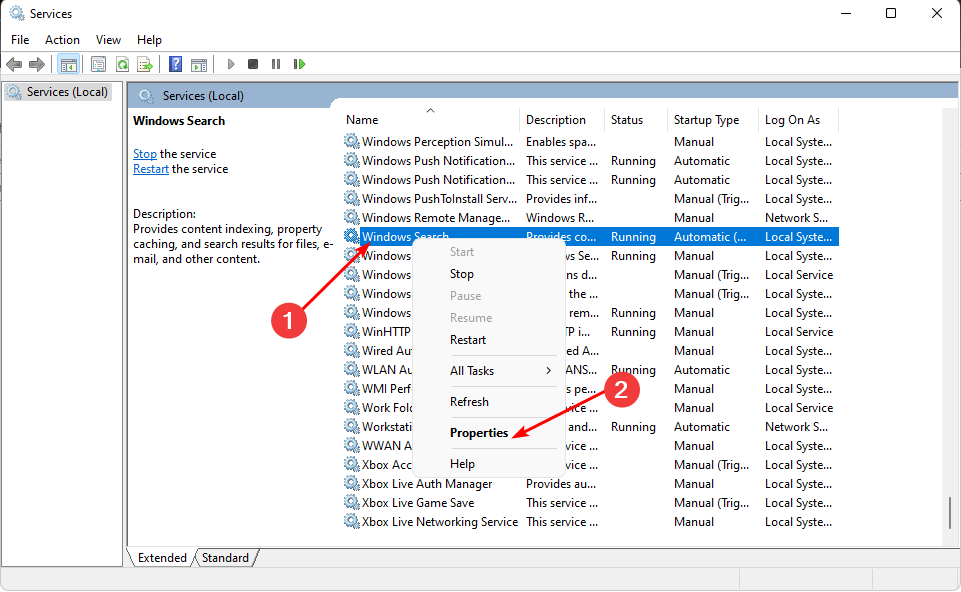
2. Restart the Windows Search service
- Hit the Windows + R keys to open the Run command.
- Type services.msc in the dialog box and hit Enter.

- Locate Windows Search, right-click on it, and select Properties.

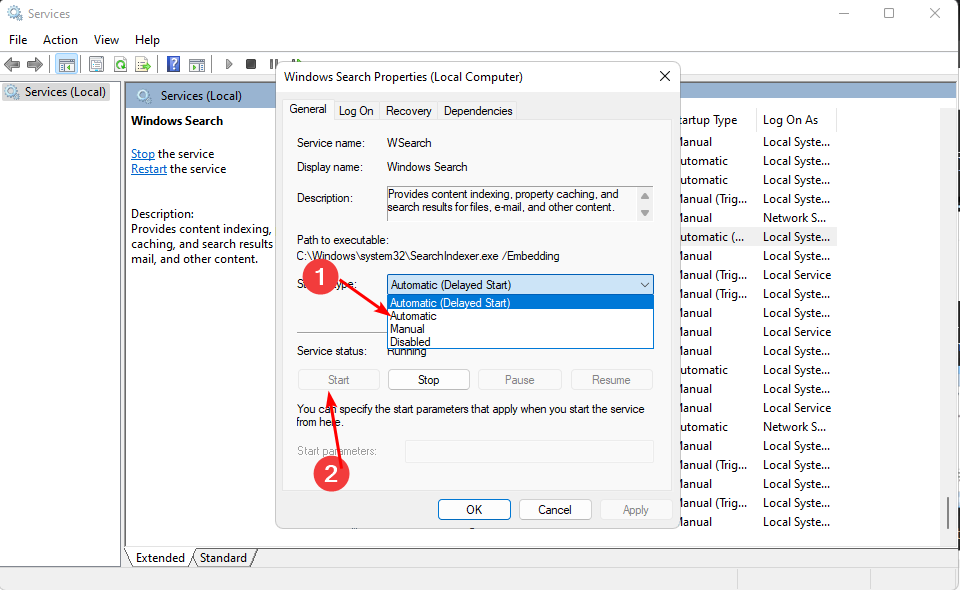
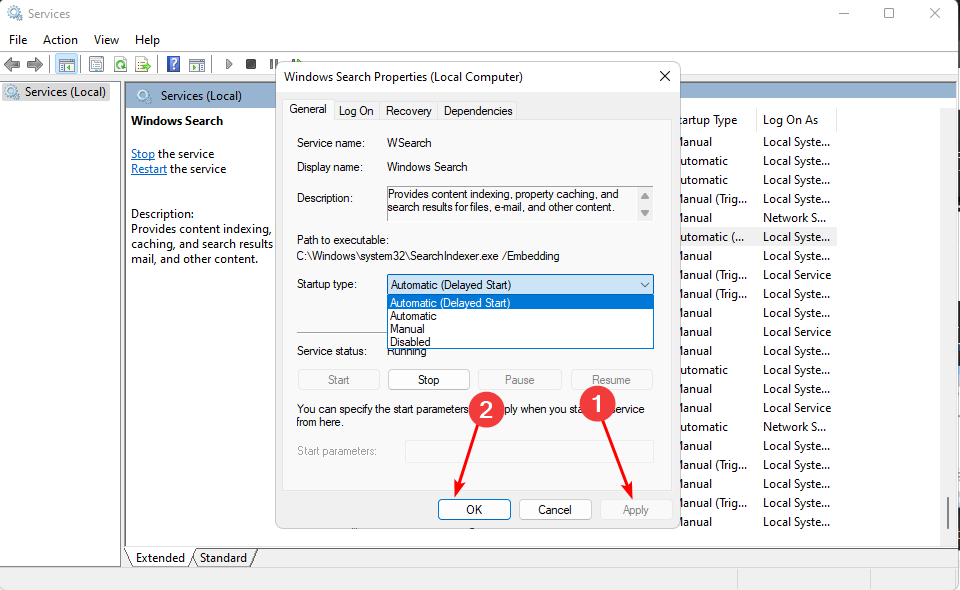
- Go to Startup type, and in the drop-down menu, select Automatic, then click Start.

- Click Apply, then OK to save changes.
- Restart your PC and see if the issue persists.

3. Rebuild the search index
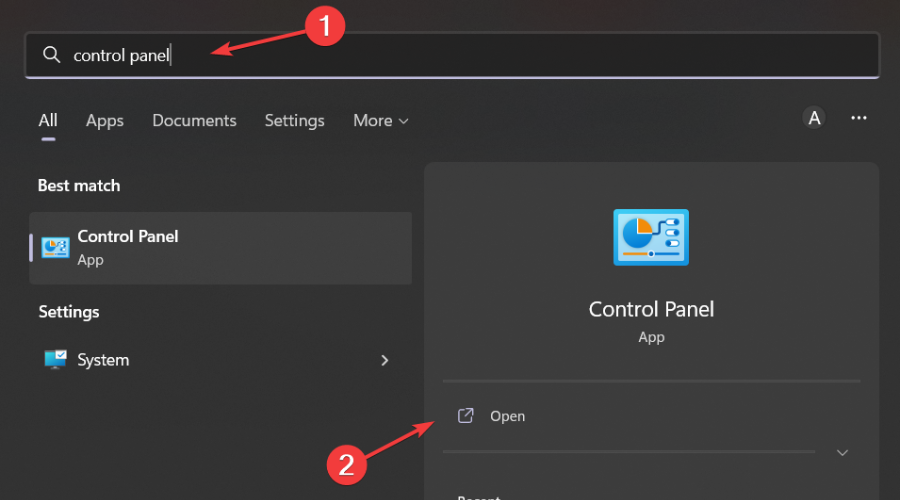
- Hit the Windows key, type Control Panel in the search bar, and click Open.
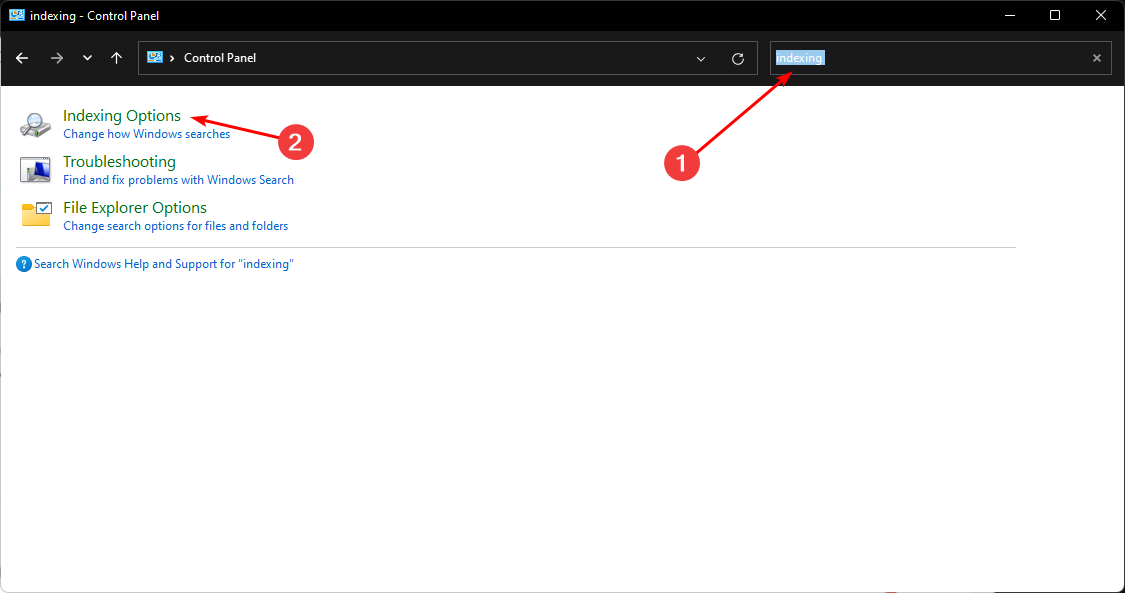
- Search for Indexing Options in the Control Panel search bar and click to Open.

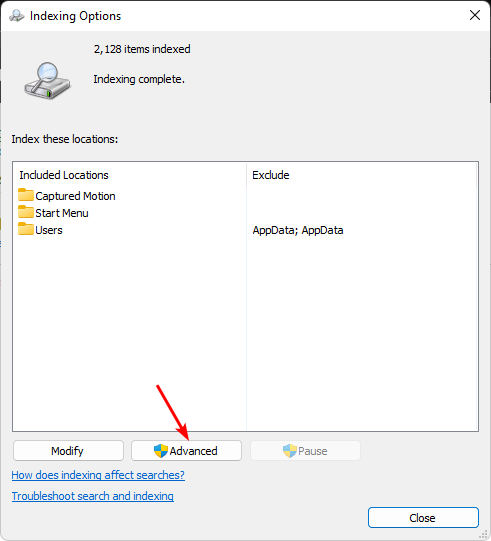
- In the Indexing Options dialog box that opens, select the Advanced option.

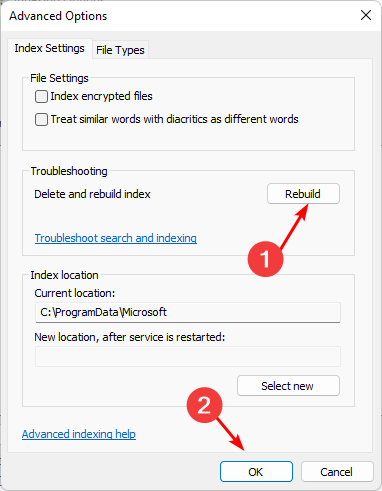
- Click Rebuild under Troubleshooting in the Advanced Options dialog box that pops up.

- Press OK to confirm that you want to rebuild. Note that it may take a while, so ensure you don’t have any pressing matters when performing this step.
Rebuilding the Search index is particularly helpful for users who upgraded to Windows 11 with devices that did not meet the system requirements. We have already looked at some of the consequences of using an incompatible device with the OS, and this happens to be one of them.
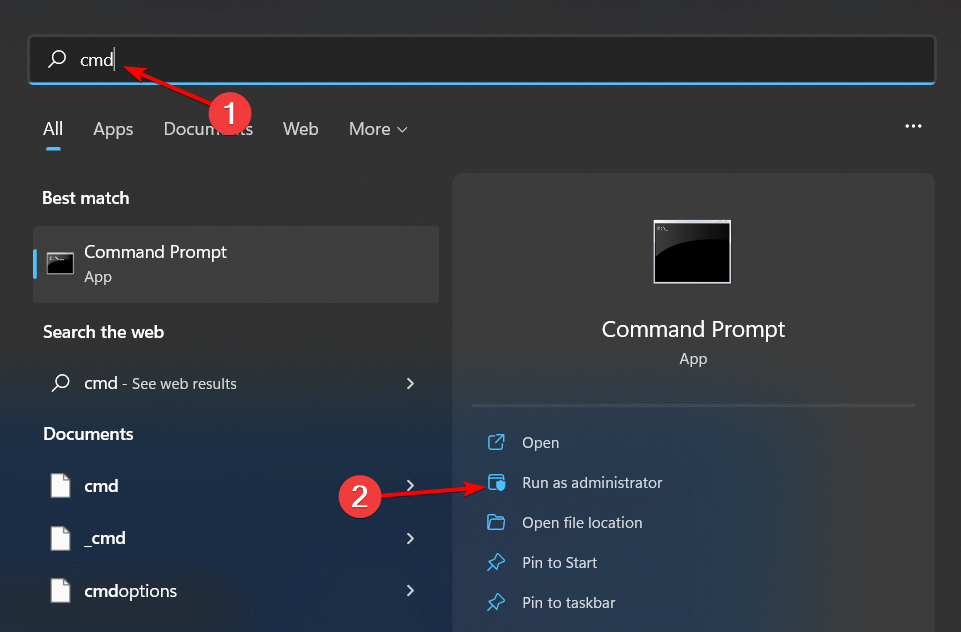
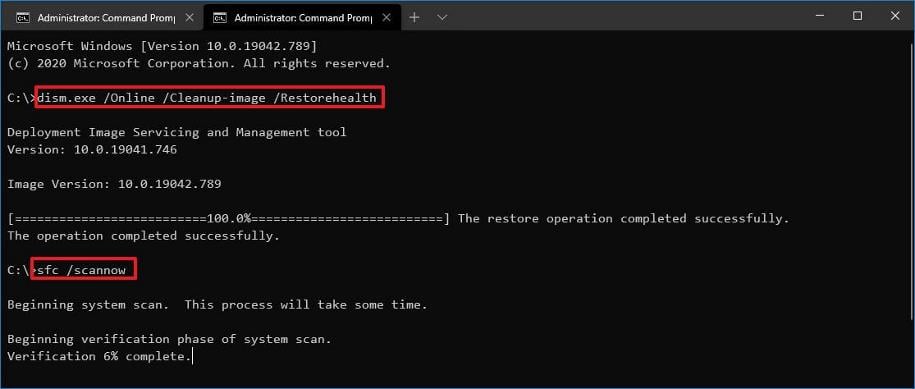
4. Run DISM and SFC scans
- Hit the Start Menu icon, type cmd in the search bar, and click Run as administrator.

- Type the following commands and press Enter after each one:
DISM.exe /Online /Cleanup-Image /Restorehealthsfc /scannow
- Restart your PC.
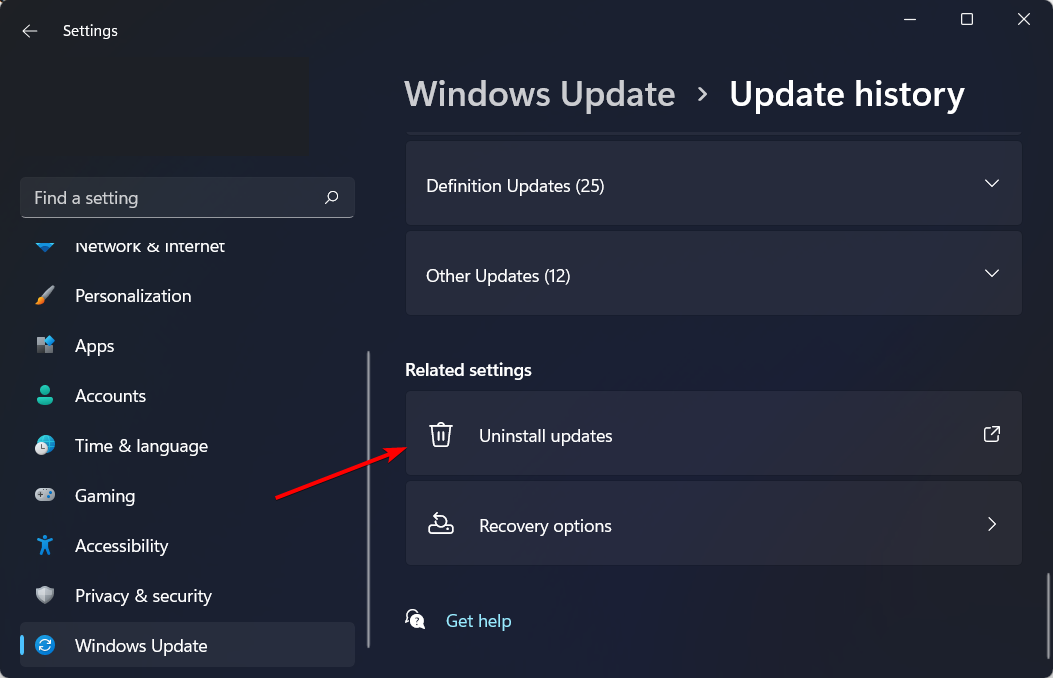
5. Uninstall recent Windows Update
- Hit the Windows key and select Settings.
- Click on Windows Update and select Update history on the right pane.

- Scroll down, and under Related settings, click on Uninstall updates.

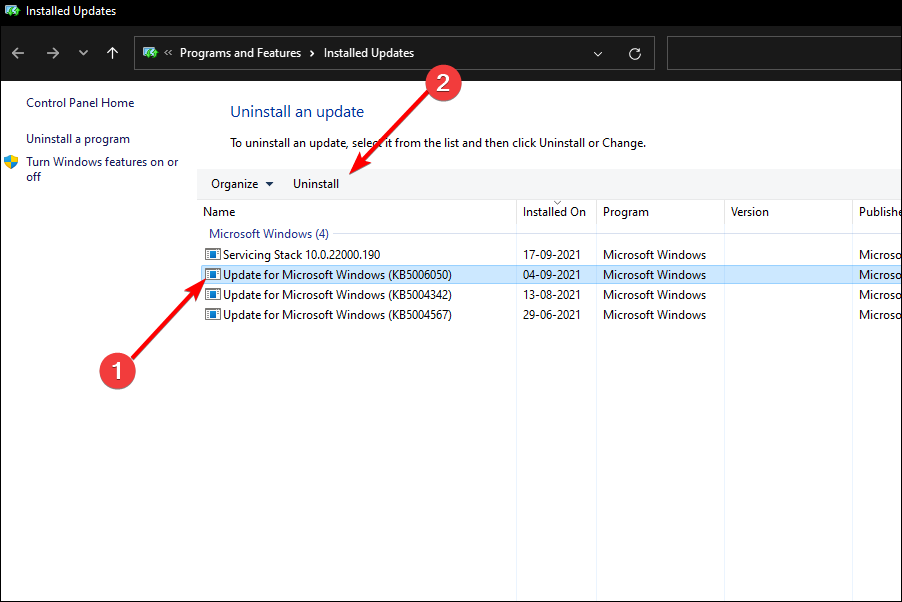
- This will take you to the most recent installed updates.
- Select the topmost update and click on Uninstall.

- Restart your PC and check if the problem persists.

Remember to keep checking for new updates because if it was a glitch in the released updates, Microsoft might release new ones to fix the known issue.
6. Disable Indexing of Outlook
- Hit the Windows + R keys to open the Run command.
- Type regedit in the dialog box and hit Enter.

- Navigate to the following location:
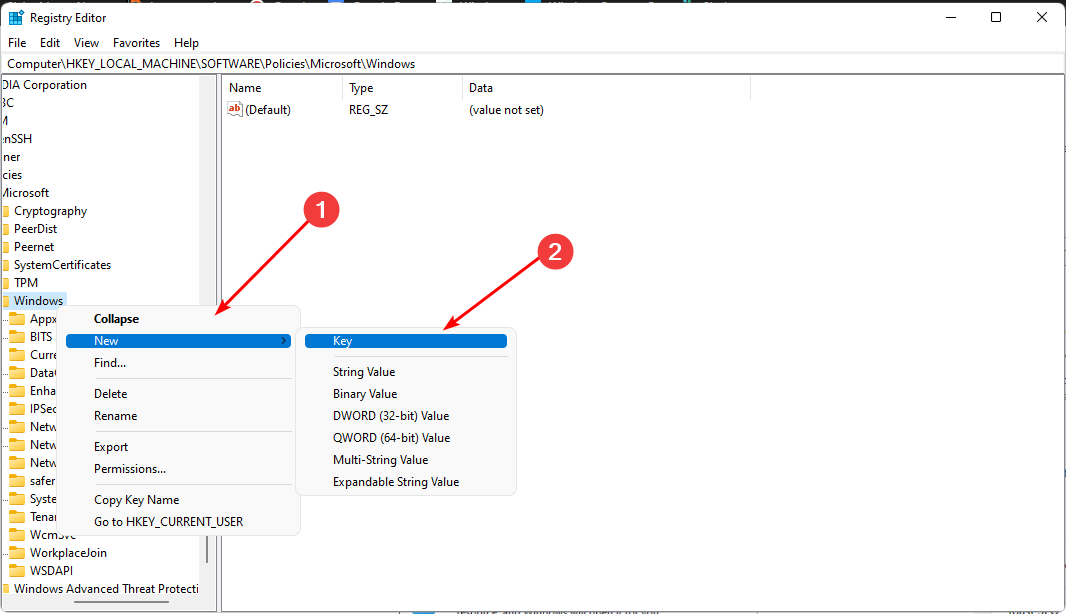
HKEY_LOCAL_MACHINE\SOFTWARE\Policies\Microsoft\Windows - Right-click on Windows, select New Key, and rename it as Windows Search.

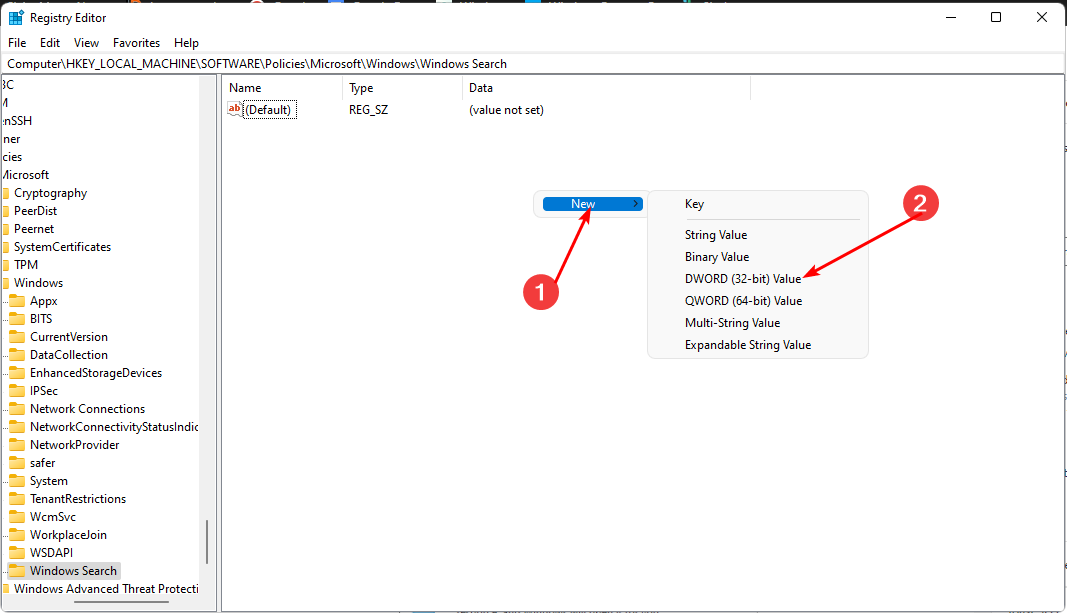
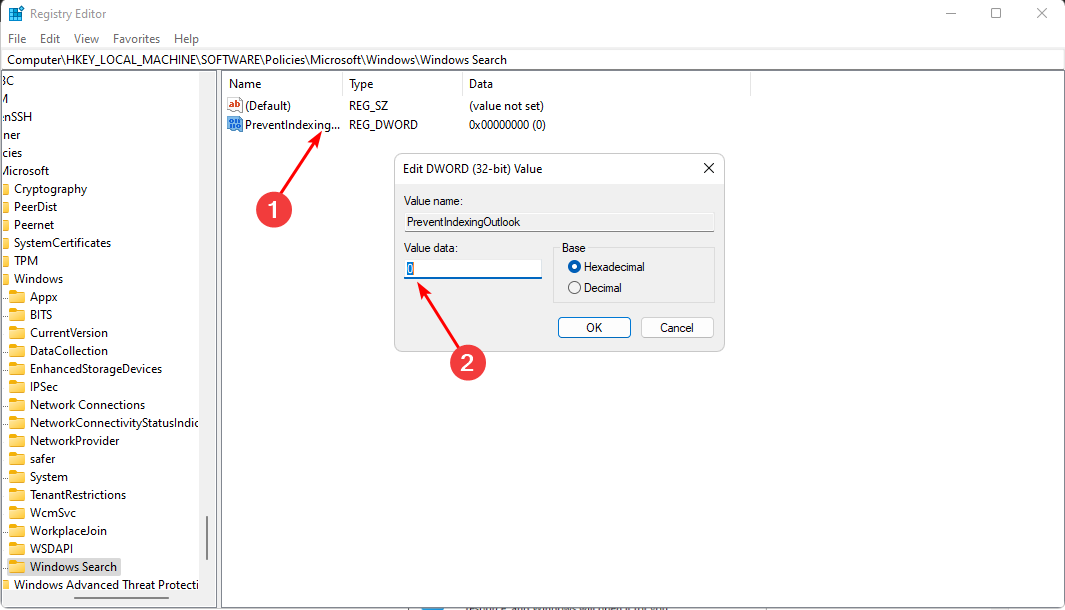
- Move on to the right pane, right-click on an empty space, and select New DWORD (32-bit) Value.

- Rename it as PreventIndexingOutlook and set its Value data to 1.

- Restart your PC.

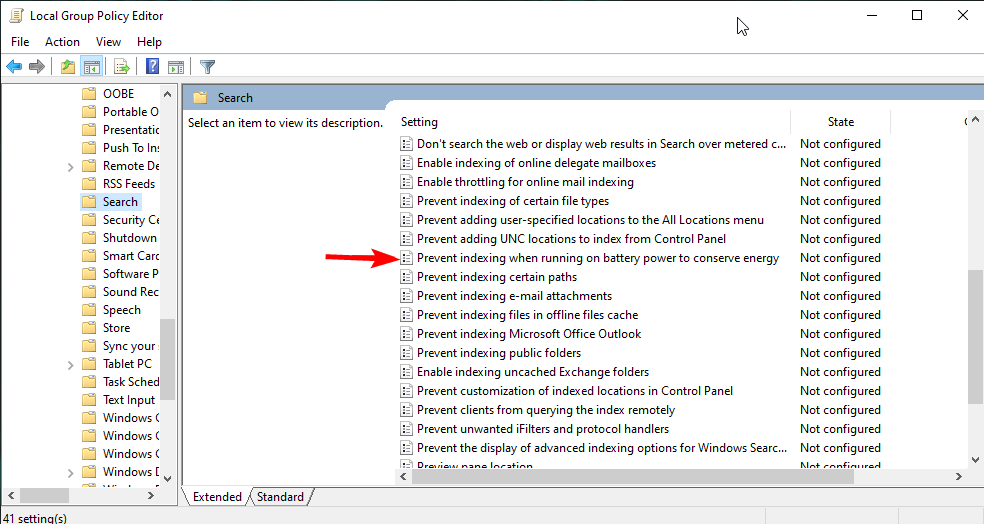
7. Turn off the battery policy
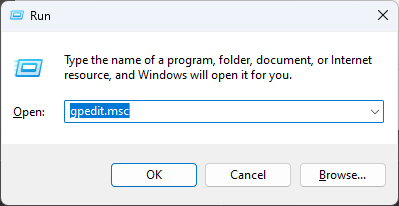
- Hit the Windows + R keys to open the Run command.
- Type gpedit.msc in the dialog box and hit Enter.

- Navigate to the following location:
Computer Configuration/Administrative Templates/Windows Components - Locate Prevent indexing when running on battery power to conserve energy on the right-hand pane and double-click on it.

- In the dialog box that opens, check the Disabled option, then click on Apply.
- Restart your PC.
If none of these solutions work for you, you might have a damaged hard drive. Indexing may not be able to locate the files if it cannot read from the source. In such a case, you first must attempt to repair your hard drive before proceeding.
If you’re lucky and have been able to bypass this error, you may be interested in ways to speed up indexing for faster results.
Let us know what solution worked for you in the comment section below.


User forum
0 messages