Keyboard Automatically Typing: How to Fix It Fast
First, make sure that your keyboard is clean and properly connected to your PC

If your keyboard started typing on its own, don’t panic. It’s not necessarily a virus or a hardware failure. It could be something much simpler, like a stuck key, an outdated driver, or even interference from connected devices.
In this guide, we’ll walk you through the most common causes (and fixes) so you can stop the ghost typing and get back to work.
How to fix a keyboard that’s typing on its own
1. Run the keyboard troubleshooter
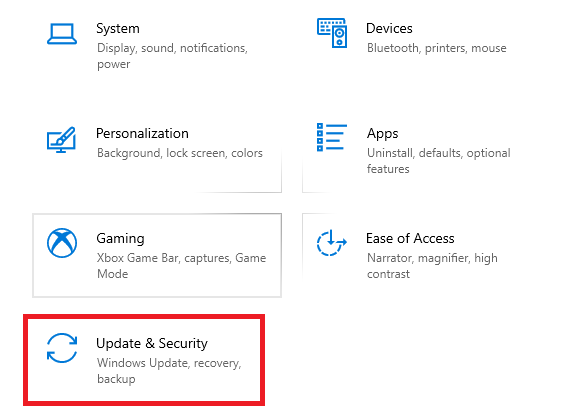
- Press Windows + I to open the Settings app and navigate to the Update & Security section.
- Select Troubleshoot from the menu on the left. In the right pane, select keyboard and click the Run the troubleshooter button.
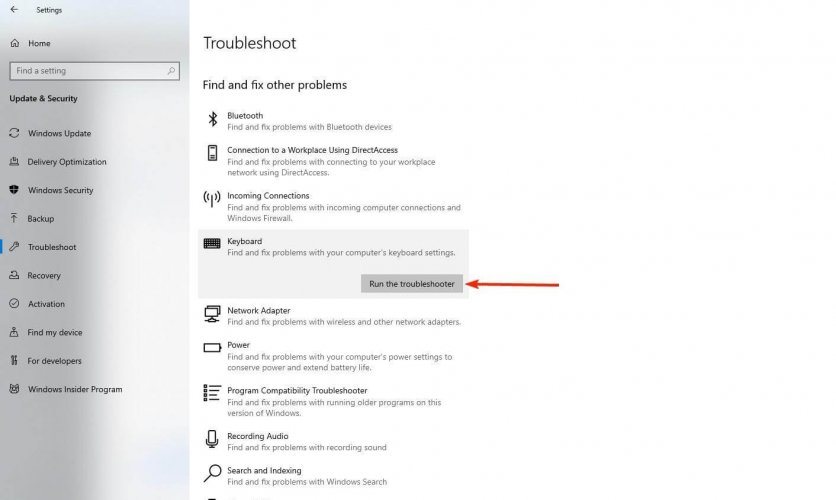
- Follow the instructions on the screen to complete the troubleshooting process.
Once the troubleshooting process is finished, check if the problem is still there. According to users, the problem might be a temporary software glitch, and running the troubleshooter should fix it.
2. Update/Reinstall the keyboard driver
2.1 Update the driver
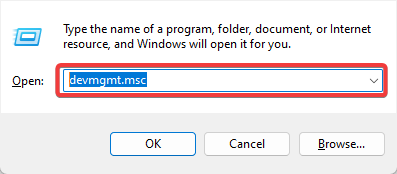
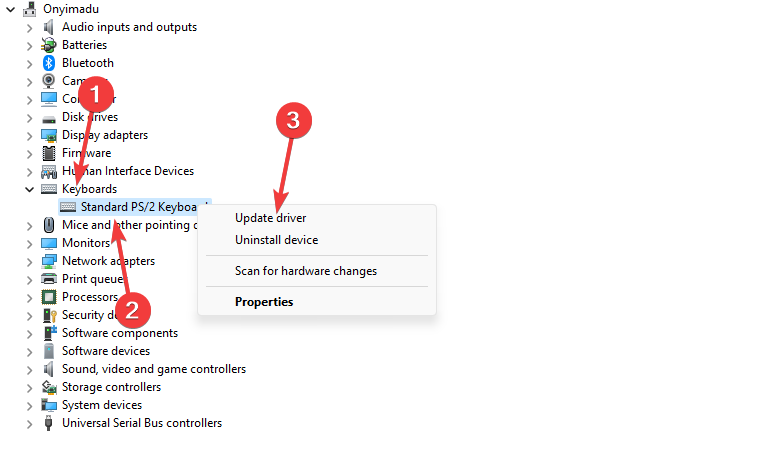
- Press Windows + R, type devmgmt.msc, and hit Enter.
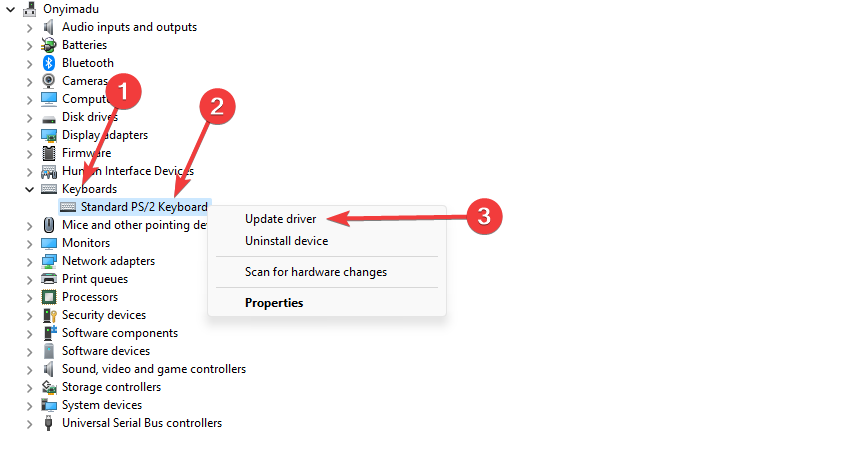
- Locate the keyboard driver, right-click on it, and select Uninstall driver.
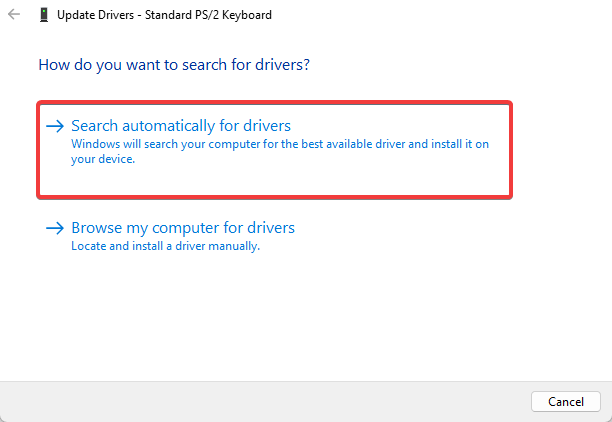
- Select Search automatically for drivers.
- Check if the keyboard is still typing on its own.
Don’t forget that downloading drivers manually is a process that carries the risk of getting the wrong driver installed, which may lead to severe malfunctions on your PC.
You can update your keyboard drivers using an automatic tool; our preferred method.
Alternatively, if Device Manager doesn’t identify a new driver, a tool like PC HelpSoft Driver Updater can save you time and frustration. This tool automatically scans your system, finds outdated or missing drivers, and installs the correct versions, all in a few clicks.
It’s especially helpful when your keyboard is glitching out and you’re not sure if the problem is hardware or software.

PC Helpsoft Driver Updater
Fix your keyboard ASAP with automatic driver updates and scans!2.2 Reinstall the driver
- Press Windows + R, type devmgmt.msc, and hit Enter.
- Locate the keyboard driver, right-click on it, and select Uninstall device.
- Confirm your choice when prompted.
- Reboot your computer without reinstalling the driver. Instead, your computer should reinstall the keyboard driver upon rebooting.
3. Create a new user profile
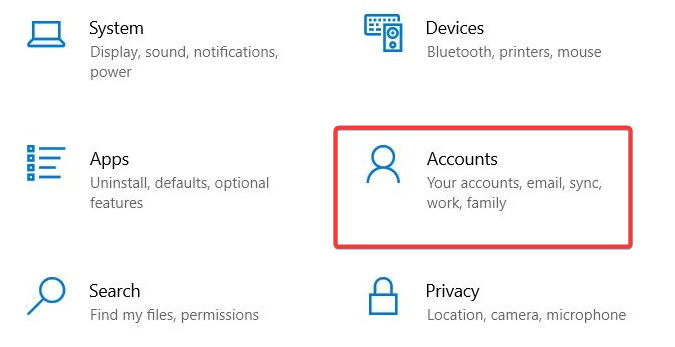
- Press Windows + I to open Settings and go to the Accounts section.
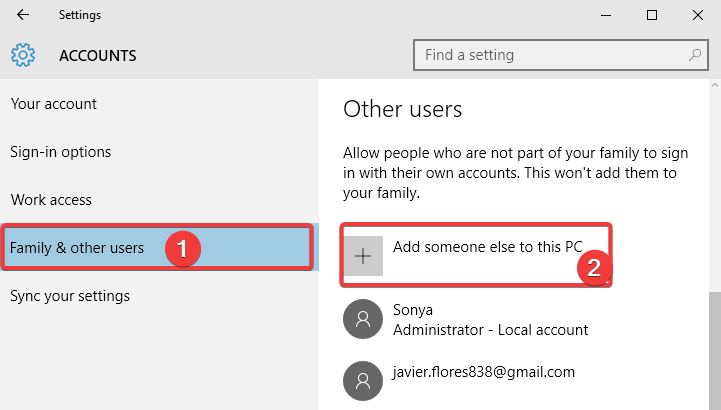
- In the left pane, click on Family & Other Users, then under other users, click on Add someone else on this PC.
- By default, you’ll be asked to sign into a Microsoft account. Click on the link below, which says I don’t have this person’s sign-in information.
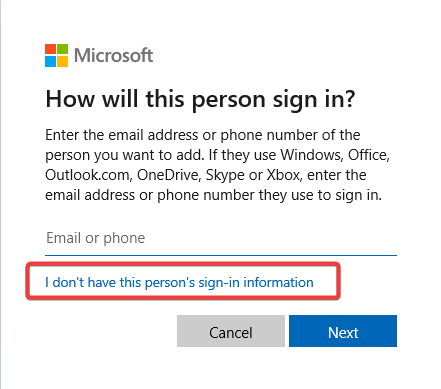
- Fill out a username and click next until completion.
- Sign in with this account and see if the keyboard is working.
4. Use the System File Checker
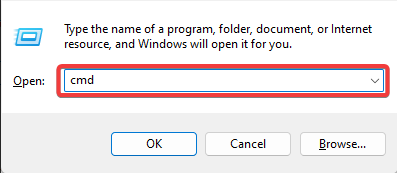
- Press Windows + R, type cmd, and hit Ctrl + Shift + Enter.
- Type the script below and hit Enter.
sfc /scannow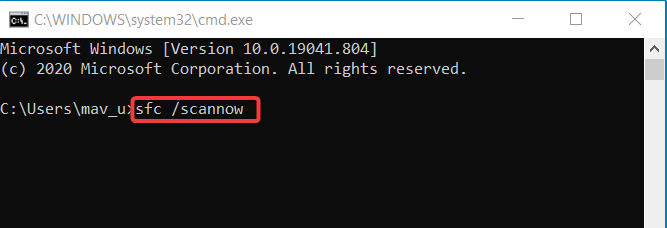
- Allow the process to finish and see if it solves any issues. Restart the device afterward and try to use the keyboard.
5. Make sure that Sticky Keys aren’t enabled
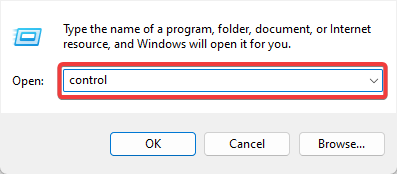
- Press Windows + R, type control, and hit Enter.
- Select Ease of Access Center, then Change how your keyboard works.
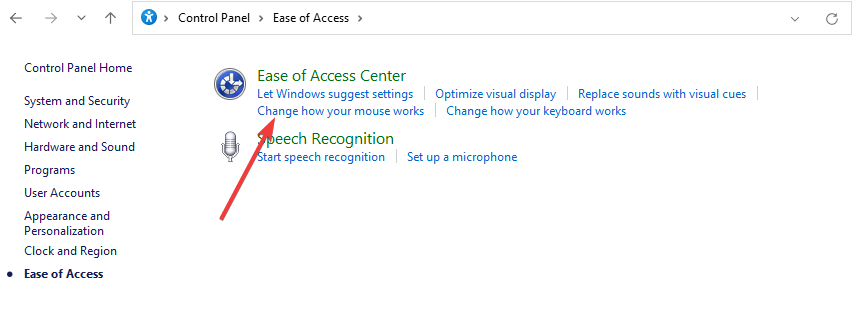
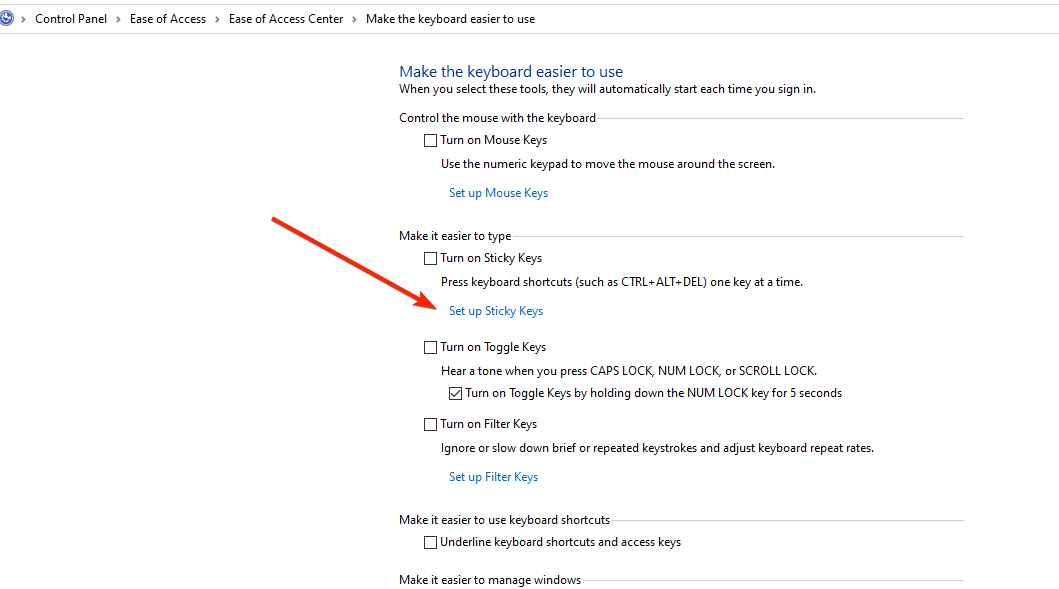
- Disable all options in the Make it easier to type section. Now click Set up Sticky Keys.

- Disable all options and click Apply and OK to save changes.
According to users, if your keyboard is automatically typing, that can be due to the Sticky Keys feature. Check if the issue persists after disabling it.
6. Install the latest updates
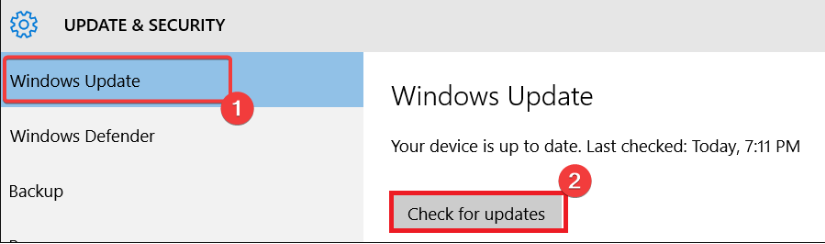
- Press Windows + I to open the system Settings.
- Click on Update & Security.
- Select Windows update from the left pane and choose Check for updates.
7. Perform a clean boot
- Press Windows + R, type msconfig, and hit Enter.

- Go to the Services tab and check Hide all Microsoft services, then click Disable all.

- Go to the Startup tab and click Open Task Manager. Disable all startup items, then close Task Manager.
- Click OK in the System Configuration window and restart your PC.
A clean boot can help you locate interfering apps and processes that mess up your keyboard.
Windows will check for available updates and try to download them automatically in the background. Once the updates are downloaded, they’ll be installed as they’ll restart your PC.
Once your system is updated, check if the problem is resolved.
Other keyboard issues you might face include clicking noises and typing problems—here’s how to fix keyboard clicking and typing errors.
If your keyboard beeps unexpectedly, this guide can help you fix keyboard beeping. For keys typing backward, see how to resolve keyboard typing backward. And if double letters don’t register, check out fixing keyboards that won’t allow double letters.
We hope that one of the solutions above helped. However, if you tried another method successfully, please list it in the comments below.
Read our disclosure page to find out how can you help Windows Report sustain the editorial team. Read more


Improve this guide


User forum
13 messages