Libeay32.dll: What is It & How to Fix It if It’s Missing
Try these easy fixes for the libeay32.dll error
![]() 4 min. read
4 min. read
![]() Updated on
Updated on
Share this article

Improve this guide
Read our disclosure page to find out how can you help Windows Report sustain the editorial team Read more
Key notes
- Libeay32.dll missing error can occur if you mistakenly delete the file from your PC.
- A System File Checker will find and fix corrupt system files that may cause the error with libeay32.dll.
- You can restore the deleted libeay32.dll file to its original directory from the Recycling Bin.
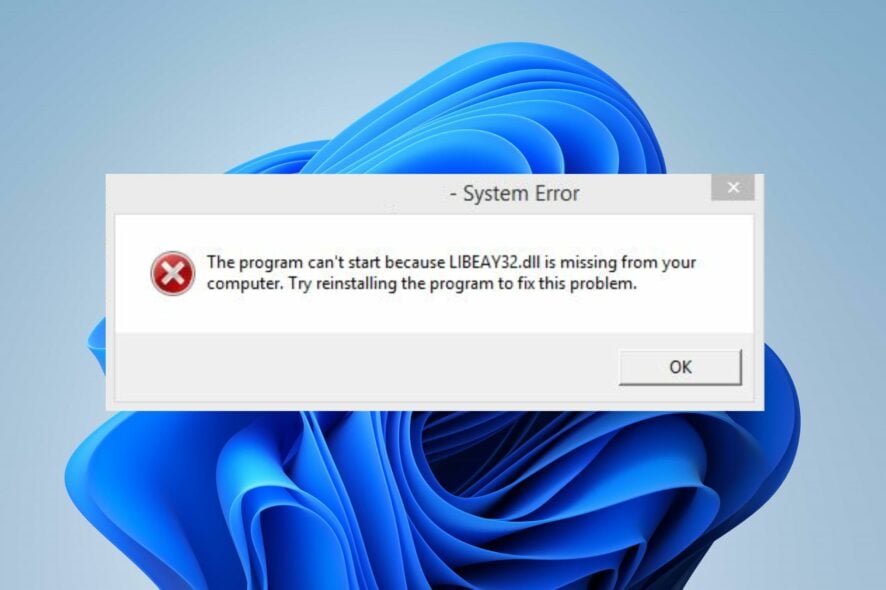
There are many DLL file missing errors users can encounter when using their PC. These errors prevent you from accessing your apps or even installing Windows. The missing Libeay32.dll is a common one.
Also, users can run into Autorun.dll errors on Windows 11 when there is an issue with the file.
What is libeay32.dll?
The libeay32.dll file is a Windows Dynamic link library file for ensuring apps operate properly. It is an essential system file required by some software on the computer to run or install the software.
Furthermore, it contains a set of instructions and driver functions for programs to use, which Windows may apply.
Why is libeay32.dll missing on my PC?
The most common reason for the file missing error is the libeay32.dll file was deleted from the system. Also, you can encounter errors due to corrupt system files on your PC.
Other factors that can cause the libeay32.dll file to be missing on your PC are:
- Malicious software – Having malicious software installed on your computer can cause it to malfunction. It can cause the libeay32.dll file not to be available on your computer.
- Issues with the Windows registry – The libeay32.dll file missing can be due to broken registry items. When the database is not intact, it can affect Windows operations, as well as the app & services running on the Windows PC.
Though the causes may vary, you can fix the problem by troubleshooting your PC.
How do I fix the libeay32.dll if it’s missing in Windows 11?
Before trying any advanced fixes, go through the following:
- Turn off background apps running on your computer.
- Restart Windows in Safe Mode and check if you can fix the libeay32.dll file missing issue.
Peradventure the problem persists, go ahead with the solutions below.
1. Restore Libeay32.dll from the Recycle Bin
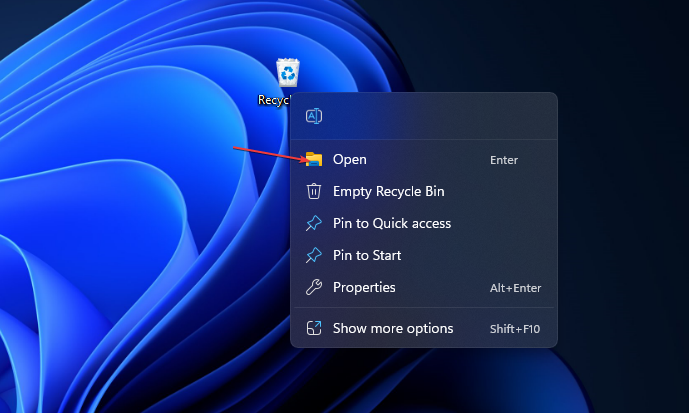
- Find the Recycle Bin icon on your desktop, right-click, then select Open.

- Check if the Libeay32.dll file is in the Recycle Bin or search for it by using the search space at the top left corner.
- Right-click on the libeay32.dll file, and select Restore from the drop-down to file to its original directory.

- Exit the Recycle Bin.
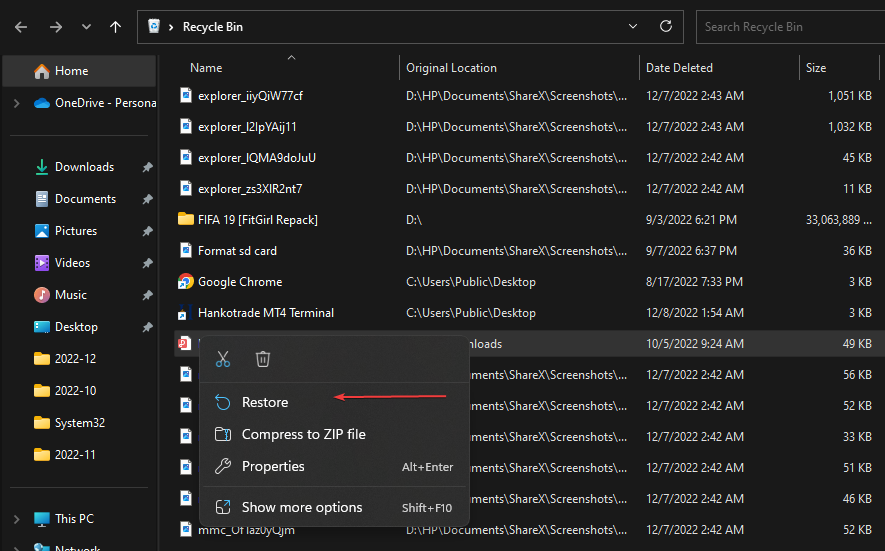
Try using the app that prompted the libeay32.dll file missing error and check if the error appears.
Likewise, if you cleared your Recycle Bin and the file is permanently deleted, you can use file recovery software for your PC.
2. Run a System File Checker scan
- Left-click the Start button, type command prompt, and select Run as administrator.
- Choose Yes on the User Account Control prompt.
- Type the following command and press Enter:
sfc /scannow
- Restart your PC and check if the libeay32.dll missing persists.
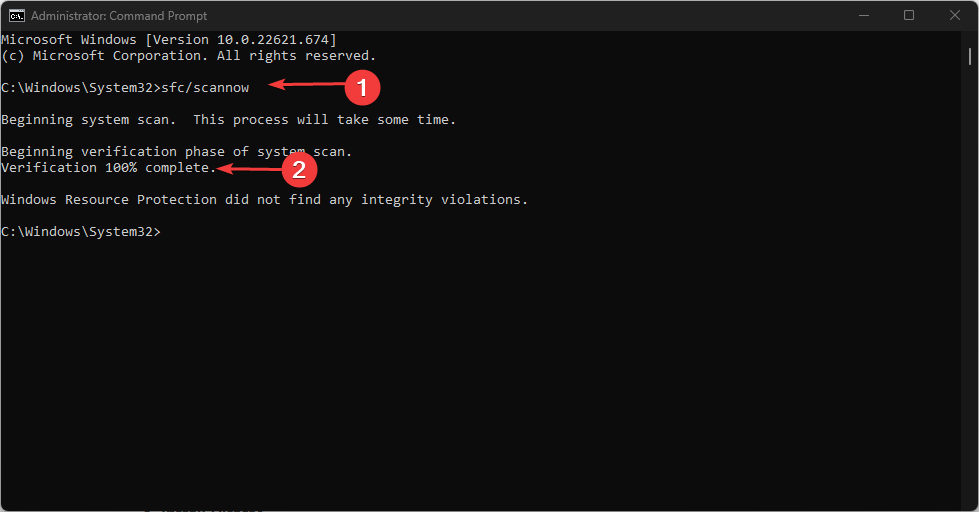
The System File Checker scan will find and repair corrupt system files that may prevent the libeay32.dll from being accessible.
Check our article about what to do if nothing happens when you select run as administrator on Windows 11.
Aside from the manual steps above, we suggest you use third-party repair software to perform this procedure automatically.
They help you run a scan of your device, then provide you with a comprehensive report of the corrupted files found, and finally locate healthy files as their replacement.
3. Run System Restore
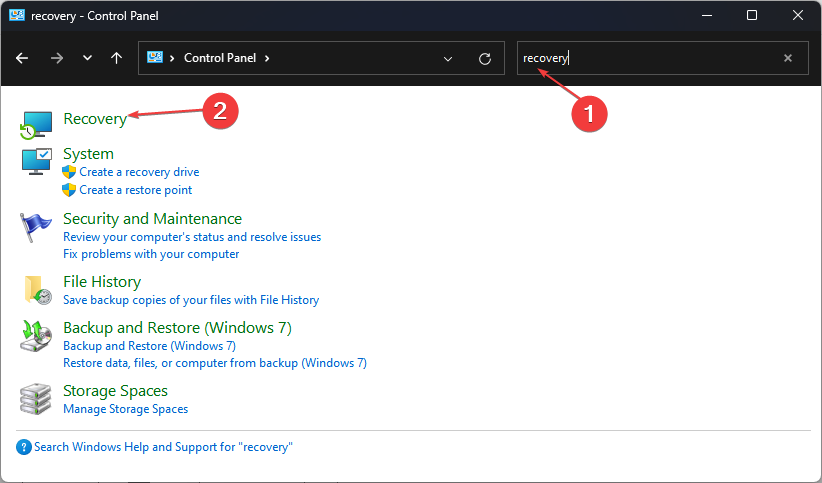
- Press Windows + R key to open the Run dialog box, type control, then press Enter to open the Control Panel.
- Type recovery in the Control Panel search bar and select Recovery.

- Then click Open System Restore.
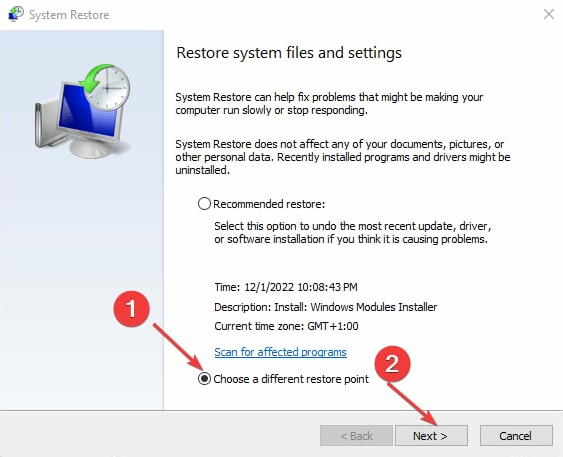
- Click Next after clicking Choose a different restore point.

- Choose the restore point you want to restore from, then click Scan for affected programs.

The System Restore will backdate your PC to an earlier point in time. It will remove apps, drivers, and updates installed after the restore point was created without affecting your files. Read how to fix Restore Point if it’s not working on your PC.
4. Reinstall the app prompting the error
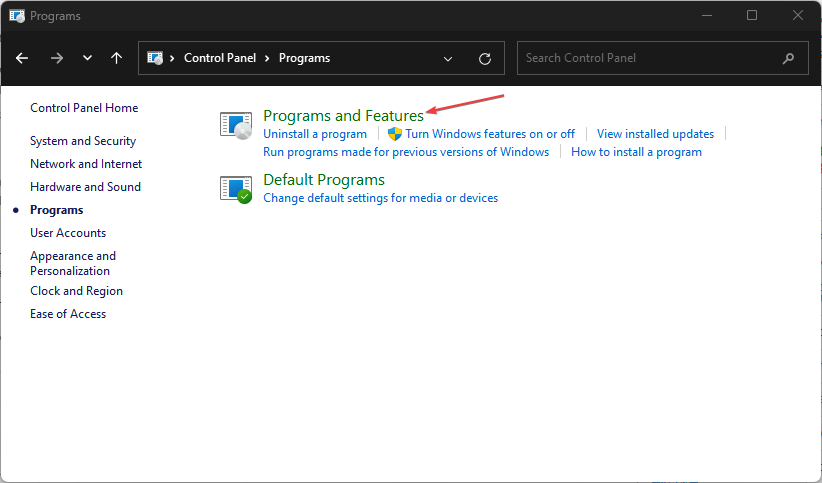
- Press Windows + R key to open the Run dialog box, type control, then press Enter to open the Control Panel.
- Click on Programs, then select Programs and Features.
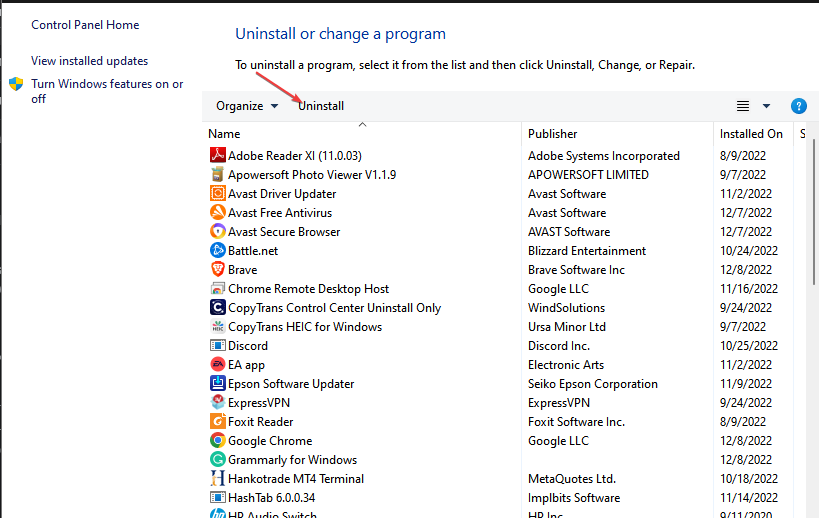
- Find the program from the list, right-click on it, then select Uninstall from the drop-down.

- Follow the onscreen instructions to complete the uninstallation.
- Download and install the program on your PC and check if it prompts the error again.
Reinstalling the concerned program should fix the problem causing the error.
You can check other steps for uninstalling apps on Windows 11 if you can’t get through the steps above.
Alternatively, our readers can check our list of the best DLL repair tools they can use for their computers.
Kindly leave your comments if you have suggestions or questions below.