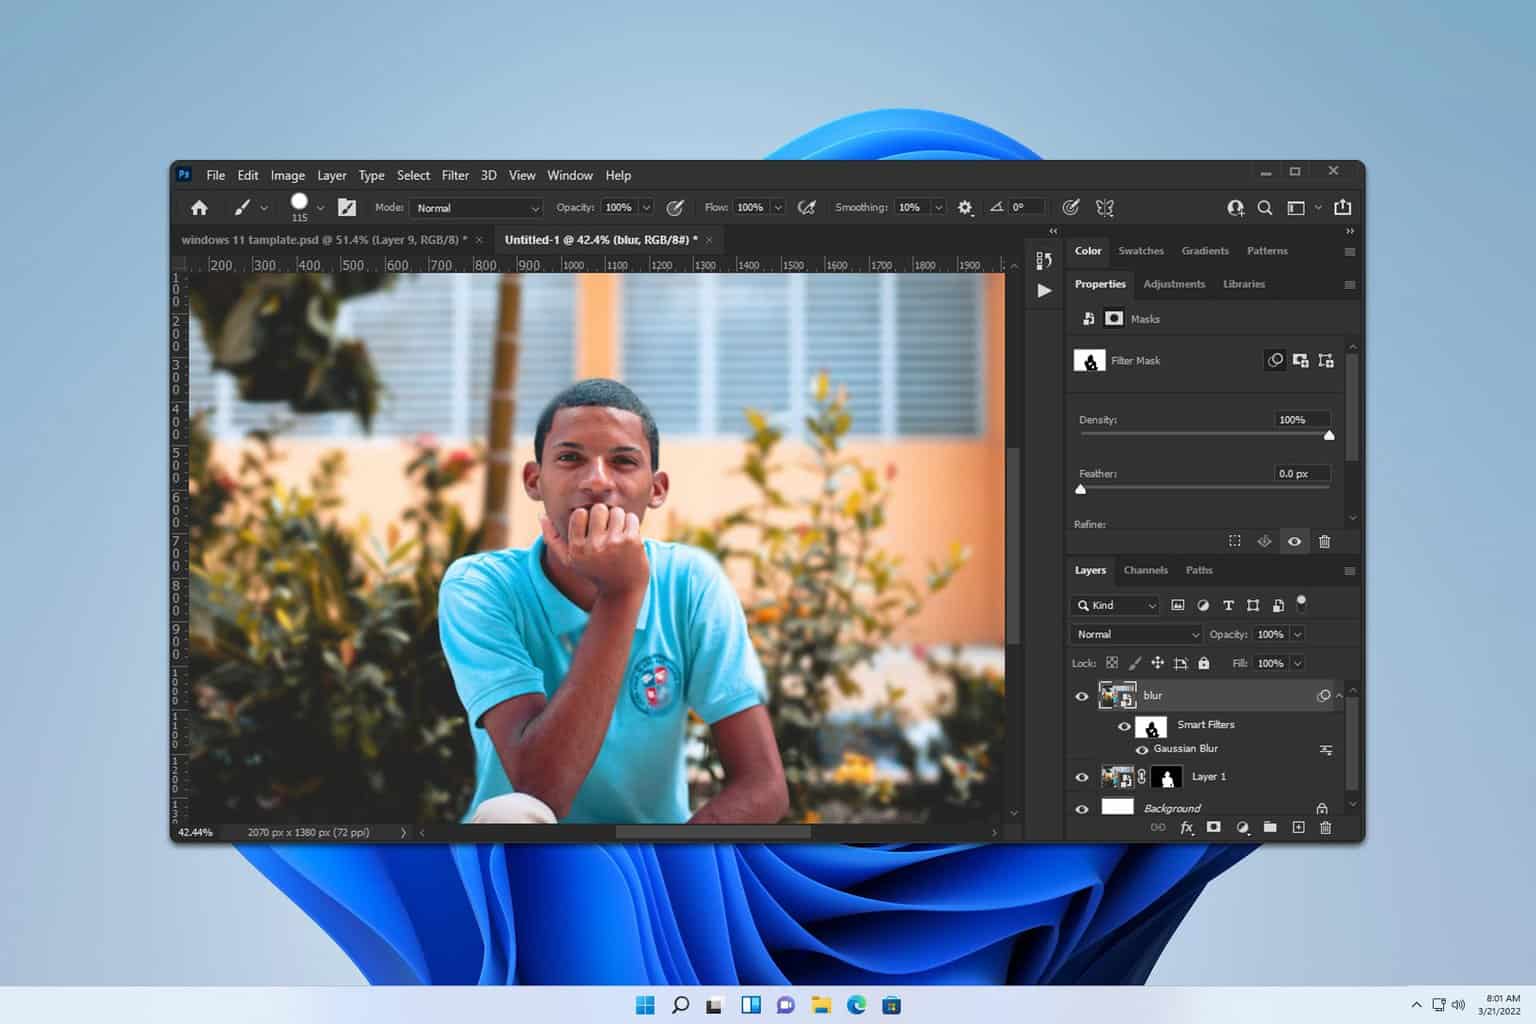
Fix: Photoshop Not Using GPU on Windows 10 & 11 [ 5 Ways]
Explore expert-recommended methods to resolve the problem
Key notes
- The reason behind the issue could be the outdated app, outdated Windows OS, or old GPU driver.
- To fix it, you need to update Windows OS, and the Photoshop app, or set the maximum performance to Photoshop.

Many users have complained about the graphics processor not being detected by Photoshop. It can be frustrating as it stops you from using vital features to edit photos. Thankfully, it can be fixed.
Here, in this post, we will discuss how to fix Photoshop not using GPU issue right after talking about the causes of its occurrence.
Why does Photoshop not use GPU on Windows 10 & 11?
There could be various reasons for the graphics processor not being detected by Photoshop. Some of the popular ones are:
- Outdated or corrupted graphics drivers – If the graphics drivers of your device are old or corrupt, then Photoshop might not recognize the GPU. You need to update the graphics drivers to fix the problem.
- Corrupted or missing files – If Photoshop is missing files or has corrupt files, then Photoshop might not be recognizing GPU.
- Windows OS outdated – If you have Windows updates pending, you might get this. You need to keep your Windows updated to avoid any issues.
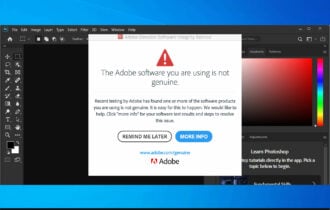
- Photoshop app is not up to date – The app installed on your computer is not the latest version so this issue could happen.
What can I do if Photoshop does not detect the GPU?
Before making significant changes via troubleshooting steps, make sure you go through these preliminary checks to fix the Graphics processor greyed out on Photoshop:
- Restart your computer.
- Check for Windows updates.
1. Set Photoshop to high performance
- Close the Photoshop app if running. Then, press Windows + I to open Settings.
- Go to System, then click Display.
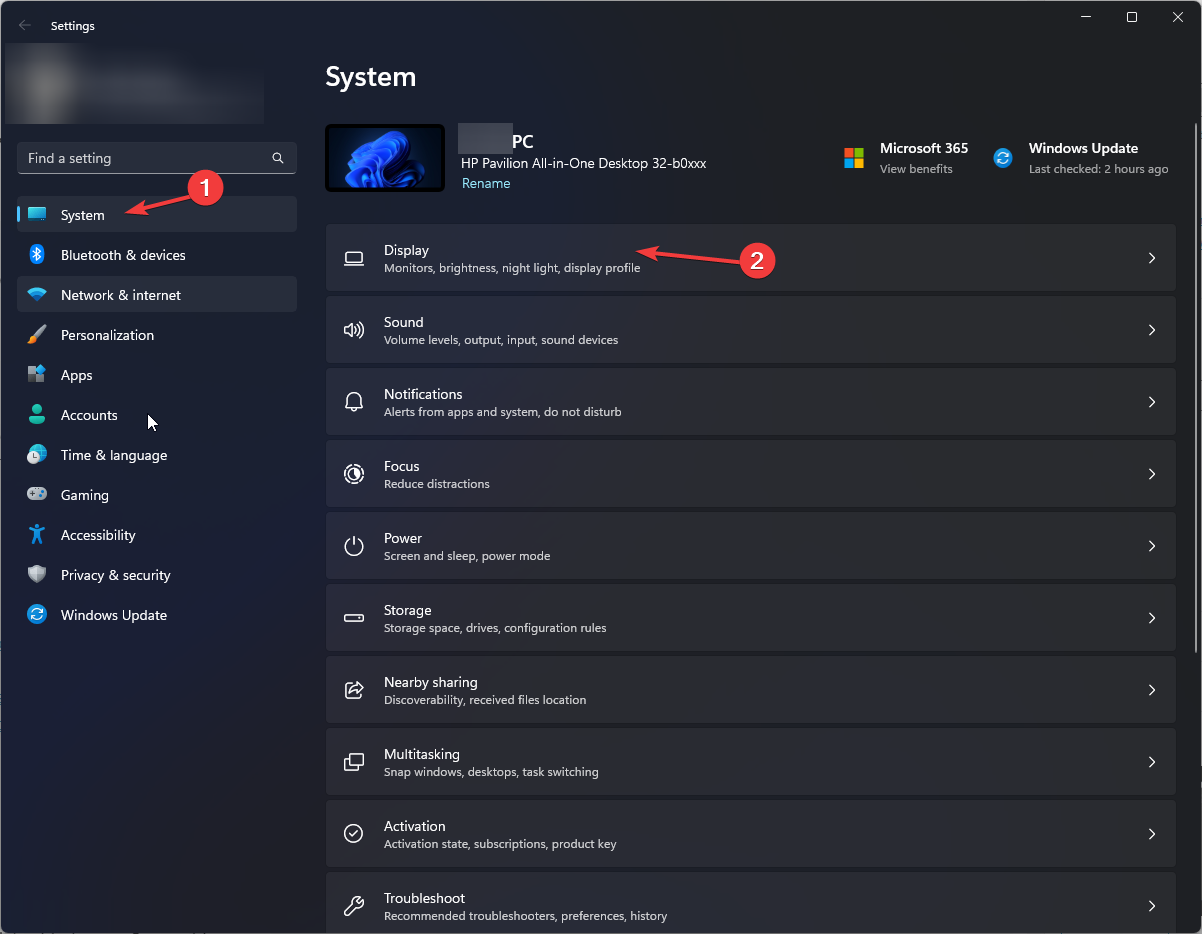
- Select Graphics and click Browse

- Now go to this path: C:\Program Files\Adobe\Adobe Photoshop\Photoshop
- Click Add. Once added, click the Options button and select High performance.

- Click Save to confirm the changes.
- If this doesn’t work, go to Graphics again and click Browse.
- Navigate to this path:
C:\Program Files\Adobe\Adobe Photoshop\Photoshop\PrefsManager - Click Add. Once added, click the Options button and choose High performance.
- Click Save to confirm the changes.
2. Update your graphics drivers
- Press Windows + R to open the Run window.
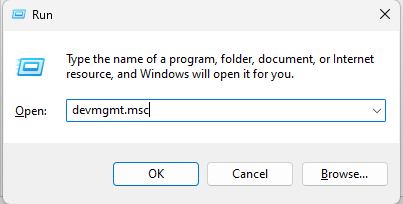
- Type devmgmt.msc and press Enter to open Device Manager.
- Locate and click Display Adapters to expand it. Next, right-click the Graphics driver and select Update driver.

- Click Search automatically for drivers on the next window.

- Follow the onscreen instructions to complete the process.
- Download and install the Outbyte Driver Updater app.
- Launch the software and wait for the app to detect all incompatible drivers.
- Now, it will show you a list of all faulty drivers to select the ones to Update or Ignore.

- Click on Update & Apply Selected to download and install the newest versions.
- Restart your PC to ensure the applied changes.

OutByte
Keep your GPU in a flawless state without worrying about possible driver issues.3. Make changes to Photoshop app settings
3.1 Enable the Legacy Compositing option
- Launch the Photoshop app.

- Go to Performance from the left pane, select Preferences from the left pane, and place a checkmark beside Legacy Compositing.
3.2 Modify the Cache Levels
- On the Photoshop app, go to Preferences.
- Choose Performance.

- Look for Cache Levels and change them to 4.
3.3 Disable the Use OpenCL option
- On the Preferences page, go to Performance, under Graphics Processor Settings, locate and click Advanced Settings.

- Remove the checkmark beside Use OpenCL on the next window and click OK.

- Close the app and relaunch it.
4. Delete or change the location of the Sniffer app
- Press Windows + E to open File Explorer.
- Go to this PC and navigate to this path:
C:\Program Files\Adobe\Adobe Photoshop - Locate Sniffer. Either delete the app or change its location.

- Finally, close the window and check if Photoshop is fully operational.
5. Check for updates in Photoshop
- Open the Creative Cloud app.
- Go to Apps, then click Updates.
- Locate Photoshop and click Check for updates.

- If the update is available, click Update to upgrade it to the latest version.
- Click Continue on the next screen.
So these are steps you need to follow to fix Photoshop not using GPU on Windows 10 or 11. Try them and let us know which method worked for you in the comments section.
Read our disclosure page to find out how can you help Windows Report sustain the editorial team. Read more


Improve this guide
User forum
0 messages