How to Export CSV in Powershell on Windows
Easy guide to export CSV in PowerShell
CSV stands for Comma Separated Values, a file format that allows you to easily import data from one application into another. It’s easy to export and import data with a CSV file as long as you know how.
This article will show you how to use the PowerShell command line interface to export CSV files. We’ll also discuss other options available when exporting data using this command line tool.
Which PowerShell script is used to export all processes into a CSV?
A CSV file is a data table where each row is a set of values in the same order. It’s often used to export data from databases, spreadsheets, and other text-based files.
Export-CSV is a cmdlet that can be used in PowerShell to export the result of a command into a CSV file. This is useful when you want to export data from your PowerShell script into a format that can be easily imported into another application or database.
The Export-CSV cmdlet creates a CSV file, or comma-separated value (CSV) text file, that contains one or more named pipes in the file format. This file can be imported into other applications, such as Microsoft Excel, or used as input to a program that uses the CSV format.
The export-csv cmdlet will export the specified objects into a CSV (Comma Separated Values) file. The resulting CSV file will contain one object per line. If the Export-CSV command is run with no parameters, it will export all of the currently installed modules in your system.
You can specify an item name or ID as parameters if you only want to export specific items.
How do I export a CSV file from PowerShell?
We shall be using Windows Powershell ISE as it gives you more control over your CSV files. It gives you much more flexibility in how your CSV file is formed. The ISE has some built-in functionality that makes it convenient to use when creating or editing a script.
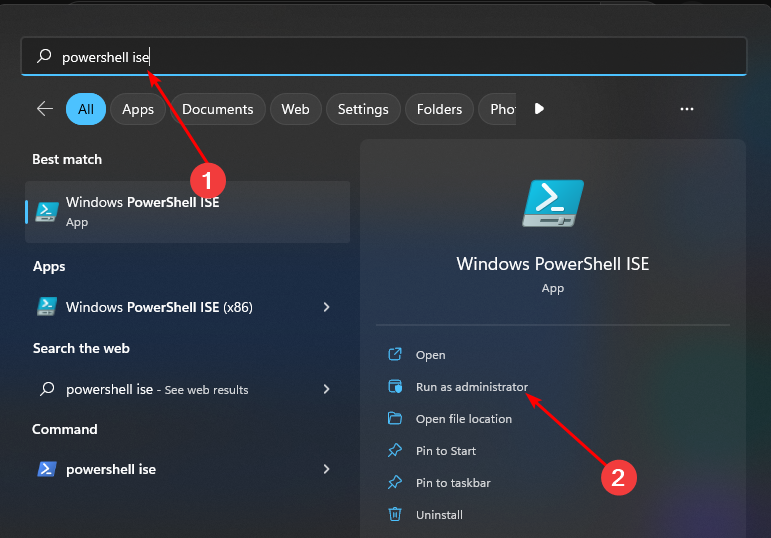
- Hit the Windows key, type Powershell ISE in the search bar, and select Run as administrator.
- The general syntax for the export-CSV in Powershell is:
Get-Variable -name [variable name] | Export-CSV [path-to-file].csv
The first parameter is the path where you want to save your file. This can be a local drive or network location. If you don’t specify this parameter, Export-CSV will create the file in the current directory of your PowerShell session.
The second parameter specifies whether you want to append data to an existing file or create a new one. If you specify -Append, PowerShell will append data to whatever is already in that file. In omit -Append, PowerShell will create a new file in that location and write all of your data into it.
The third parameter specifies the literal pathname of the output file if it’s not in the current directory (-LiteralPath). Otherwise, it’s optional and defaults to “c:\temp” (or whichever directory you are currently working in).
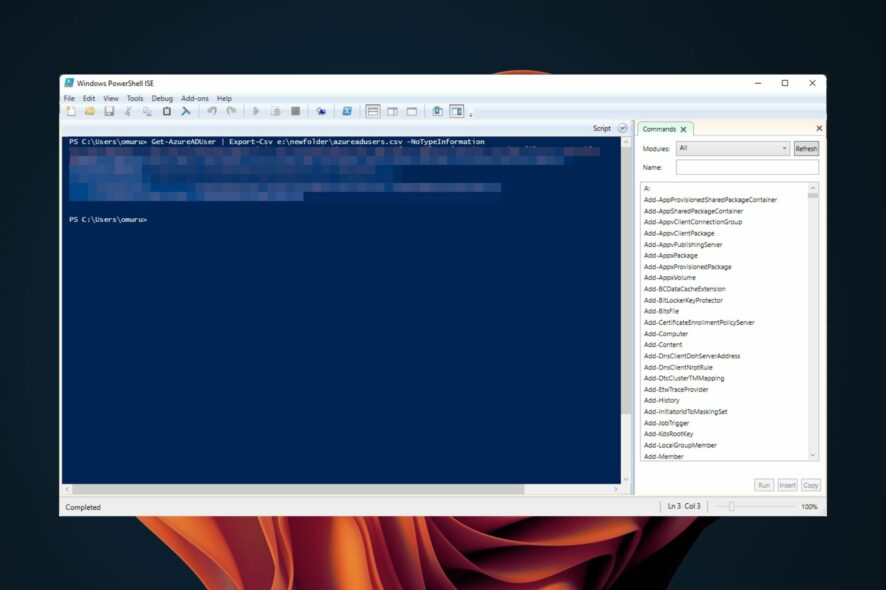
As a PowerShell export-CSV example, we will export a list of users on the Azure directory. We’ve already looked at how to export a list of users in a group, so let’s look at how to export CSV.
- Hit the Windows key, type Powershell ISE in the search bar, and select Run as administrator.
- Type the following command and hit Enter:
Get-AzureADUser | Export-Csv e:\newfolder\azureadusers.csv -NoTypeInformation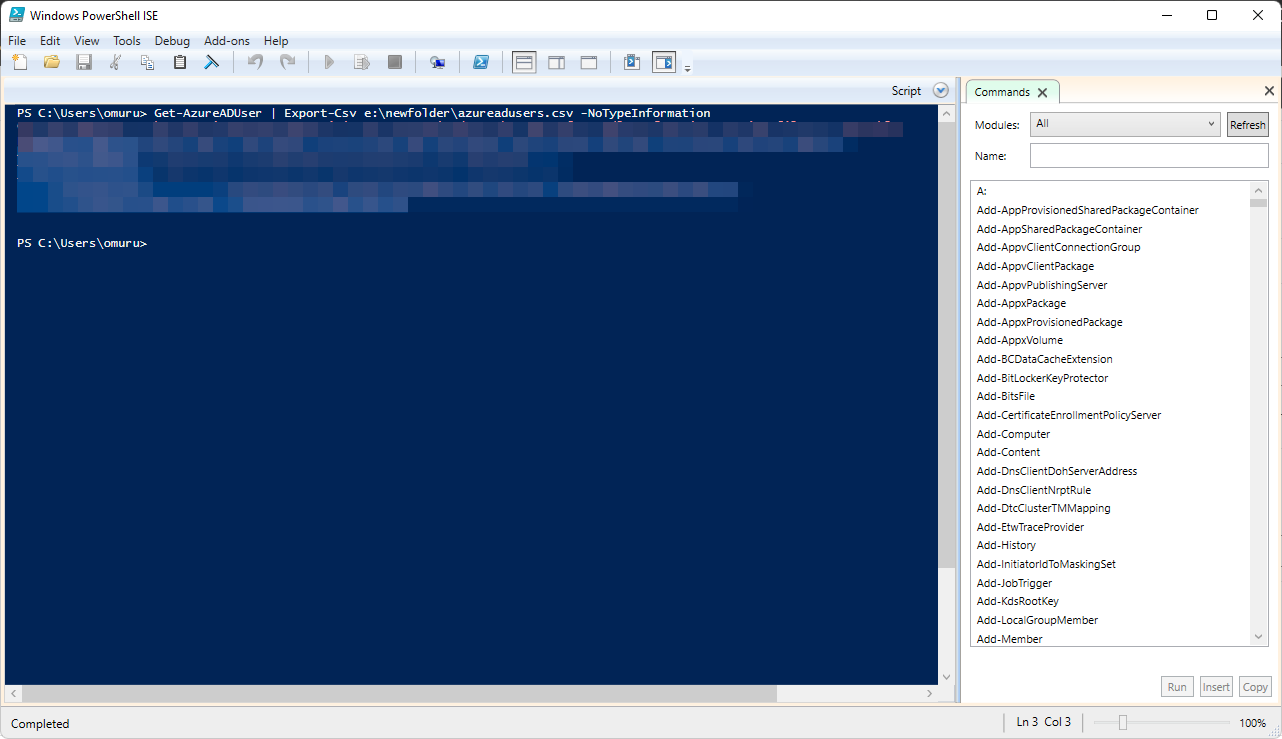
How do I export a string to CSV in PowerShell?
When you use the Export-CSV cmdlet to export objects to a comma-separated values (CSV) file, the first line of the file contains column headers. You can suppress column headers by using the NoTypeInformation parameter.
To further clean up your data, you need to use the Delimiter parameter to specify the information needed. As such, you will use the delimiter character, usually the comma.
For instance, in our case example above, we can modify the command to: Get-AzureADUser | select username, email, department | Export-CSV e:\newfolder\azureaduser.csv -NoTypeInformation
This will bring up the same information, but the PowerShell export-CSV will be in different columns with the specified parameters.
The CSV (Comma Separated Values) file format does not need any introduction to users committed to data processing. A CSV file has fields and records which are separated by commas. In case your CSV file is corrupted, we also have a detailed guide on how to fix it.
Aside from exporting CSV, we also share how you can print environment variables in PowerShell, so be sure to check that out too. If this process seems too complicated, perhaps you’ll find our CSV file viewer software helpful.
We also have a great guide on how to convert Excel to CSV file, so don’t miss it for more information.
Hopefully, this helps someone out there. If you have any tips or tricks to share, please do so in the comment section below.
Read our disclosure page to find out how can you help Windows Report sustain the editorial team. Read more


Improve this guide


User forum
0 messages