How to Get Out Of Preparing BitLocker Recovery Screen
The shortest way to fix it is to enter the correct recovery key
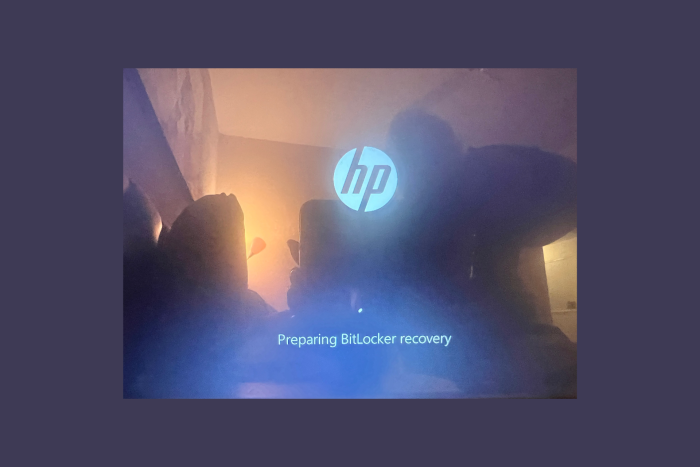
Many users complained about getting stuck with the black screen saying Preparing BitLocker recovery on their computer. It usually happens if you have replaced hardware, made changes to BIOS settings, or entered the wrong password too many times.
To fix it, you can wait until you see the screen asking for the BitLocker recovery key, then enter it, restart your PC & perform Startup Repair or reinstall the Windows operating system.
How can I get rid of Preparing BitLocker recovery screen?
1. Enter the recovery key
- Reboot you’d computer and you will be taken to a screen where you will be asked to enter a BitLocker recovery key.
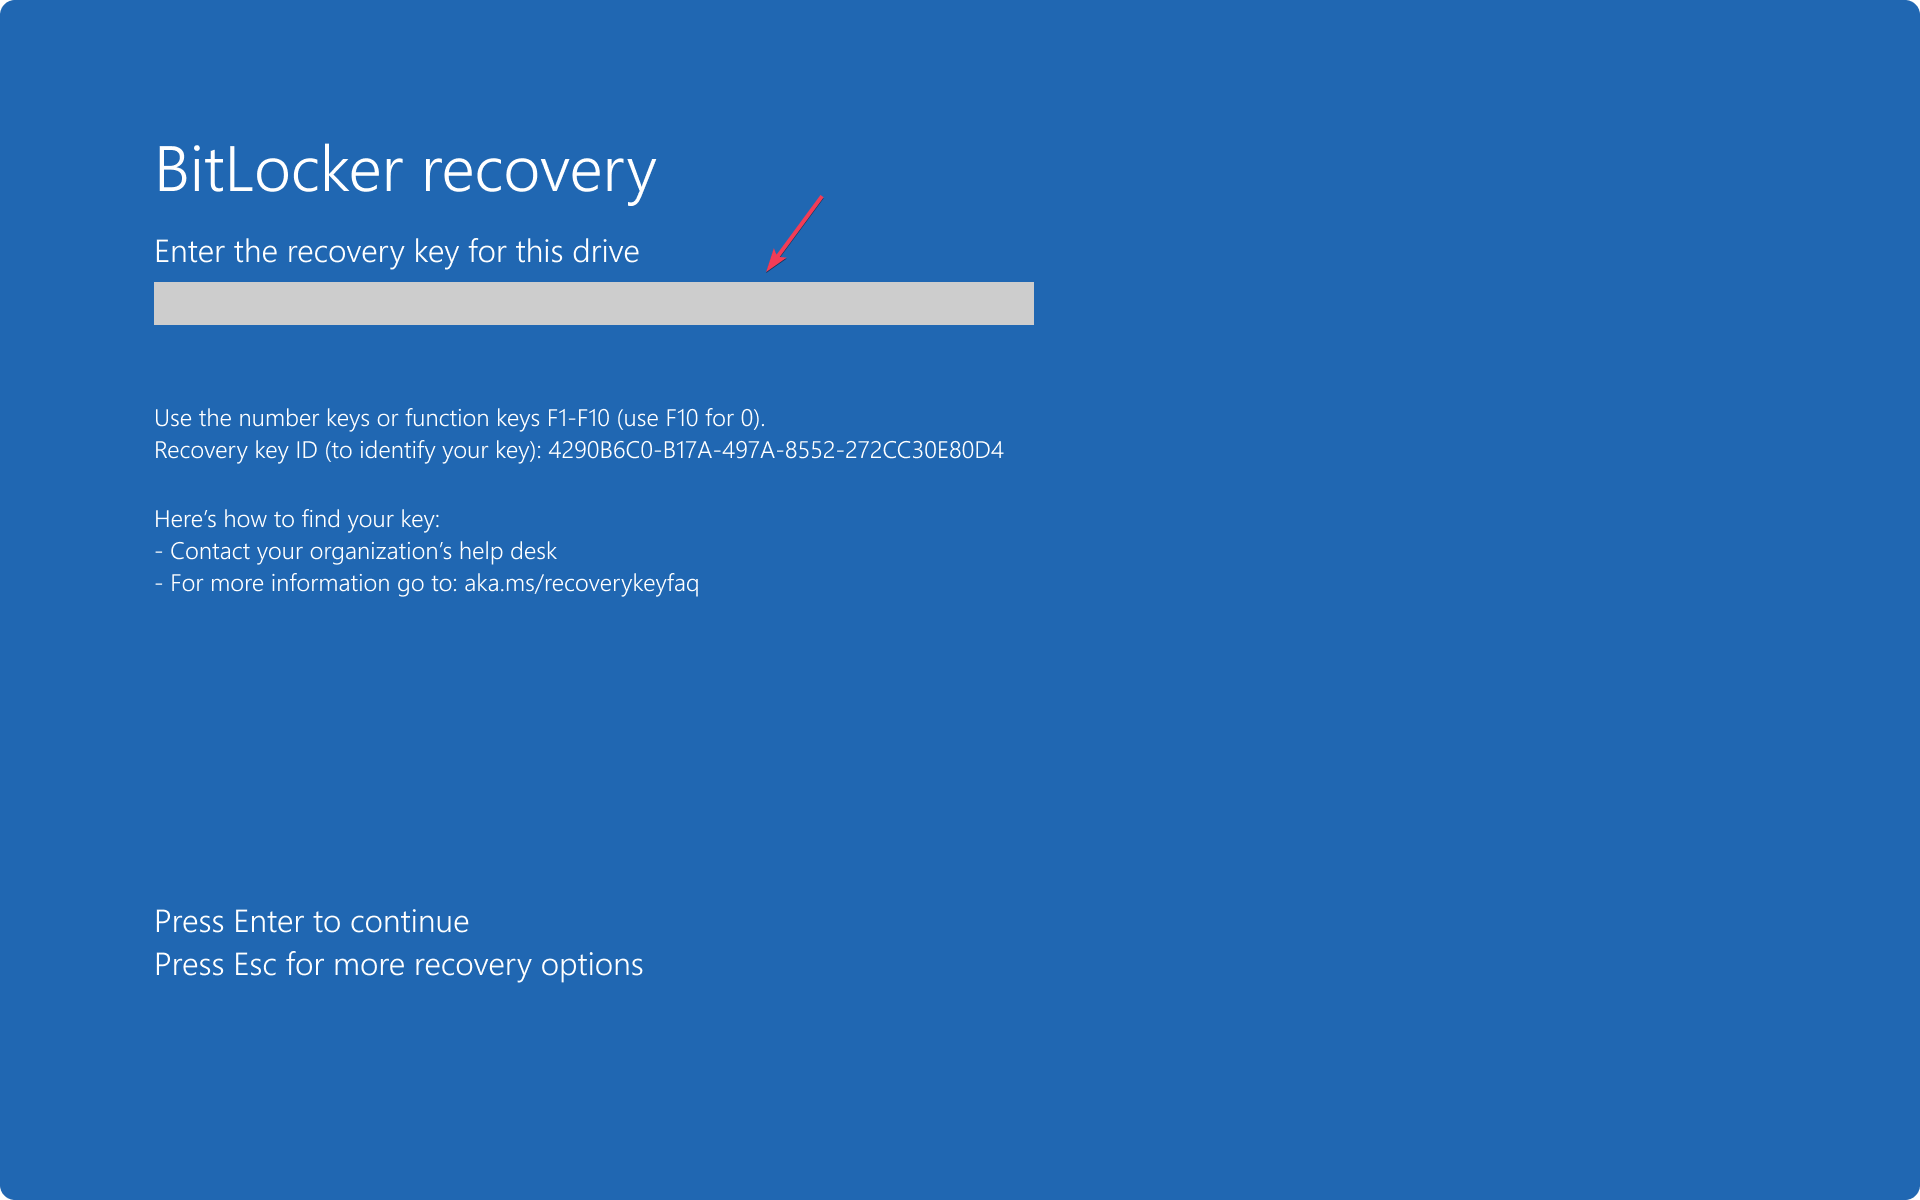
- If you have the recovery key, enter it and click Continue. If not, you need to access the BitLocker recovery key on another computer.
2. Perform Startup Repair
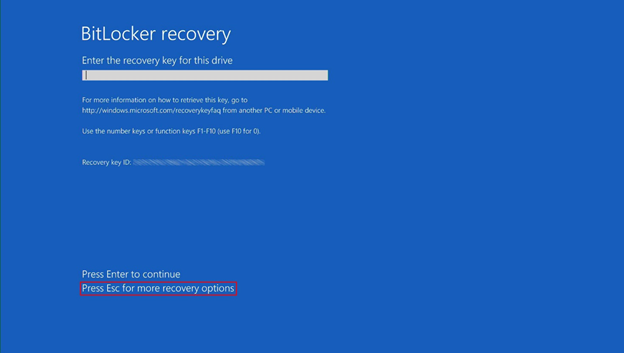
- When you are on the BitLocker recovery blue screen, press the Esc button to access Recovery options.
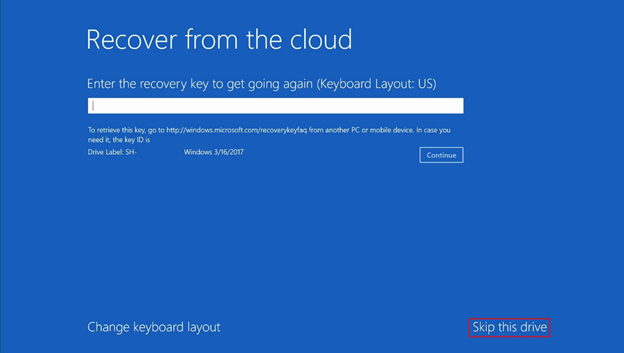
- Now click Skip this drive.
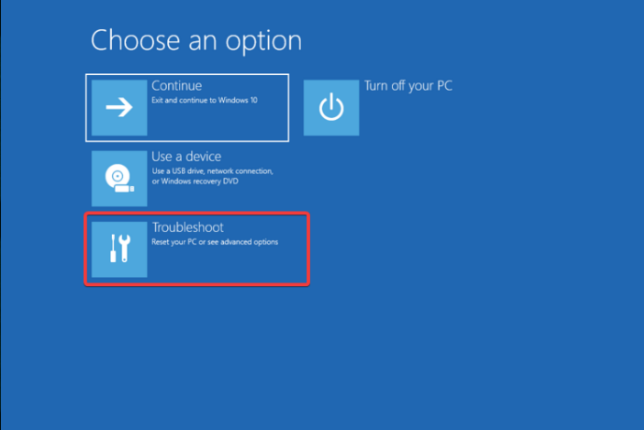
- On the Choose an option screen, click Troubleshoot.
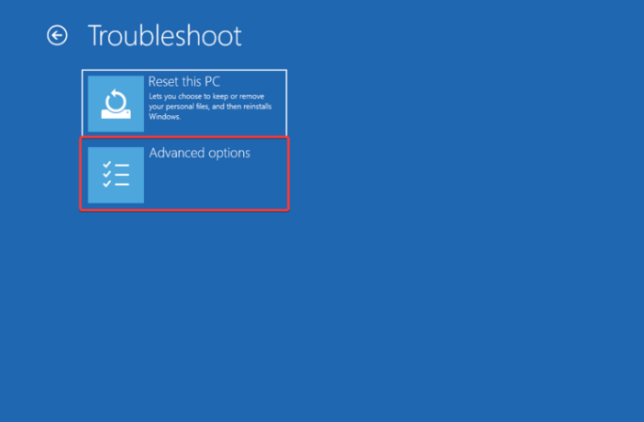
- Select Advanced options.
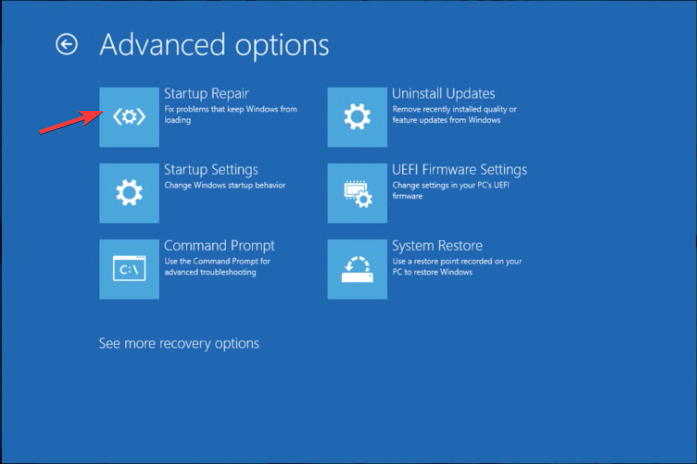
- Now click Startup Repair.
- Next, click Restart.
Wait for the repair to complete, boot your computer on Windows, and you will be able to get to the BitLocker recovery screen, wherein you can enter the key and log in to your computer as usual.
In case you can’t get to the Recovery options or BitLocker recovery blue screen, you need to create a bootable USB installation media to boot into the computer, then click Repair your computer to access it.
3. Ensure Secure boot & PTT is enabled
- When you are on the BitLocker recovery blue screen, press the Esc button to access Recovery options.
- Now click Skip this drive.
- On the Choose an option screen, click Troubleshoot.
- Select Advanced options.
- Choose UEFI firmware settings.

- On the next page, click Restart.
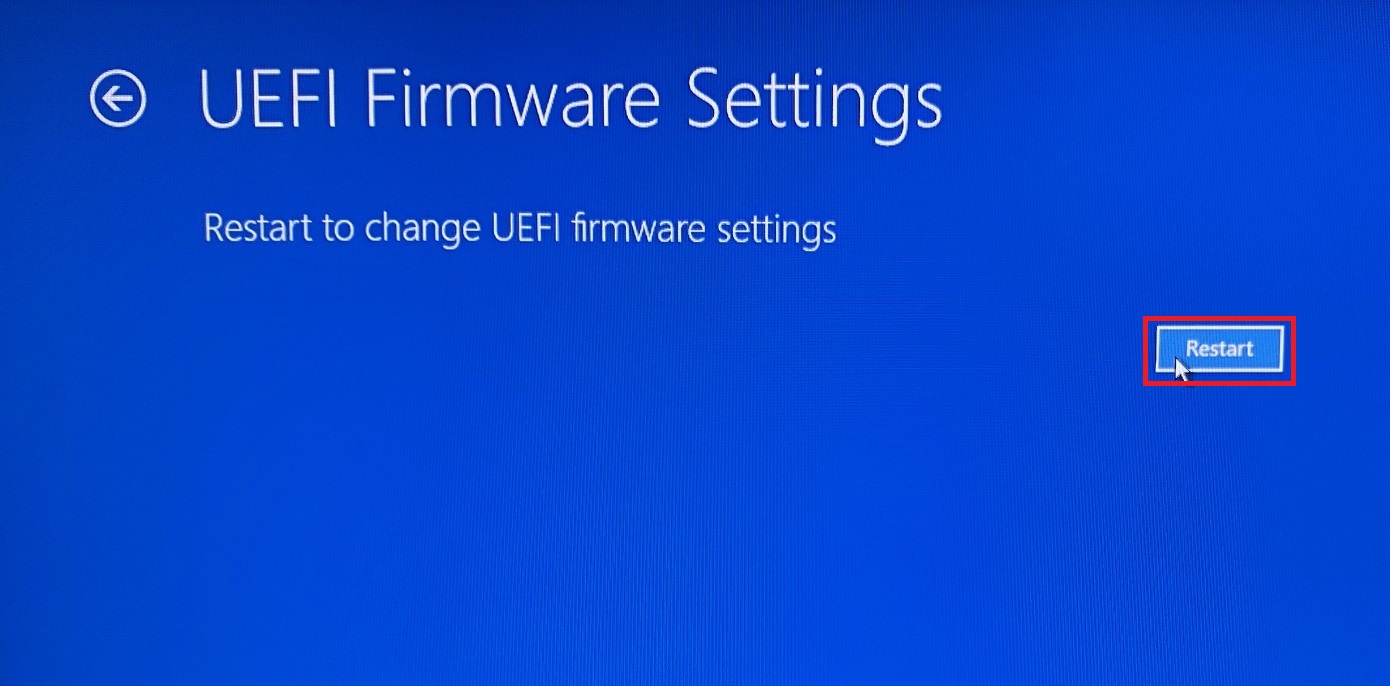
- Your computer will restart in BIOS mode; go to the Security tab or a similar option.
- Locate Secure boot and ensure it is enabled.
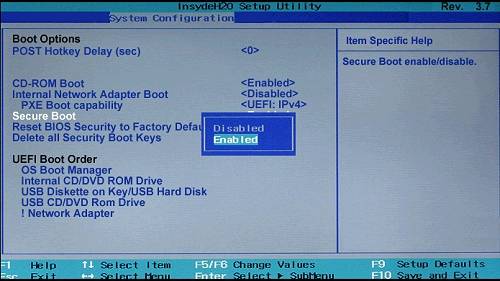
- Go to Security, locate PTT and enable it.
- Press F10 to save and exit the BIOS settings.
In case you are not able to turn on Secure Boot, you need to reset your BIOS settings to default; check out this guide to learn how to do that.
4. Remove protectors from the boot drive
- When you are on the BitLocker recovery blue screen, press the Esc button to access Recovery options.
- Now click Skip this drive.
- On the Choose an option screen, click Troubleshoot.
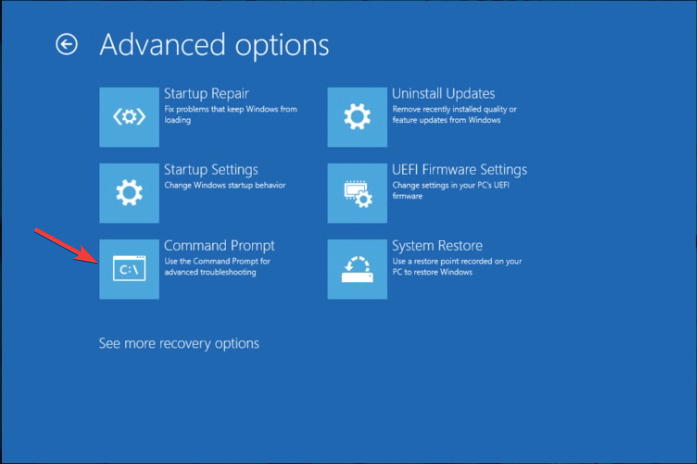
- Select Advanced options.
- Choose Command Prompt.
- Copy & paste the following commands one by one, wherein C is the system drive or the drive assigned & replace <password> with the BitLocker recovery key and hit Enter:
manage-bde -unlock -recoverypassword <password>C:
manage-bde -protectors -disable C:
- Reboot your computer; when prompted, enter your BitLocker recovery key.
In case you want to re-enable BitLocker on your computer, read this guide to learn the steps.
5. Repair the boot files
- When you are on the BitLocker recovery blue screen, press the Esc button to access Recovery options.
- Now click Skip this drive.
- Click Troubleshoot on the Choose an option screen, then select Advanced options.
- Select Command Prompt. On the cmd screen, type the following commands one by one and hit Enter after every command:
chkdsk c: /f /r
bootrec /fixmbr
bootrec /fixboot
bootrec /scanos
bootrec /rebuildbcd
sfc /scannow
- Close the command prompt window and reboot your computer.
6. Perform a System Restore
- When you are on the BitLocker recovery blue screen, press the Esc button to access Recovery options.
- Now select Skip this drive.
- On the Choose an option screen, select Troubleshoot.
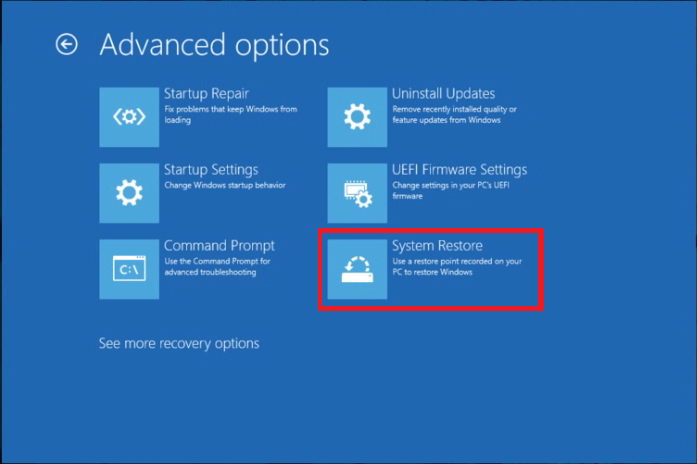
- Choose Advanced options.
- Click System Restore.
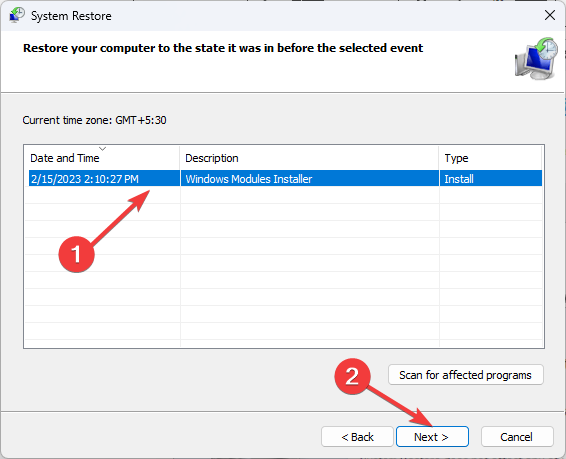
- On the System Restore window, select Choose a different restore point and click Next.
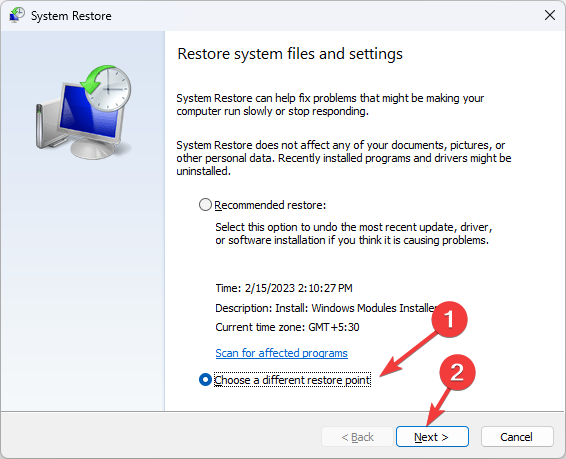
- Select a restore point before the issue started and click Next.
- Click Finish.
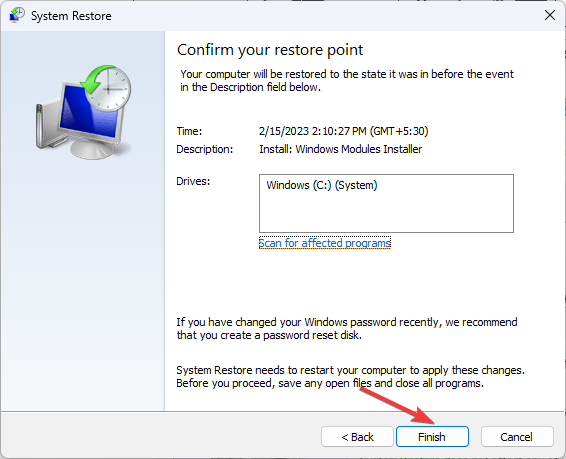
Windows will restart and try to restore your system settings to the chosen time. If System Restore doesn’t complete successfully, you need to follow the steps mentioned in this guide.
7. Uninstall updates
- When you are on the BitLocker recovery blue screen, press the Esc button to access Recovery options.
- Now click Skip this drive.
- On the Choose an option screen, click Troubleshoot.
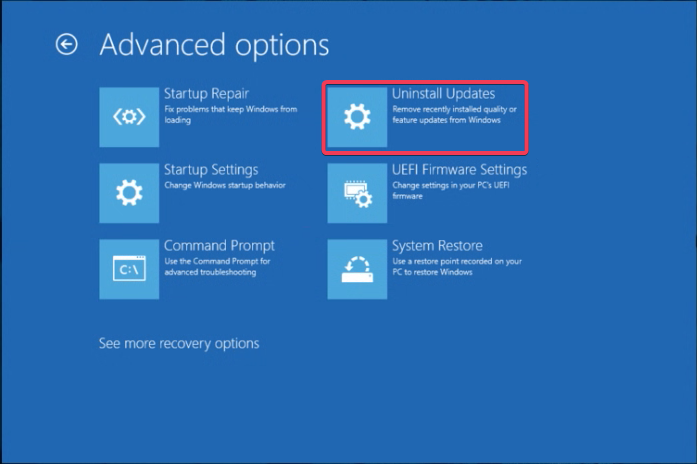
- Select Advanced options.
- Choose Uninstall Updates.
- Follow the on-screen prompts to uninstall the previous Windows update.
8. Reinstall the operating system
 NOTE
NOTE
- Create a Windows 11 bootable USB drive on another machine and plug it into the affected device.
- When you are on the BitLocker recovery blue screen, press the Esc button to access Recovery options.
- Now click Skip this drive.
- On the Choose an option window, select Use a device.
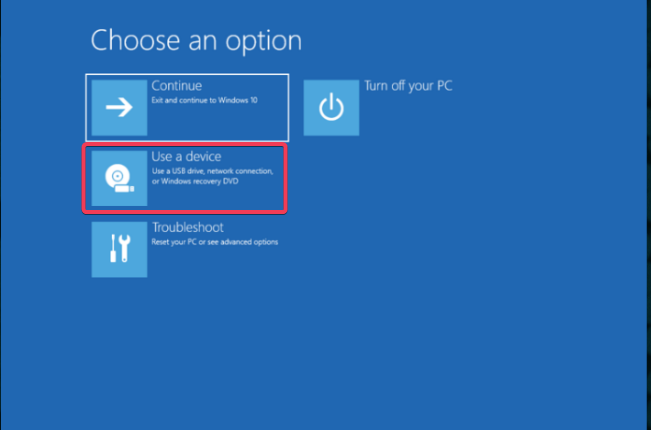
- Select the USB HDD option; now your Windows will boot using the USB.
- Once you see the black screen, press Enter.
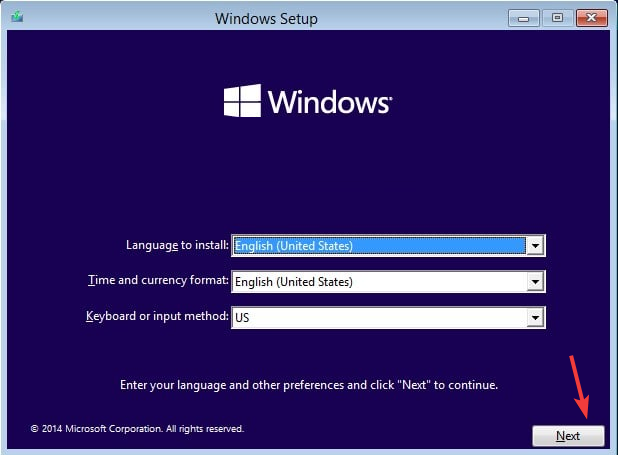
- Select the Language and Keyboard layout, then click Next.
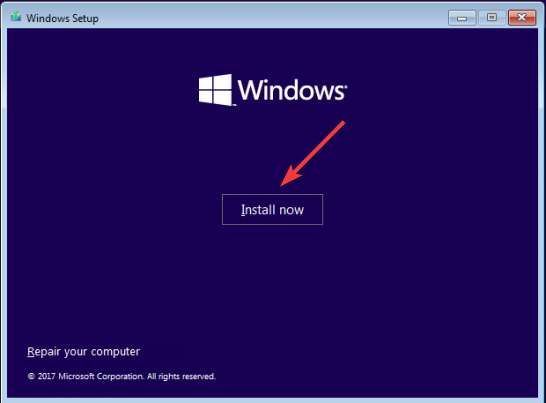
- Now select Install now.
- Follow the on-screen instructions to complete the process.
- Once Windows is installed, you will get the OOBE screen; choose the appropriate options to log in to your computer.
In conclusion, if you are stuck in a loop of Preparing BitLocker recovery screen, you can enter the BitLocker key, repair your computer using Startup Repair, enable Secure boot, or disable BitLocker recovery.
However, if nothing worked for you, you can uninstall Windows update, restore your computer to previous version, or reinstall the operating system to fix the issue once and for all.
You may also come across the BitLocker prompt screen error; we have tackled it in another article with detailed steps to fix this issue.
If you have any questions or suggestions on the BitLocker recovery loop issue? Feel free to mention them in the comments section below.
Read our disclosure page to find out how can you help Windows Report sustain the editorial team. Read more


Improve this guide


User forum
0 messages