Reconnect Your Drive: 5 Ways to Remove This Notification
Expert fixes to start using the built-in file backup feature
Key notes
- A Reconnect your drive error when backing up files with File History might indicate a wrong configuration.
- This error can also be related to a faulty external drive which you might need to format.
- If the backup process fails with a Reconnect your drive error in Windows 10, try to save files manually.
Having a file backup is crucial, and thanks to the File History feature, you can easily create a backup for your files on Windows 10.
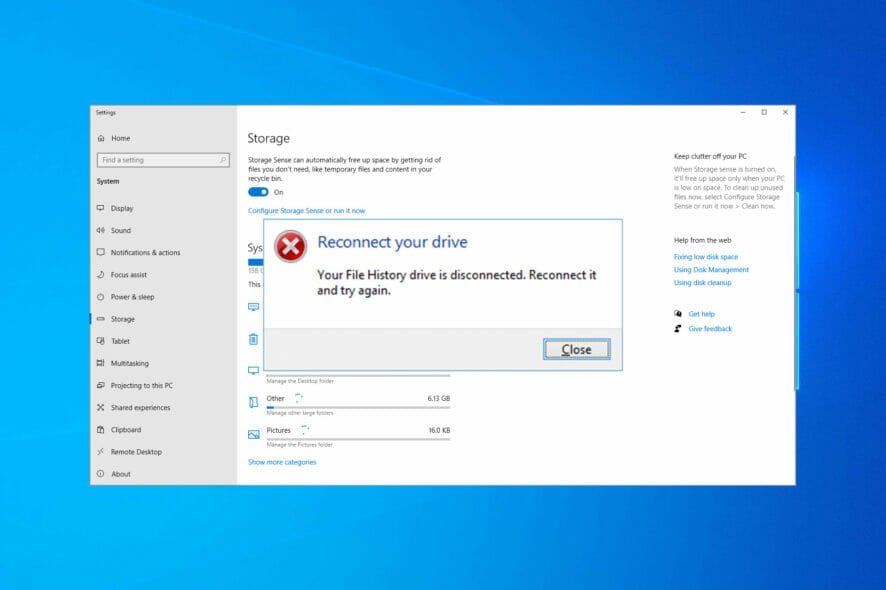
Unfortunately, certain issues with File History can occur occasionally, and you might get a notification saying that you need to reconnect your drive on Windows 10. This can be a serious problem due to the importance of your backup files.
What does it mean to reconnect your drive?
Below are some of the potential factors that can cause the File History to show reconnect your drive error:
- Faulty Windows update: If you are getting an error saying reconnect your drive, your files will be temporarily copied after installing an update, that might be the problem. Uninstalling the update should fix this issue.
- Outdated driver: In some cases, the problem might be due to outdated disk drivers. You need to update all related drivers to solve the problem quickly.
- Problems with the File History folder: Some users have found the reconnect your drive notification to be due to issues with the File History folder. The solution to this is to delete the File History configuration folders.
How can I fix Reconnect your drive error?
1. Reconnect your drive and manually start the backup process
- Reconnect the drive, press the Windows key + I, and select Update & Security.

- Select the Backup option.
- Now, click on More options.

- Finally, click the Back up now button.
The File History feature requires an external hard drive to be connected to your PC. If for some reason, your external hard drive has been disconnected for too long, you’ll see a message asking you to reconnect your drive.
To fix this problem, reconnect your external hard drive and manually start the backup process. To manually start the backup, complete the above procedure.
In addition to manually starting the backup process, you can connect your hard drive and wait for the scheduled backup to start automatically.
2. Uninstall recent updates
- Press the Windows key + I and select the Update & Security option.
- Select View update history.

- Now, click Uninstall updates.

- Finally, right-click the faulty update and select the Uninstall option.

A lot of users complained that File History stopped working for them after installing recent Windows 10 updates, particularly KB4601319.
They managed to get the program running only after uninstalling the respective update. This is only a workaround, but it works.
3. Make sure your drivers are up to date
- Press the Windows key + X and select the Device Manager option.

- Click the arrow next to the Disk drives option and right-click your external drive’s driver.
- Now, select the Update driver option.

- Finally, choose the Search automatically for drivers option and install any available update.

In some cases, reconnect your drive message appears if your external hard drive isn’t fully compatible with Windows 10. Following the steps above should help you update your drivers manually.
However, if you don’t want the hassle of searching for drivers on your own, you can use a tool that will do this for you automatically.
Of course, this tool won’t be useful if you cannot connect to the internet now. However, once you get online, it will help you to keep all your drivers up to date so that you won’t be in this situation anymore.
- Download and install the Outbyte Driver Updater app.
- Launch the software and wait for the app to detect all incompatible drivers.
- Now, it will show you a list of all outdated drivers to select the ones to Update or Ignore.

- Click on Update & Apply Selected to download and install the latest versions.
- Restart your PC to ensure the applied changes.

Outbyte Driver Updater
Maintain your device healthy by letting OutByte Driver Updater find the latest driver options.4. Delete the File History configuration files
- Press the Windows key + R, type %localappdata%, and click OK.

- When the Local App Data folder opens, navigate to:
Microsoft/Windows/FileHistory/Configuration - After you open the Configuration folder, you should see four files. Delete them.
- Finally, start File History, and you should be able to create backups again.
Before trying this solution, create a backup for your files. This process might delete all the files you use for backup on your external hard drive.
So, make sure you save them somewhere safe. After you’ve saved your files to a safe location, complete the above procedure.
5. Format your external hard drive
- Open File Explorer, right-click your external hard drive and choose Format.

- Click the Start button to format your hard drive.

- After the formatting process is completed, start File History again.
- You’ll be asked if you want to save the older version of File History. Choose No and create a new backup.
If you’re getting reconnecting your drive error message, you might want to format the external hard drive you use for backup and recreate your backup again.
Formatting your external hard drive will permanently delete all your files from that external hard drive. So, you might want to back up certain files. To format an external hard drive, follow the above steps.
There you have it: Everything you need to fix the reconnect your drive error. The solutions in this guide are simple and direct and should help you start backing your files up again.
If you want to know how to access and use the File History in the Control Panel, check our detailed guide.
Feel free to let us know the solution that helped you fix this issue in the comments below.
Read our disclosure page to find out how can you help Windows Report sustain the editorial team. Read more


Improve this guide


User forum
2 messages