How to remove system Z drive on Windows 10 in three steps

The mysterious system drive Z: has dumbfounded some users who wondered how to remove it from Windows 10. That is a Z: system drive partition that appears in Windows 10’s File Explorer for some users. Z: drive often appears after users have partitioned a hard drive or upgraded to Windows 10. When they try to open the Z: drive, a pop-up window opens stating, “You don’t currently have permission to access to folder.”
However, an HP support representative shed light on what the Z: partition is. On a forum, he stated:
That new drive labeled (Z: ) is the restore partition which is added to give you the option of restoring back to your previous version of windows. It is nothing to worry about, and should not be deleted.
So the Z: drive is usually a hidden partition. Its appearance on some Windows 10 desktops and laptops is due to a system bug. As the HP representative stated, drive Z: isn’t something users really need to fix.
Yet, there are a few ways users can remove the Z: drive. That doesn’t mean deleting the drive, but merely removing the partition so that it doesn’t appear in Explorer. This is how users can remove the Z: drive in Windows 10.
There are three ways to remove the Z: drive
Method 1: Edit the Registry
Some users have confirmed that adding new NoDrive DWORDs (or QWORDs) to the registry gets rid of drive Z: in File Explorer. However, some might prefer to set up a System Restore point before editing the registry as an extra precaution. Using the Registry Editor is the safest way to remove system Z drive on Windows 10.
To do that, open Run with the Windows key + R hotkey, enter ‘systempropertiesadvanced’ in the text box, and click the OK button. Click Create on the System Protection tab to set up the restore point. Then follow the guidelines below to edit the registry.
- Open the Run accessory.
- Enter ‘regedit’ in the Open text box and click OK to open the Registry Editor.
- Copy this registry path with the Ctrl + C hotkey: HKEY_CURRENT_USER\SOFTWARE\Microsoft\Windows\CurrentVersion\Policies. Then paste that into the Registry Editor’s address bar by pressing Ctrl + V to select the Policies Key shown directly below.
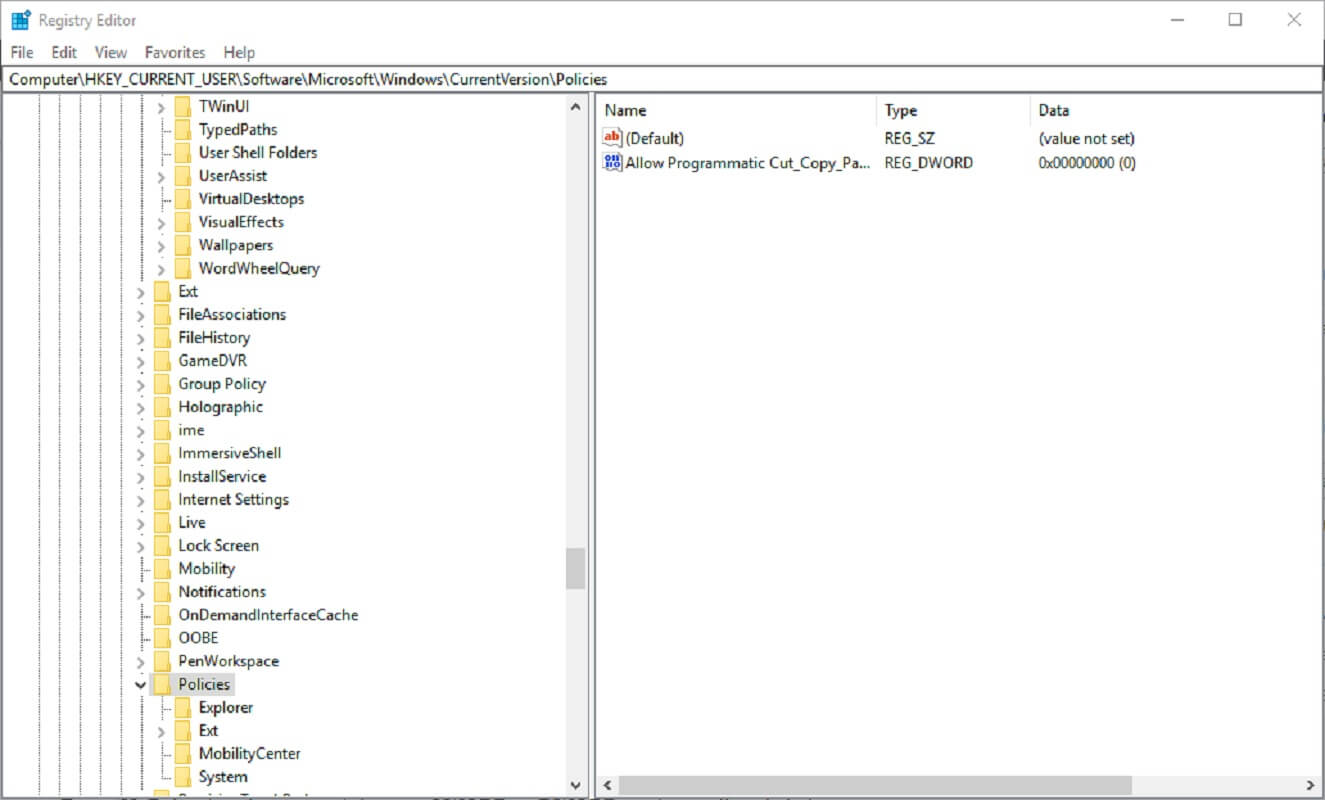
- Right-click an empty space on the right of the Registry Editor window and select New > QWORD (64-bit) Value if you have a 64-bit Windows 10 platform. Users with 32-bit Windows platforms should select New > DWORD (32-bit) Value.

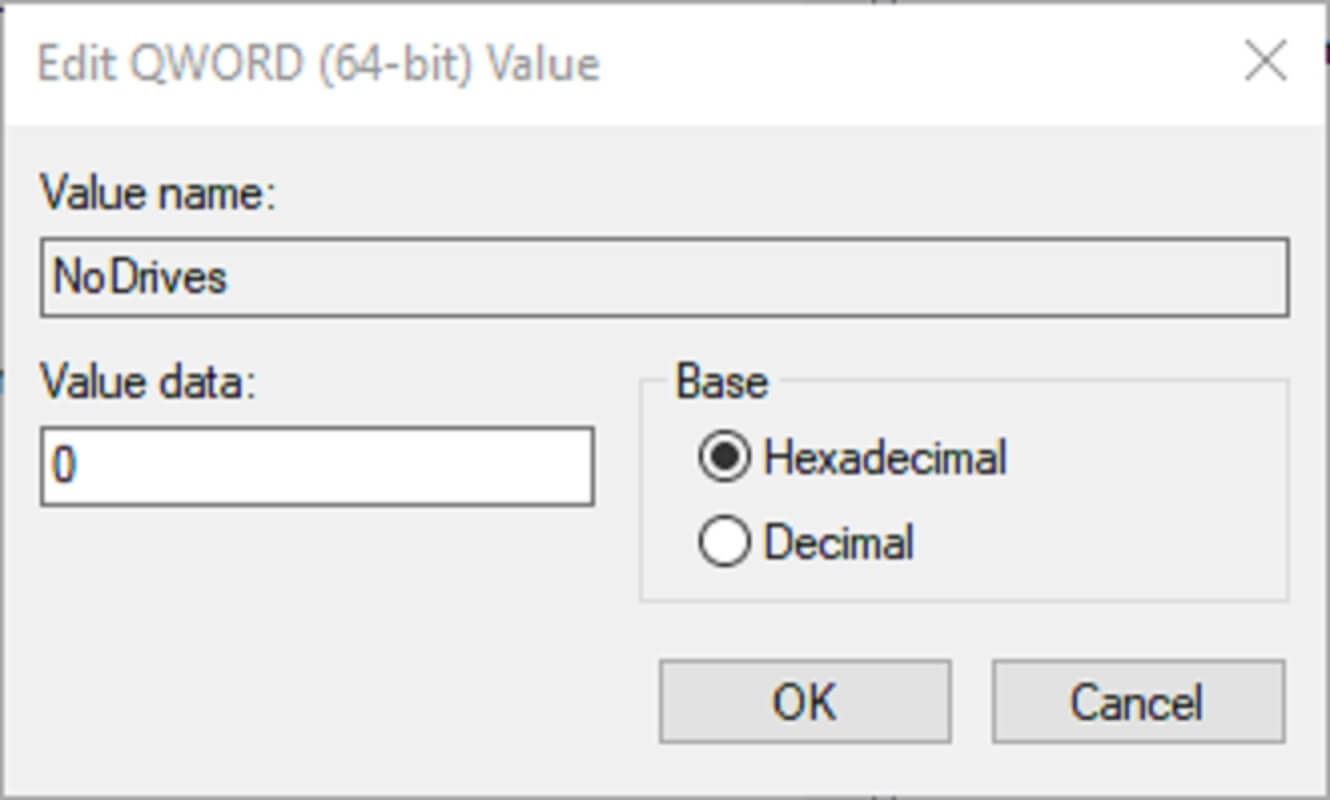
- Enter ‘NoDrives’ as the name of the new QWORD or DWORD as shown directly below.
- Double-click NoDrives to open the window shown below.
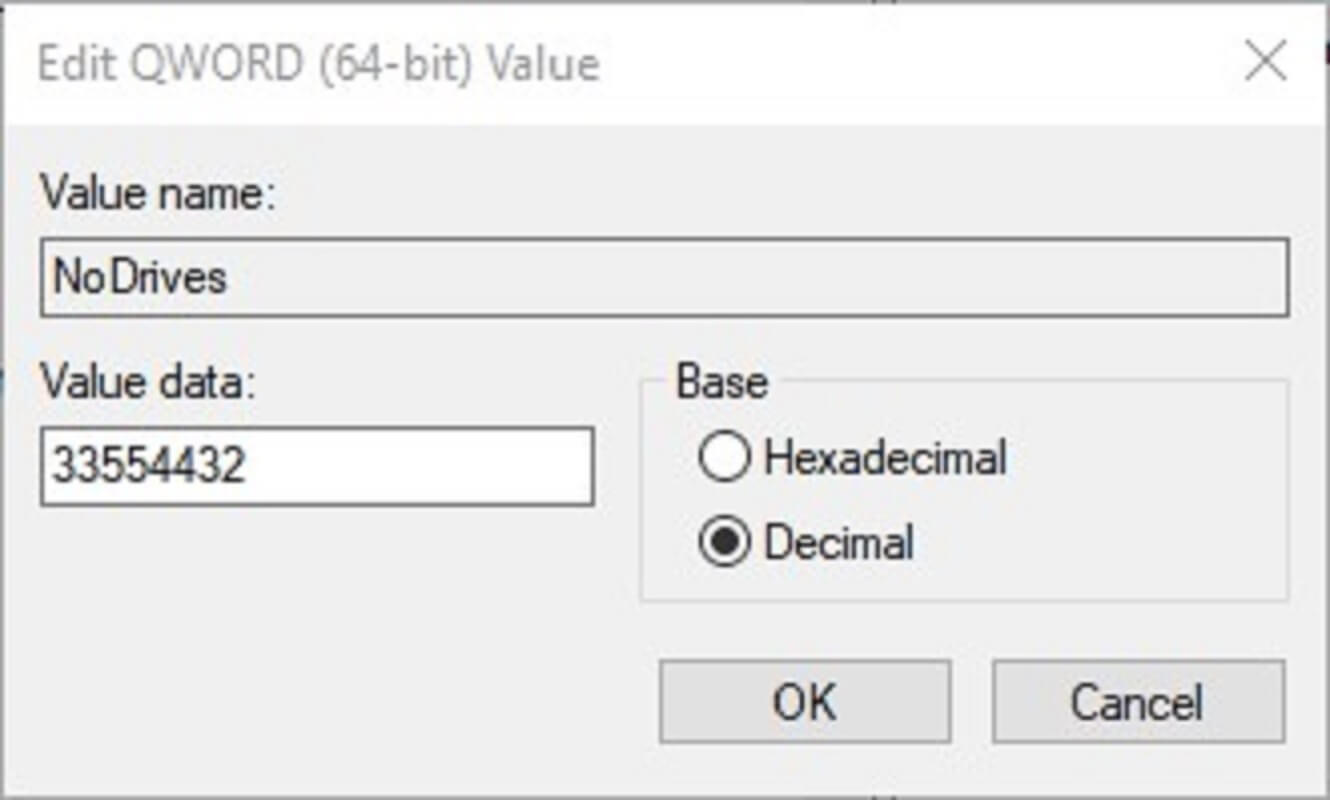
- Click the Decimal radio button.
- Enter ‘33554432’ in the text box as below, and press the OK button.
- Then enter this path in the Registry Editor’s address bar: HKEY_CURRENT_USER\SOFTWARE\Microsoft\Windows\CurrentVersion\Explorer.
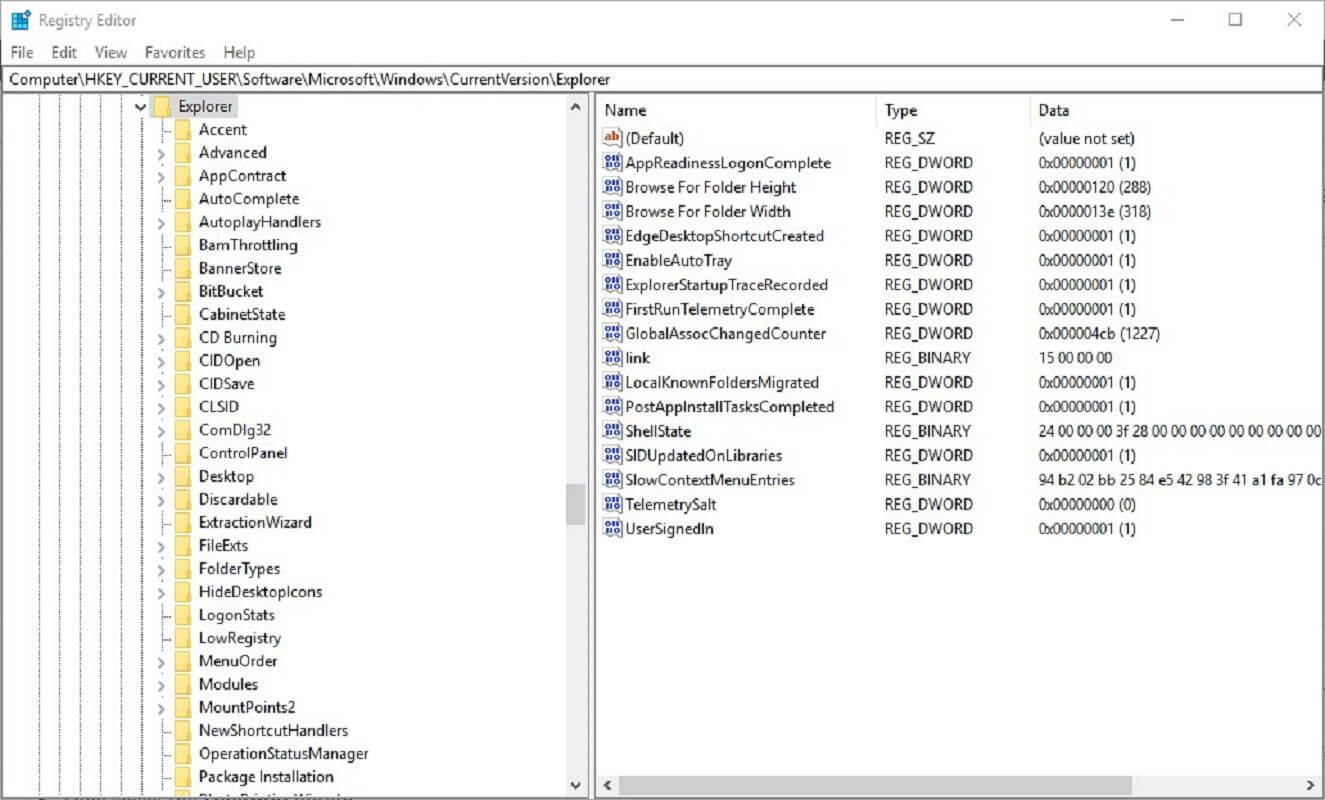
- Select the Explorer key on the left of the registry.
- Then set up a new NoDrives QWORD or DWORD for the Explorer key exactly as you did for the Policies key.
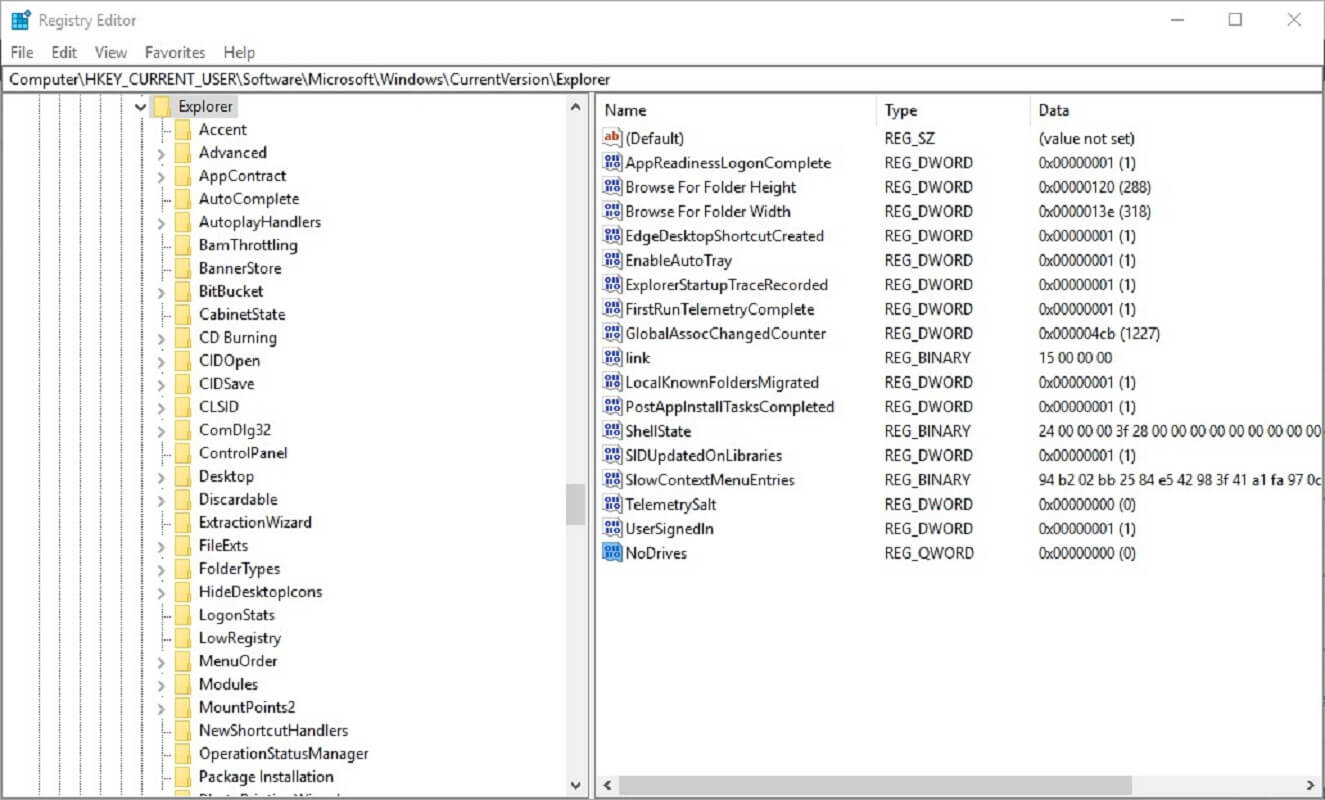
- Double-click the NoDrives DWORD or QWORD to open its Edit window.
- Then select the Decimal option.
- Enter the same ‘33554432’ value in the text box, and click the OK button.
- Thereafter, close the Registry Editor window.
- Restart Windows after editing the registry and with that, you should remove system Z drive from Windows 10 for good.
— RELATED: 5 best driver removal tools to make sure everything gets deleted
Method 2: Roll Back Windows 10 to a Restore Point
A few users have stated on forums that they’ve removed drive Z: by rolling Windows 10 back to a previous date. System Restore is the utility that rolls Windows 10 back to an earlier date. Note that rolling Windows back to a restore point will also remove software installed after the selected date and undo other system changes.
- To roll back Windows 10, open the Run accessory. Enter ‘rstrui’ in Run’s text box and click OK to open System Restore.
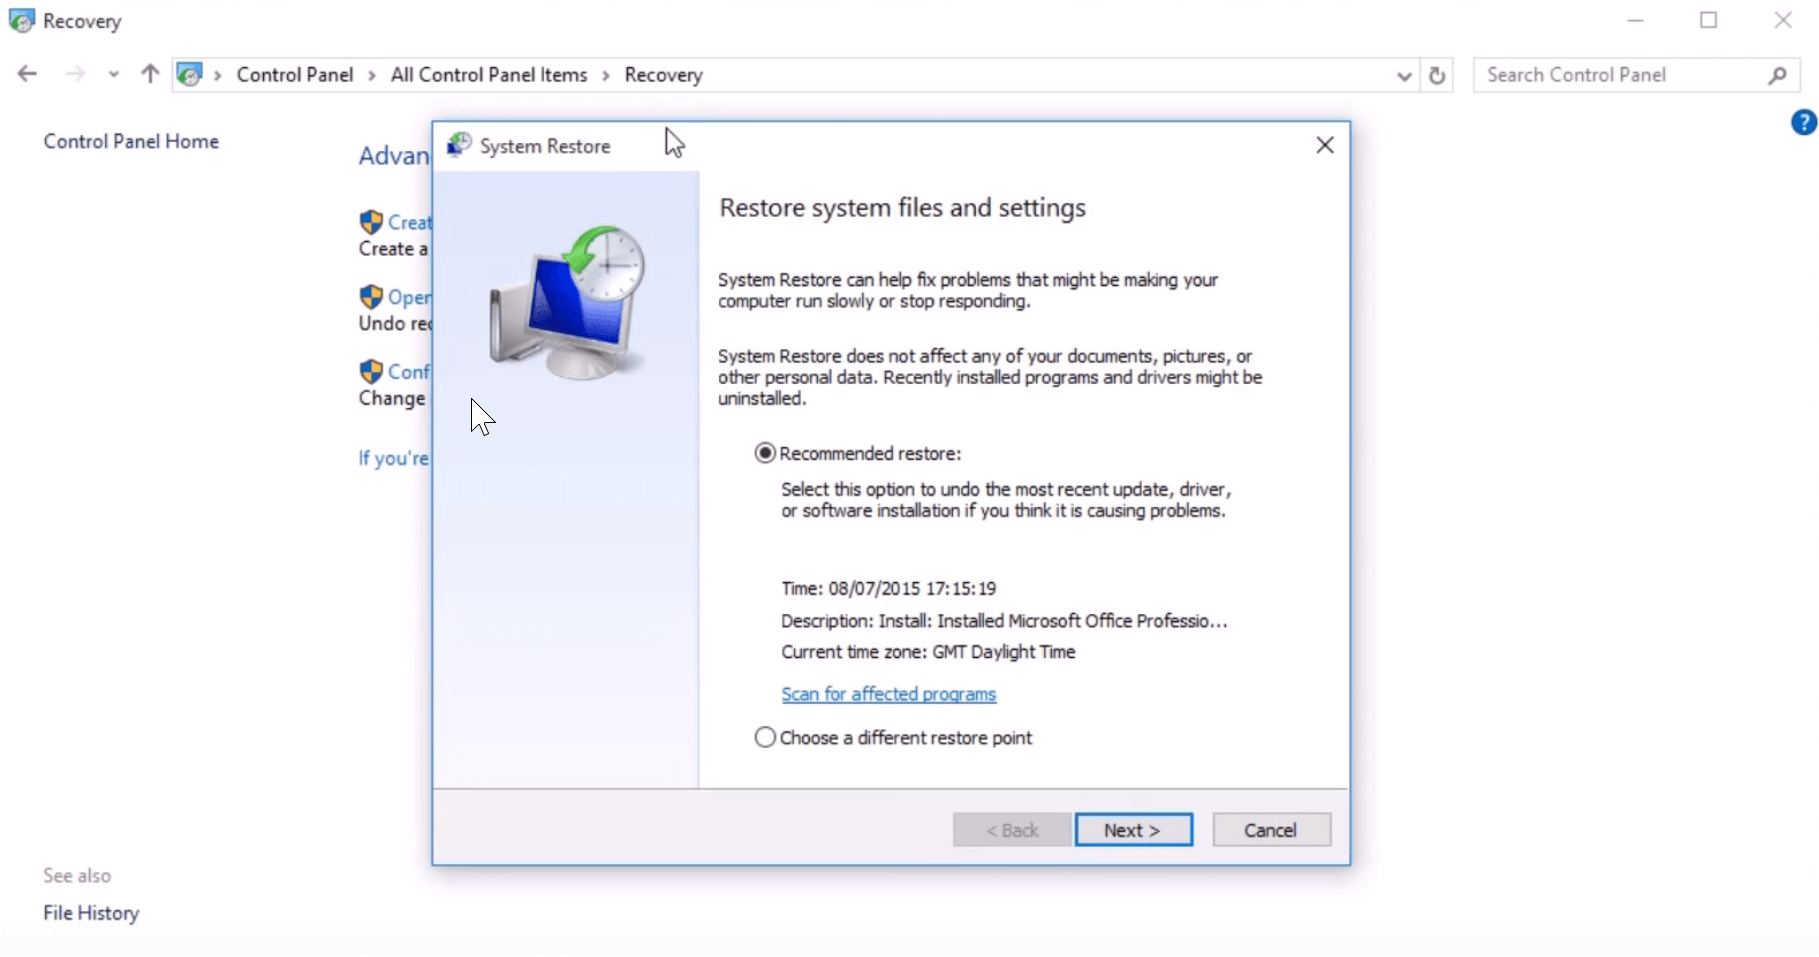
- Click the Choose a different restore point option, and press the Next button.
- To expand the restore points list, click the Show more restore points option.
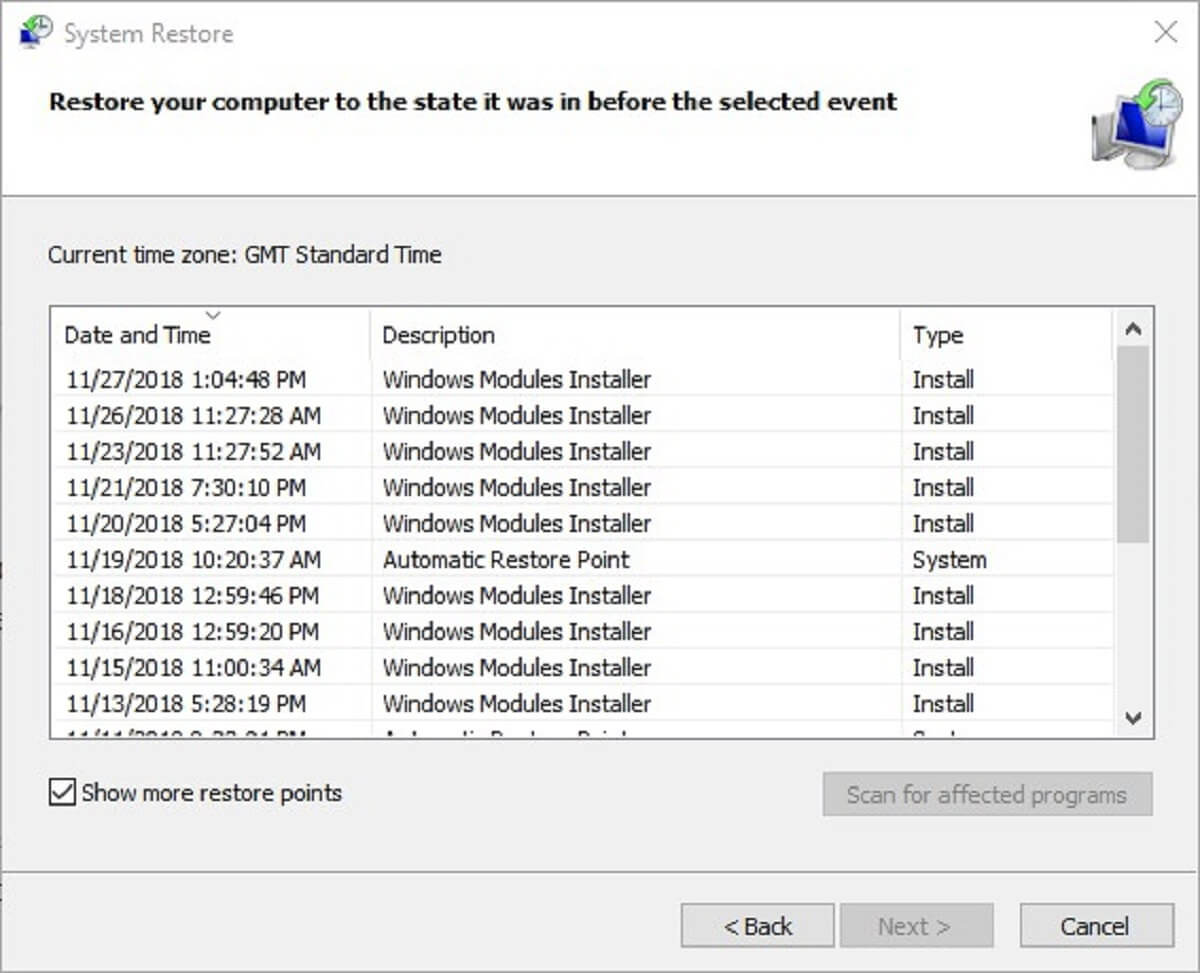
- Select a restore point that will roll the OS back to a time when File Explorer didn’t include a Z: drive partition.
- Press the Next button to proceed to the confirmation step.
- Click Finish to confirm the selected restore point. With those steps, you should remove system Z drive from Windows 10.
— RELATED: 5 best backup software for external hard drives [2019 LIST]
Method 3: Update Windows 10
Some users have also stated that updating Windows 10 removes the Z: drive. Drive Z: can appear when updates have not completely installed. Thus, checking for Win 10 updates to see if there are any updates waiting to finish might remove the Z: drive.
- To check for Windows 10 updates, press the Type here to search button on the taskbar.
- Enter ‘updates’ in Cortana’s search box.
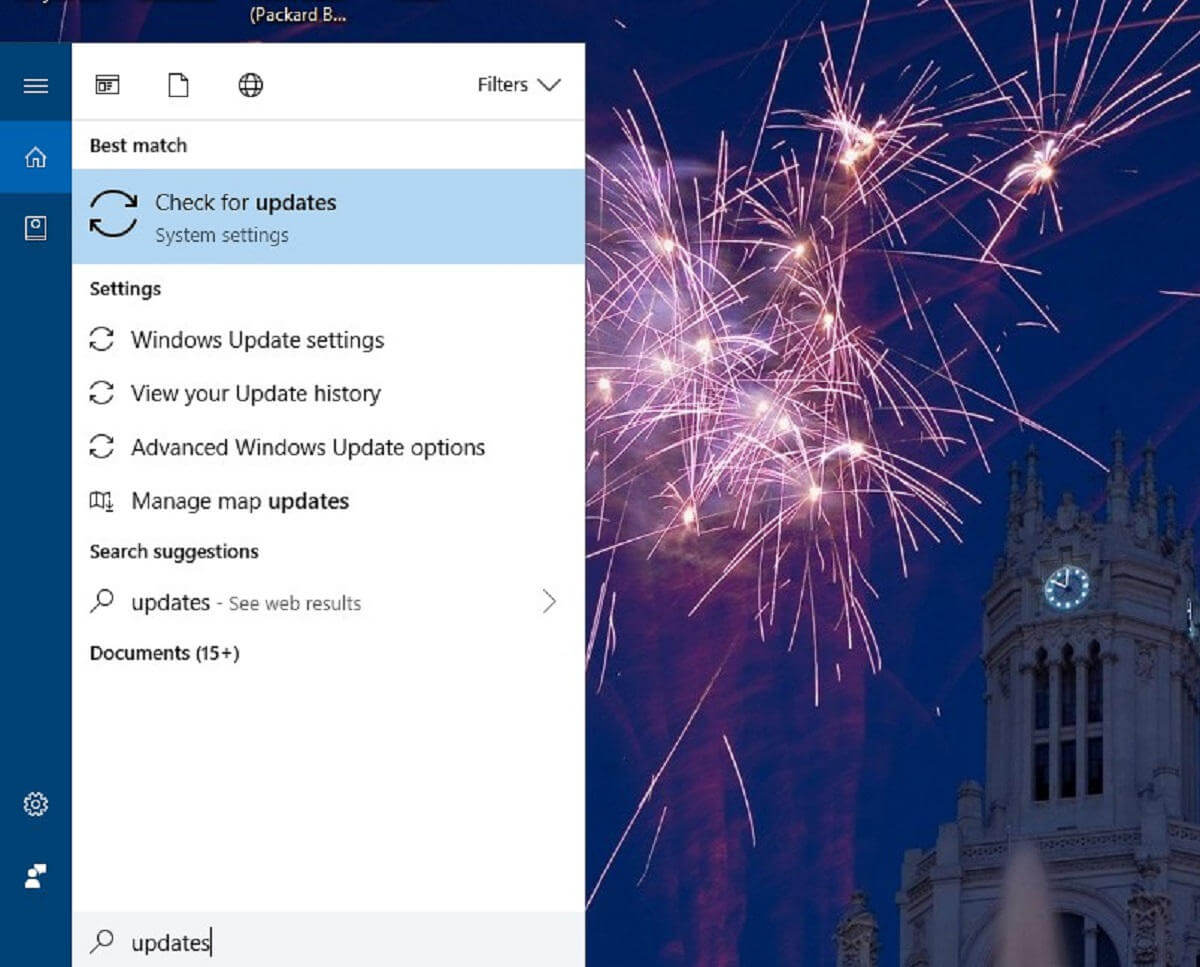
- Then click Check for updates to open the window shown directly below.
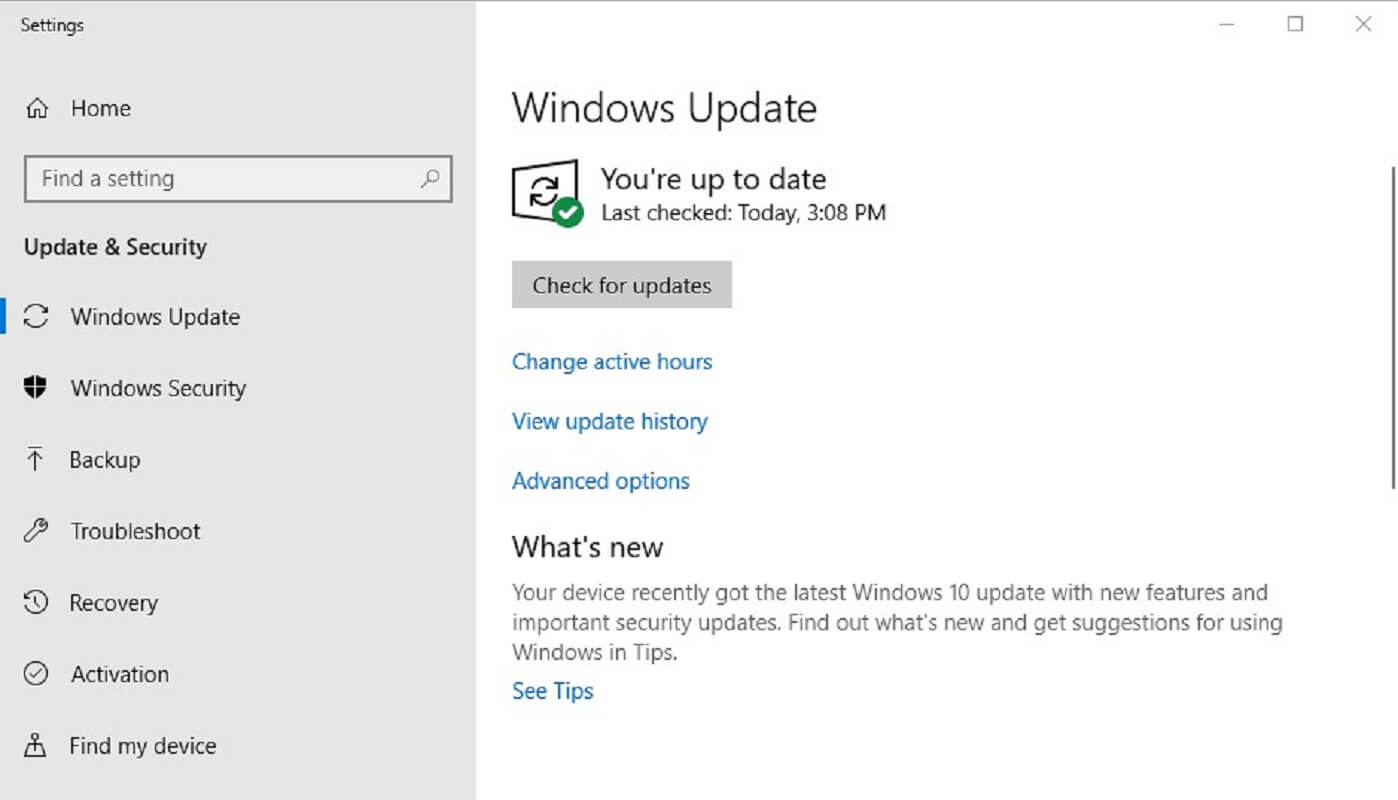
- Press the Check for updates button to scan for updates.
- Click the Install now option to add listed updates to Windows 10.
The Settings Windows Update window also lists pending updates. You might need to restart the platform to complete their installation. In some instances, pending updates might be stuck.
If so, check out the Windows Update troubleshooter by entering ‘troubleshoot’ in Cortana’s search box and clicking Troubleshoot. Then select Windows Update and press its Run the troubleshooter button to fix the pending updates.
Those are a few resolutions that might get rid of drive Z: and ensure it never reappears in File Explorer. Then drive Z: will be a hidden restore partition again.
RELATED STORIES YOU NEED TO CHECK OUT:
Read our disclosure page to find out how can you help Windows Report sustain the editorial team. Read more


Improve this guide


User forum
0 messages