3 Easy fixes to apply when Rust settings are not saving
3 min. read
Updated on
Read our disclosure page to find out how can you help Windows Report sustain the editorial team. Read more
Key notes
- Many users reported that Rust settings are not saving, so in today’s guide we’ll show you the best ways to fix that.
- To make sure that your settings are being saved, you need to check if the necessary cfg files are available in the installation directory.
- Another way to fix this problem is to use the console to manually save your settings.
- If Rust settings keep resetting, you can always try to close the game properly and that should help with this problem.
Rust is a pretty popular survival game, but many users reported issues while trying to save their settings. According to users, Rust settings are not saving for some reason.
This issue usually occurs if the cfg file is missing or if you close the game improperly, so your settings aren’t saved properly.
This can be a problem, especially if you need to change a certain setting to make the game run better. However, there are ways to fix this problem, and in this guide, we’ll show you how to do it.
What do I do if Rust settings are not saving?
1. Create the config file manually
- Navigate to the Rust installation directory. The location should be the following:
/steam/steamapps/rust - Right-click the space inside the folder and choose New and select Folder. Name the folder CFG.
- Navigate to the CFG folder and go to the View pane and check the File name extensions checkbox.
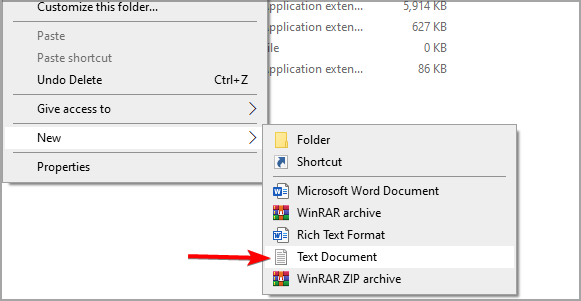
- Right-click the space in the directory, expand the New menu and select Text Document.
- Name the file Client.cfg.
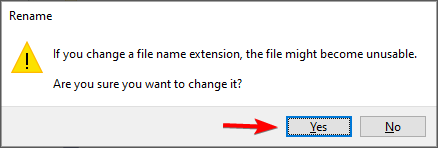
- A confirmation dialog will now appear. Click on Yes.
- Now start the game, change your settings and join a server.
- Quit the game and start it again.
After doing that, your settings should be saved properly. This is a simple little trick, so be sure to try it if Rust settings keep resetting.
2. Make sure that you’re closing the game properly
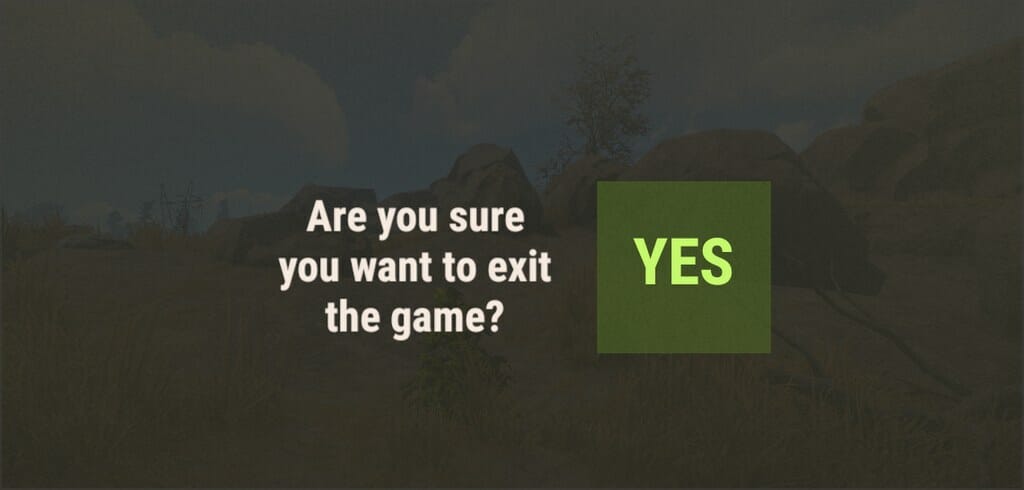
If Rust settings are not saving, it’s rather likely that you’re not closing your game properly. The correct way to close the game is to use the Exit button in the game.
If you use any other method of closing the game, it’s likely that your settings won’t save, so make sure that you’re exiting the game properly every time.
Many users reported that their settings were saved after they started closing the game properly, so we encourage you to use this method instead.
While this method might be slower, you’ll ensure that your settings will be properly saved every time, so there’s no reason not to use it.
3. Use a dedicated driver updater software
Finding the drivers manually can be a time-consuming task and it does require some technical knowledge just to make sure that you are not doing any damage. Things can be different if you use a specialized tool.
You can prevent these problems by using an automatic tool that will search and install the correct drivers on your computer with just a few clicks. That's why we recommend you use Outbyte Driver Updater. Here's how to do it:
- Download and install the Outbyte Driver Updater app.
- Launch the software.
- Wait for the app to detect all incompatible drivers.
- Afterward, it will show you a list of the drivers found to select the ones to Update or Ignore.
- Click on Update & Apply Selected to download and install the newest versions.
- Restart your PC to ensure the applied changes.

Outbyte Driver Updater
Use this software and solve all driver-related issues from your PC.4. Use the writecfg command
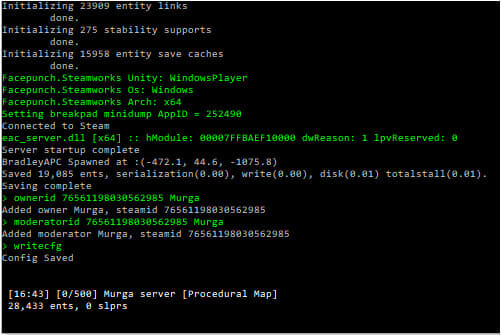
This is a simple console command that should force the game to save your settings to the cfg file. Keep in mind that this is just a workaround, but it should help you if Rust settings keep resetting.
Despite being a workaround, many users reported that this method worked for them, so it’s a viable option, especially if you don’t want to close the game using the conventional method.
Fixing this problem is easier than you think, and if your Rust settings are not saving, be sure to try the solutions from this guide.
Moroever, we’ve got some quick tips to apply each time the game audio stops working in Windows 10. They will certainly make this issue a thing of the past.
Did you find a different solution to this problem? If so, feel free to share it with us in the comments section below.








User forum
0 messages