How to Fix The SECURE_BOOT_VIOLATION (0x00000145) Error
Temporarily disable Secure Boot to bypass boot issues
![]() 4 min. read
4 min. read
![]() Published on
Published on
Share this article
Improve this guide
Read our disclosure page to find out how can you help Windows Report sustain the editorial team. Read more
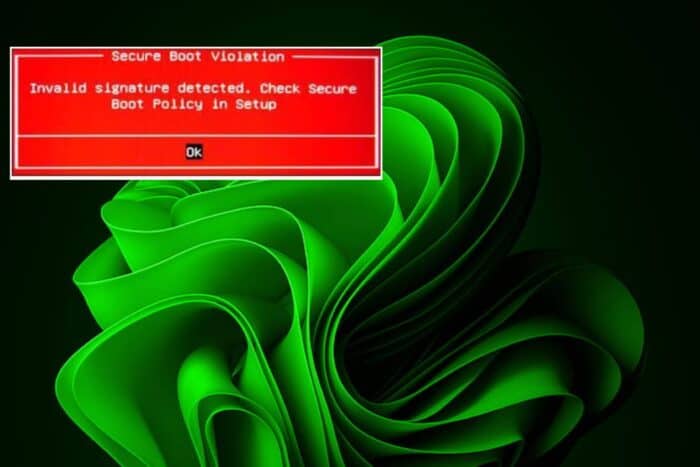
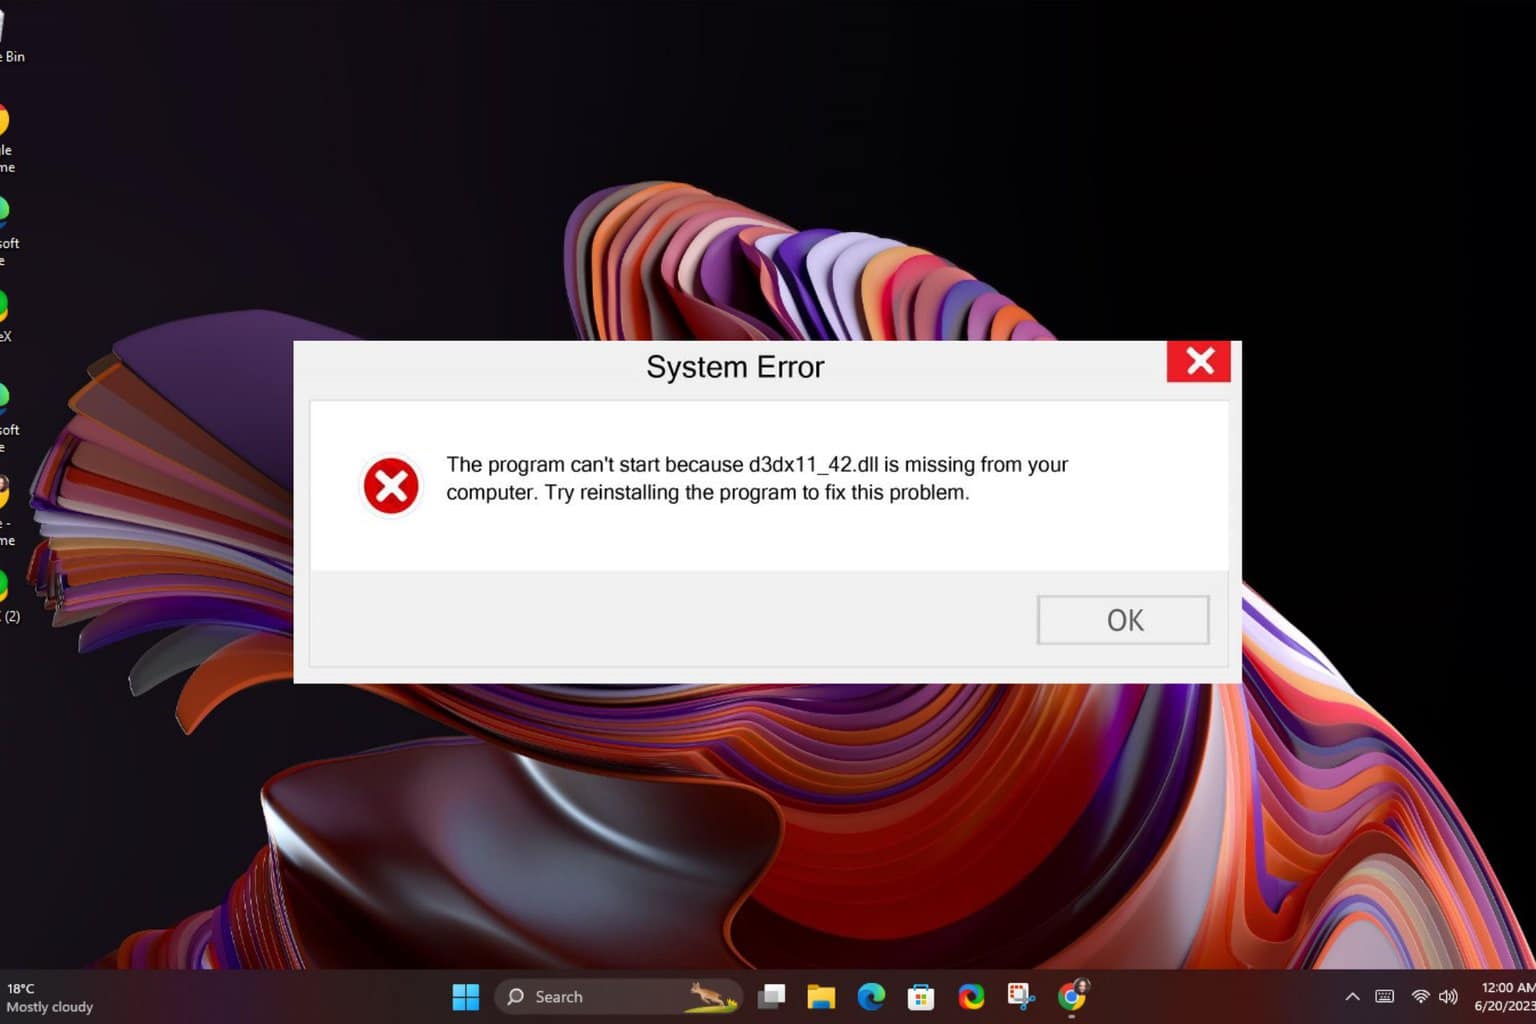
A SECURE_BOOT_VIOLATION error usually denoted by code 0x00000145 may appear on your screen when you’re booting up your PC indicating that the boot process was interrupted.
Secure Boot is one of the mandatory features for devices running Windows 11 and for good reason. It protects your PC from potential security violations. If Secure Boot detects something is amiss and shouldn’t be part of your startup programs, this error may be triggered.
Usually a recent hardware change could be causing the SECURE_BOOT_VIOLATION error or outdated firmware preventing your OS from loading.
How do I fix the SECURE_BOOT_VIOLATION 0x00000145 error?
1. Verify hardware compatibility
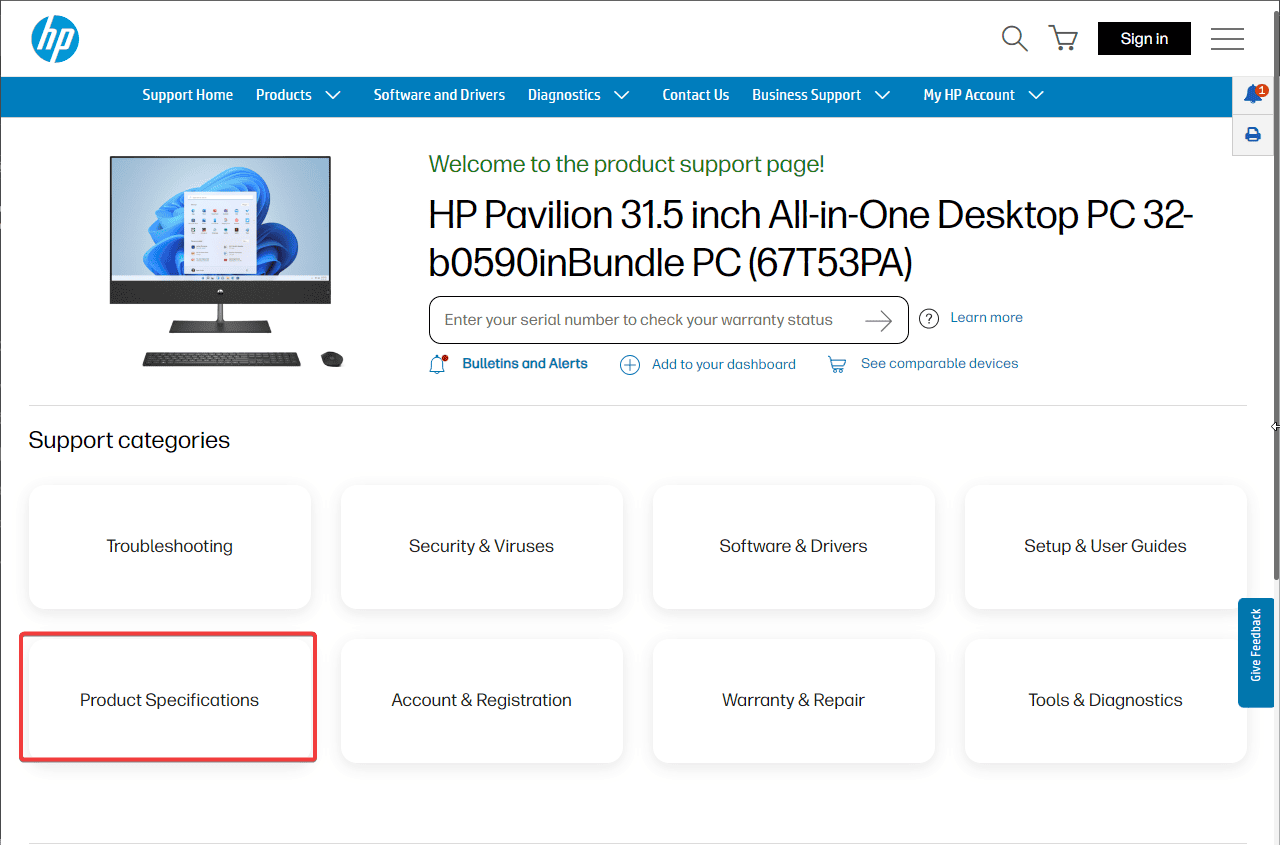
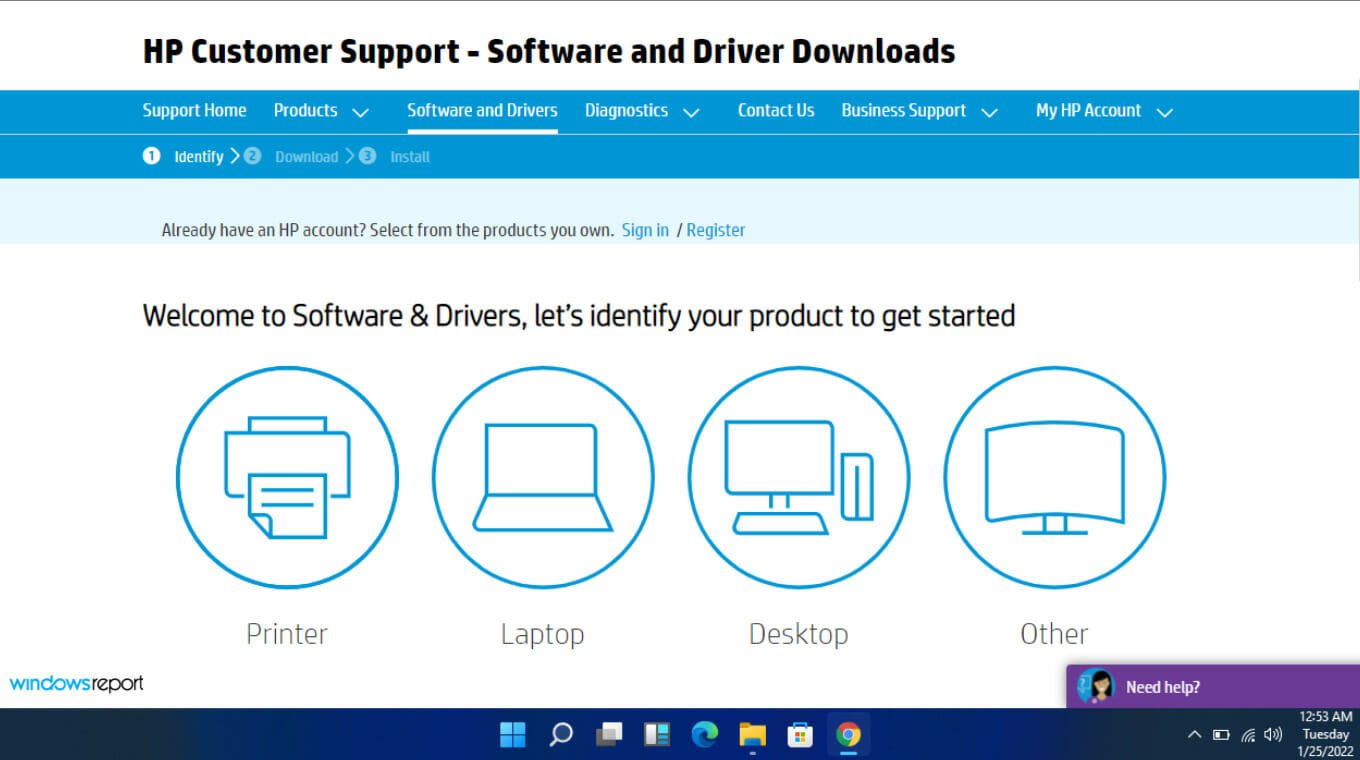
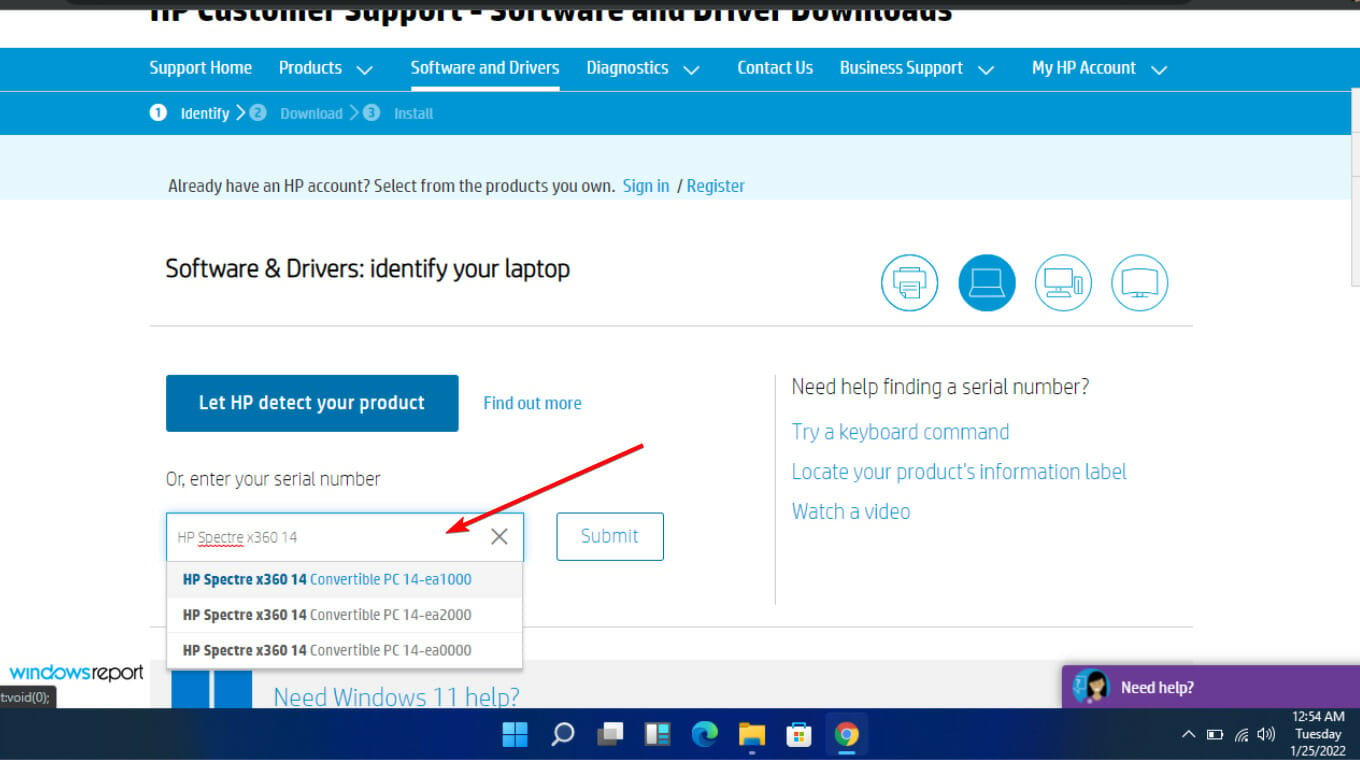
- Visit the manufacturer’s website of your computer or motherboard. For instance, we are taking HP as the manufacturer. Open your preferred browser and navigate to HP’s official support page.
- In the search bar, enter your HP computer’s model number (Serial number, & product number). You can find it on the back panel of your device.
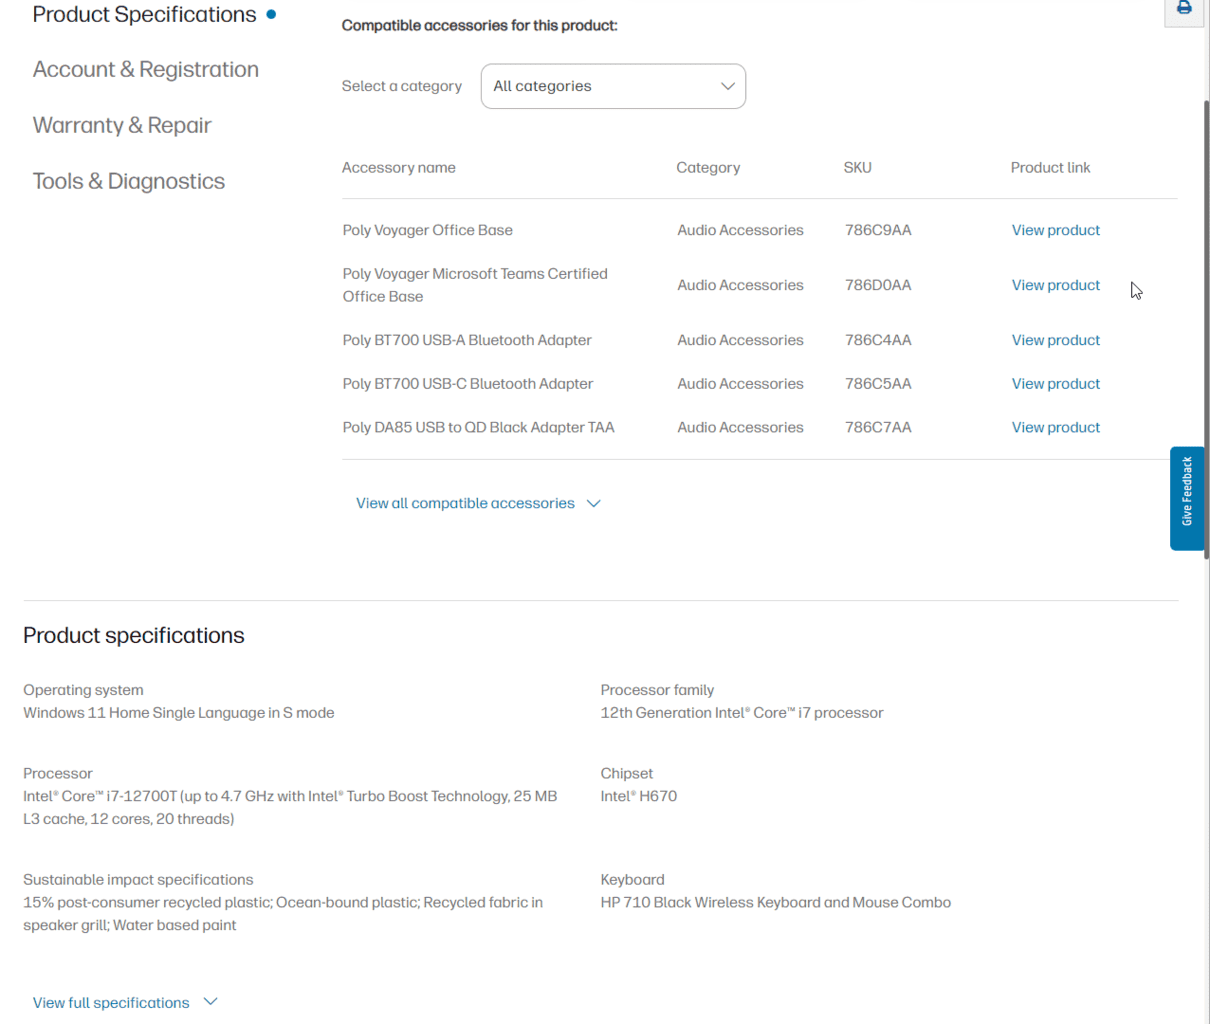
- Click the Product Specifications tab to open the specifications page or compatibility list.

- Check if the hardware components, including the chipset and processor, are compatible with your Windows version.

Verifying your hardware will ensure it is supported by Secure Boot especially if you’ve made recent hardware changes to your PC. When making hardware changes, you need to do them correctly otherwise, you may run into a Windows failed to start error.
2. Disable Secure Boot
- Restart your computer. During startup, you need to press a key designated by the OEM or computer manufacturer to access the UEFI settings. For HP, it is F10; for Dell, it is F2.
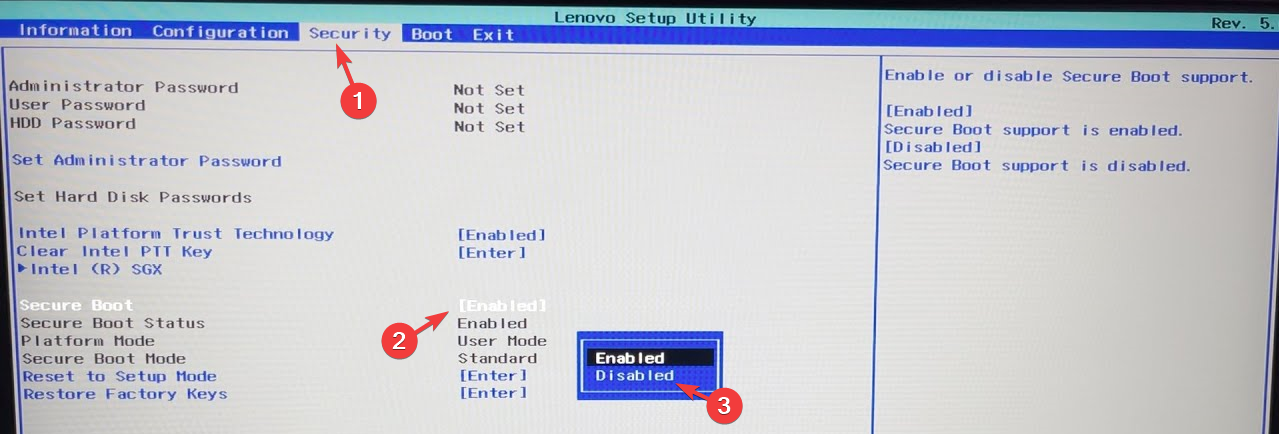
- You will enter the UEFI settings. Locate the Security or System Configuration section.
- Now look for Secure Boot or UEFI Secure Boot, select it, and change the status to Disabled.

- Depending upon your machine, you might also have to change the UEFI mode to Legacy mode to disable Secure Boot.

- Once done, Save & Exit to save the changes.
- Restart your computer.

Remember that disabling Secure Boot can leave your system vulnerable, so ensure you switch it on once the SECURE_BOOT_VIOLATION error has been addressed. Also, regularly check whether it is on as there are some instances where Secure Boot is enabled, but not active.
3. Deactivate driver signature
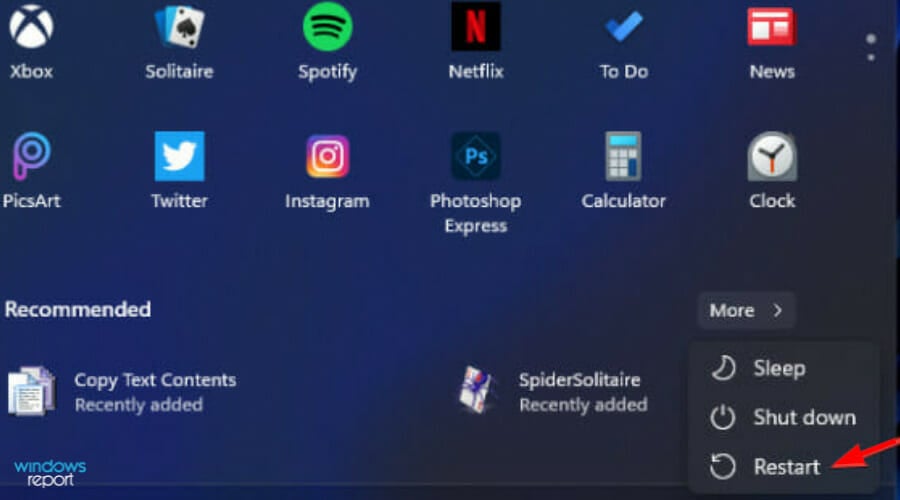
- Press the Windows key and select the Power button while holding down the Shift button.

- Your PC will restart in Advanced Options mode.
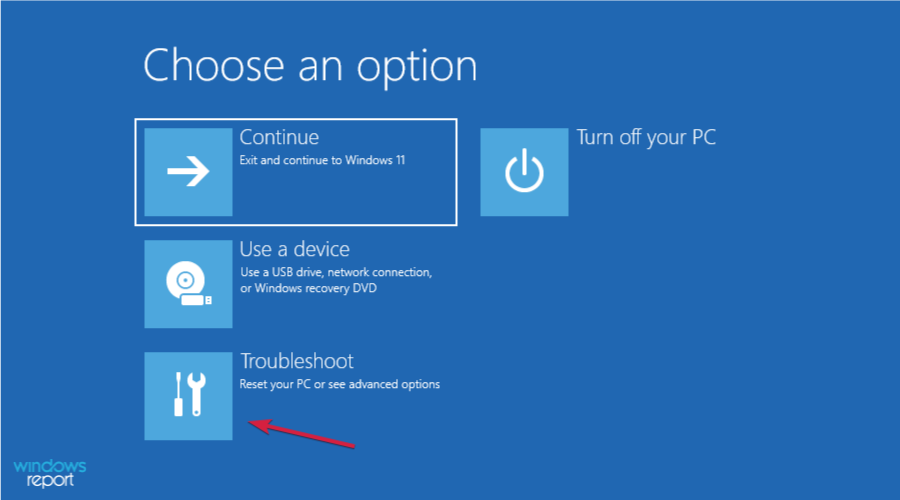
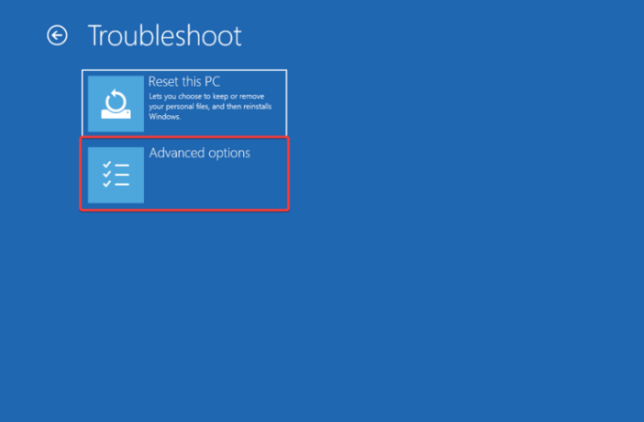
- Select Troubleshoot option.
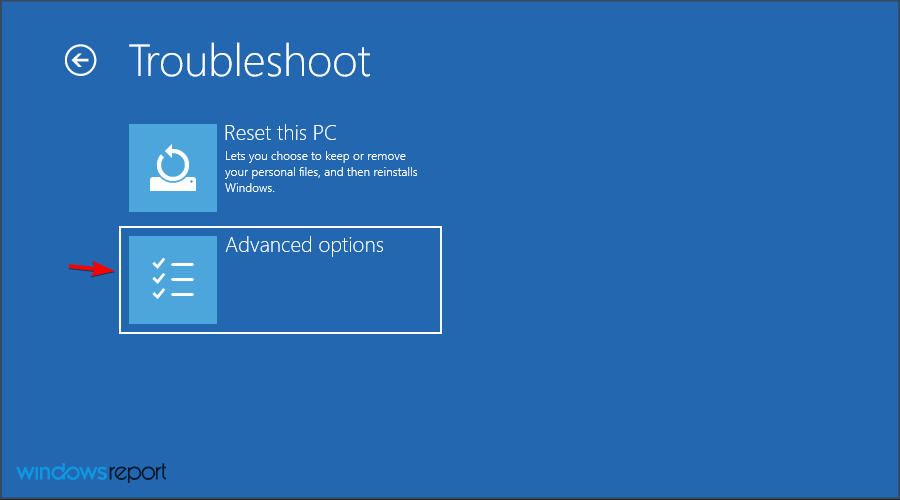
- Navigate to Advanced options.
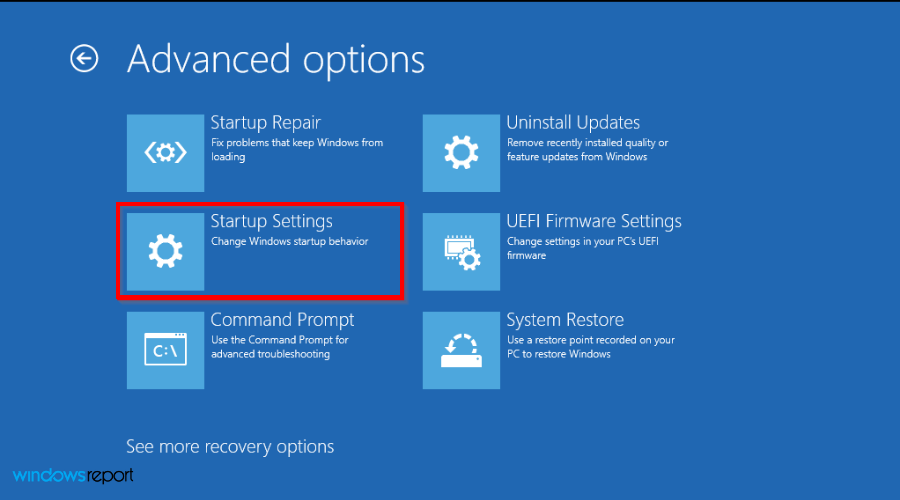
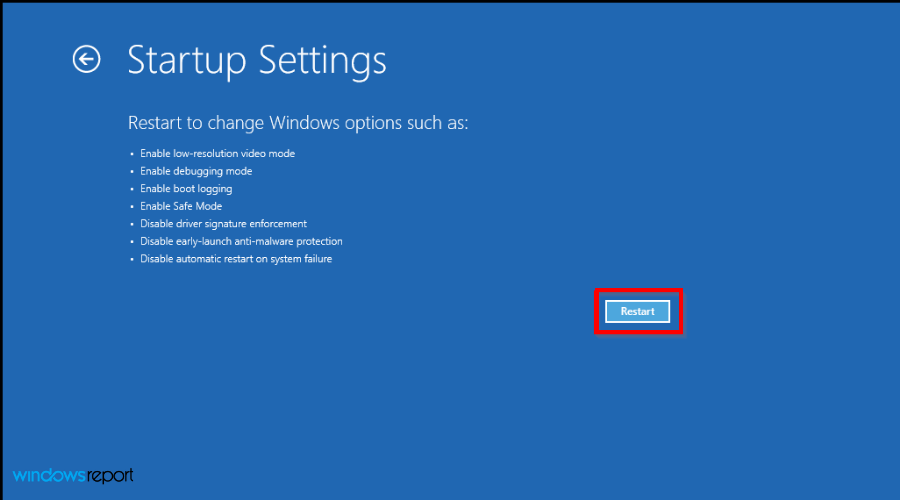
- Select Startup settings.
- Next click on Restart.
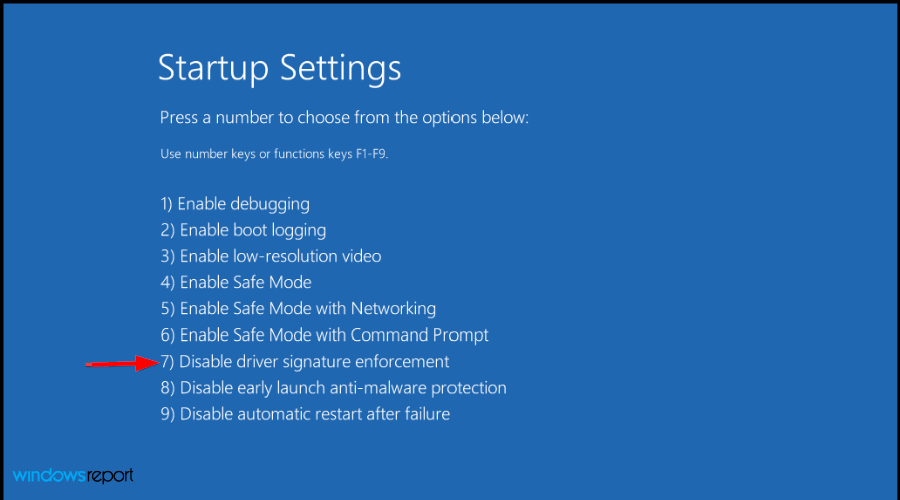
- Select Disable driver signature enforcement.
- Your PC will reboot again.
If you made recent hardware changes on your PC, the hardware may not support newer signed drivers. This in turn will make Secure Boot unable to perform the integrity checks for the drivers and allow them to load during the boot process potentially bypassing the SECURE_BOOT_VIOLATION error.
4. Use an SFC scan to repair system files
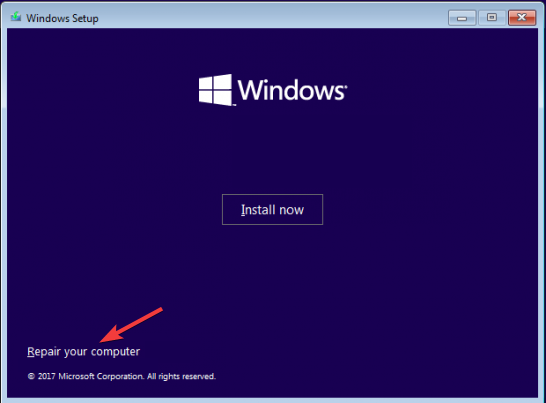
- Restart your computer in Advanced Options mode.
- Select Repair your computer on the next screen.

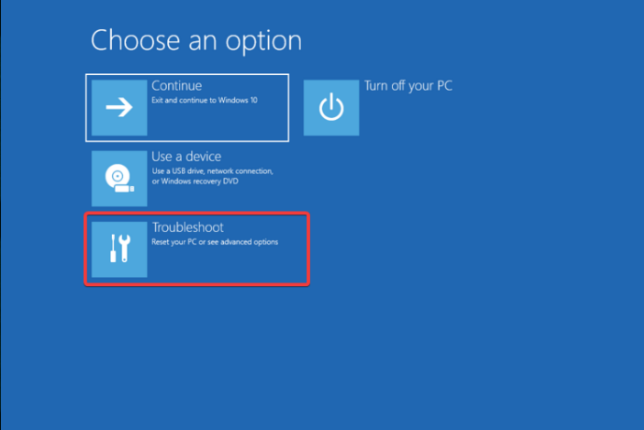
- On Choose an option screen, select Troubleshoot.

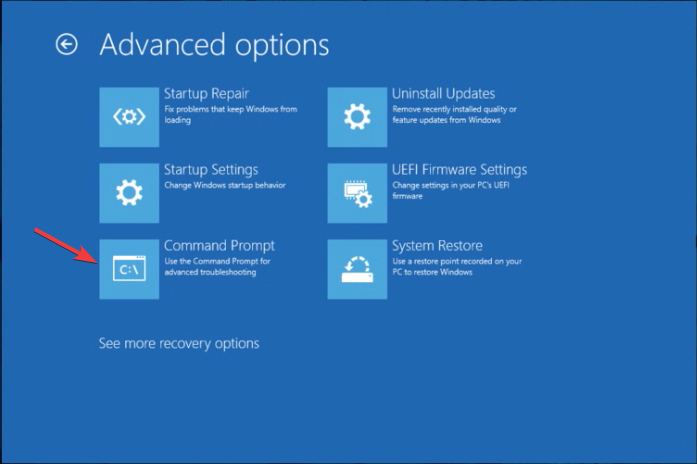
- Choose Advanced options from the next screen to proceed.

- Select Command Prompt from the Advanced options window. The system will restart and enter credentials when prompted.

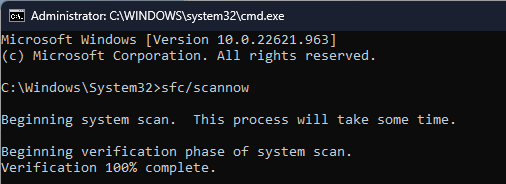
- On the Command Prompt window, type the following command to restore the system files and hit Enter:
sfc /scannow
- The command will take some time to complete; wait till you see a successfully completed message, then restart your PC.
A SECURE_BOOT_VIOLATION can be catastrophic for our PC so ensure you address this error. If none of this solutions resolve it, you may have to reset your PC or perform a clean install of your OS in cases of a Secure Boot failure.
5. Update BIOS
- The process of updating BIOS will differ depending on your motherboard. For this step, we shall be updating the HP motherboard.
- Navigate to the HP driver and software download website.
- Choose laptop or desktop, depending on the type of computer you’re using.

- Enter your exact serial number or your exact computer model.
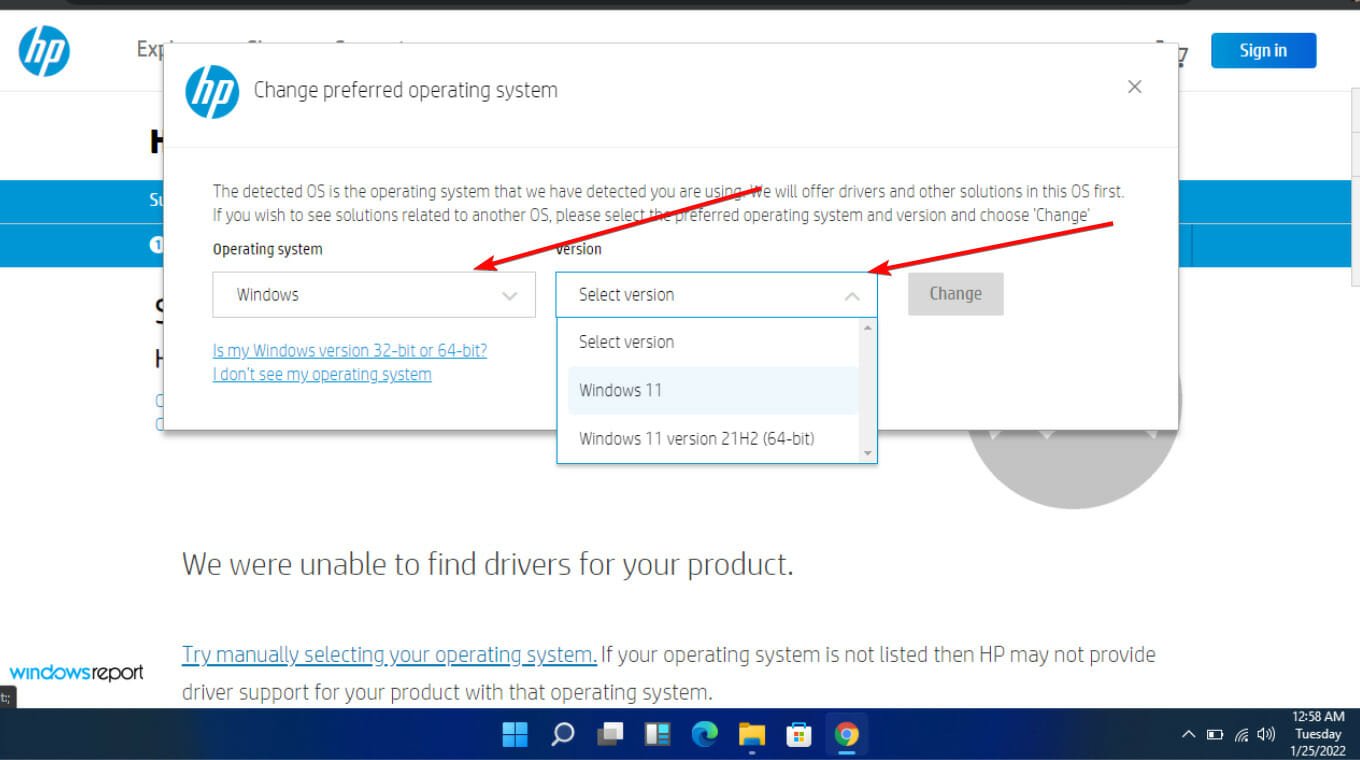
- Select your OS and OS version, then click Submit.
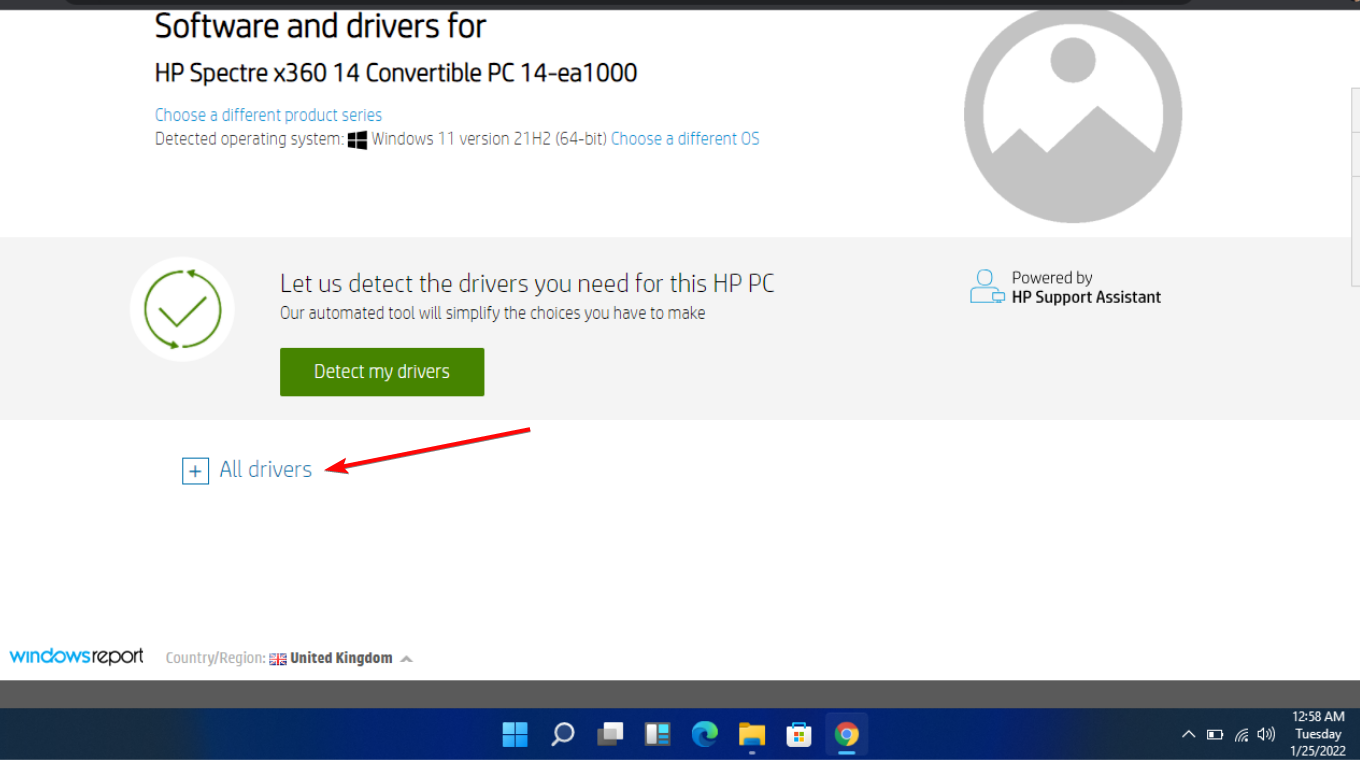
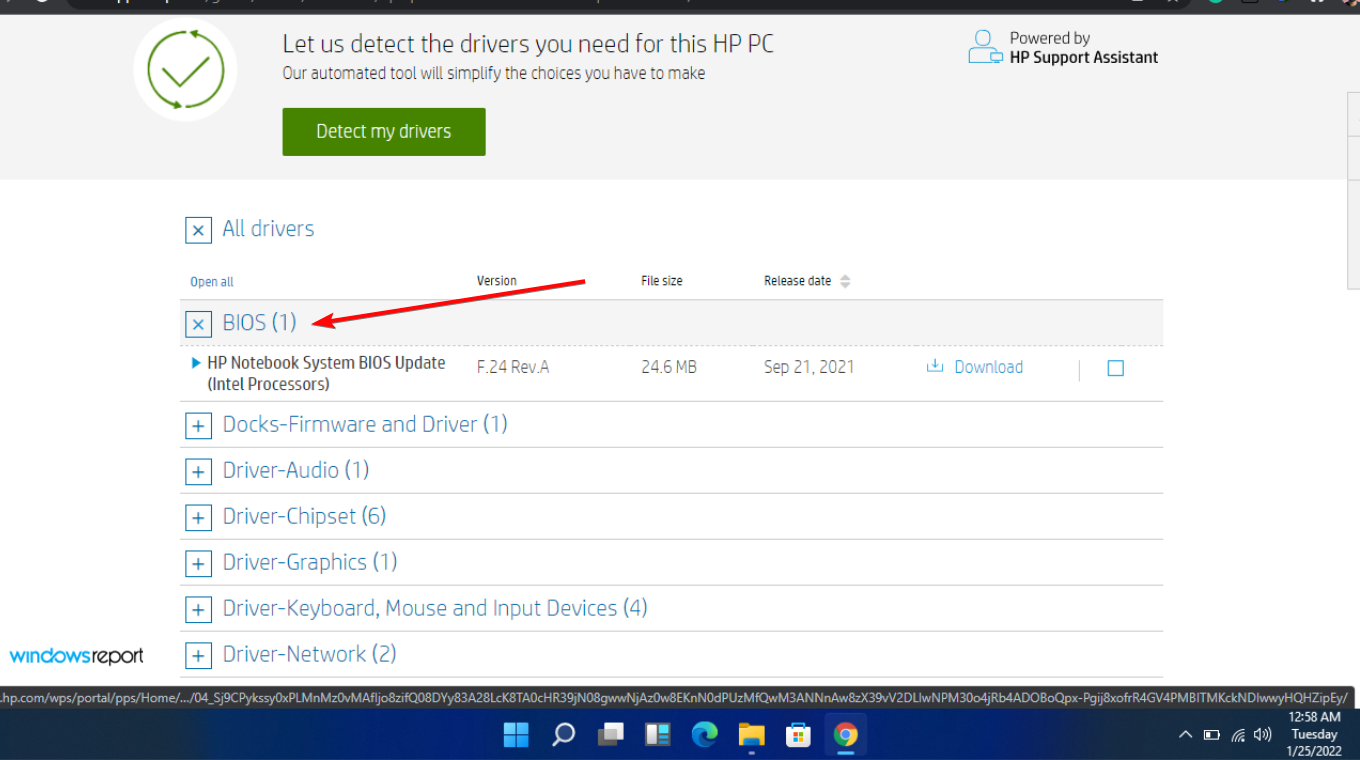
- Click on All drivers and then expand BIOS to see available updates.
- Click the download icon.
- Install the .exe file, following the on-screen instructions.
- Restart your PC.
It is possible that you’re getting the SECURE_BOOT_VIOLATION error because of compatibility issues. This can help enhance hardware compatibility and make it easier for Secure Boot to recognize it and whitelist it during the boot process.
Elsewhere, your Secure Boot setting may be grayed out so check out our article on how to bypass this restriction.
That’s a wrap from us but do let us know if you’ve been able to resolve this error in the comment section below.
User forum
0 messages