Show File Extensions on Windows 11 [3 Different Ways]
Some file extensions are hidden by default to prevent users from accidentally changing them
5 min. read
Updated on
Read our disclosure page to find out how can you help Windows Report sustain the editorial team. Read more
Key notes
- There are times when you need to reveal file extensions on Windows 11 to find a specific document or to perform a certain task.
- The quickest way to view these file extensions is by using the View menu in File Explorer.
- You can also show file extensions in Windows 11 by making a few changes in your registry.

All files on your computer have an extension, but in most cases it is hidden, and you’ll just see the name of the file.
This applies to most common file types since users are often concerned only with the actual file name rather than its extension.
However, sometimes you need to reveal the file extensions of your documents to find a specific one in no time or to perform a certain task.
This is pretty simple to do, and in today’s guide, we’re going to show you how to see file extensions for a file on Windows 11 but not before understanding what extensions really are and if some of them are revealed by default.
What is a file extension?
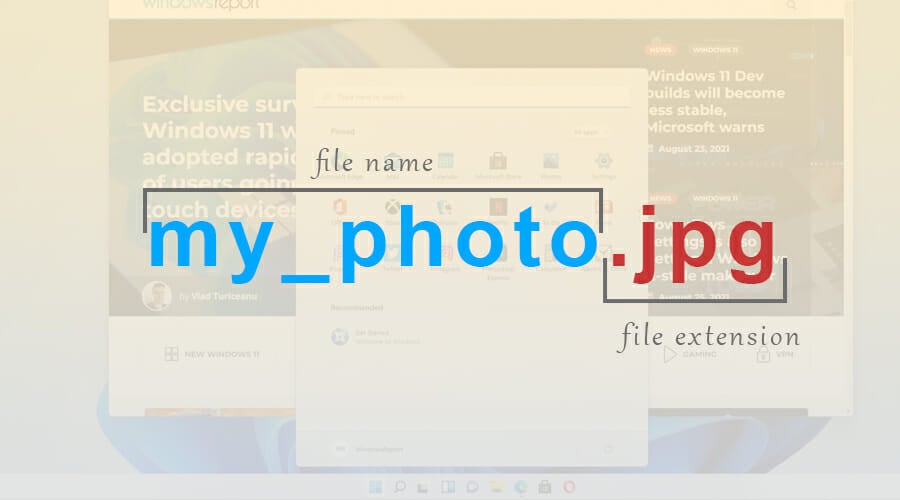
The file extension is located at the end of the file name, and it’s used as a file type identifier. This extension consists of a period followed by 2-4 characters.
When you try to open a certain file, Windows analyzes those characters and starts the application that is assigned to that file type.
There are more than a thousand file extensions available, and many applications have unique extensions that they use.
Are certain file extensions shown by default?
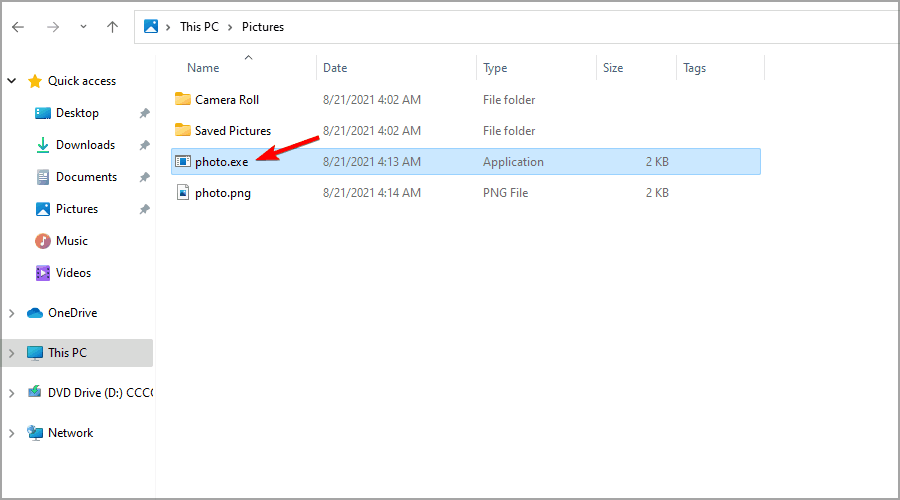
File extensions on Windows 11 aren’t revealed by default for most file types. This includes executable files, pictures, etc. However, certain extensions, such as ones for DLL files are revealed.
This is a clever design choice because many users don’t know the difference between a file name and a file extension, and less experienced ones might change the file extension by accident.
How can I view file extensions in Windows 11?
1. Use the View menu
- Open the desired directory in File Explorer.
- Now click on View, expand the Show section and click on File name extensions.
Keep in mind that the same option can be used to hide file extensions in Windows 11 with just two clicks.
2. Change File Explorer options
- Click on the Search icon in the Taskbar to open the Search menu.
- Now type file explorer options. Select File Explorer Options from the results.
- Head to the View tab and uncheck Hide extensions for known file types. Click Apply and OK to save the changes.
Once you save the changes, you’ll be able to view file extensions for all file types.
Many reported that the Search bar is not working in Windows 11 and if you happen to have the same issue, we have a guide with some quick ways to fix it.
3. Modify your registry
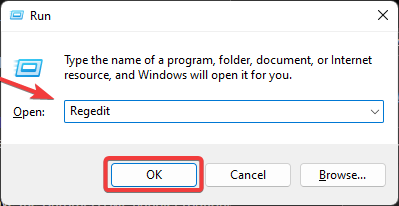
1. Press the Windows + R keys at the same time on your keyboard.
2. The Run dialog box will open.
3. Type regedit in it and then click OK.
4. The Registry Editor window will open.
5. Navigate to the following key:
Computer\HKEY_CURRENT_USER\Software\Microsoft\Windows\CurrentVersion\Explorer\Advanced6. Now double-click the HideFileExt DWORD.
7. Set the Value data to 0 and click OK.
8. For file extensions to appear, you might have to restart your Windows 11 PC after the procedure.
If you are looking to view file extensions on your Windows 11 device, you can also tweak the Registry. By modifying the HideFileExt DWORD, you can enable or disable the hiding of file extensions.
What happens if I change the file extension of a file?
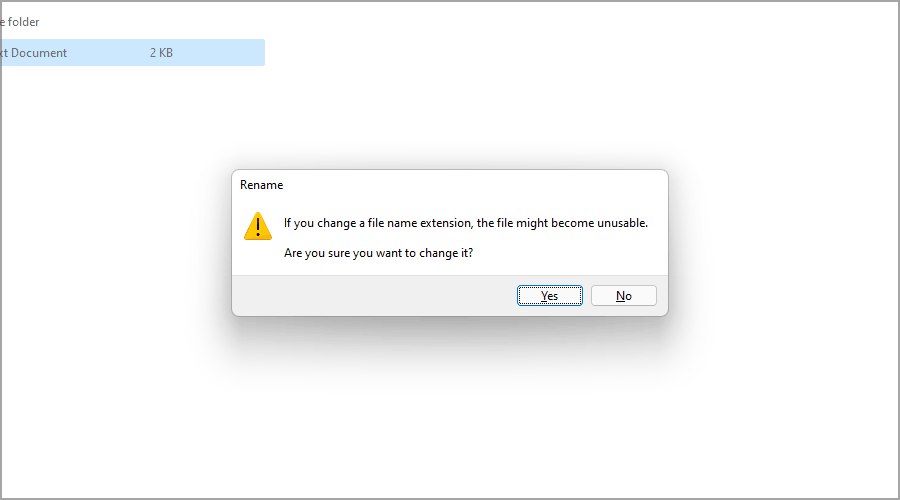
Windows already has a system that prevents this from happening, and if you try to change the extension, you’ll get a warning message telling you that the file extension will become unusable.
But if you manage to change the extension, there are several results depending on the file extension and the file type.
Assuming that you rename the file and accidentally remove its file extension, then you won’t be able to open that file anymore.
However, you can easily fix that by renaming the file and adding the file extension at the end. What happens when you change one file extension to another?
If you, for example, change the extension of a .jpg file to .png, since the file types are similar, the file should still work.
But if you change it to a different format, such as .txt, the file will be opened by another app and it won’t work properly, but changing the extension back to the original one should fix the problem.
When should I show file extensions?
For most everyday users there’s no need to view hidden file extensions. But if you’re an advanced user, and you’re looking for a specific file type or if you want to change a file extension of a file, then you can go ahead and reveal file extensions.

Another example when it might be useful to show file extensions is when dealing with malware. It sometimes tries to copy the name of a regular file and trick the users into running it.
However, by revealing file extensions, it should be easy to detect a malicious file that is imitating the normal file.
These are just a couple of simple methods that you can use to reveal file extensions on Windows 11, so be sure to give them a try.
As you can see, some of them are similar to the ones applied when trying to show file extensions in Windows 10.
In most cases, there’s no need to enable file extensions for all file types, but if you choose to do so, be sure not to change or remove the file extension when renaming files.
What method are you using to reveal file extensions? Let us know in the comments section below.


User forum
0 messages