StartAllBack on ARM: How to Install & Run it
StartAllBack is fully compatible with Windows ARM
![]() 2 min. read
2 min. read
![]() Published on
Published on
Share this article
Improve this guide
Read our disclosure page to find out how can you help Windows Report sustain the editorial team. Read more
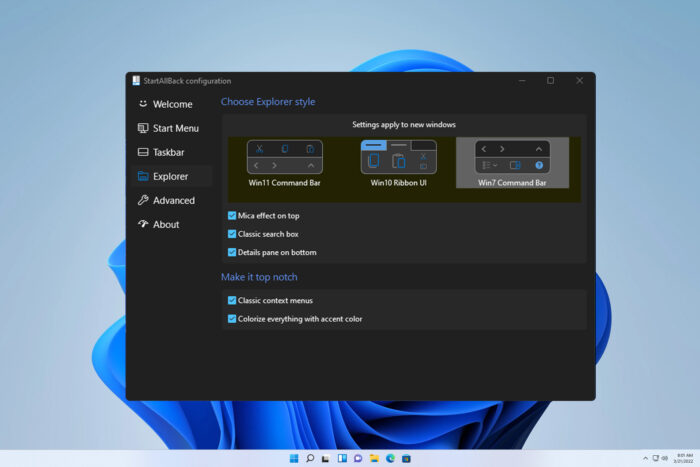
StartAllBack is a must-have for some Windows 11 users, but many are wondering if StartAllBack is working on ARM. In today’s guide, we’re going to answer this question.
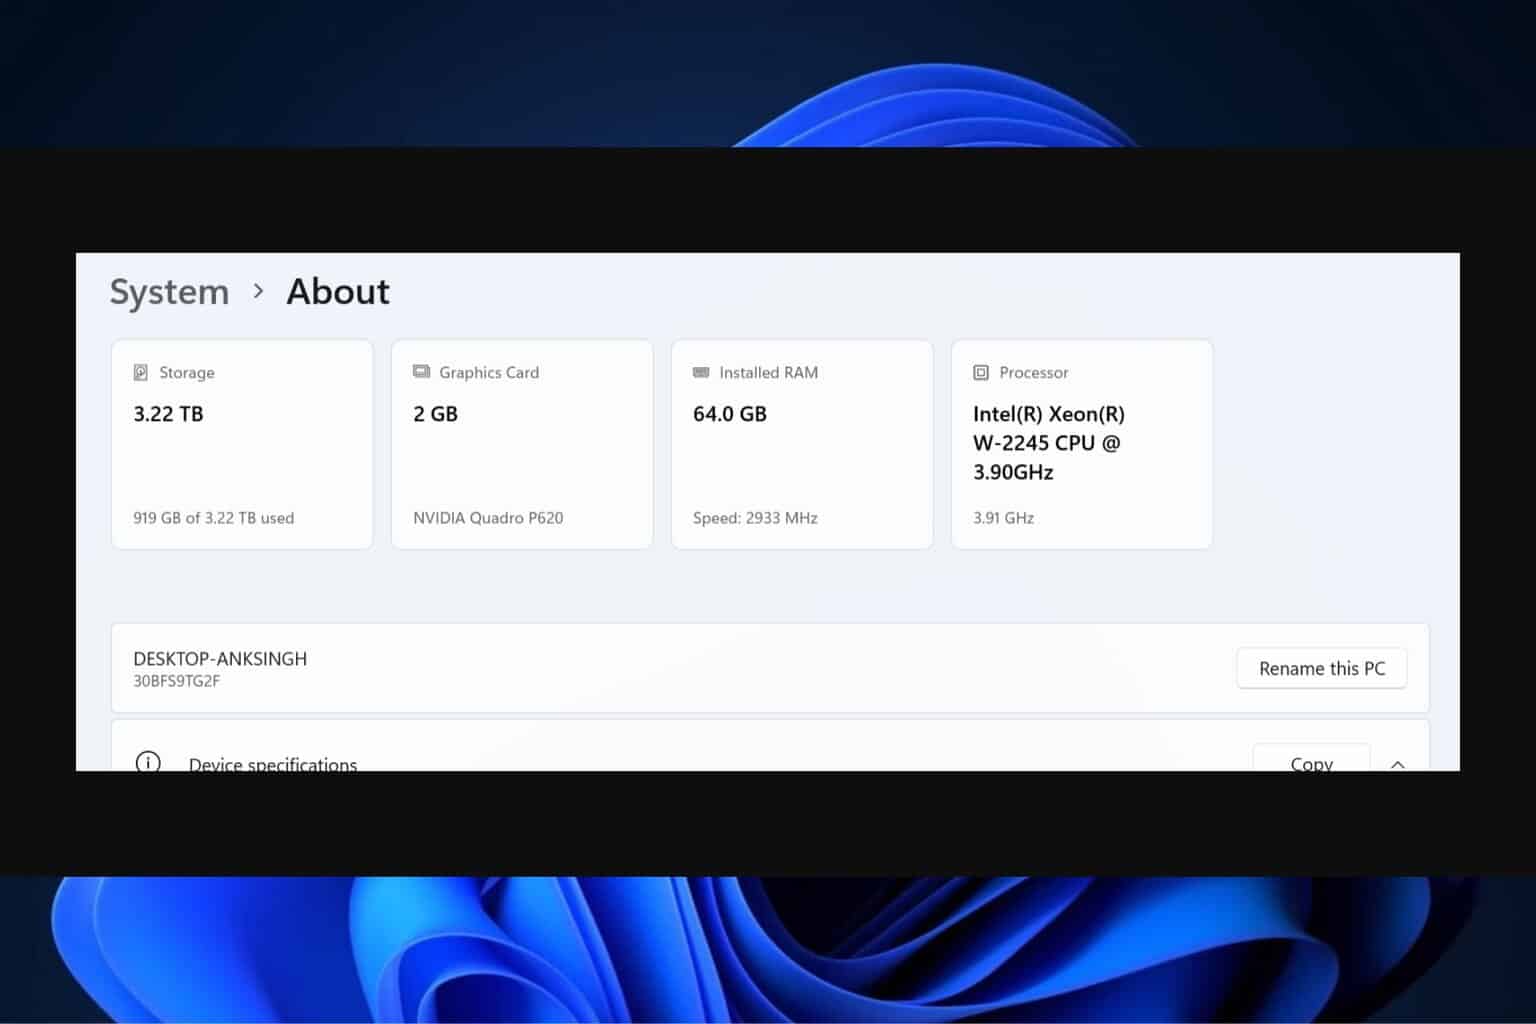
How can I install StartAllBack on an ARM device?
1. Use regular setup
- Visit the StartAllBack website.
- Click the Download button at the bottom.

- This will download the setup file.
- Start the setup file and follow the instructions on the screen.
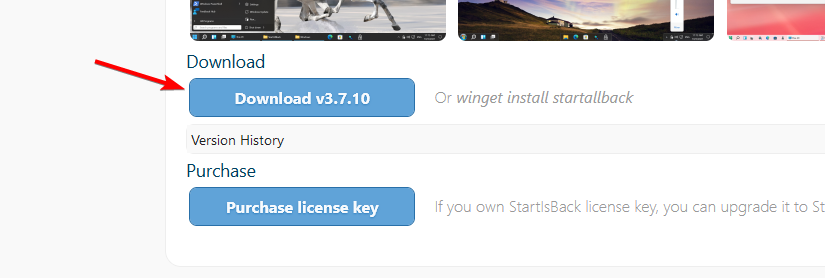
As you can see, you can install StartAllBack on an ARM device just like on any other. The setup will recognize the version of OS you’re using and install the appropriate version.
2. Use the command line
- Press the Windows key + X and choose Windows Terminal (Admin).

- Once it opens, run the following command:
winget install startallback - Follow the instructions on the screen.
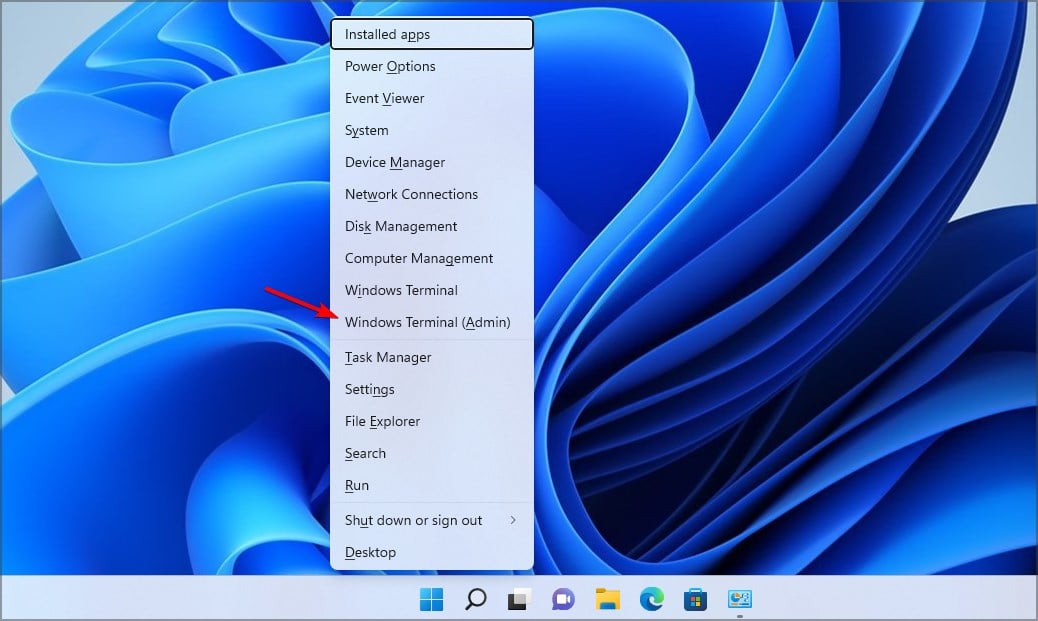
This method is more straightforward and faster, so if you’re comfortable using the command line you can use this method instead.
How much does StartAllBack cost?
This software requires a license, and you can get a license for $5.
What is the difference between StartAllBack and Start11?
Start11 offers more customization options related to the Start Menu. On the other hand, StartAllBack can also customize your File Explorer. To learn more, we have an entire guide on Start11, so don’t miss it.
As you can see, StartAllBack will work on ARM, so you can use it on any Windows platform. In case you encounter any issues with it, we also have a guide on how to disable StartAllBack, so you might want to check it out.


User forum
0 messages