Sysinfocap.exe: What Is It & Should You Uninstall It?
Uninstall related software to get rid of this executable file
Key notes
- If you’re unsure whether a Windows process is legitimate or masquerading as the real file, always check its location.
- Once you verify its location, you can proceed with a removal method, such as a virus scan, to get rid of it.

Many Windows processes like sysinfocap.exe run in the background and do not require your attention. However, if you notice any suspicious activity, you should check its properties and remove it from your computer if necessary.
The only issue is that it can be difficult for average users to determine whether it is a legitimate file or a malicious program. In this article, we unpack everything about sysinfocap.exe and whether to bin or keep it.
What is the sysinfocap.exe file?
If you’re not familiar with SysInfoCap, it’s a utility for monitoring and analyzing system resources and performance. You can use it to check the health of your computer and get information about different processes running on your machine.
The executable file is not present in every computer as it belongs to the HP company. Some of the important information you can get from it include:
- Computer name and operating system
- Memory use and CPU utilization
- Network connection details (IP address, MAC address)
- Hard disk drive information (capacity, free space)
- Installed applications and drivers
As you can see, the information provided is basic, and you don’t need an additional application to view it. Windows already has built-in utilities that offer the same service.
There’s no reason to keep it, but if it’s not causing issues, there’s also no need to remove it. However, in some situations, you may find the file has found its way to your PC through malicious code.
In such cases, you need to verify its legitimacy by looking at where SysInfoCap.exe is located. If it’s not in the C:\Windows\System32\ folder, it is most likely a virus that needs to be removed.
When it’s not a legitimate file, it can cause errors such as:
- Frequent crashes – Some users reported that they noticed their systems crash randomly right after a restart. On further examination, the sysinocap.exe file was found to be the main culprit.
- High CPU/GPU usage – When you check your resource usage and notice that the sysinfocap.exe file is at the center stage, it could be a problem because it is not an essential service.
- Degraded performance – You may notice that your PC has become slow or unresponsive due to a malicious sysinfocap.exe file.
How can I remove sysinfocap.exe from my PC?
It is important to note that your removal method will depend on whether the sysinfocap.exe file is a legitimate or malicious file. If it is a legitimate file, solutions 1, 2, and 4 are the best to remove it completely.
However, if you consider it harmful, use the other steps to get rid of it from your system completely.
1. Use Task Manager
- Hit the Windows key, type Task Manager in the search bar, and click Open.
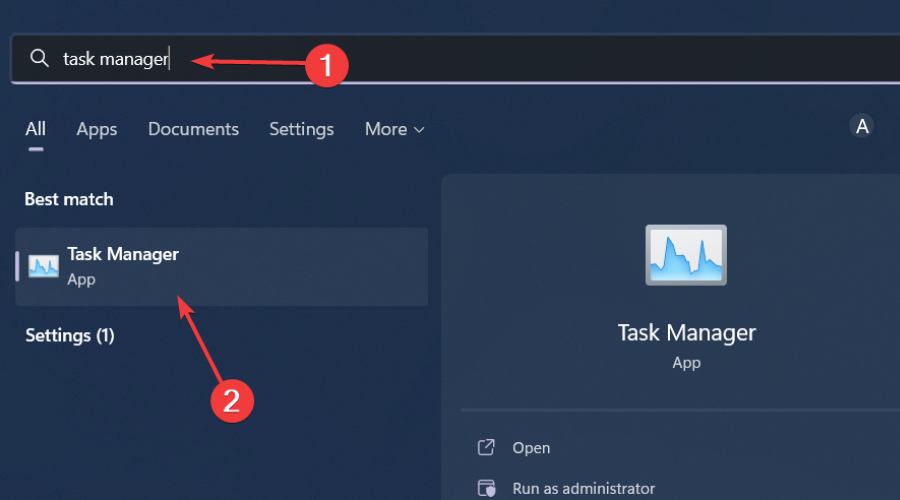
- Navigate to the Processes tab, find the sysinfocap.exe process, right-click on it, and select End process.
2. Stop the HSA service
- Hit the Windows + R keys to open the Run command.
- Type services.msc in the dialog box and hit Enter.
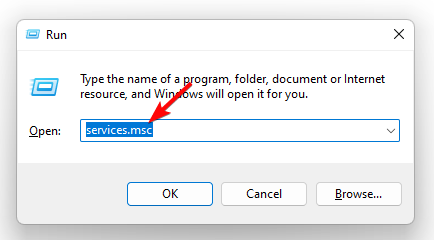
- Find the HP System Info HSA service, right-click on it, and select Stop.

3. Run DISM and SFC scans
- Hit the Windows key, type cmd in the search bar, and click Run as administrator.

- Type the following commands and press Enter after each one:
DISM.exe /Online /Cleanup-Image /Restorehealthsfc /scannow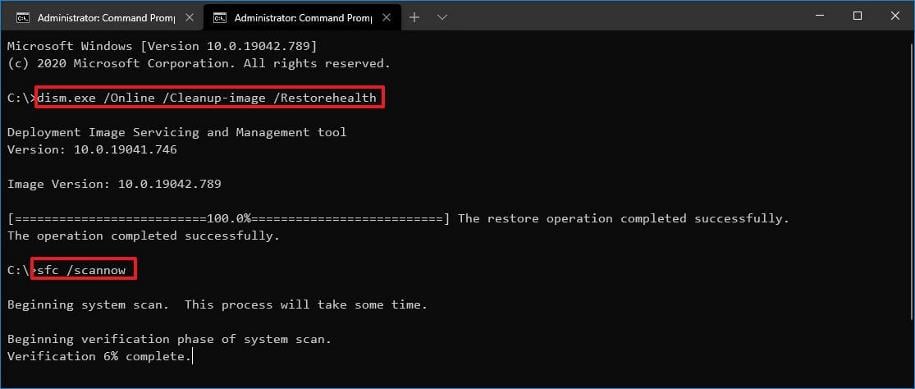
As an automated and more in-depth alternative, we recommend a reliable third-party repair software to do the job for you.
4. Scan for viruses
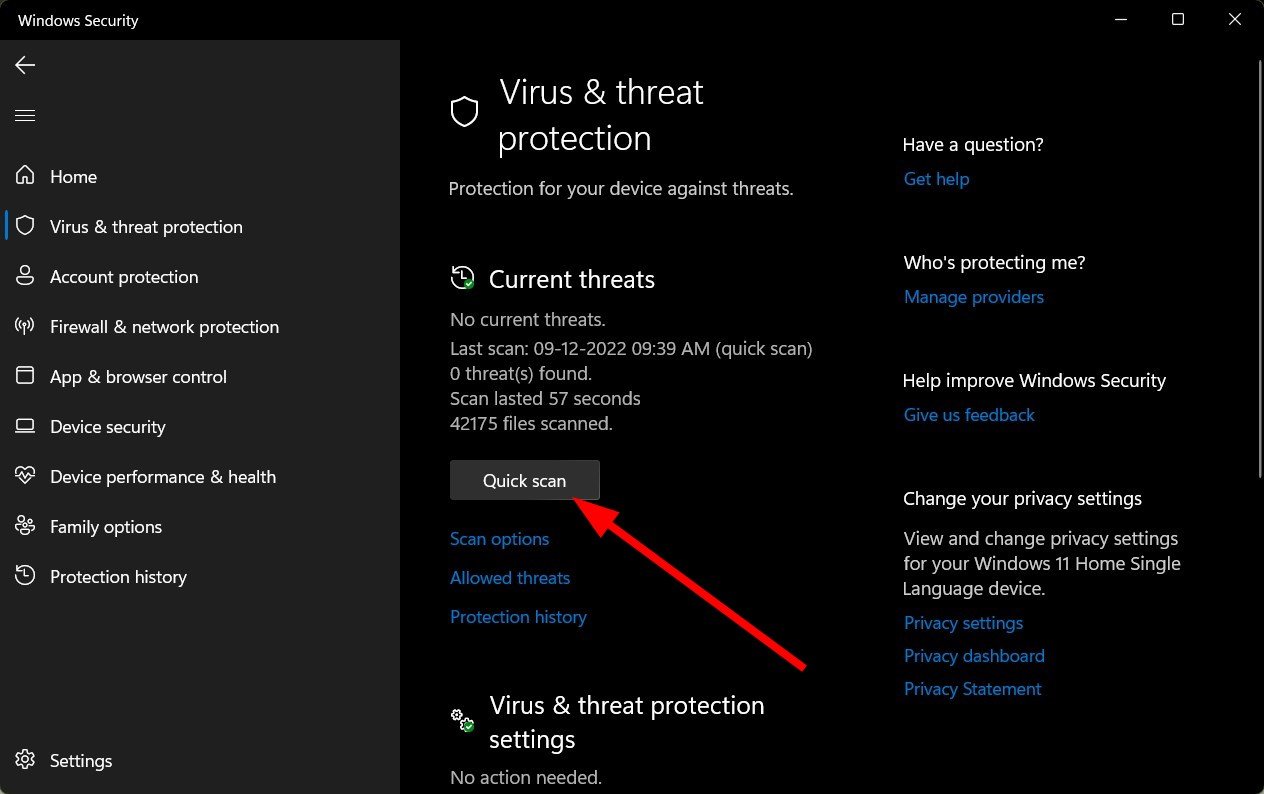
- Press the Windows key, search Windows Security, and click Open.

- Select Virus & threat protection.
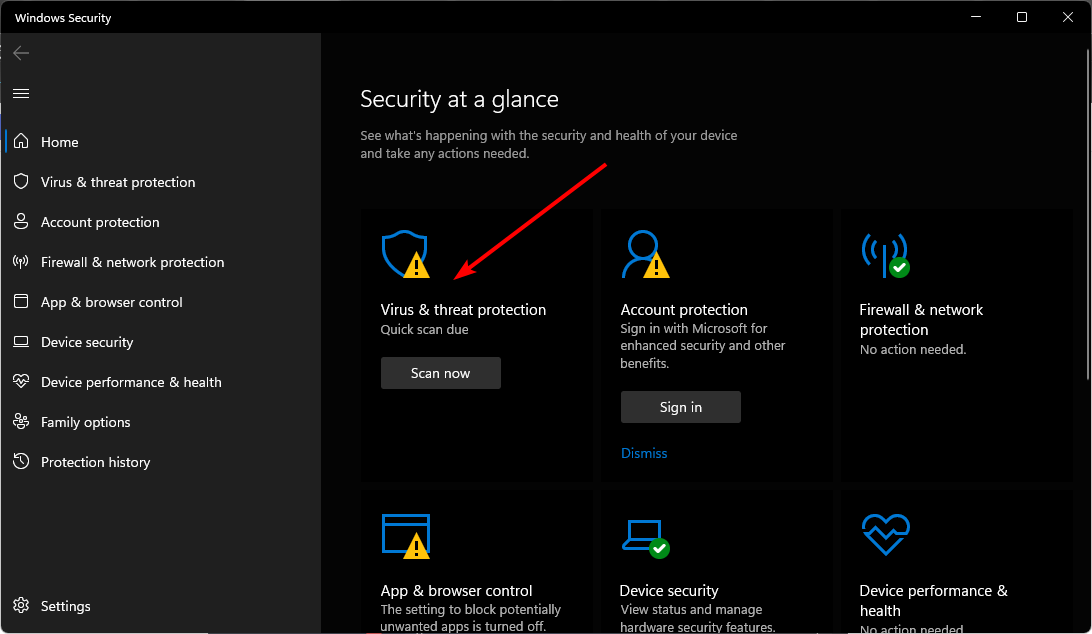
- Next, press Quick scan under Current threats.
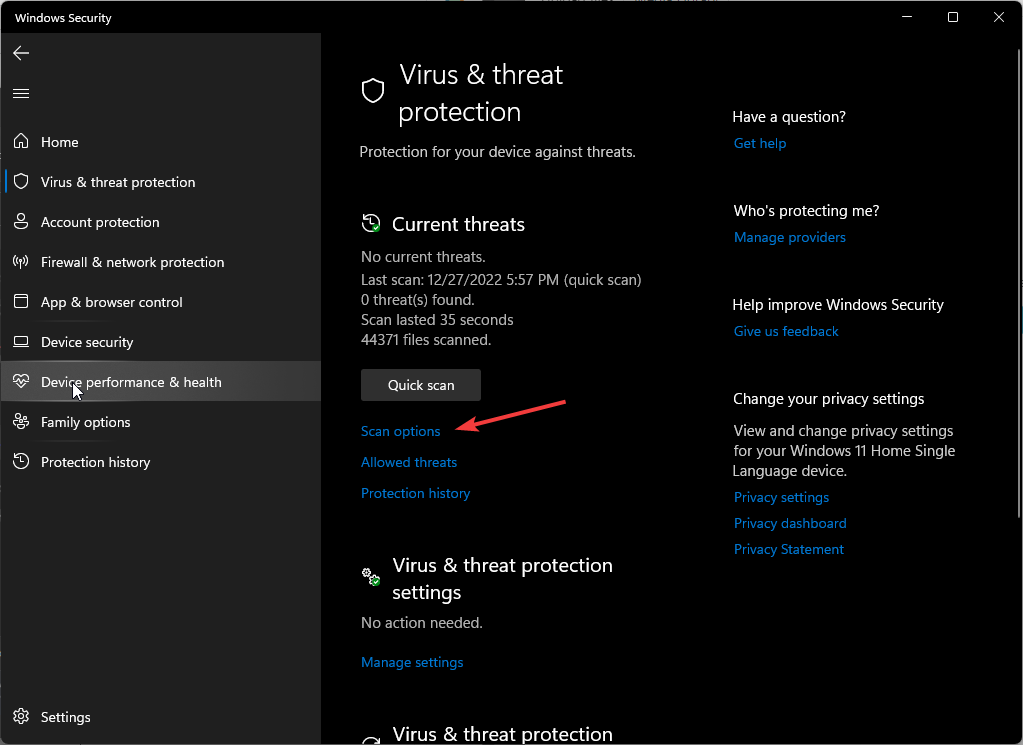
- If you don’t find any threats, proceed to perform a full scan by clicking on Scan options just below Quick scan.
- Click on Full scan, then Scan now to perform a deep scan of your PC.
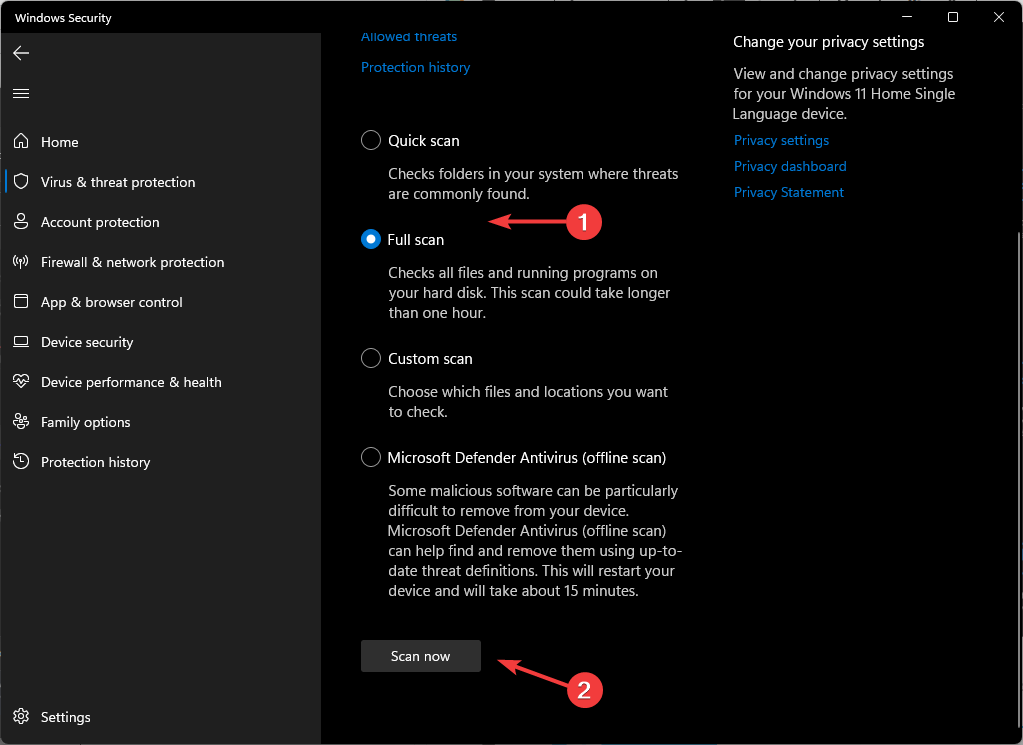
- Wait for the process to finish and restart your system.
5. Uninstall HP Support Assistant Software
- Hit the Windows key, type Control Panel in the search bar, and click Open.

- Navigate to Uninstall a program under Program.
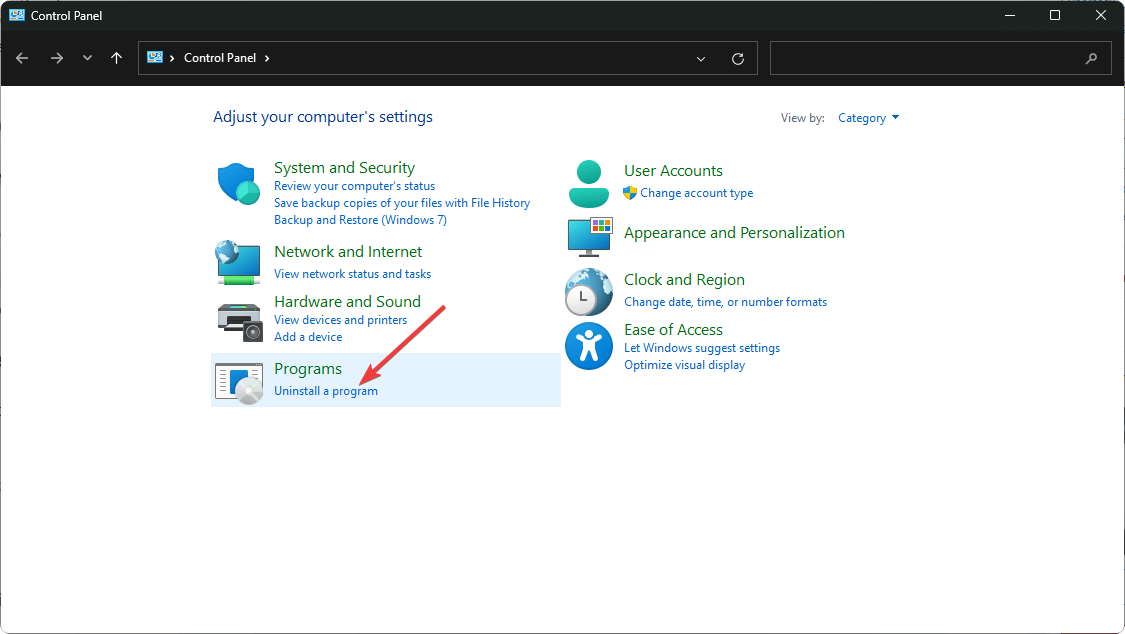
- Find the HP Support Assistant program, click on it, and select Uninstall.
To be completely thorough, ensure you also get rid of all software leftovers to prevent this issue from reoccurring.
6. Perform a System Restore
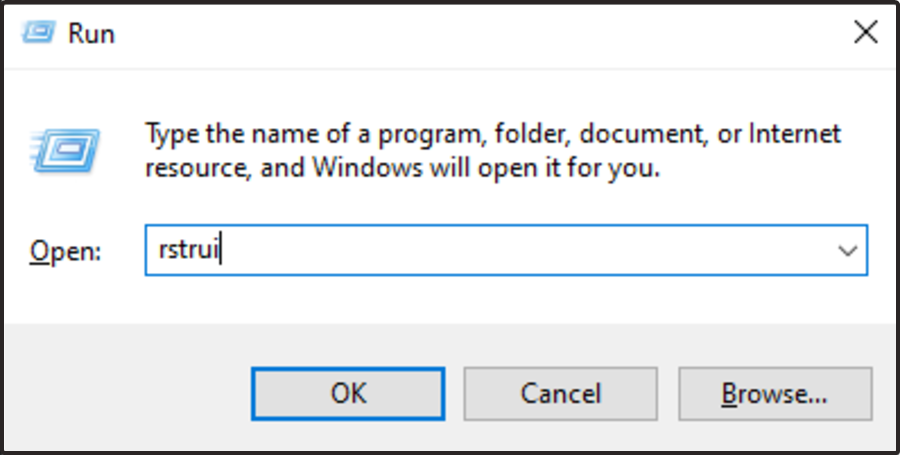
- Press the Windows + R keys, type rstui, and hit Enter.
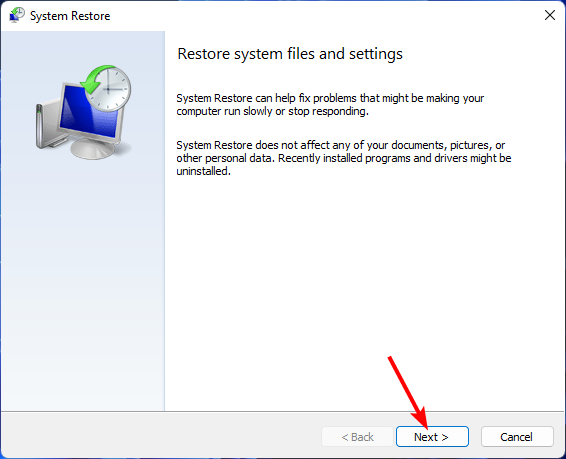
- The System Restore window will open. Click on Next.
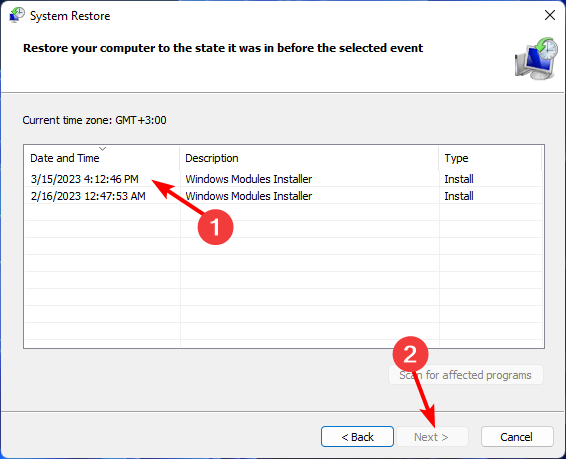
- Select the restore point you wish to revert to and click on Next.
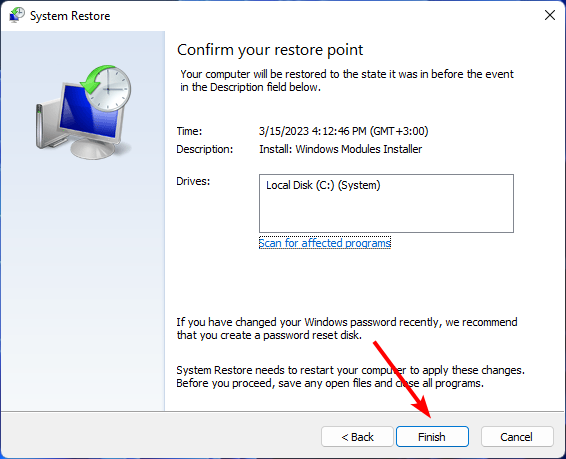
- Now click on Finish.
And that’s how to remove the sysinfocap.exe file from your system. We’d advise installing a comprehensive antivirus to prevent other malicious programs from sneaking into your system.
Also, learn about the jp2launcher.exe file and whether you need it in your system.
For any further comments, let us know in the comment section below.
Read our disclosure page to find out how can you help Windows Report sustain the editorial team. Read more


Improve this guide


User forum
0 messages