TPM-WMI 1796 Error: 4 Easy Ways to Fix it
Enabling Secure Boot can help with this error
2 min. read
Updated on
Read our disclosure page to find out how can you help Windows Report sustain the editorial team. Read more

Many users noticed an event in the Event Log called TPM-WMI 1796, which usually appears right before the system crashes. So today, we’re going to take a closer look at this error and see how to fix it.
What is the TPM-WMI error crash?
This error appears if Secure Boot isn’t properly enabled. Sometimes damaged installation or certain applications can also cause it.
How do I fix error TPM-WMI 1796?
1. Enable Secure Boot and disable NX Mode
- Restart your computer. During startup, you need to press a key designated by the OEM or computer manufacturer to access the UEFI settings. For HP, it is F10; for Dell, it is F2.
- You will enter the UEFI settings. Locate the Security or System Configuration section.
- Now look for Secure Boot or UEFI Secure Boot, select it, and change the status to Enabled.
- Once done, Save & Exit to save the changes.
- Restart your computer.
If the problem still persists, disable NX Mode by doing the following:
- Access BIOS again.
- Next, go to Advanced settings and choose OC.
- Select Advanced CPU Configuration and from there disable NX Mode.
2. Reinstall problematic software
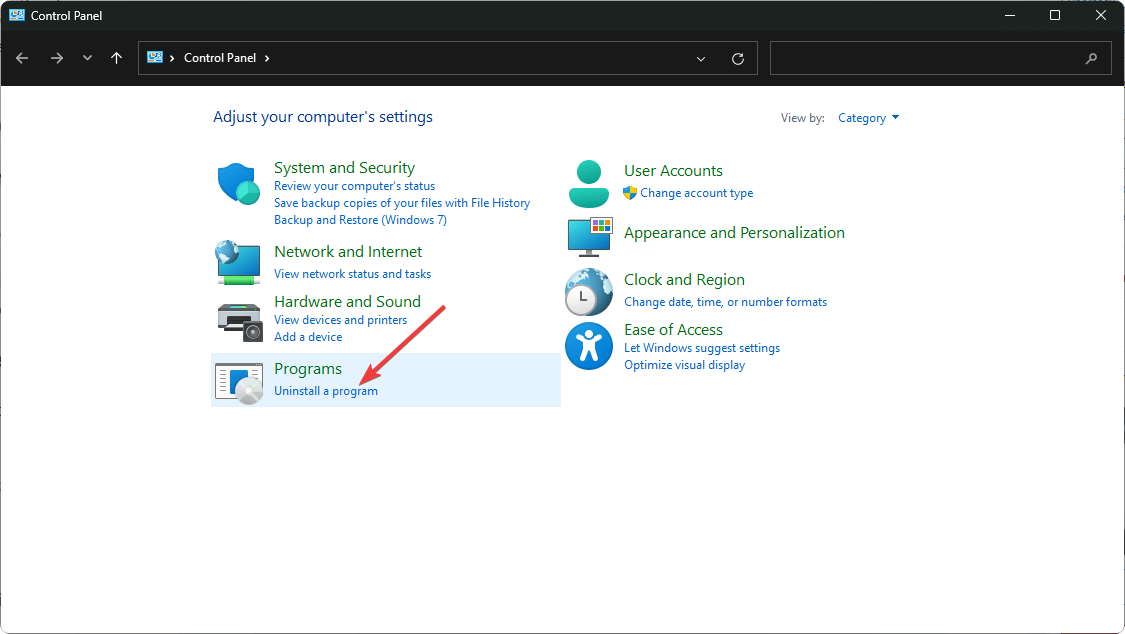
- Click on the Start Menu icon, type Control Panel on the search bar, and click Open.
- Select Uninstall a Program under Programs.
- Find the problematic app, click on it, and select Uninstall.
- Confirm uninstallation in the next pop-up.
Common apps throwing the tpm-wmi 1796 error were the BattleEye anti-cheat software and the Terraria game. From the trend, it indicates that games and gaming software could be behind the PC crash.
3. Scan your PC
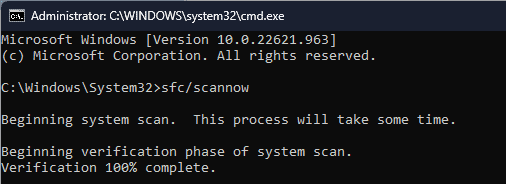
- Press the Windows key + S and type cmd. Choose Run as administrator.
- Run the following command:
dism /online /cleanup-image /restorehealth - Wait for the scan to finish.
- Next run
sfc /scannow - Wait for the scan to finish.
4. Check your hardware
- If you have more than one memory module, try removing it and checking and that solves the problem. Do this for all modules. You can also scan your modules with MemTest86+.
- Clean your CPU cooler and radiator. Sometimes overheating can lead to this issue.
- Check if the problem is gone.
Hopefully, one of the above solutions has fixed this error. Still, we’re open to hearing any additional thoughts you may have on this error. Drop us a line below.
This isn’t the only issue, and we also covered event ID 15 TPM error as well as error code 80090034 in TPM.


User forum
0 messages