How to Turn Off Password Protected Sharing in Windows 11

Password protected sharing is a security feature in Windows 11 that limits file and printer sharing access to users with a valid username and password. If you want easier access across a home network or guest device, you may prefer to turn it off.
Here’s how to turn off password protected sharing in Windows 11, along with helpful context and step-by-step instructions.
How can I turn off password protected sharing in Windows 11?
Table of contents
 NOTE
NOTE
1. Via Control Panel
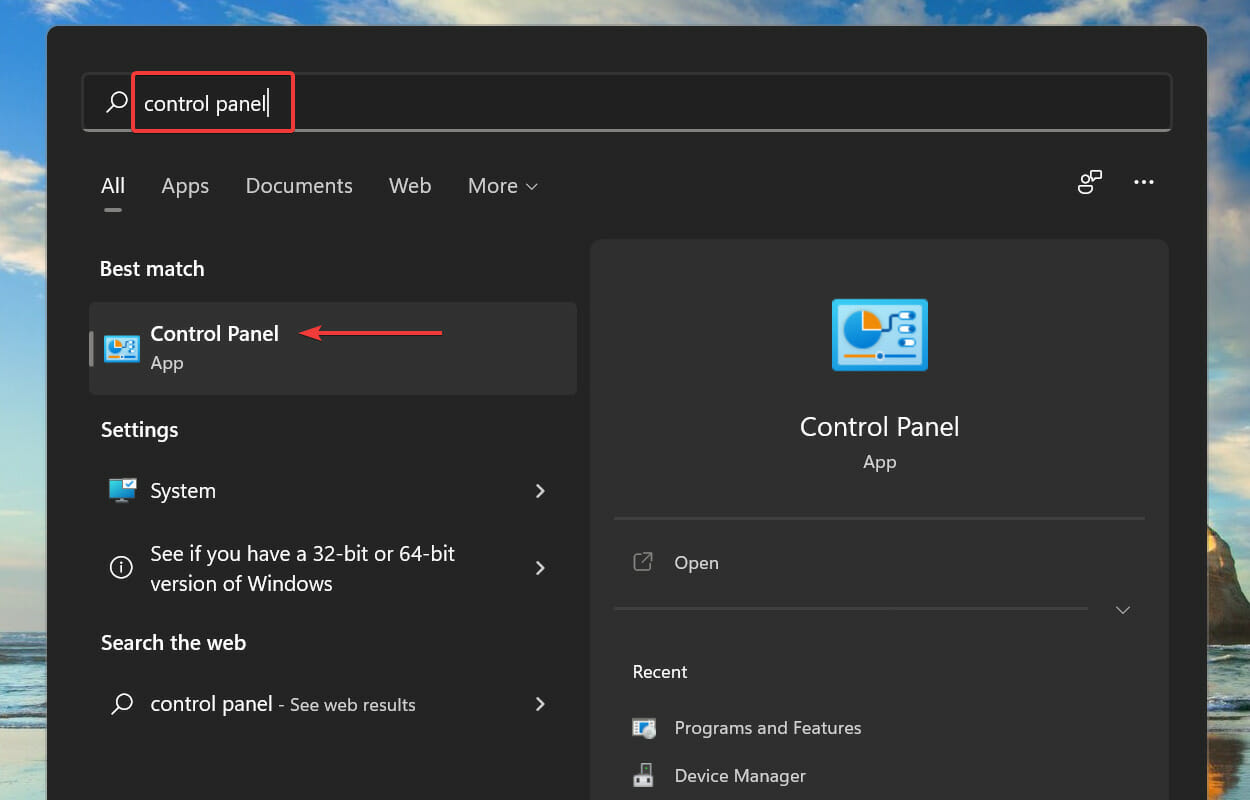
1. Press Windows + S to launch the Search menu.
2. Enter Control Panel in the text field at the top, and click on the relevant search result that appears.
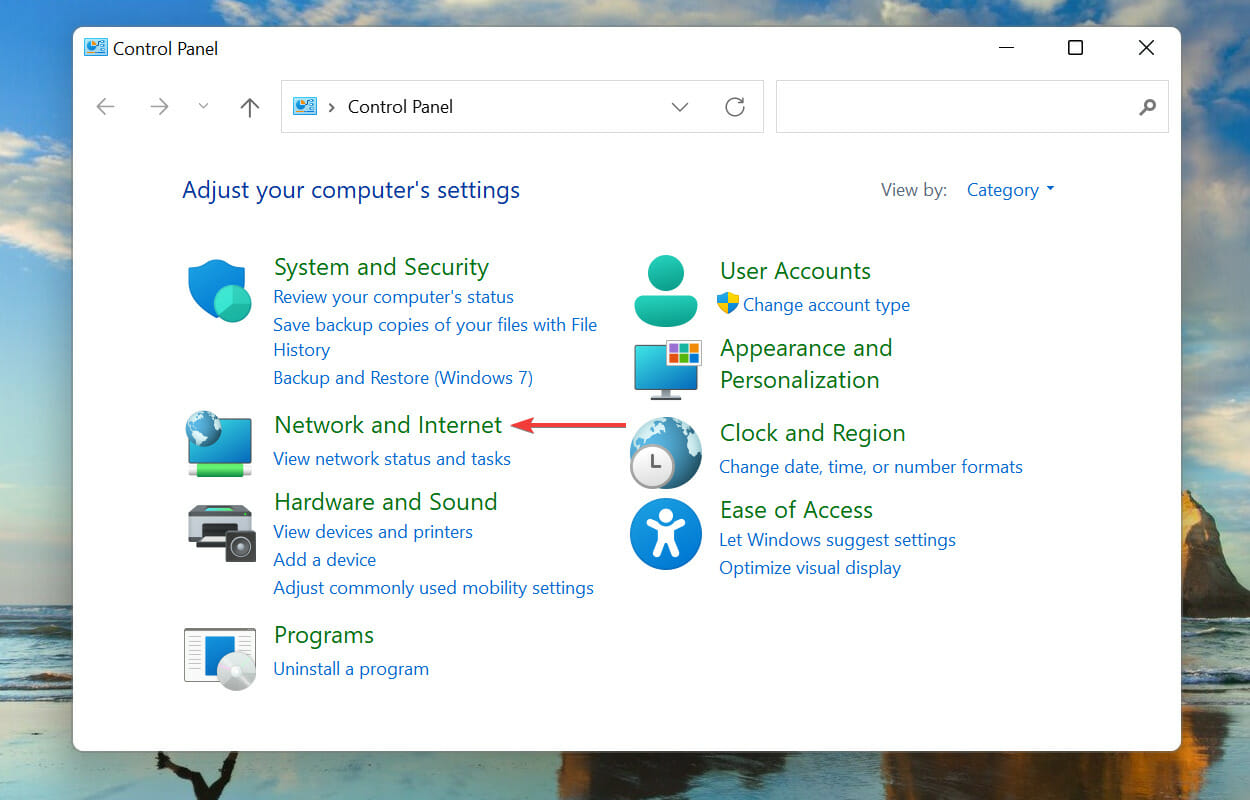
3. Select Network and Internet from the options that appear.
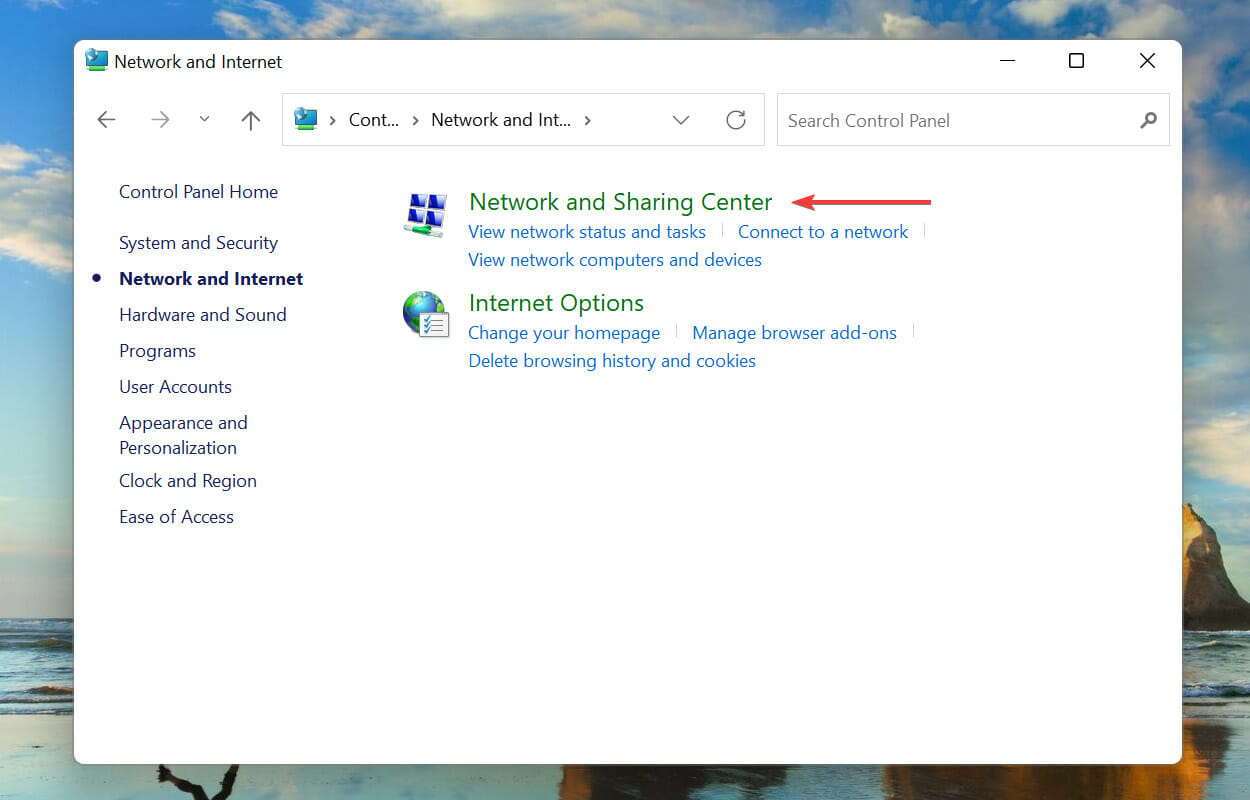
4. Click on Network and Sharing Center
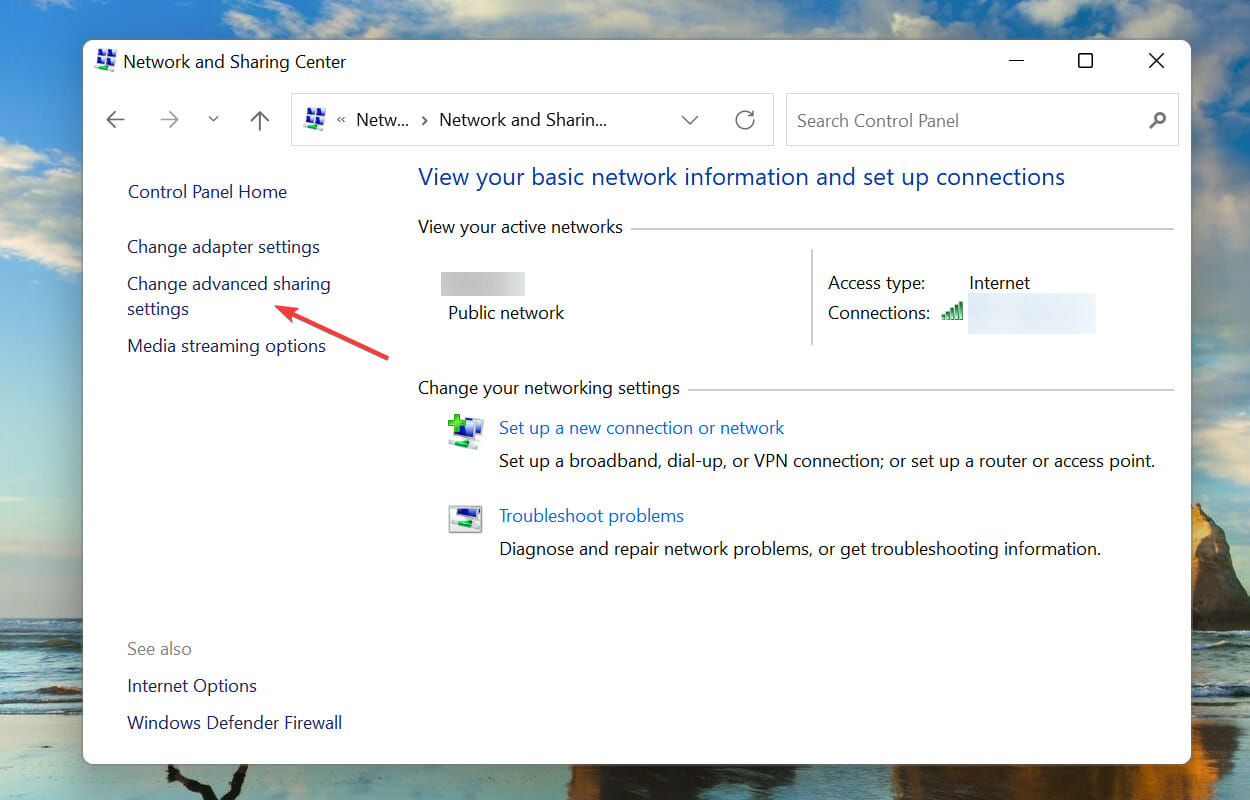
5. Next, click on Change advanced sharing settings from the list of options on the left.
6. Press on All Networks at the bottom to view the password protected sharing settings.
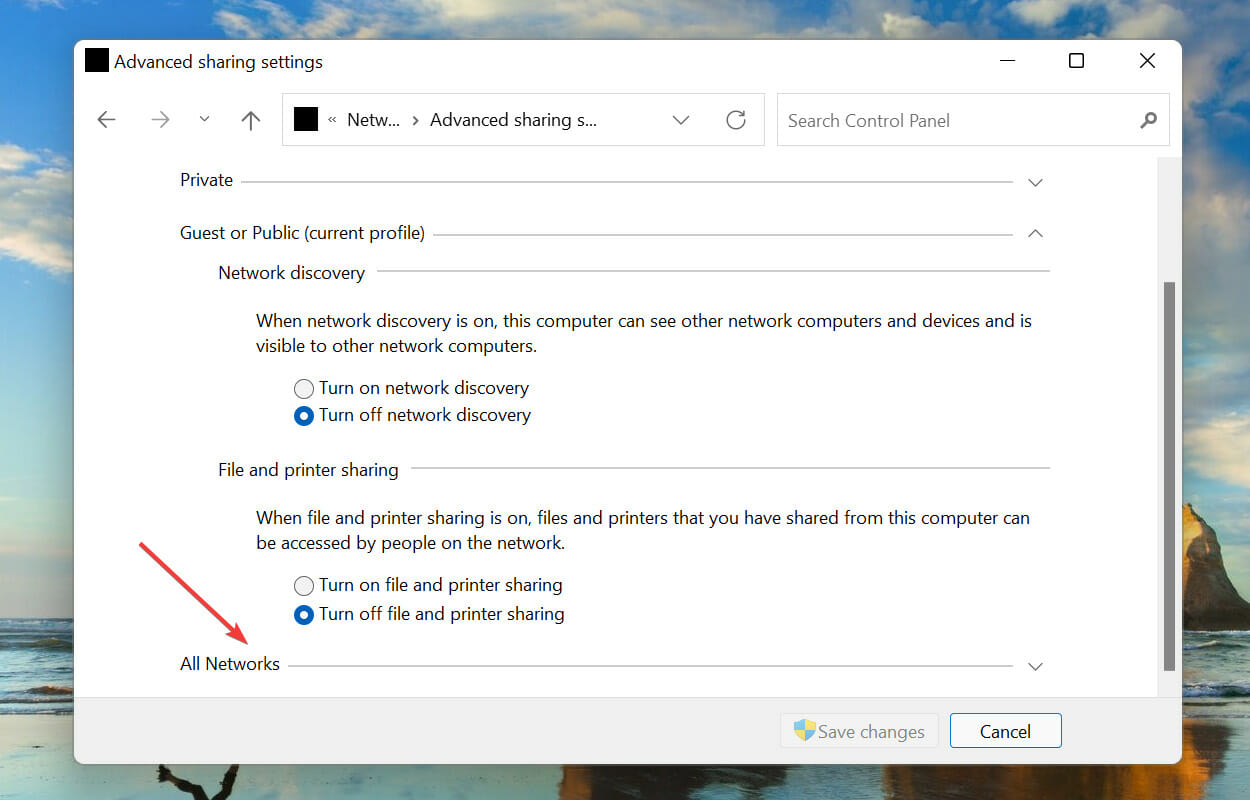
7. Finally, select the Turn off password protected sharing option and click on Save changes at the bottom.
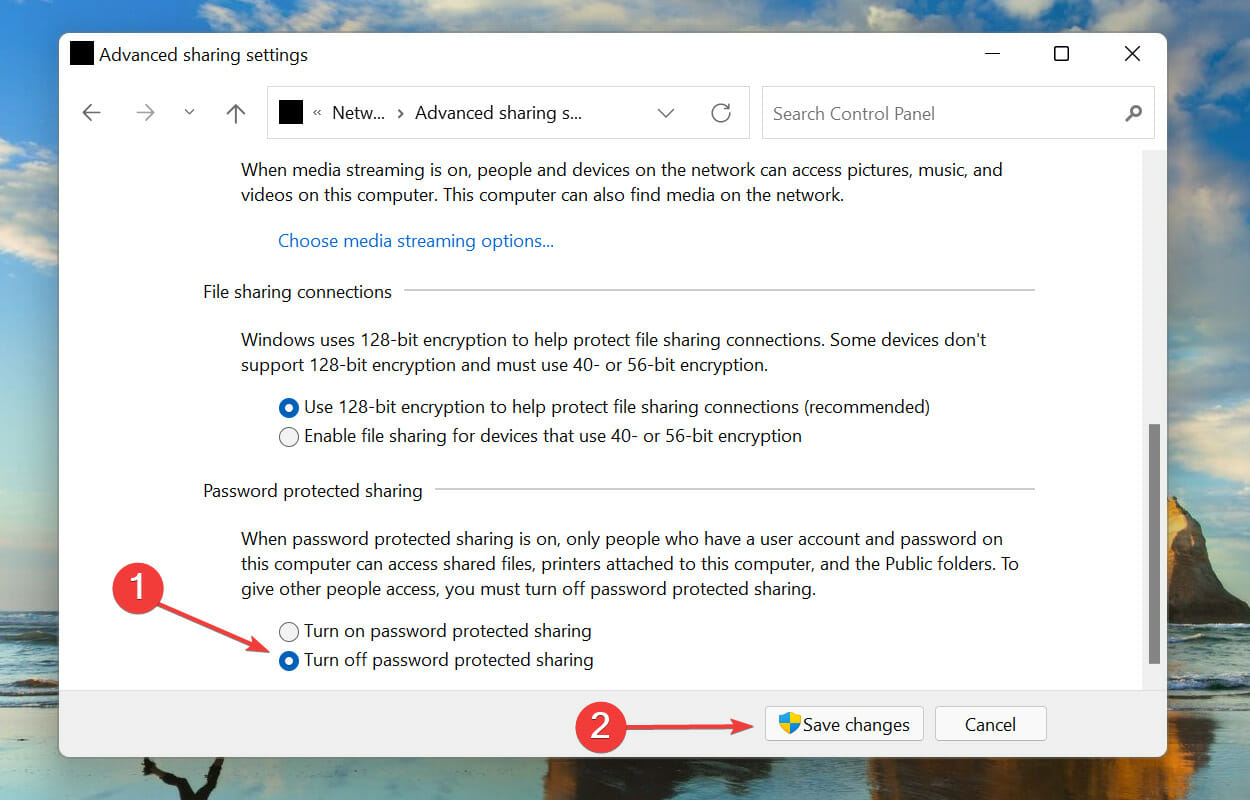
8. Once done modifying the settings, restart the computer, and the password protected sharing will be turned off in Windows 11.
If you’re looking to share a folder without password in Windows 11, you can turn off password protected sharing via Control Panel.
Control Panel is a built-in tool on your device that is perfectly safe and easy to use, and allows you to make system modifications in no time.
2. Via Registry
NOTE
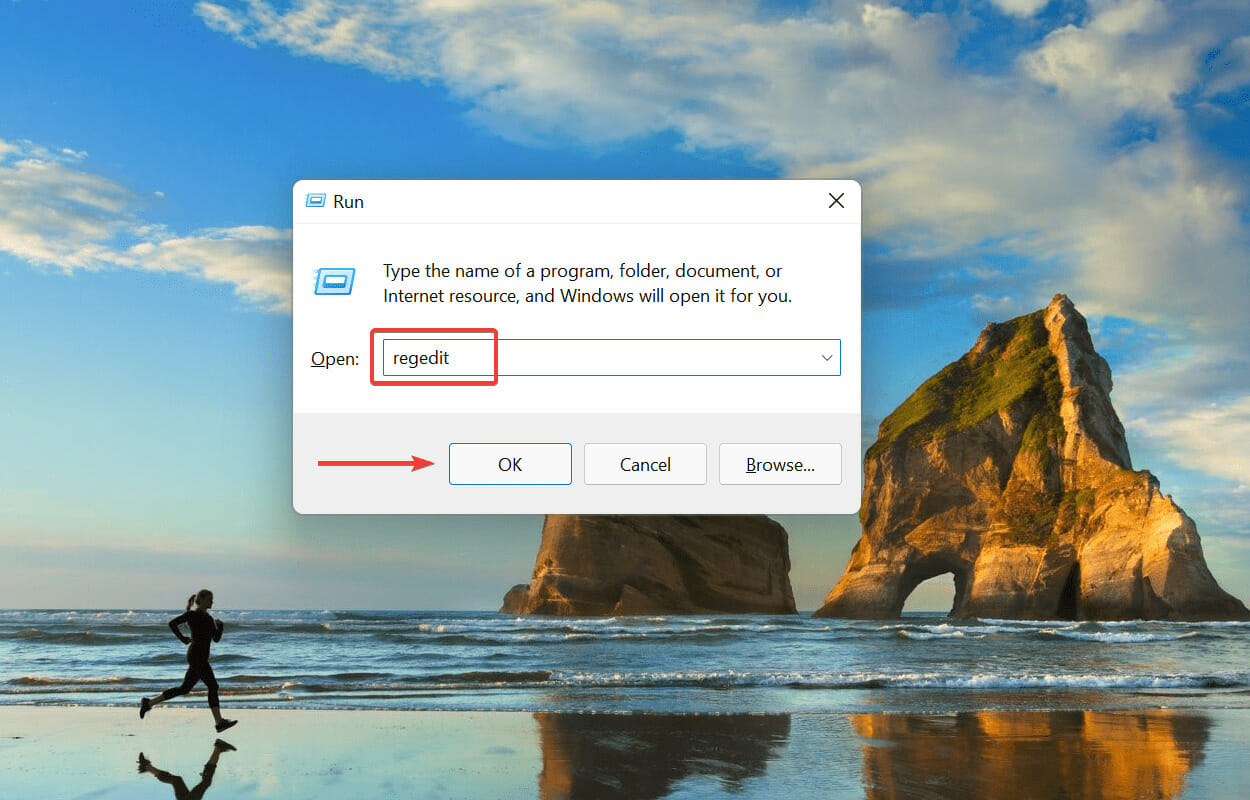
- Press Windows + R to launch the Run command.
- Type/paste regedit in the text field, and either click on OK or hit Enter to launch the Registry Editor.

- Click Yes on the UAC (User Account Control) prompt that pops up.
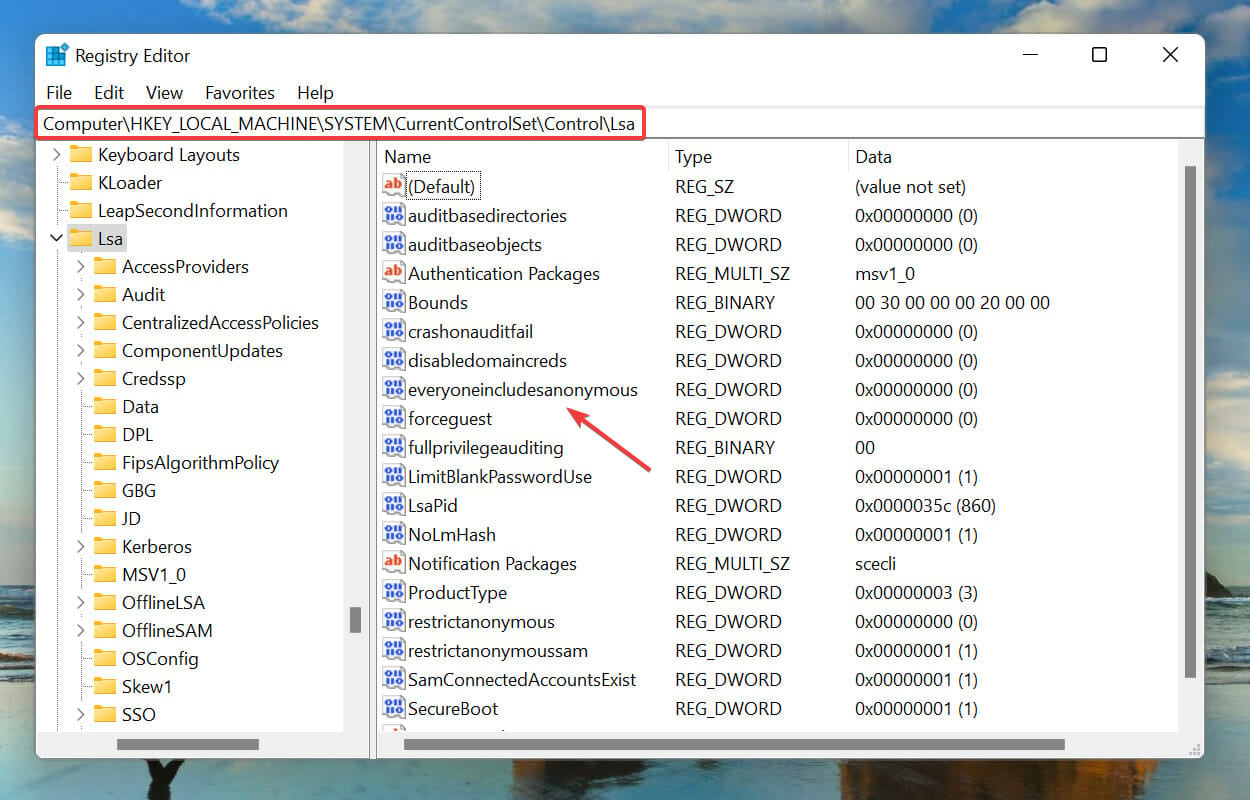
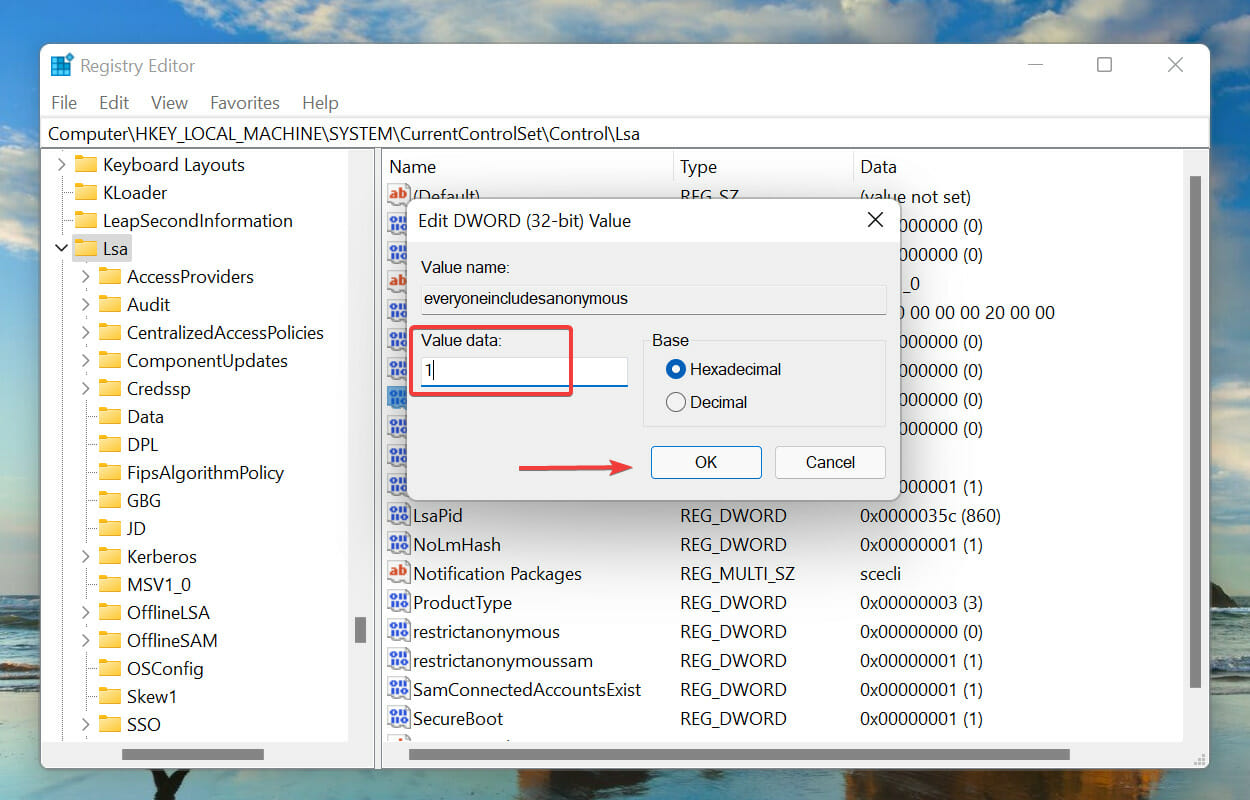
- Paste the following path in the address bar at the top and hit Enter, and then double-click on the everyoneincludeanonymous REG_DWORD:
HKEY_LOCAL_MACHINE\SYSTEM\CurrentControlSet\Control\Lsa
- Enter 1 under Value data and click on OK to save the changes.

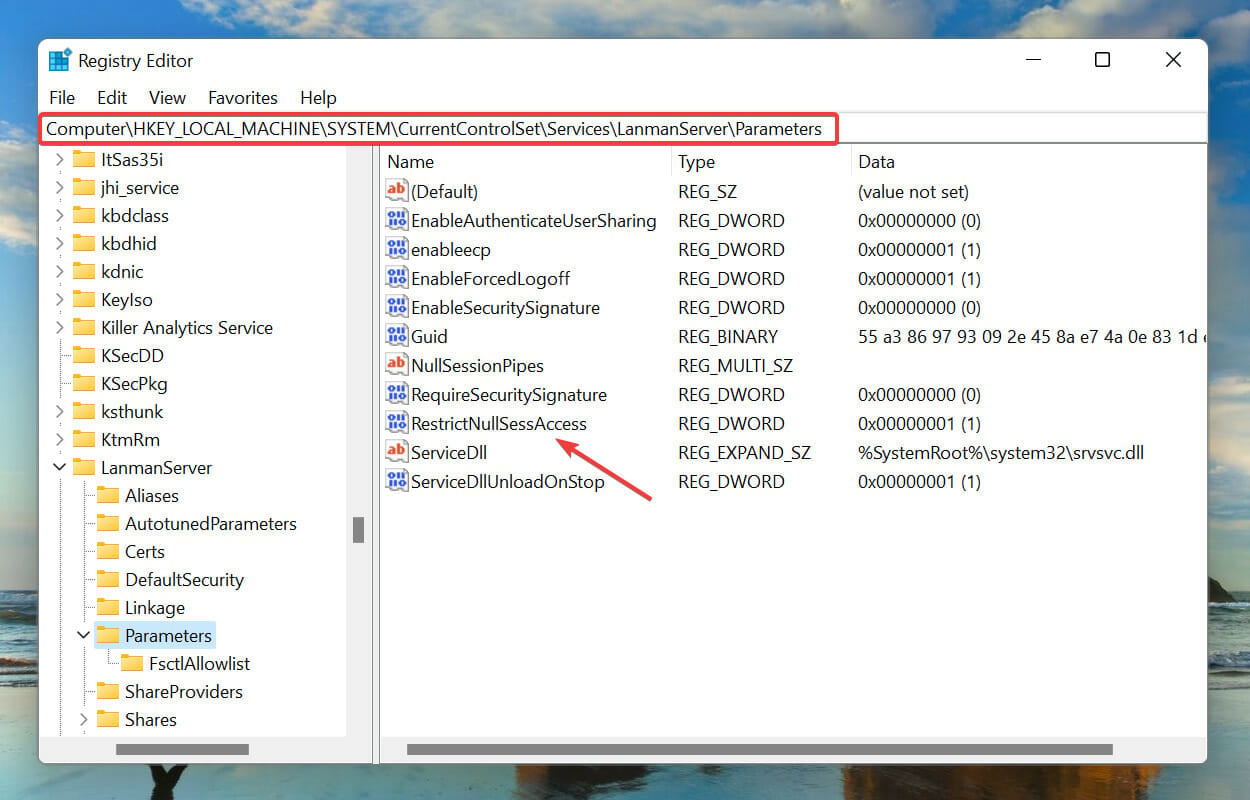
- Next, navigate to the following path or paste it in the address bar and hit Enter, and double-click on the restrictnullsessaccess REG_DWORD:
HKEY_LOCAL_MACHINE\SYSTEM\CurrentControlSet\Services\LanmanServer\Parameters
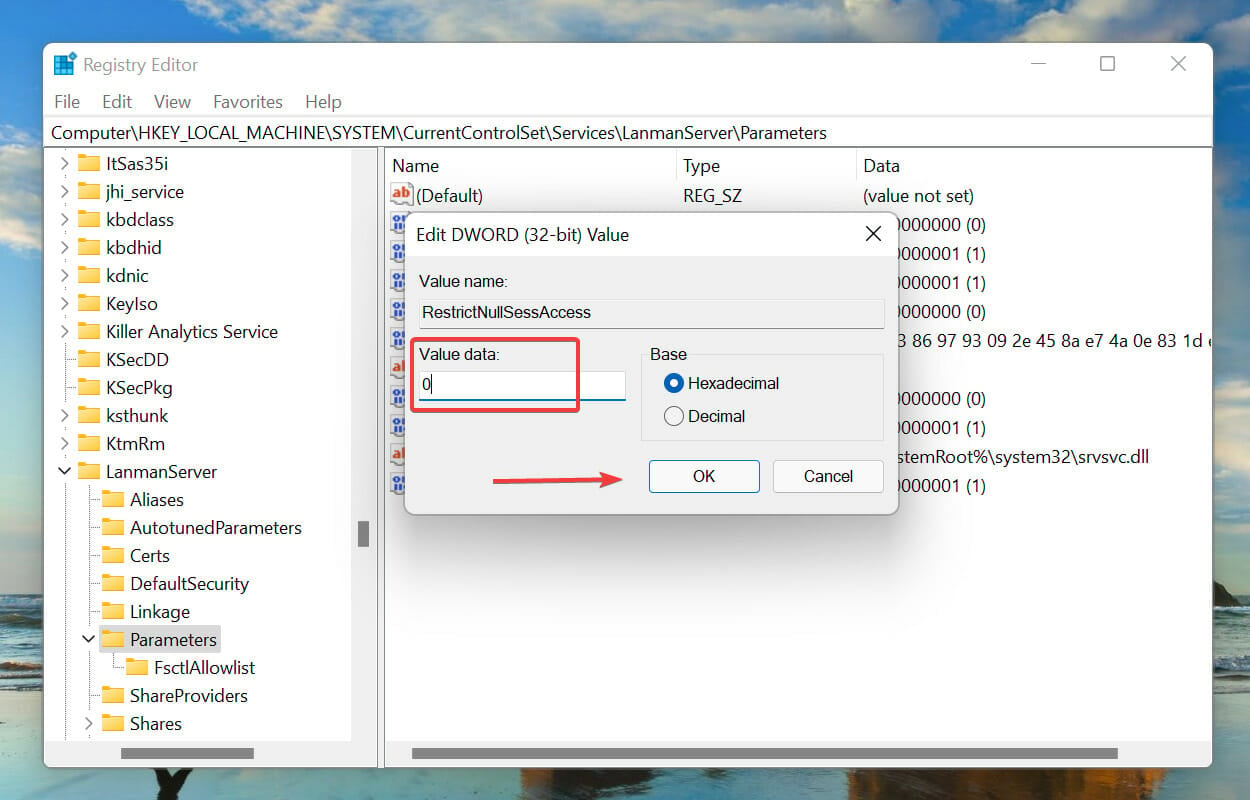
- Enter 0 under Value data and click on OK to save the changes.

- Close the Registry Editor and restart the computer to turn off password protected sharing in Windows 11.
If the Registry appears corrupt or the system’s performance appears downgraded in the recent past, do not hesitate to learn how to fix broken Registry items in Windows 11.
3. Via Local Users and Groups
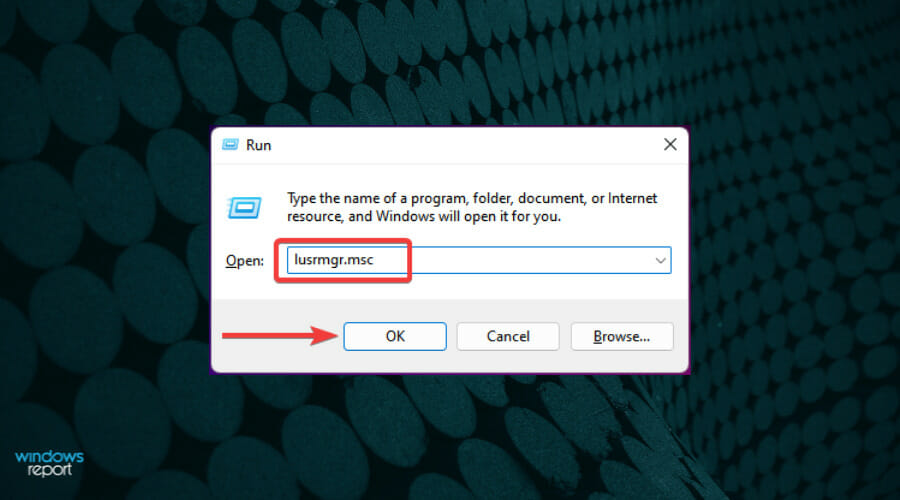
- Press Windows + R to launch the Run command.
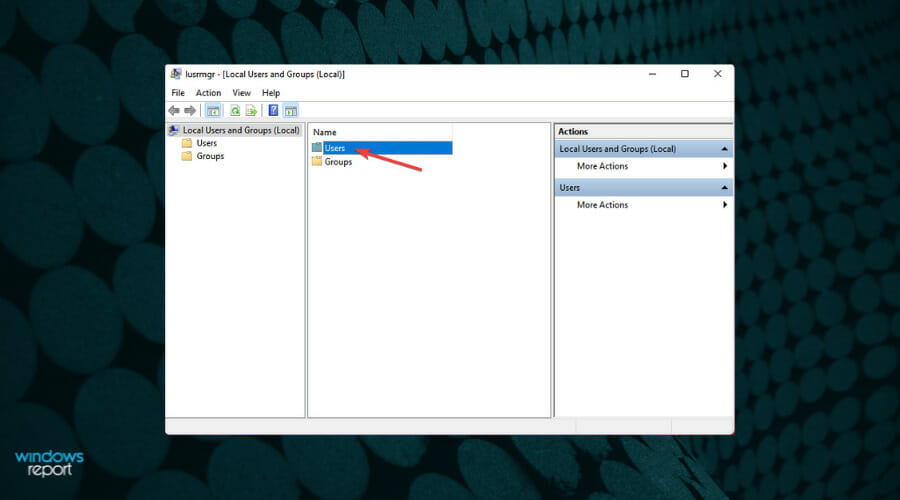
- Type/paste lusrmgr.msc in the text field, and either click on OK or hit Enter to launch the Local Users and Groups window.

- Click on the Users entry on the right.

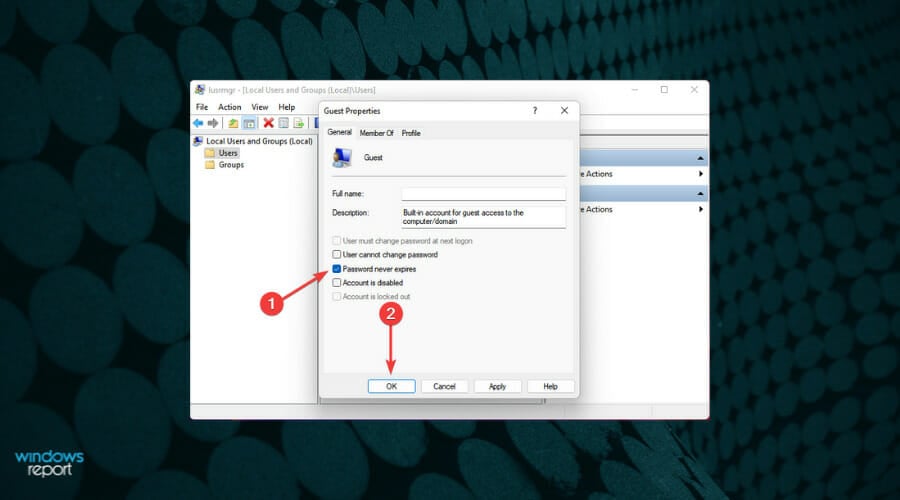
- Next, right-click on Guest and select Properties from the context menu.

- Now, tick the checkbox for Password never expires and untick the others, and click on OK to save the changes.

- Restart the computer and password protected sharing will be turned off in Windows 11. You will be able to share a folder without a password.

Should I turn off password protected sharing in Windows 11?
There is no one answer to this question, and it all comes down to the resources being shared and the users it’s being shared with. If you are sharing certain folders or devices on a home network, it wouldn’t be a big deal to turn off password protected sharing.
So, weigh the pros and cons of disabling password protection, to help make an informed decision.
What to do if I am unable to turn off password protected sharing in Windows 11?
While the methods listed above work smoothly for most users, some have reported that they are unable to turn off password-protected sharing. This could be due to a bunch of reasons, including misconfigured settings.
We recommend following the methods listed here as is, and if things still don’t work out, check our dedicated guide on fixing issues preventing you from disabling password protected sharing in Windows.
Though the guide is for Windows 10, the methods listed should work just as well on the latest iteration.
These are all the ways you can disable password protected sharing in Windows 11. But before you do, consider the privacy and security of shared resources as well. Also, check our curated list of the 10 best file-sharing tools in Windows.
Tell us which method you choose to turn off password protected sharing in Windows 11, in the comments section below.
FAQs
Go to Control Panel > Network and Sharing Center > Advanced sharing settings > All Networks. Check the setting under Password protected sharing.
Only if you’re on a public or unsecured network. On a private home network, it’s generally safe.
This may be due to cached credentials or a mismatch in network profile type. Restart your PC or reconfigure network settings.
Read our disclosure page to find out how can you help Windows Report sustain the editorial team. Read more


Improve this guide


User forum
1 messages