Webcam Settings Are Not Saving: 7 Ways to Permanently Fix It
Our tested methods will make your webcam settings work again
Key notes
- Webcam settings can be easily configured using the software provided by the webcam manufacturer or in Windows settings.
- However, there are certain instances where webcam settings in apps like Skype, Microsoft Teams, and OBS Studio are not saved.
- To solve this issue, you can reinstall these apps, or update the camera driver.
Whether you use your webcam to chat with loved ones, clients, or suppliers, the experience can be improved with the right settings.
A webcam’s software must be installed on the computer in order to use the hardware and configure its settings, regardless of whether the webcam is built-in or external.
However, there are instances where the settings don’t save. In this article, first, we will explain why this happens and how to fix it. So, let’s get started.
Why are my webcam settings not saving?
Some webcam problems, including failing to save your settings, can be traced back to malfunctioning software. Furthermore, this problem might be triggered by running cleaning apps, which frequently erase your saved data or cache.
Also, configuring a webcam without having it connected to a computer can prevent the settings from being saved.
How do I change my webcam settings permanently?
1. Logitech webcam settings not saving
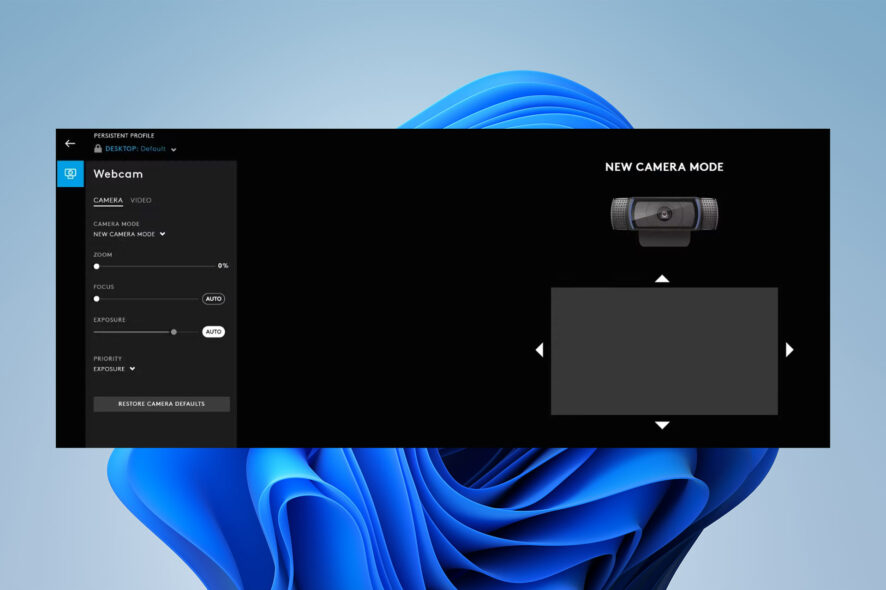
- First, download Logitech’s G Hub software.
- When you launch the app, it will immediately recognize any Logitech webcam you have connected.
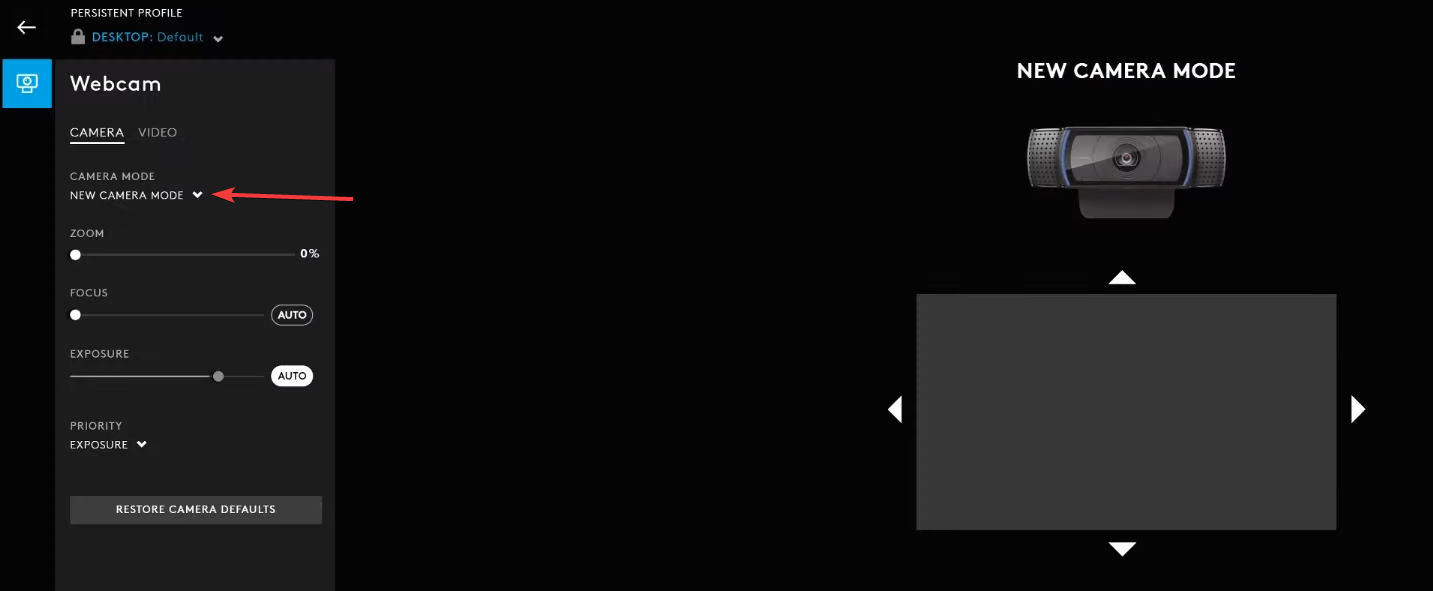
- Now, click on the NEW CAMERA MODE option and select your camera. This will open the webcam settings.
- After configuring the webcam setting, save it. This will fix Logitech’s webcam settings not saving.
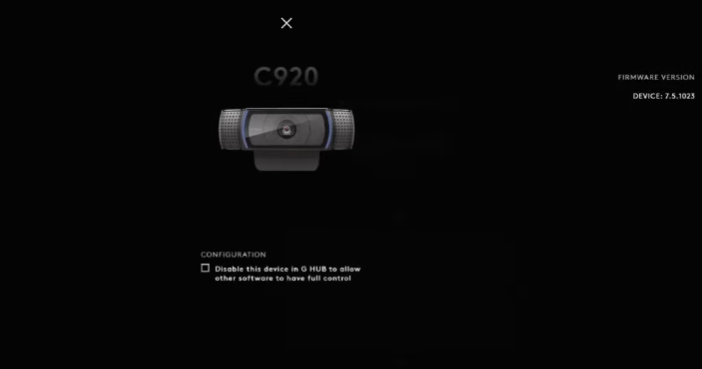
- If, after restarting your PC, you still have trouble with settings not saving, click Settings in the upper right corner of the program’s main window.
- Finally, select Disable this device in the G Hub option. In this way, other apps on your PC will be able to access the camera without interference, which may resolve the issue.
2. Skype webcam settings not working
2.1. Check the webcam’s cable
The first step is ensuring your webcam is connected to your PC correctly. So, check the cables or change the ports the webcam is connected to.
Because it’s possible that the port itself is the source of the problem.
2.2 Select your webcam in Skype settings
- Open the Skype app and go to the Settings menu.
- After that, select the Audio and Video option. Now, check which device is set as the default webcam (Skype may have selected the wrong device).
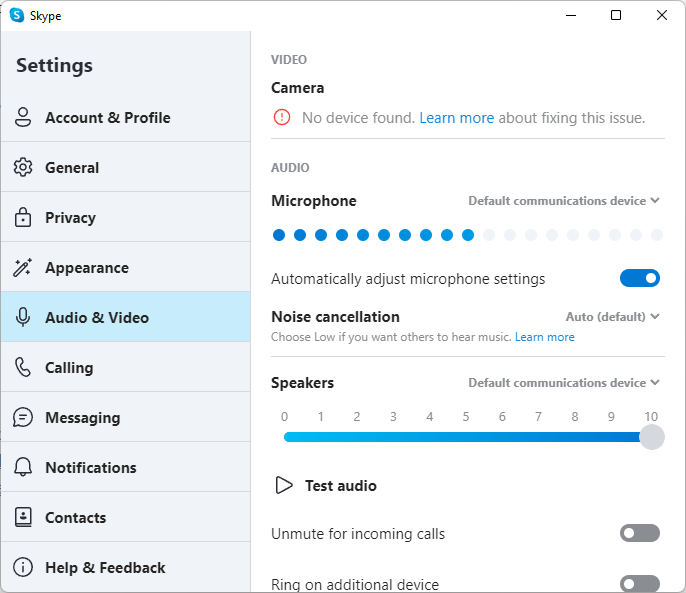
- If your webcam cannot be recognized, open its app and turn it on using its software.
- Next, restart Skype.
- Go to the same menu and select camera.
3. OBS webcam settings not saving
3.1. Restart the app or PC
The first thing you should try is closing the app and starting it back up again. However, if that didn’t work, instead of trying more involved solutions, consider restarting the computer first. Because, in some cases, the problem is minor and can be resolved with a simple app relaunch.
3.2. Disable firewall
- Click on the Start menu, search for Control Panel and select it.
- Next, choose Windows Defender Firewall and click on Turn Windows Defender Firewall On or Off.
- Now, disable it.
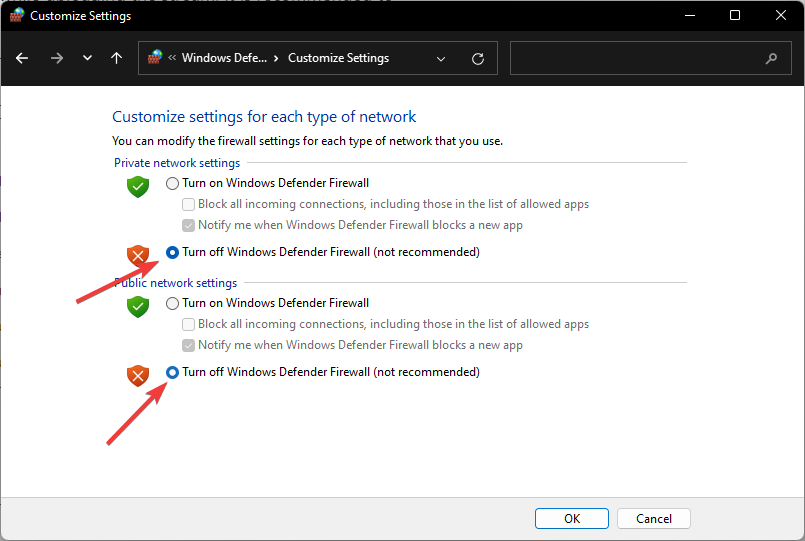
Another reason why OBS Studio cannot load the stream is due to the installed antivirus or firewall. These apps can be the main reason why the OBS camera is not showing up.
Disable these tools for now and restart OBS Studio to see if the issue is resolved.
3.3 Update OBS Studio
It’s possible that OBS app problems are to blame when a camera functions normally in its own app but fails when used with OBS.
To solve the problem, reinstalling the app, or installing the latest version, should do the trick. So, a simple reinstall or updating the app should fix the issue.
4. Teams webcam settings not saving
- To change the camera settings before the meeting, click the three-dot menu beside your profile picture in the Teams desktop application’s title bar.
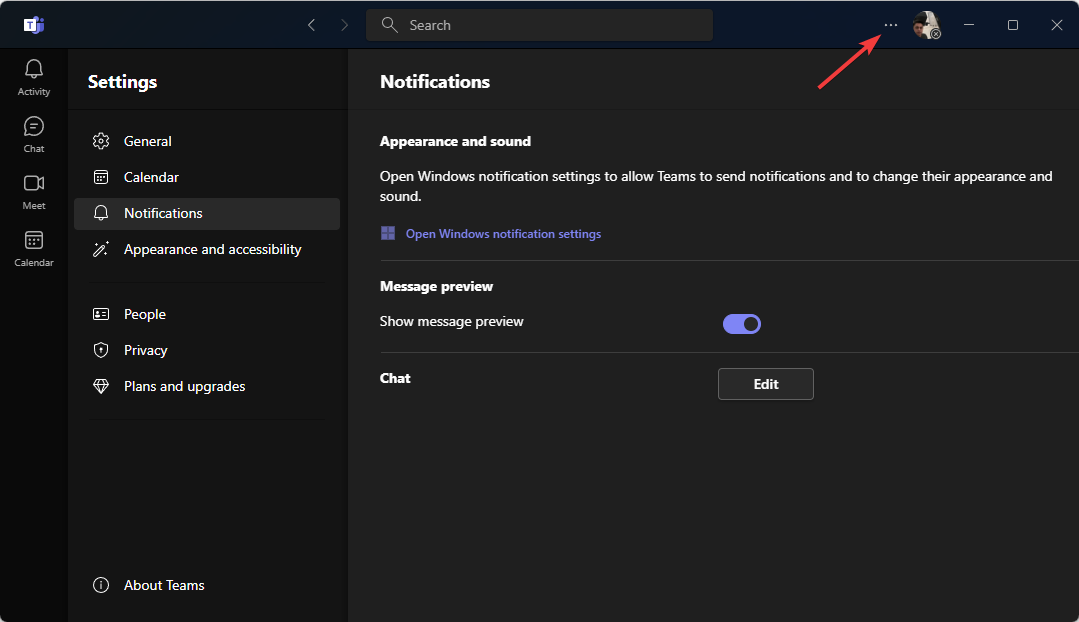
- Now, go to the Devices option in the left navigation menu, and scroll down to find the Camera option.
- Click the drop-down menu, and select the camera you want to use for Microsoft Teams.
If you’re having trouble with saving your camera settings in Teams, it could be because you haven’t chosen the right webcam. So, we recommend you follow the steps above.
How do I change my webcam settings in Windows 10/11?
- Press Windows + I keys to open the Settings menu.
- Select Bluetooth & devices from the left, then Cameras from the right menu.
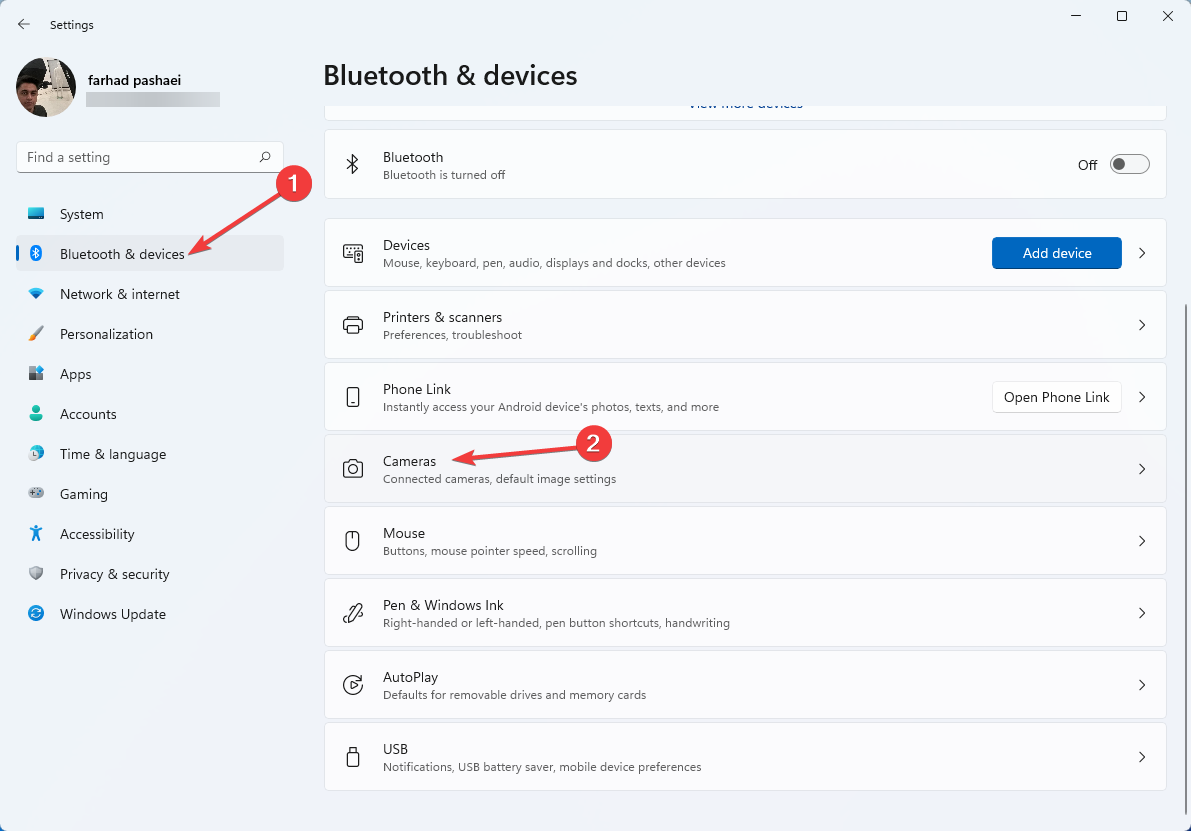
- Next, choose the webcam or network camera in the Connected camera settings.
- Now, use the Brightness, Contrast, and Rotate Video options to change the webcam settings.
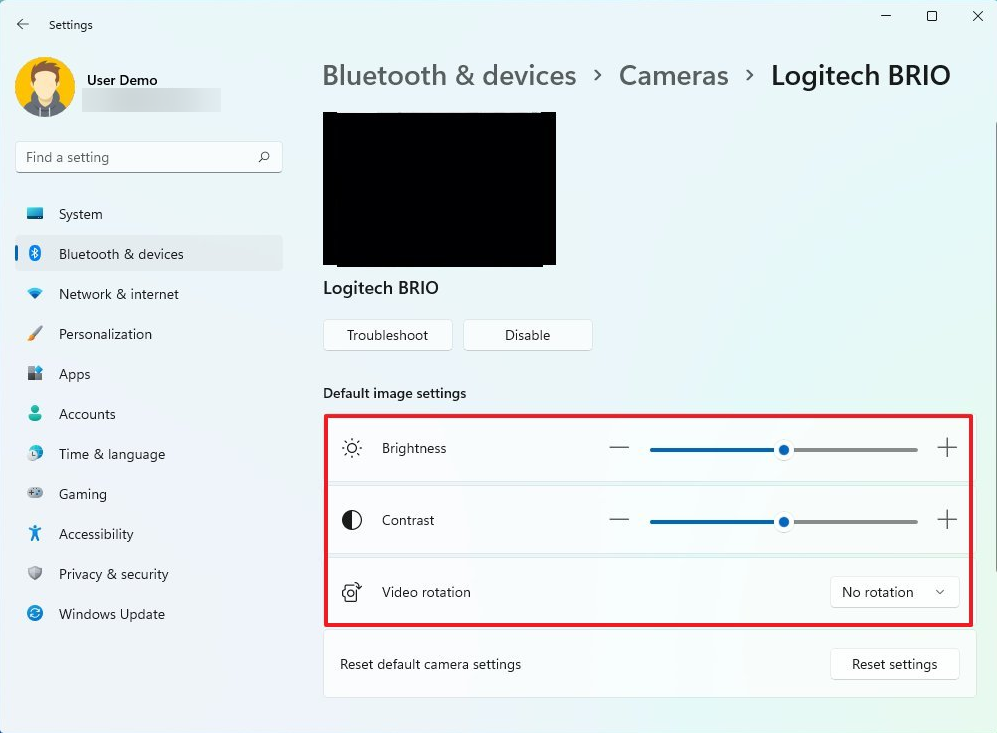
- You can also enable or disable HDR Video and Eye Contact features if available.
In addition to the solutions detailed above, you may also uninstall Camera from the Device Manager menu and reinstall it.
Using this method, you can fix issues caused by a faulty driver and, perhaps, resolve the problem where your webcam’s settings aren’t being saved.
Please let us know in the comments section below if you were successful in resolving the issue with your webcam settings not being saved.
Read our disclosure page to find out how can you help Windows Report sustain the editorial team. Read more


Improve this guide


User forum
0 messages