How to Make Windows 10/11 Connect to L2TP VPN: Registry Fix
Save a copy of your Registry before making any changes
3 min. read
Updated on
Read our disclosure page to find out how can you help Windows Report sustain the editorial team. Read more
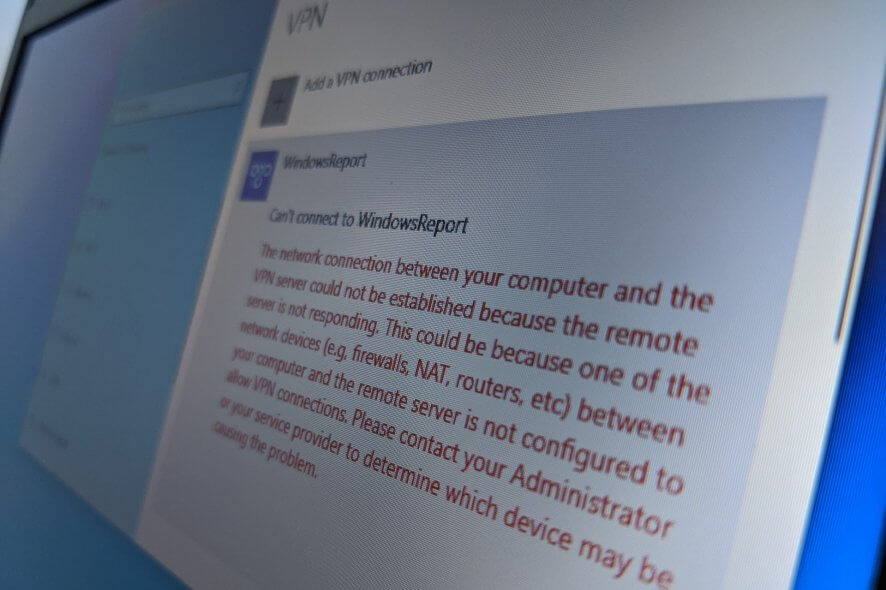
If you can’t connect to a VPN on Windows using the L2TP protocol you can fix it with an easy Windows 10/11 L2TP VPN registry fix.
This will stop Windows error code 809 which reads The network connection between your computer and the VPN server could not be established because the remote server is not responding.
All you need to do is open the Registry Editor (regedit) and do a bit of tinkering. Find below an easy-to-follow guide with all the steps you need to take.
How to fix Windows 11 L2TP VPN Errors
1. Create a registry backup
 NOTE
NOTE
- Press Ctrl + R, type regedit, press Enter.
- If prompted by UAC (User Account Control), click Yes.
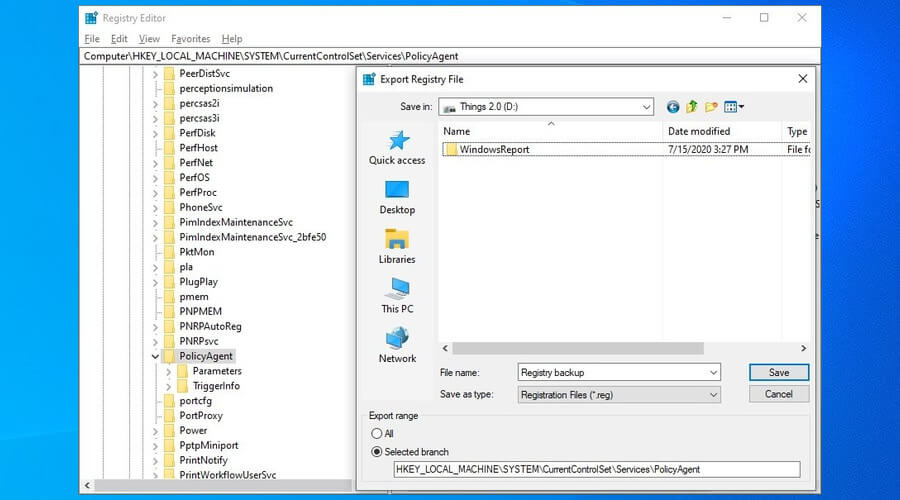
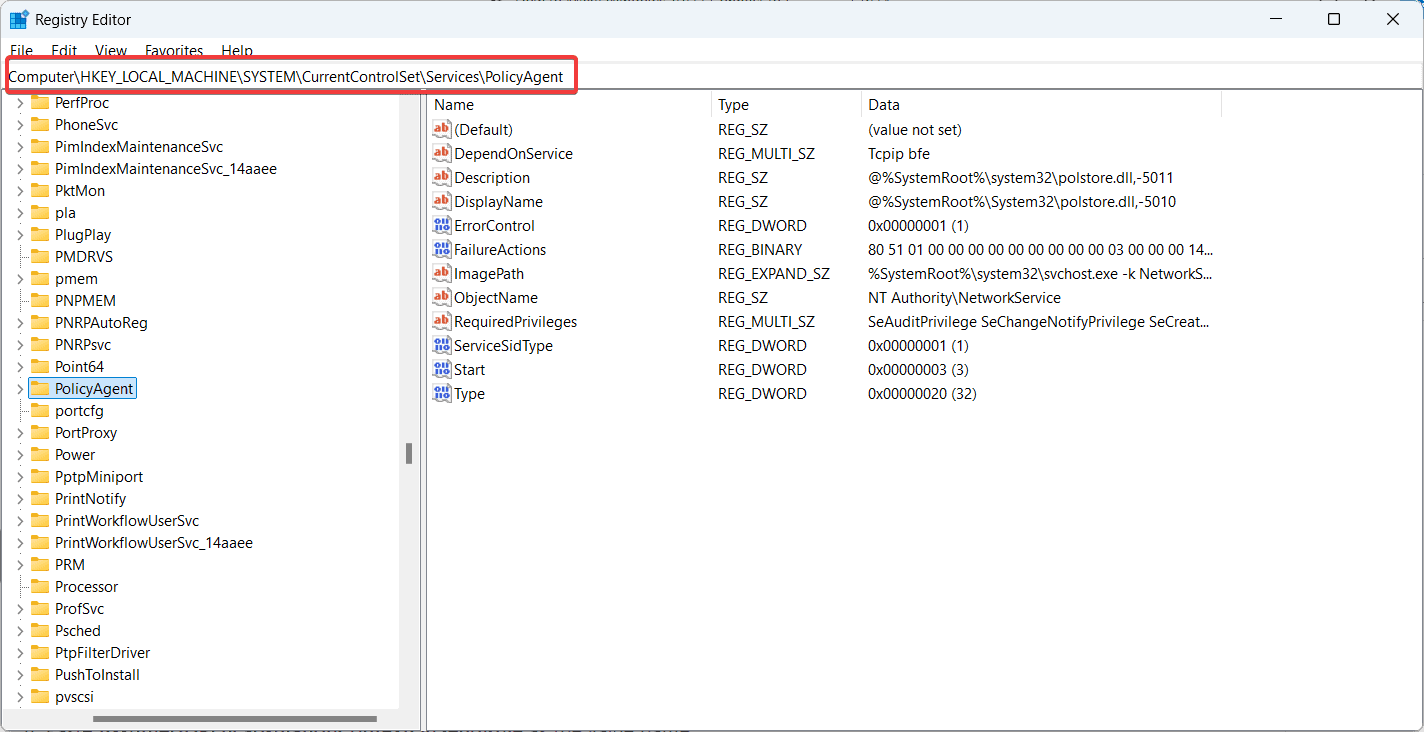
- Click inside the address bar and paste the following:
ComputerHKEY_LOCAL_MACHINESYSTEMCurrentControlSetServicesPolicyAgent - Open the File menu and click Export.
- Save the registration file in a safe place.
Afterward, if you need to undo registry changes, just double-click the reg backup file.
2. Using the Registry Editor GUI
- Launch Registry Editor with admin rights.
- Go to:
HKEY_LOCAL_MACHINE\SYSTEM\CurrentControlSet\Services\PolicyAgent - Open the Edit menu > New submenu and click DWORD (32-bit) Value.
- Paste AssumeUDPEncapsulationContextOnSendRule as the value name.
- At Value data, type 2.
- Now, go to:
HKEY_LOCAL_MACHINE\SYSTEM\CurrentControlSet\Services\RasMan - Open the Edit menu > New submenu and click DWORD (32-bit) Value.
- Paste ProhibitIpSec as the value name. At Value data, type 0.
- Click OK and restart your PC.
If you can’t access the registry, check out our quick fixes. Or you can make Windows 10 connect to L2tT VPN using CMD instead of reg.
3. Using CMD
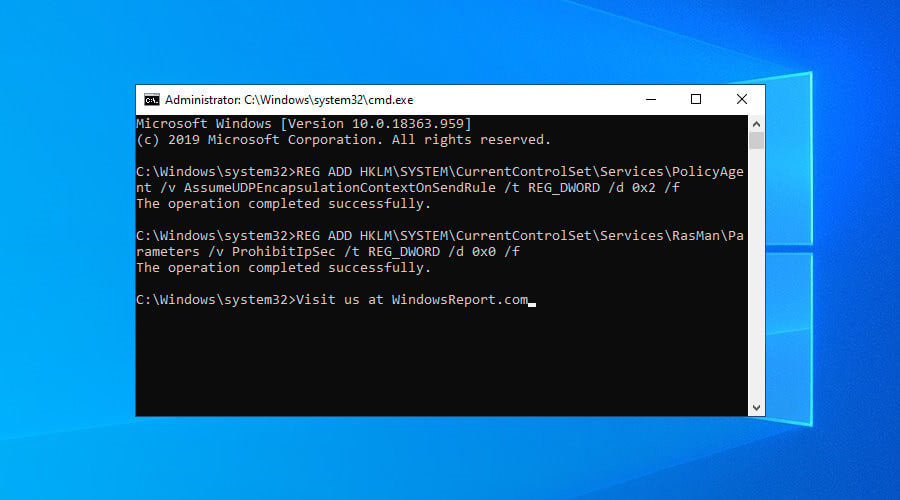
- Launch Command Prompt as admin.
- Paste the following:
REG ADD HKLM\SYSTEM\CurrentControlSet\Services\PolicyAgent /v AssumeUDPEncapsulationContextOnSendRule /t REG_DWORD /d 0x2 /f - Once the operation completes successfully, also paste:
REG ADD HKLM\SYSTEM\CurrentControlSet\Services\RasMan\Parameters /v ProhibitIpSec /t REG_DWORD /d 0x0 /f - Restart your PC.
In conclusion, if Windows 10 or 11 can’t complete your L2TP VPN connection due to NAT issues, use the reg hack above to quickly fix your problem.
The first solution is suitable for casual users who prefer using the graphical interface. However, the second solution is faster for advanced users who are accustomed to the command-line interface.
You might be interested in our guide on how to install the VPN for your entire network at home.
If you have questions or other suggestions for the Windows 11 L2TP VPN Registry fix, come forward in the comments below.











User forum
1 messages