FIX: Windows 10/11 couldn’t be installed
Key notes
- Although it is an excellent OS, Windows 10 is not always easy to install. Different errors may hinder the process.
- If your PC keeps on telling you that Windows 10 couldn't be installed, here is how to fix it.
- Learn how to solve Windows 10 failed installation by looking at all our content around this specific topic.
Windows 10 is a great operating system, and it got even better after the latest updates. Unfortunately, installing Windows 10 isn’t always easy and users reported that Windows 10 couldn’t be installed on their PC.
How to fix the “Windows installation has failed” error?
Solution 1 – Run Windows Update troubleshooter
If you’re downloading the latest build of Windows 10 via Windows Update, you might encounter this error. To fix it, run the Windows Update troubleshooter by following these steps:
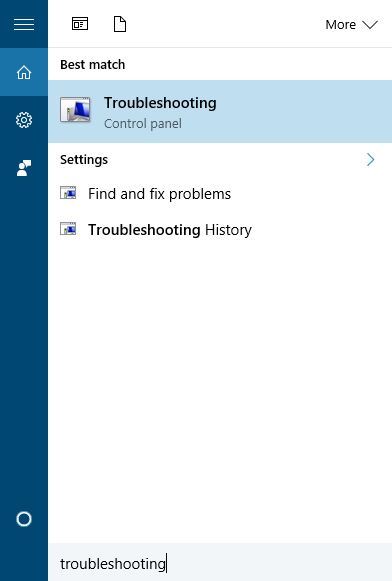
- Press Windows Key + S and enter troubleshooting. Select Troubleshooting from the menu.
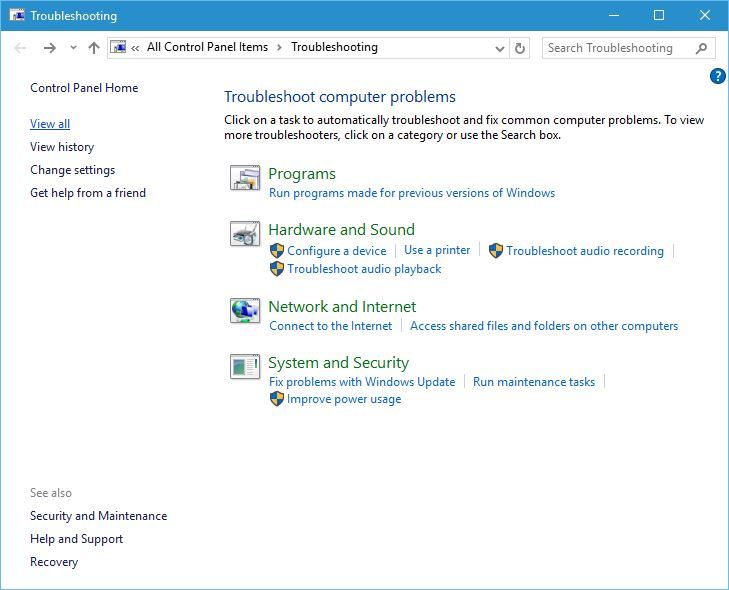
- Choose View all from the menu on the left.
- Select Windows Update.
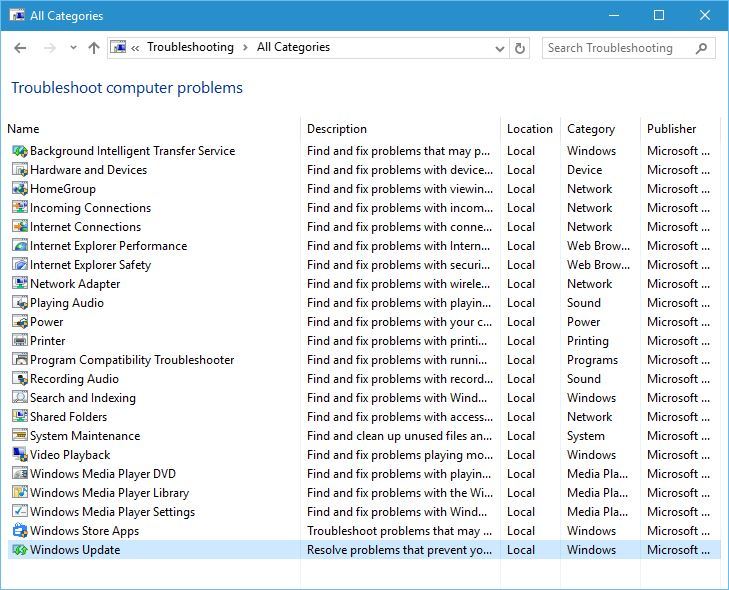
- Click Next to start the wizard.
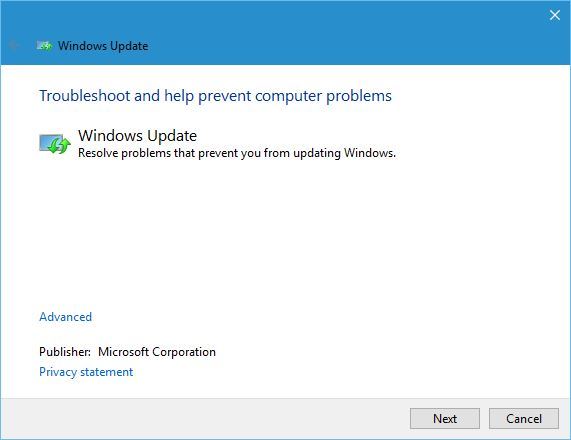
After the wizard completes the scan and fixes the errors, you should be able to install the new build of Windows 10.
Solution 2 – Install Windows 10 using Media Creation Tool
You might want to try using Media Creation Tool to download the new build. To complete this process you’ll need an empty USB flash drive. Once you download Windows 10 ISO, you can create a bootable installation media using the Windows Media Creation tool. Now you just need to start the installation from the USB flash drive.
Solution 3 – Change registry values
You might be able to fix this problem simply by changing one value in your registry. We have to mention that changing the registry can lead to certain issues if you’re not careful, so it might be a good idea to create a backup of your registry in case anything goes wrong.
To edit the registry follow these steps:
- Press Windows Key + R and enter regedit. Press Enter or click OK.

- Go to the HKEY_LOCAL_MACHINESYSTEMCurrentControlSetControl key in the left pane.
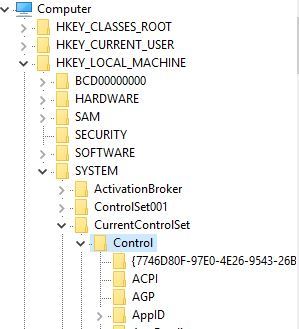
- In right pane locate PortableOperatingSystem value and double click it to open its properties.
- Change Value data from 1 to 0. Some users claim that changing the value from 0 to 1 also fixes the issue, so you might want to try that as well.
- Close Registry Editor, restart your PC and check if the problem is resolved.
Solution 4 – Turn off your firewall and antivirus
If you’re getting error code 8024402C while trying to download the latest Windows 10 build, you might want to temporarily disable your antivirus and firewall.
These tools can sometimes interfere with Windows Update. In some cases, you might even have to delete your third-party antivirus and firewall. You can also use a dedicated uninstaller tool to get the job done.
We also have to mention that you’ll have to disable Windows Firewall to fix this problem, and you can do that by following these steps:
- Press Windows Key + S and enter firewall. Select Windows Firewall from the list.
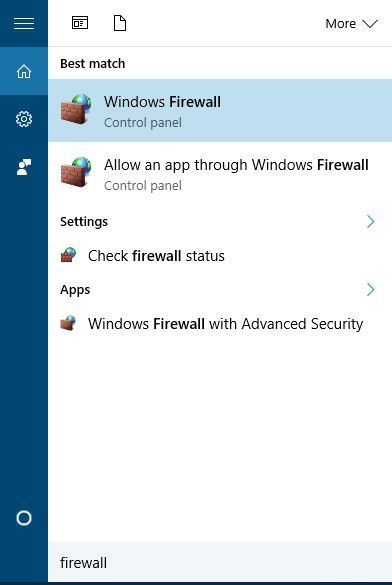
- Choose Turn Windows Firewall on or off from the menu.

- Select Turn off Windows Firewall (not recommended) for both Public and Private network settings.

- Click OK to save changes.
Solution 5 – Restart Windows Update service
You might want to try restarting Windows Update service. To do that, follow these simple steps:
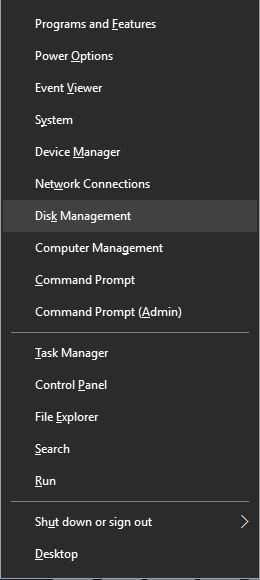
- Press Windows Key + X to open the Power User Menu and choose Command Prompt (Admin).
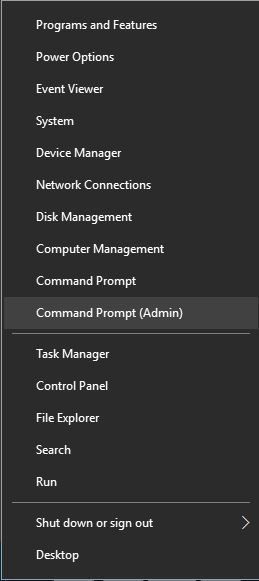
- When Command Prompt opens, enter the following lines:
- net stop wuauserv
- net start wuauserv
- Once both commands are successfully executed, close Command Prompt and check if the problem is resolved.
Solution 6 – Create a new administrator account and rename the Temp folder
Users claim that you can fix this issue simply by renaming the Temp folder. Before you can do that, you’ll need to create a new administrator account. To do that, follow these steps:
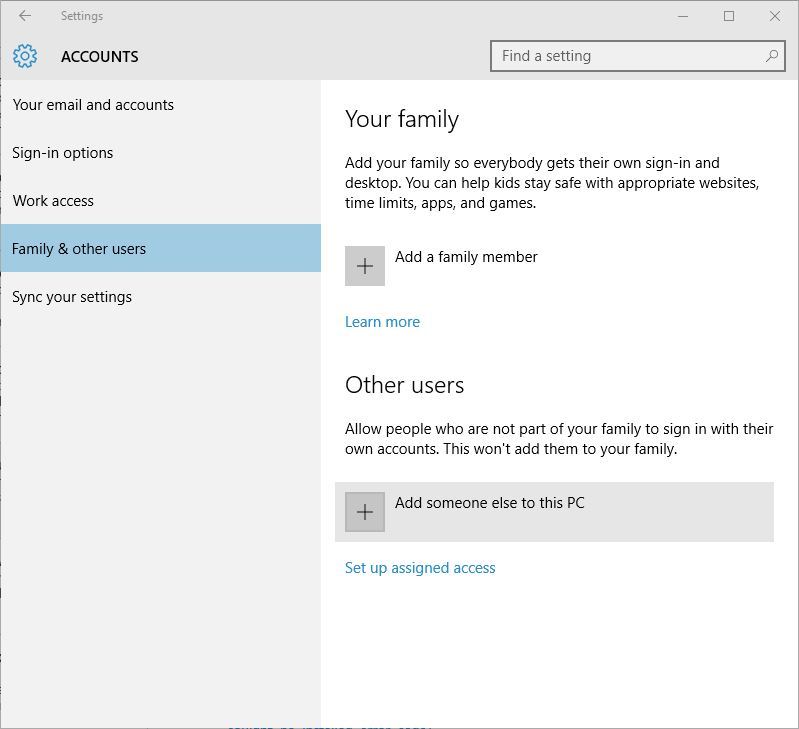
- Open the Settings app and go to Accounts.
- Go to Family & other users tab and click on Add someone else to this PC.
- Choose I don’t have this person’s sign-in information.

- Click on Add a user without a Microsoft account.
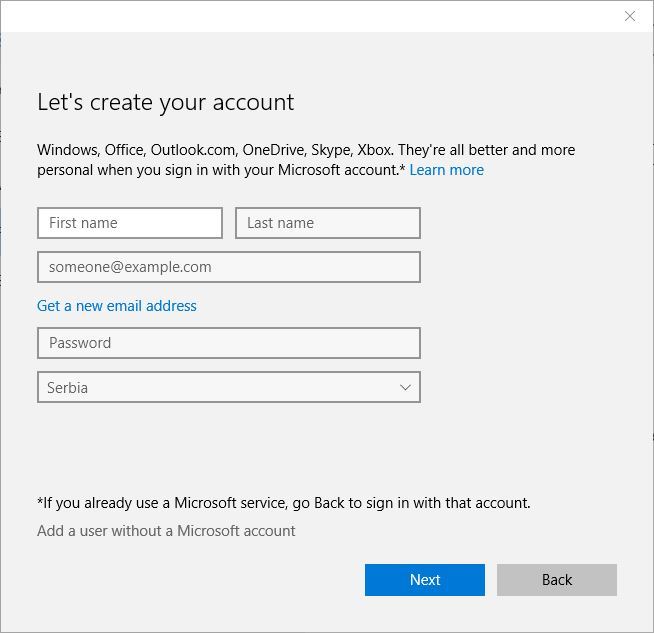
- Enter the username of your new administrator account and click Next.
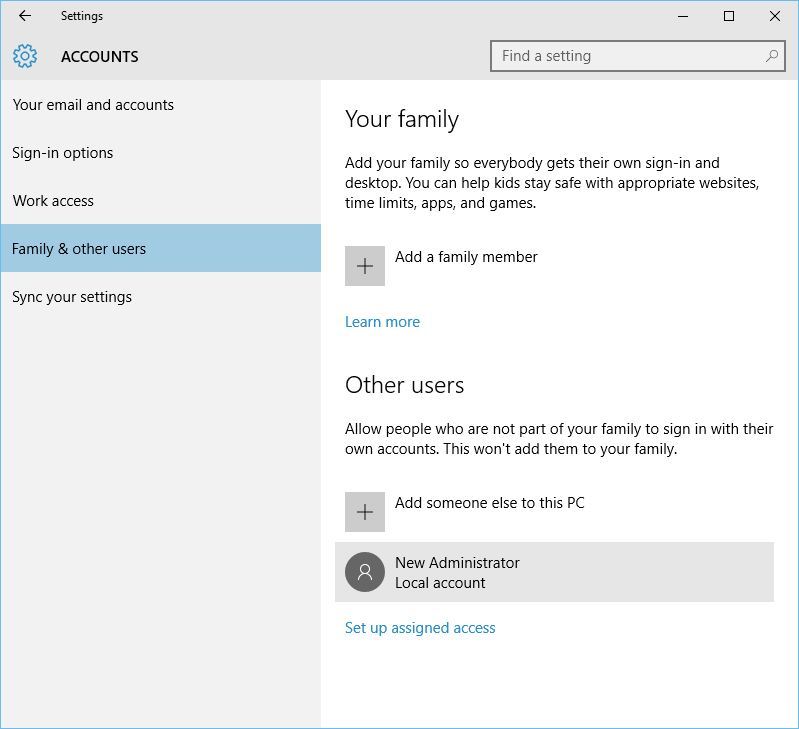
After doing this, your new account should be added to Other users section. Keep in mind that all new accounts are created as Standard users which means that they don’t have any administrator privileges.
You can simply fix this problem by doing the following:
- In Other users section you’ll see the new account that you just created. Click on it.
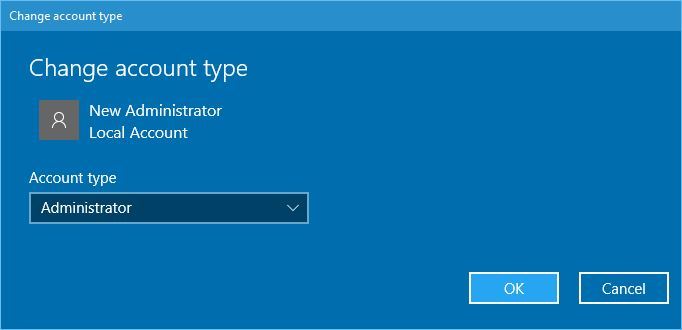
- Click Change account type button.
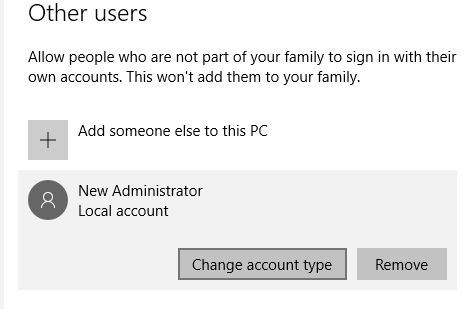
- Change Account type from Standard to Administrator. Click OK to save changes.
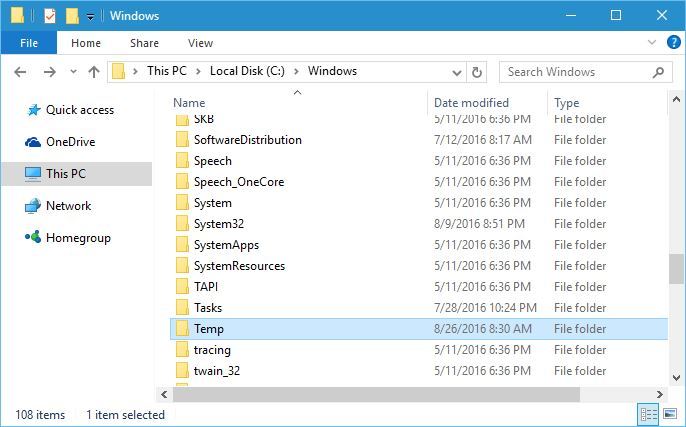
After creating a new account, log out of your main account and switch to the new one. Go to C:Windows folder, locate Temp folder and rename it to Temp2.
Log out from your new account and switch back to your main one. Try to download the latest build of Windows 10 again. If everything works, you should delete the new account that you created.
Solution 7 – Check if your registry configuration is correct
If you’re trying to download the latest Windows 10 build, you need to make sure that your registry configuration is correct. To do that, follow these steps:
- Open Registry Editor.
- Go to the
HKEY_LOCAL_MACHINESOFTWAREMicrosoftWindowsCurrentVersion - Look for ProgramFilesDir and ProgramFilesDir (x86) entries in the right pane. Bear in mind that you’ll have ProgramFilesDir (x86) entry only if you use 64-bit version of Windows.
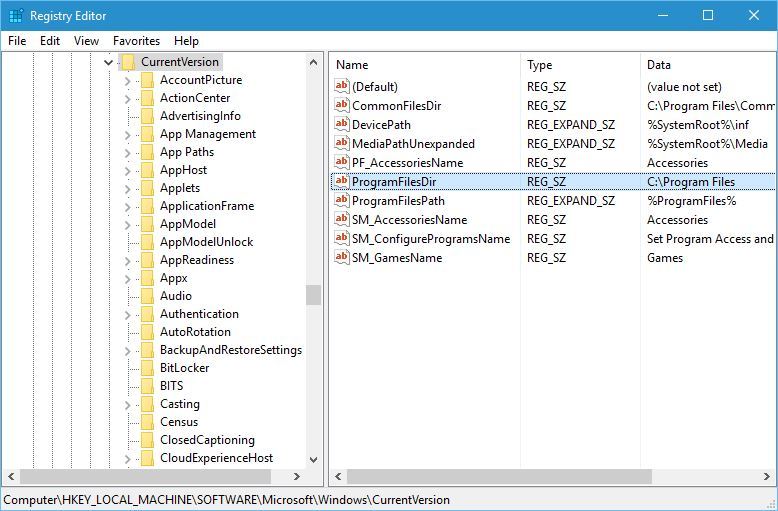
- Double click ProgramFilesDir entry and change the Value data to C:Program Files. If you have ProgramFilesDir (x86) entry, be sure to set its data value to C:Program Files (x86).
- After you’re done, close Registry Editor and check if the issue is resolved.
Solution 8 – Uninstall My Rapport Banking software
If you’re trying to install the latest build of Windows 10, you might encounter certain issues due to third-party software. Users reported that My Rapport Banking software can sometimes interfere with Windows 10 installation, therefore if you have this tool installed we suggest that you remove it and check if that fixes the problem.
Fix – Windows 10 couldn’t be installed system reserved partition
Solution 1 – Change the size of System Reserved Partition
If you have problems installing Windows 10, you might need to increase the size of Reserved Partition. To do that, you can use tools such as Partition Magic. Simply download the tool and create a bootable USB flash drive with the tool on it. Connect the USB flash drive and boot your PC from it.
After booting from the USB flash drive, you need to use Partition Magic to expand your System Reserved partition. Before you can do that, you’ll need to shrink one of your partitions by 350MB.
Now just add that space to the System Reserved partition and Windows 10 should install without any problems. We have to mention that this procedure can be somewhat dangerous and cause data loss, so use extra caution and install a tool that prevents data loss.
Solution 2 – Make sure that your C partition is set as active
According to users, you can fix this problem by settings your C partition as active. To do that, follow these steps:
- Press Windows Key + X and choose Disk Management.
- When Disk Management opens, locate your C partition, right click it and choose Mark Partition as Active.
- Close Disk Management and try to install Windows 10 again.
Solution 3 – Use Disk Management and Command Prompt
Users reported We couldn’t update the system reserved partition error message while trying to install Windows 10, and if you’re getting this error you can fix it by following these steps:
- Start Disk Management.
- You should see a Data partition that has a size of 100 MB.
- Right click that partition and choose Change Drive Letter and Paths.
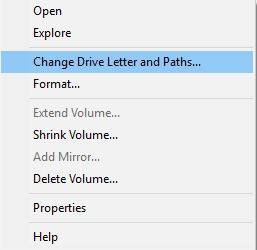
- Click the Add button and set Y as the partition letter.
- Start Command Prompt as administrator.
- When Command Prompt starts, enter the following commands:
- takeown /f . /r /d y
- icacls . /grant administrators:F /t
- attrib -h -s -r bootmgr
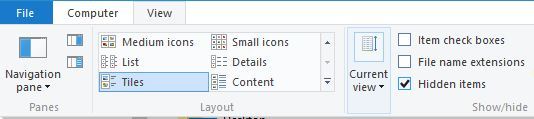
- Open File Explorer and open Y: drive.
- Make sure that hidden files and folders are visible. You can show hidden files and folders by clicking the View tab and checking Hidden items option.
- Go to Boot folder and delete all other folders except en-US.
- Go back to Command Prompt and run the chkdsk Y: /F /X /sdcleanup /L:5000 command. If you’re getting an error message while trying to run this command, try running chkdsk Y: /F /X /L:5000 command instead.
- Now try to install Windows 10 again.
- If the installation is successful, go back to the Disk Management and remove the letter of the boot partition.
Fix – Windows 10 couldn’t be installed 80200056, 80072ee2
Solution – Restart BITS
If you’re getting error 80200056, you might want to try restarting BITS service. To do that just start Command Prompt as administrator and enter bitsadmin.exe /reset /allusers. After the command is executed, restart your PC and try to install Windows 10 again.
We covered this error in the past, so if you need more information on how to fix error 80200056, we suggest that you read some of our previous articles.
The same applies to error 80072ee2.
Fix – Windows 10 couldn’t be installed 8007003
Solution 1 – Remove dual boot and merge all partitions
This might not be the best solution because you’ll most likely lose all your important files, therefore we advise you to create a backup and copy all your important files.
Users reported that dual boot with Linux can sometimes cause this error to appear, and in order to fix this problem you need to disable dual boot option and merge all partitions into one. After merging the partitions, you should be able to install Windows 10.
Solution 2 – Check the WIMMount path
Sometimes this error can occur if the WimMount path isn’t properly set in your registry. To fix this problem follow these steps:
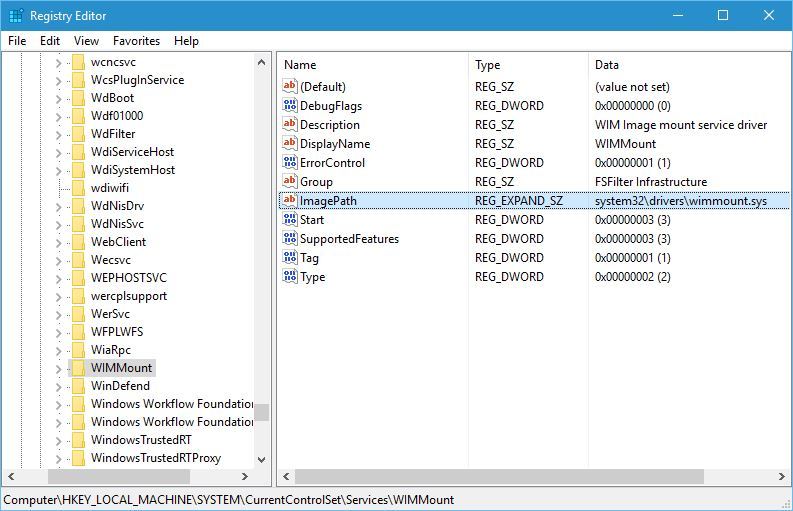
- Open Registry Editor.
- Go to the
HKEY_LOCAL_MACHINESYSTEMCurrentControlSetServicesWIMMountkey in the left pane.
- In the right pane locate ImagePath entry and check its value. By default it should be set to system32driverswimmount.sys. If it’s set to a different value, be sure to change it to system32driverswimmount.sys.
- Close Registry Editor and check if the problem is resolved.
Fix – Windows 10 couldn’t be installed c1900101-40017
Solution – Be sure that your drivers are up to date
If you’re getting this error while trying to download the latest Windows 10 build, we suggest that you try updating your graphics card drivers. Users reported that this error was fixed after installing the latest AMD drivers, so be sure to try that. The same solution applies to Nvidia owners.
Updating drivers manually is very annoying, so we recommend you to download a driver updater tool to do it automatically.
Not being able to install Windows 10 can be a big problem, but we hope that one of our solutions helped you fix this issue.
Read our disclosure page to find out how can you help Windows Report sustain the editorial team. Read more


Improve this guide


User forum
1 messages