How to Move Windows 10 to Another Drive [Step-by-Step]
Everything you need to move your OS to another drive
Key notes
- At times, you might want to move Windows 10 to another drive to create space or because the new drive is better.
- You can use the System Image Recovery feature to back up and restore the OS.
- Another option is to use a dedicated software, which will speed up the process.
In case you want to free up some space on your primary hard disk, or you simply bought another hard drive, you might consider moving your entire Windows 10 operating system to a new space.
However, this is not such an easy task, and it requires you to know what you are doing to prevent data loss. In this guide, we have detailed the steps you need to follow to make the process successful the first time you try.
How to migrate Windows 10 to another drive?
1. Use the system image
1.1. Create a new system image
- Plug the new drive into your PC.
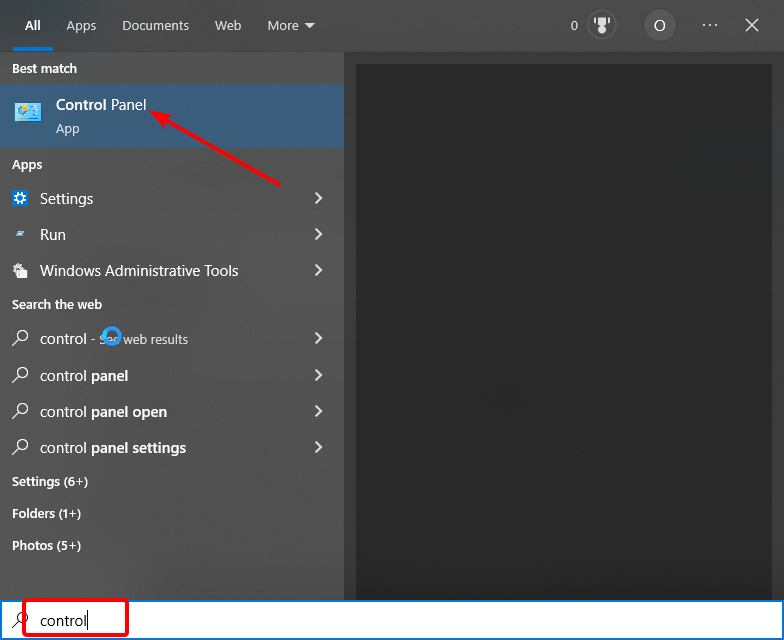
2. Press the Windows key, type control, and click the Control Panel option.
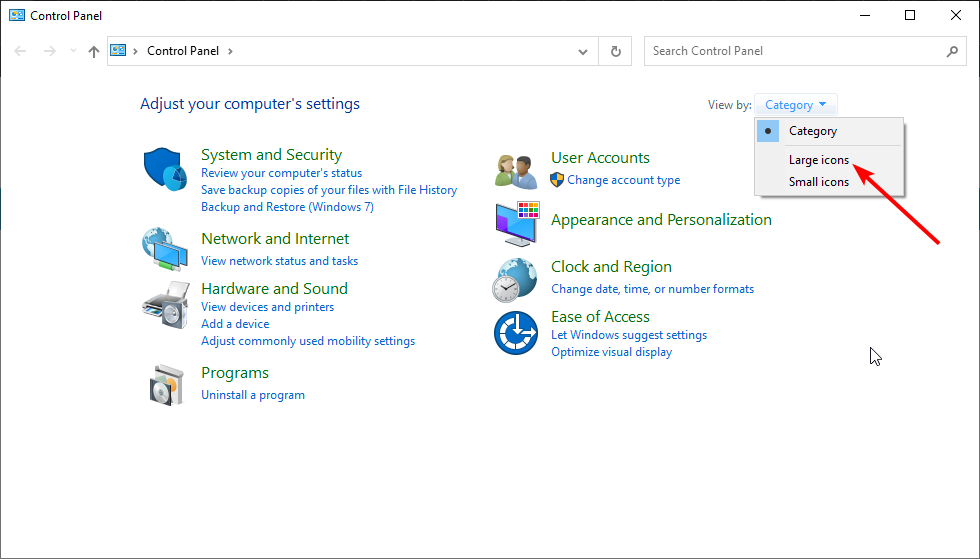
3. Click the dropdown next to View by and select the Large icons option.
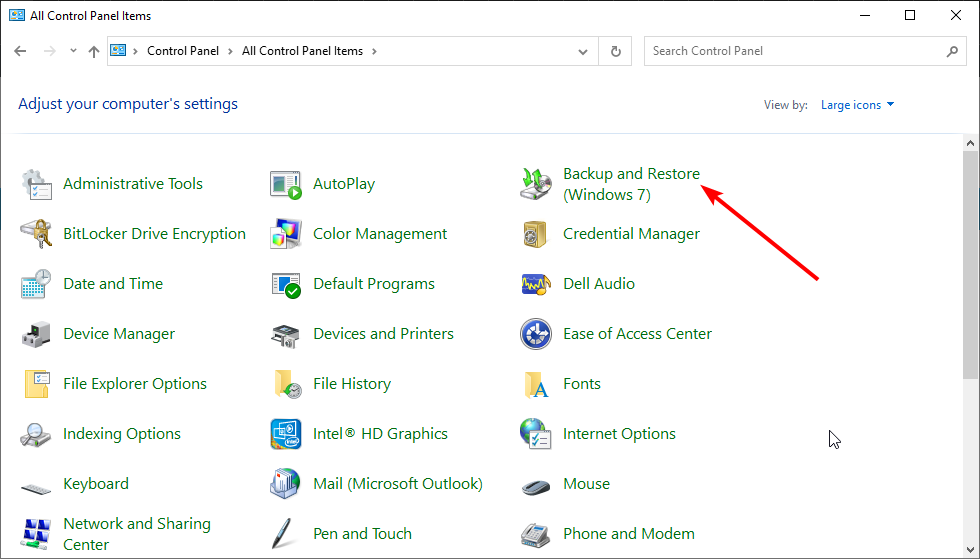
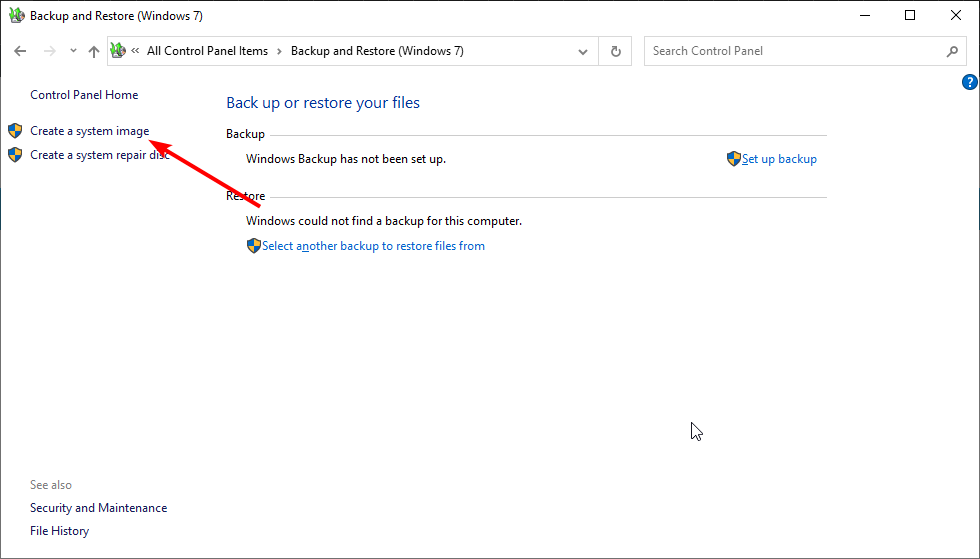
4. Now, choose Backup and Restore (Windows 7).
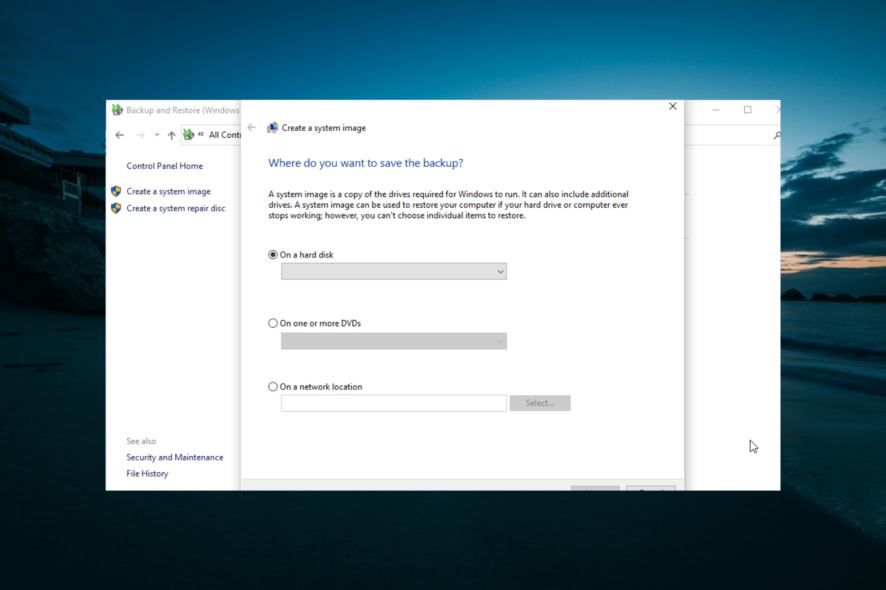
5. Click Create a system image.
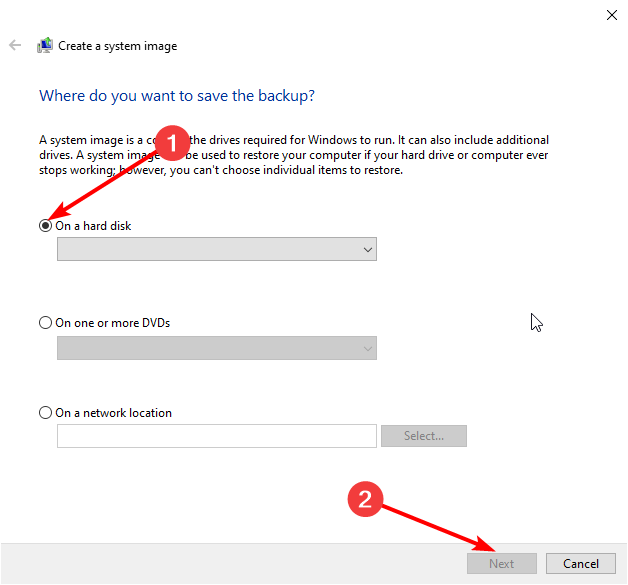
6. Tick the radio button On a hard disk and select your drive.
7. Now, click the Next button.
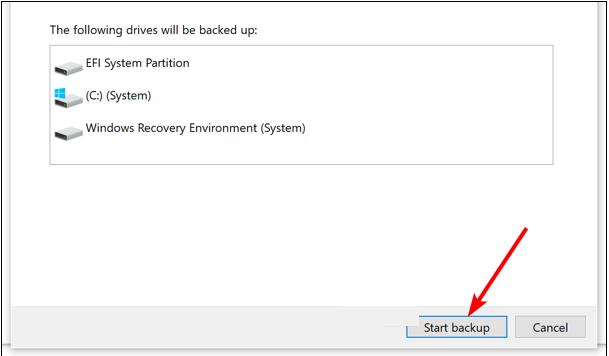
8. Next, select the Start Backup option and wait for the process to finish.
9. Finally, you will get a prompt to confirm if you want to create a recovery image disk. You can choose either Yes or No for this.
The first thing you need to do to move Windows 10 to another drive is create a system image. This will essentially create a backup of your PC to the new hard drive.
It is important to note that this method will only work if the external hard drive is the same size or larger than the primary drive. If it is lower, this process is bound to fail.
After creating a system image, you can proceed to stage 2 below.
1.2. Move the system image to another disk
- Create and insert a Windows installation media into your PC and the new drive containing the System image.
- Power on your PC, press F1, F2, or Del to bring up the BIOS, and set the installation media drive as the boot drive.
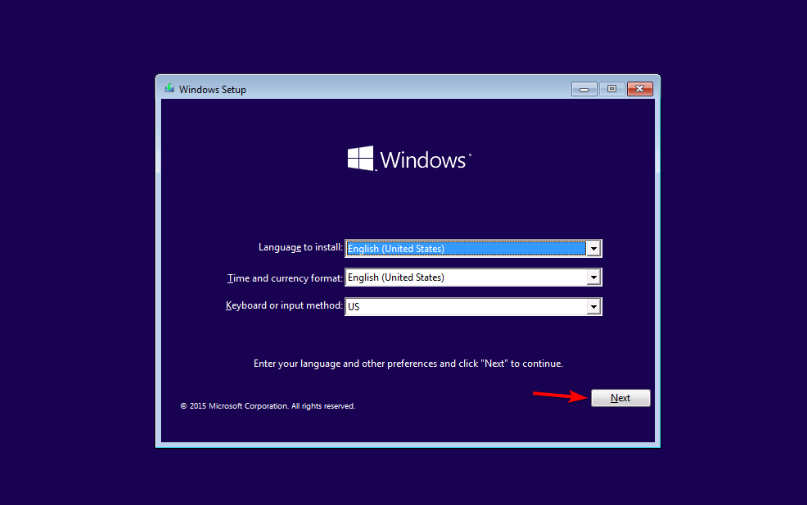
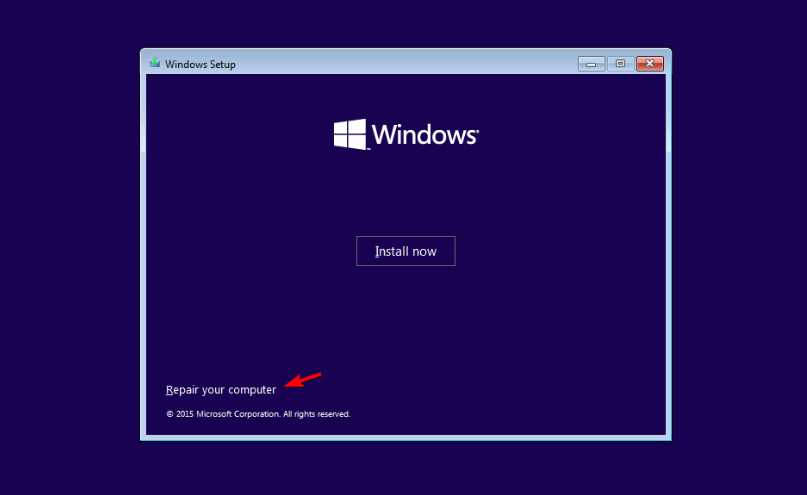
- Now, enter your language and other info when the media installation page comes up and click Next.
- Select, Repair your computer.
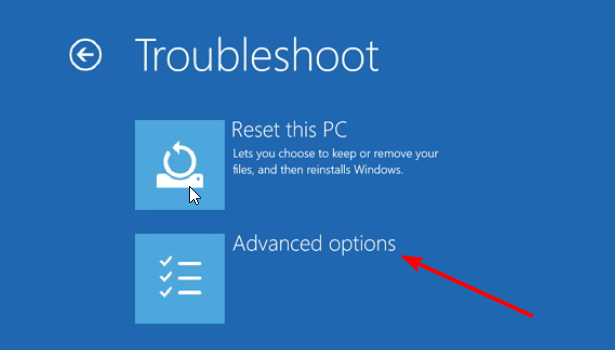
- Next, choose Troubleshoot > Advanced options.
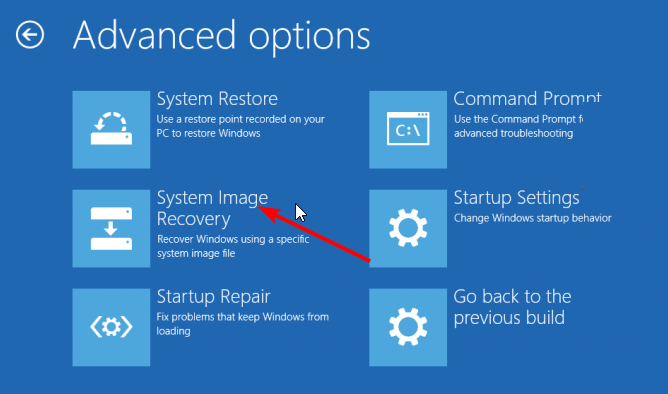
- Select System Image Recovery.
- Now, tick the radio button for Select a system image and choose the new hard drive.

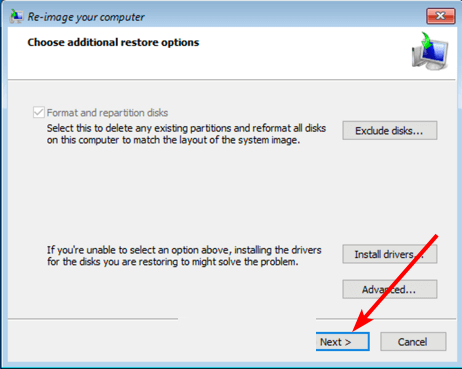
- Click the Exclude disks… button to exempt your original system disk and click OK.
- Click the Next button.
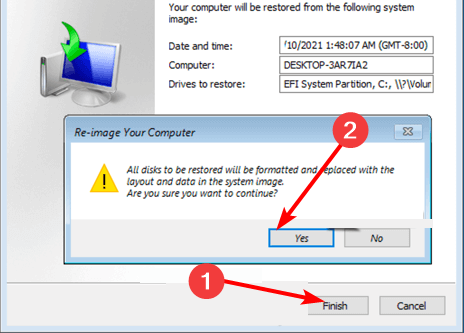
- From here, click the Finish button, followed by Yes, to complete the restoration process.
- Finally, click the Restart Now button.
With this, you have successfully moved Windows 10 to an external drive. As we have mentioned earlier, this method works if you use a disk of the same or larger size as your original disk.
If you want to use a smaller disk, you might need to clone the disk using a specialized tool.
2. Use a third-party tool
- Download and install the Macrium Reflect Free software and run it.
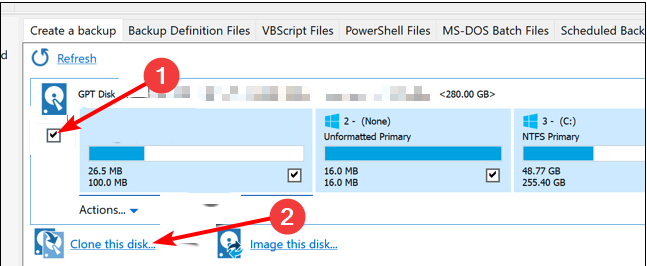
- Check the box next to the disk containing Windows 10 and click the Clone this disk option.
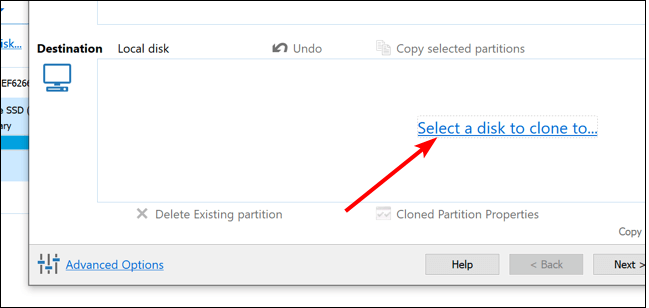
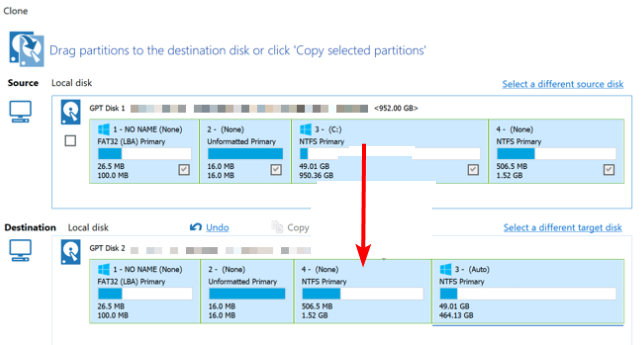
- Now, click Select a disk to clone to and select your new drive under the Destination section.
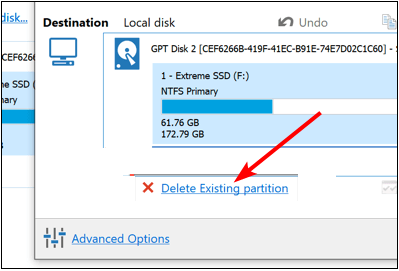
- From here, select all the partitions on the new disk and click Delete Existing partition.
- Next, drag all the partitions (except the C: drive) on the Source drive to the Destination.
- To make changes to your new drive, you can select it and choose Cloned Partition properties.
- Now, click the Finish button to complete the process.
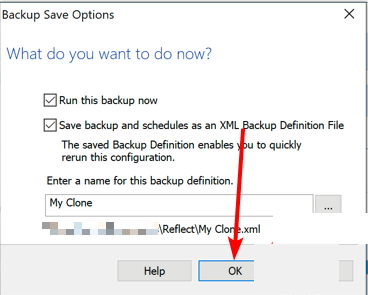
- Click OK on the Backup Save Options page.
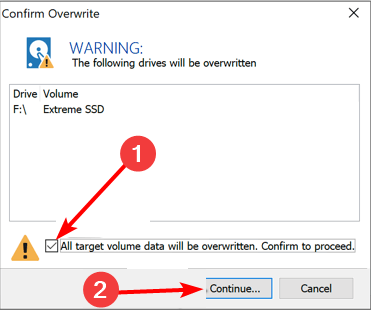
- Finally, check the box for Confirm to proceed and click the Continue… button.
We have come to the end of this detailed guide. You now have everything you need to move Windows 10 to an external drive.
If you need a list of the best partition manager software to partition the new drive, check our excellent guide for the top options that are currently available.
Feel free to let us know the solution that helped you fix this issue in the comments below.
Read our disclosure page to find out how can you help Windows Report sustain the editorial team. Read more


Improve this guide


User forum
0 messages