How to set up a free NFS server on Windows 10
3 min. read
Updated on
Read our disclosure page to find out how can you help Windows Report sustain the editorial team. Read more
If you’ve ever wondered if you can set up a free NFS server on Windows 10, you came to the right place.
A Network File System is a file that allows the storage and gathering of data from a multiple-disk setup and directories on a shared network.
We all know that mounting an NFS (Network File System) share on a Unix-like OS is an easy task to accomplish. On a Windows 10 PC, things are not so straight-forward, but the operation can still be successful with the right guidance.
In today’s article we will discuss how to mount a free NFS share from a UNIX system, but on a Windows 10 running computer. Please follow the steps presented here carefully to avoid any issues. Read on to find out more.
Steps to set up a free NFS server on Windows 10
1. Install the NFS Client
- Click on the Cortana search box -> type in Control Panel -> choose the first option from the top.
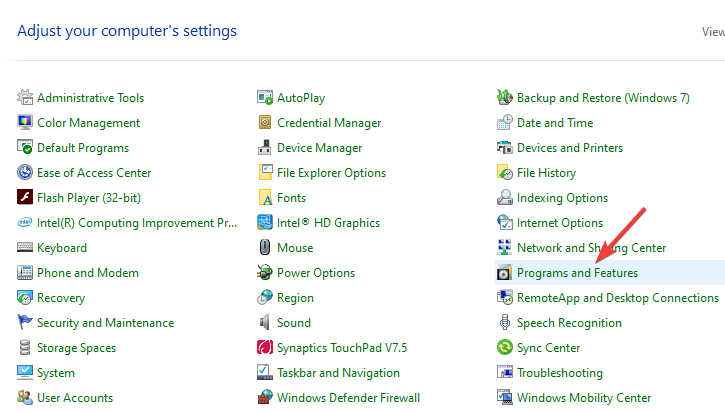
- Click the Programs and Features option.
- Click the option Turn Windows features on or off from the left side menu.
- Inside the Windows Features window -> scroll down and check the box next to Services for NFS -> press Ok.
- This will start the installation process.
- After the process is completed, you can Close the Windows Features window and follow the next method.
Is Bluestacks not connecting to the server on Windows 10? Try this
2. Enable Write permissions for the Anonymous User (default)
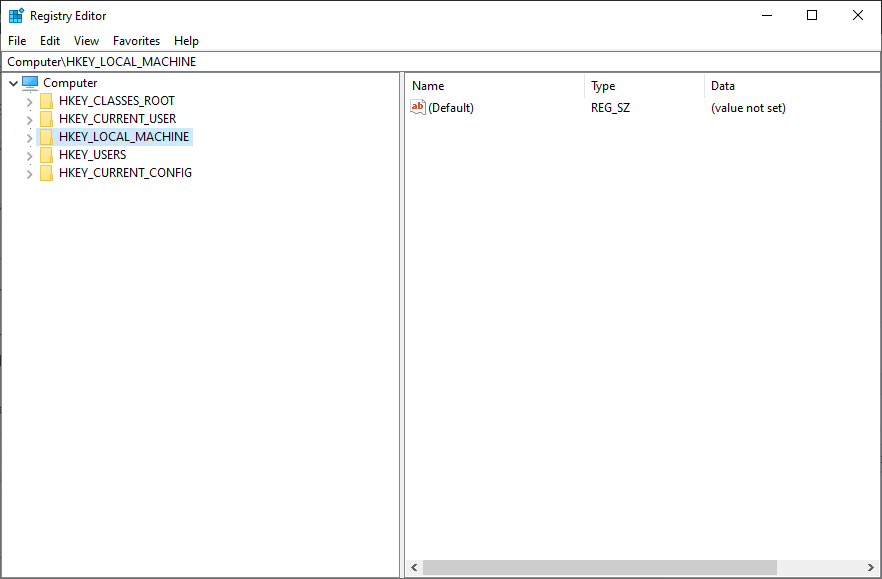
- Press the Win+R keys on your keyboard -> type Regedit -> press Enter.
- Navigate to:
HKEY_LOCAL_MACHINE\SOFTWARE\Microsoft\ClientForNFS\CurrentVersion\Default
- Open the Default folder by double-clicking on it.
- Right-click the right-side pane -> create a New DWORD (32-bit) Value -> name it AnonymousUid -> assign the UID found on the UNIX directory (shared by the NFS system).
- Create a new NEW DWORD (32-bit) Value -> name it AnonymousGid -> assign GID found on the UNIX directory.
- Reboot your PC.
3. Mounting a free NFS share server on Windows 10
For the sake of this example, we will assume that your NAS device is located on the same network as your Windows 10 PC and the IP address is xx.x.x.xxx.
Follow these steps to mount the NFS share:
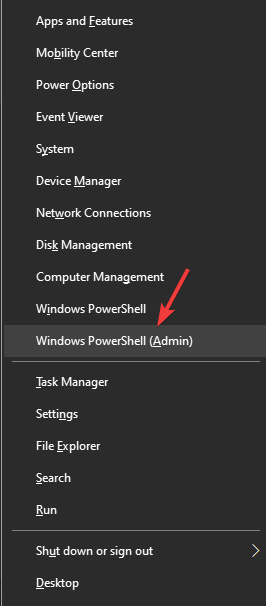
- Press Win+X and launch the PowerShell (Admin).
- Type the following command
C:\Users\windows>mount -o anon xx.x.x.xxx\mnt\vms Z: - Press Enter
- After the command is entered, your NFS share server is ready to be accessed by visiting the Z: drive.
Note: It is worth knowing that the first time you will try to write to the NAS device, the share takes a long time. Please be patient.
In today’s article, we answered the question ‘how to set up a free NFS server on Windows 10 ‘.
Please make sure to follow the steps presented in this list carefully, as modifying any registry data incorrectly can affect the overall health and performance of your PC.
We would love to know if this guide helped you set up a free NFS server on Windows 10. If it did, please let us know by using the comment section below.
[wl_navigator]



User forum
6 messages