How to Open File Location on Windows 11 if it's Missing
3 min. read
Updated on
Read our disclosure page to find out how can you help Windows Report sustain the editorial team. Read more
Key notes
- If the open file location option is missing in Windows 11, it's possible that there are glitches on your system that are causing it.
- Removing the problematic software is a quick and easy way to fix this problem.
- Modifying the context menu options can also help if you're having this issue on your PC.
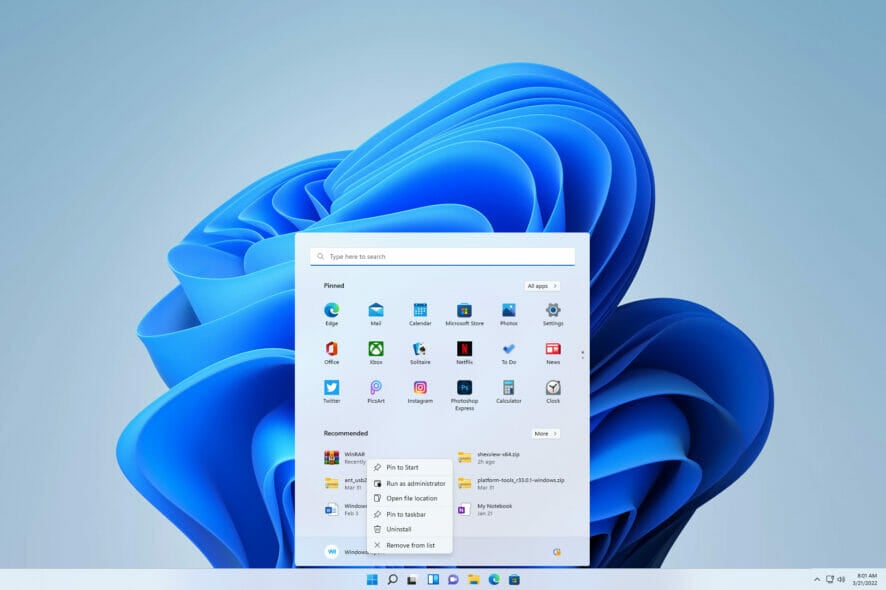
Ever since the early days of Windows, there was a useful option that allowed you to open the direct location of the file that you just clicked on.
It’s a useful feature that many used for quick and easy access to their files, but it seems that this isn’t possible anymore in Windows 11.
According to users, the open file location option is missing in Windows 11, but there are ways to fix this issue, and in today’s guide we’re going to show you how to do it.
Why is there no open file location option?
There are multiple reasons for this issue, but in most cases, your Windows may be out of date. An outdated operating system can have various bugs, such as this one for example.
Third-party applications can cause this problem, so you might have to remove the problematic software or disable its context menu.
What can I do if the open file location option is missing on Windows 11?
1. Make sure your system is up to date
- Open Settings by pressing Windows key + I.
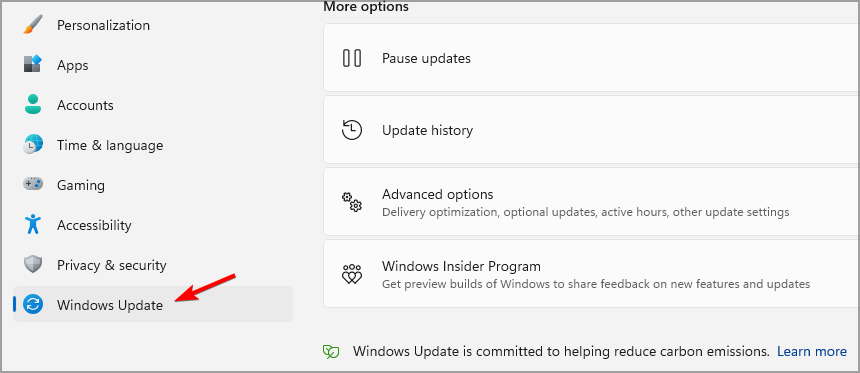
- Navigate to the Windows Update section.
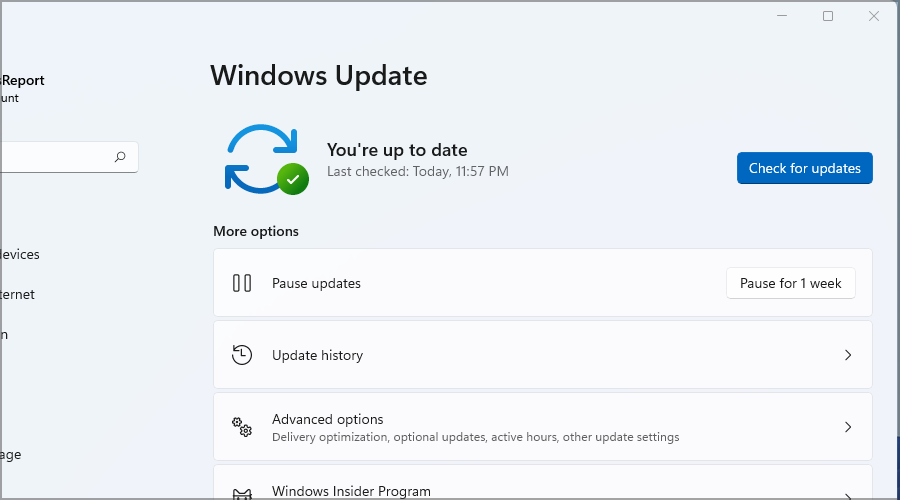
- Now check for available updates and install them.
This issue can occur if there’s a bug with your currently installed version
2. Remove any recently installed software
- Open the Settings app.
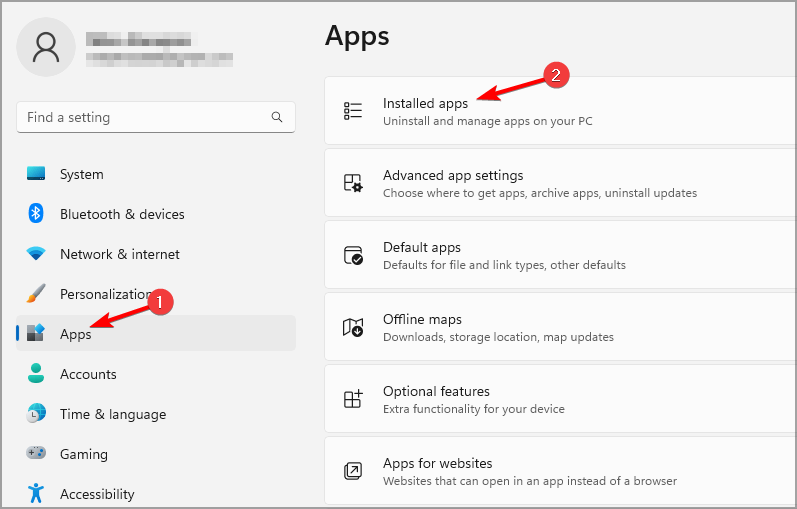
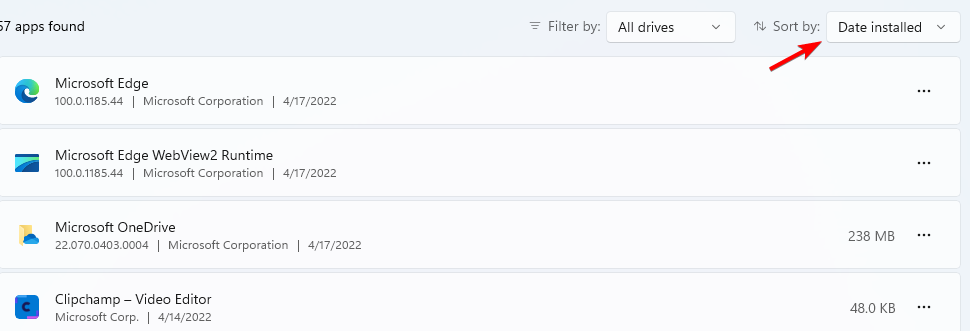
- Navigate to Apps and click on Installed apps in the left pane.
- Set the Sort by to Date installed.
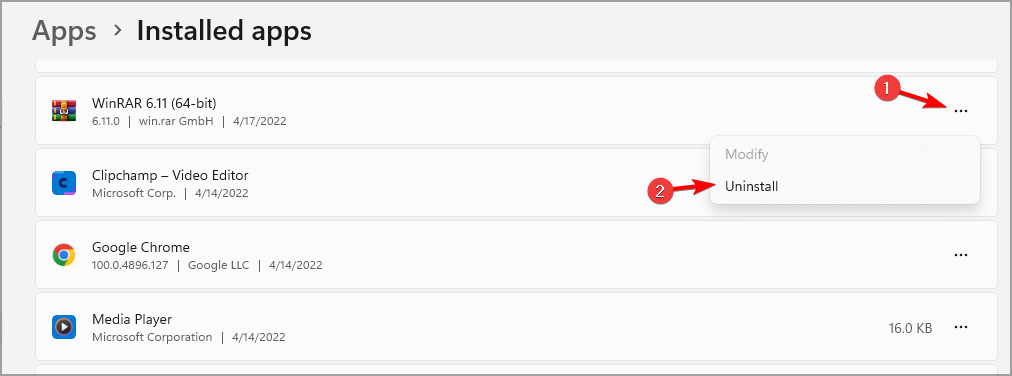
- Locate any non-Microsoft apps that you installed recently and click on three dots and select Uninstall.
- Follow the instructions on the screen to complete the process.
Users reported having issues with Abbyy FineReader since the application modifies the right-click menu.
To completely erase all data, use CCleaner to uninstall and delete all files related to these apps. Find the Uninstall option in the Tools submenu, order the apps by install date and uninstall them in just a few clicks.
3. Use ShellExView to modify the context menu
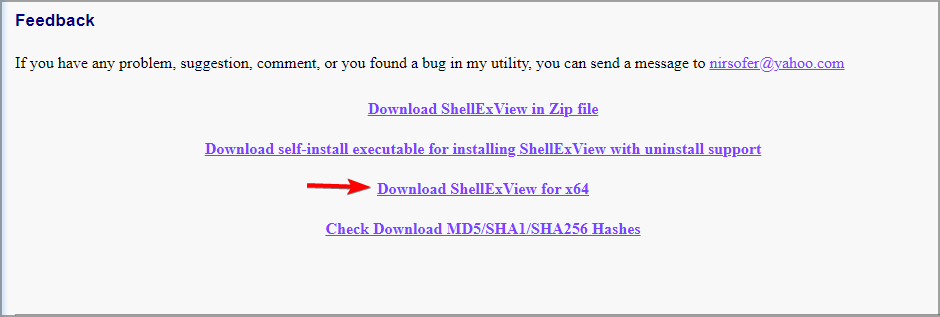
- Visit the ShellExView webpage and download the software.
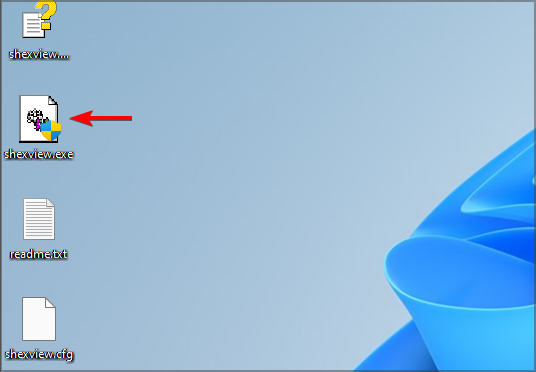
- Once the software is downloaded, extract it.
- Run the ShellExView.
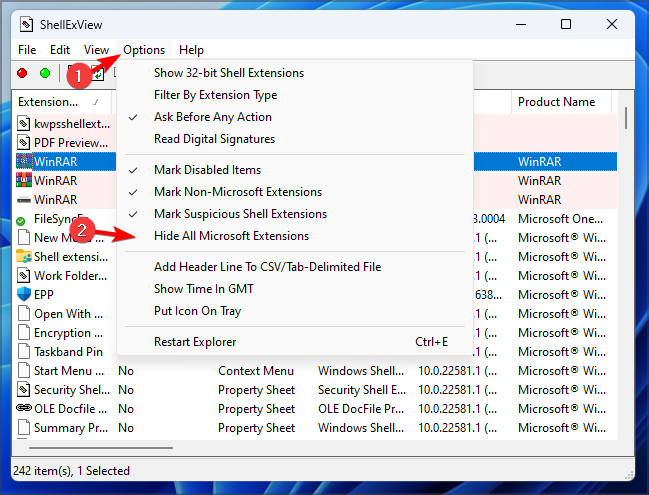
- Navigate to Options and check Hide all Microsoft extensions.
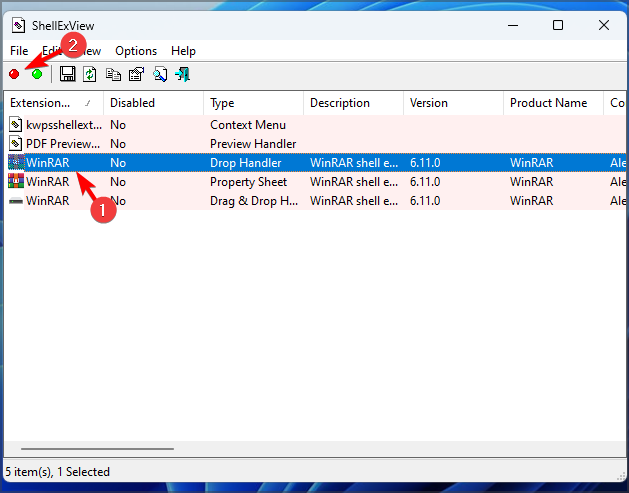
- Select the application that you suspect is causing the issue and click on the red button in the toolbar.
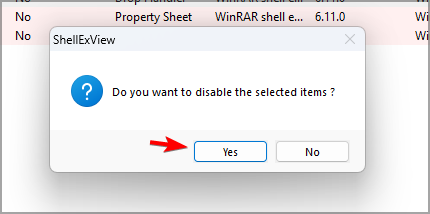
- When the confirmation dialog appears, click on Yes.
- Make sure that all instances of the problematic app are disabled by repeating the last two steps.
After doing that, check if the problem is resolved. Sometimes certain applications can add their entries to the context menu thus causing this issue to appear.
With this method, you’ll remove those entries without uninstalling the software, so make sure you try it out.
How to find app location on Windows 11?
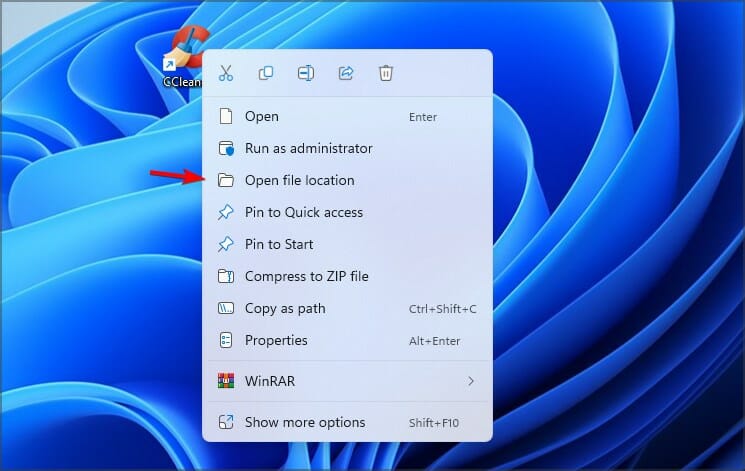
If you want to find the location of any app on Windows 11, you can just right-click its shortcut and choose Open file location from the context menu.
This option works on shortcuts and search results, but it won’t work for Microsoft Store apps, so keep that in mind.
If the Open file location option is missing on Windows 11, it’s possible that there’s a glitch on your system or that a certain application is interfering with the context menu.
Many users don’t like the look of the new context menu, and if you’re one of those users, be sure to read our guide on how to show more options in the File Explorer menu on Windows 11.
What solution did you use to fix this problem? Share it with us in the comments section below.





User forum
0 messages