How to Show More Options in File Explorer on Windows 11
To achieve this aesthetic change, modify some registry values
Key notes
- Not entirely happy with the abbreviated version of the File Explorer context menu in Windows 11?
- Relax, there is a way in which you can actually always see the regular type with all of the options.
- Carefully follow our step-by-step guide, and your File Explorer context menu will show more options.

With Windows 11, Microsoft’s main point of focus was security instead of many other things that your day-to-day user finds essential.
Sure, things are starting to turn around for the new operating system, but there are still many areas where it lacks common functionalities specific to its predecessor.
For example, the new right-click context menu in the Windows 11 File Explorer is a notably different user experience than in Windows 10.
That may be exactly what some users want, but for other users, it is only one of the many reasons why they chose not to upgrade to the latest OS.
However, the full right-click context menu can also be restored for Windows 11 with a few Windows 11 Registry File hacks.
Provided you are ready to begin and have a clear goal, which is restoring the Windows 10 context menu for File Explorer, we can show you how to do it.
How can I restore the classic context menu in File Explorer?
As most of you know by now, right-clicking a file in File Explorer under Windows 11’s new user interface will trigger an abbreviated version of the context menu.
Many users won’t have this and would like to explore other possibilities, such as restoring the Windows 10 version of the File Explorer context menu.
For even more control over how File Explorer behaves in Windows 11, you can follow a dedicated guide to enable access to File Explorer Options and fine tune additional folder and view settings.
Let’s get right into it and reveal the entire process without any further ado. It might take a few minutes of your time, so make sure you aren’t in a hurry.
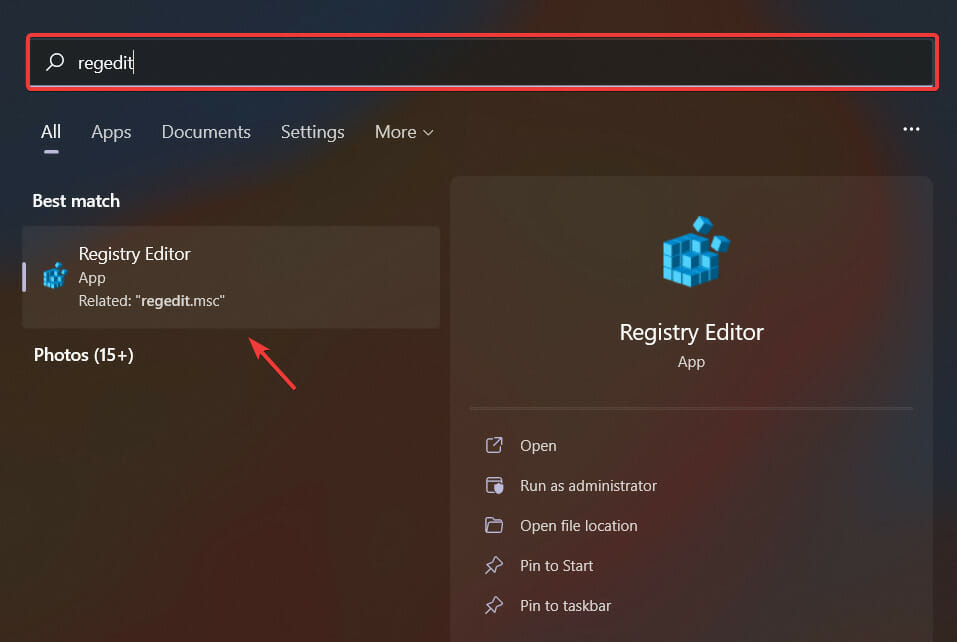
- Open the Start menu, search for regedit and open the app.
- Select HKEY_CURRENT_USER, then click on Software, then Classes.

- Right-click the CLSID folder and select New, then Key.

- Name this new key: 86ca1aa0-34aa-4e8b-a509-50c905bae2a2.

- Right-click the new key you created and select New, then Key.

- Name this new key: InprocServer32.

- Double-click the Default settings item in the right-hand window under the new InprocServer32.

- Press the OK button without typing anything into the Value Data box.

- Close the Registry Editor and restart your PC.
Of course, you can also revert these changes if you grow bored of them or want to switch back to the Windows 11 style. All you have to do is navigate to the correct folder and delete the new keys you created from the registry file.
And if you find the Print action missing in right-click menu on Windows 11, the steps listed above will surely help!
Speaking of Windows 11, if you need assistance, we can also show you how to manually download drivers, or neat tricks such as how to change the boot logo, or how you can play harmless error pranks on your friends.
Was this guide helpful to you? Let us know in the comments section below.
Read our disclosure page to find out how can you help Windows Report sustain the editorial team. Read more


Improve this guide


User forum
0 messages