How export ODBC data from Windows 7 to Windows 10
![]() 3 min. read
3 min. read
![]() Updated on
Updated on
Share this article

Improve this guide
Read our disclosure page to find out how can you help Windows Report sustain the editorial team Read more

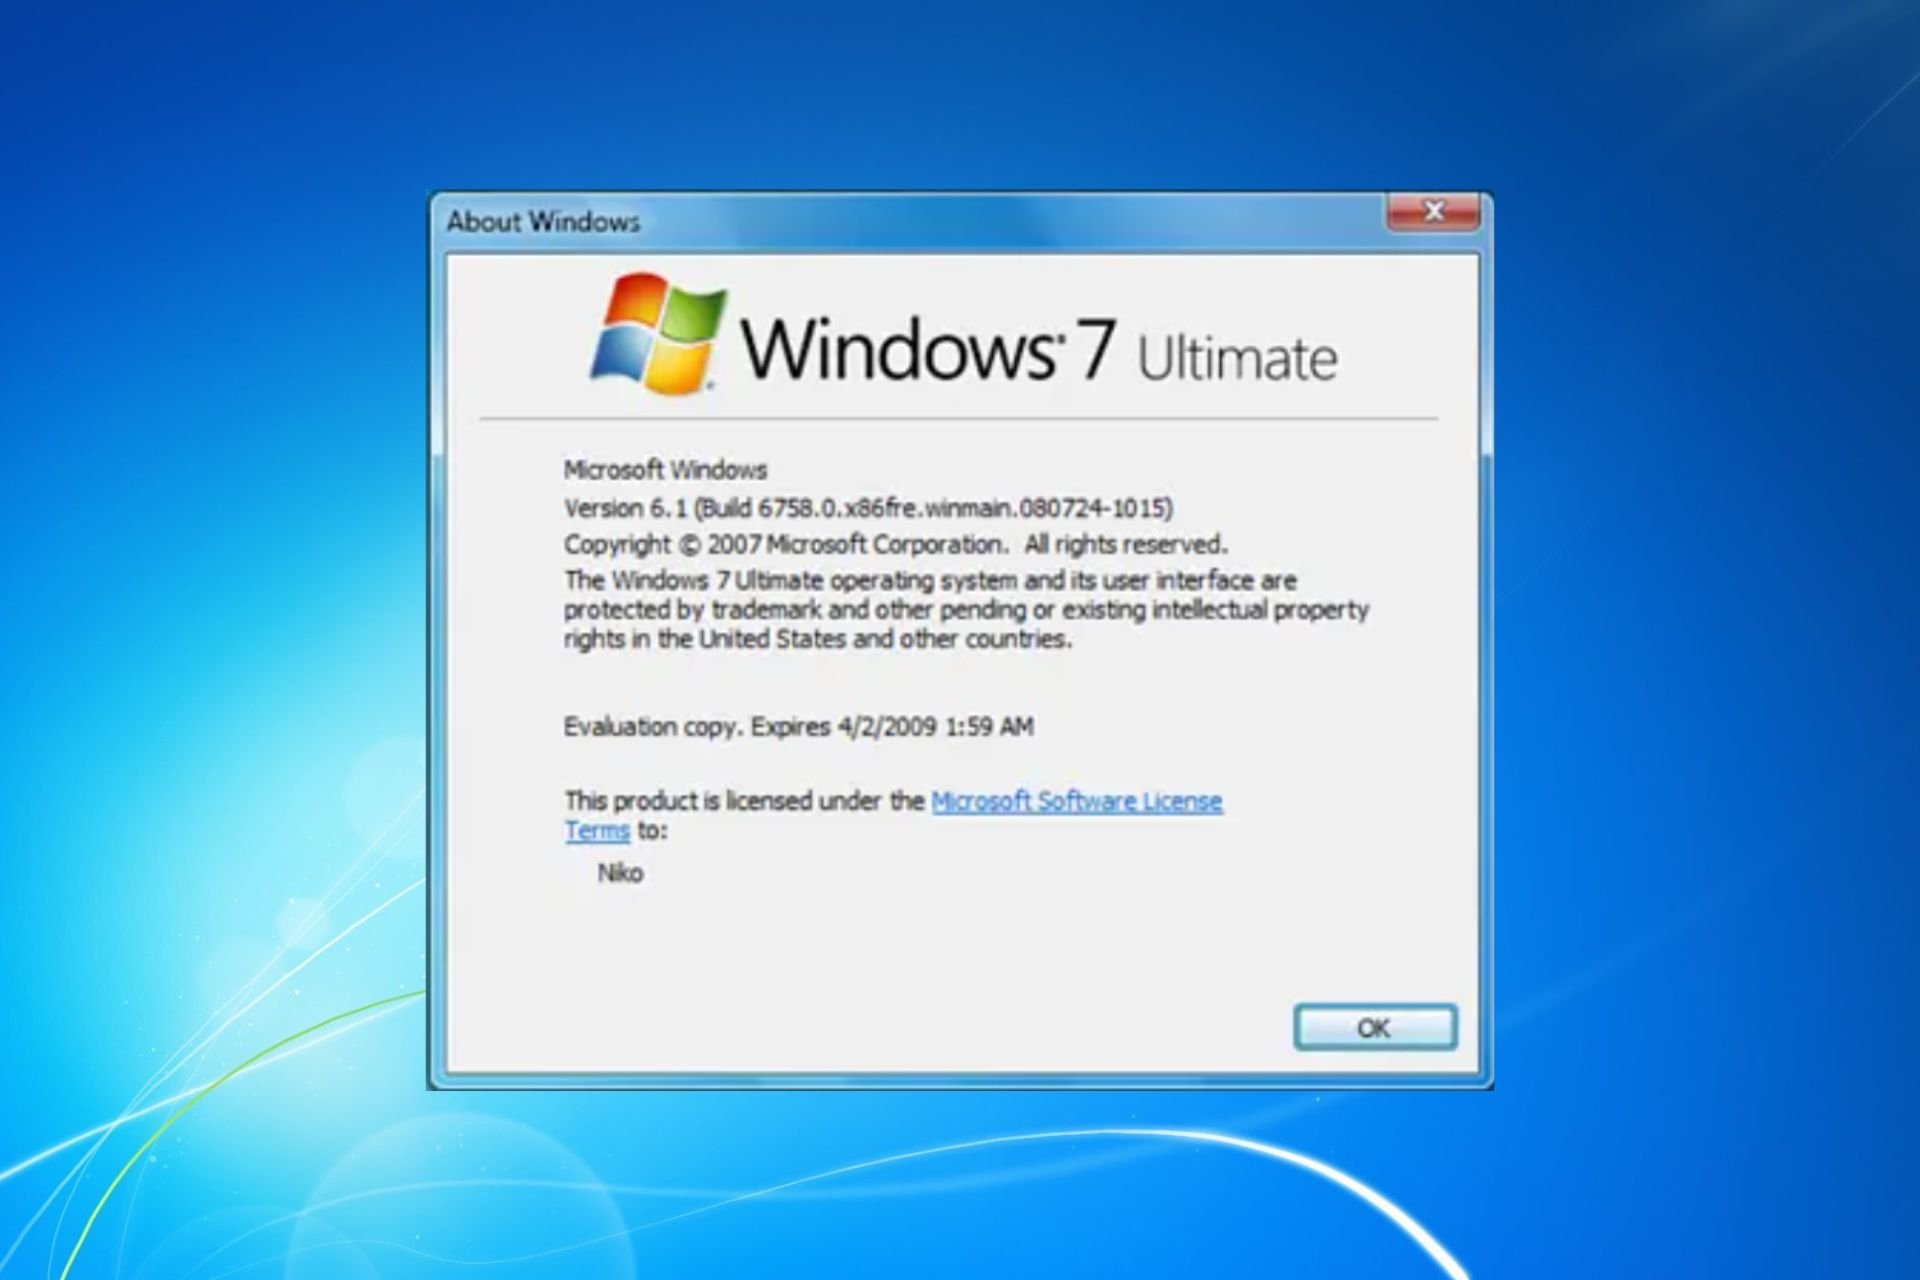
As you probably all know by now, Microsoft has ceased support for Windows 7. This means that it will no longer receive any security updates and that everyone still running it should really consider upgrading to Windows 10.
Of course, there’s always the option of staying with Windows 7 (if you are part of a company), by buying the Windows 7 Extended Support for Business.
Unfortunately, this is not a long-term option, since the Extended Support will only buy you an extra 2 years, after which upgrading to Windows 10 is pretty much your only choice.
Because of this, more and more users are already migrating to the newer OS. The problem is that migrating means more than just the OS, it also involves moving your files and folders between upgrades.
Such would be the case with ODBCs (Open Database Connectivities), as plenty of users will now need to know how to migrate them between one computer and another.
Thankfully enough, we’ve created a step-by-step guide that will show you just how you can do this with the least amount of effort.
How do I migrate an ODBC to another computer?
1. Manually export the ODBC.INI folder
The first thing you need to remember is that this method does not work with self-upgrades, and as such you will require a Windows 7 and a Windows 10 computer.
If you already have them, then you can continue carrying on with these steps:
- Go to the Windows 7 computer
- Press Start
- Select Run
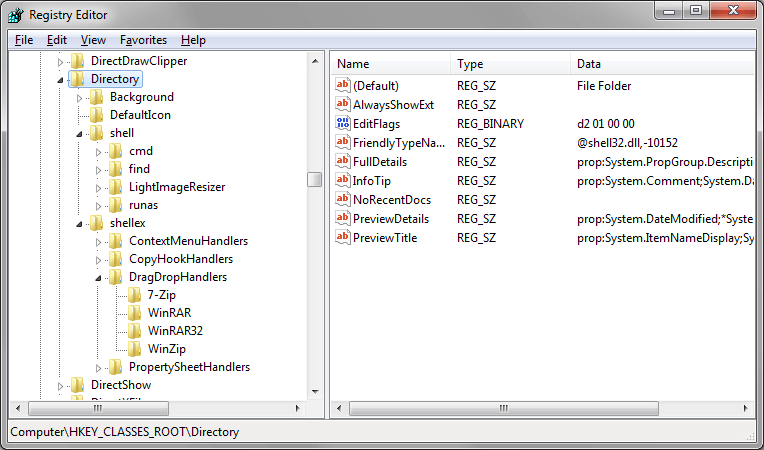
- Type in regedit
- This will open the Registry Editor

- This will open the Registry Editor
- Navigate to the following registry key :
- For User DSN data sources:
- HKEY_CURRENT_USER\Software\ODBC
- For System DSN data sources:
- HKEY_LOCAL_MACHINE\Software\ODBC
- For User DSN data sources:
- Right-click on the ODBC.INI folder
- Choose Export
- Save the .reg file to the location of your choice
- Copy the .reg file to any location in your Windows 10 computer
- On the Windows 10 computer, double click the .reg files to import the DSN data sources to the registry
- Select Yes and OK when prompted
If you can’t edit your Windows 10‘s registry, read this handy guide and find the quickest solutions to the issue
2. Use a third-party migration tool
ODBC data is data after all, and you can always opt for specialized tools that can help you migrate data efficiently between Windows 7 and Windows 10 PCs.
One good example is Laplink PCmover, which can easily migrate any type of data between a Windows 7 and a Windows 10 PC. This includes personal files and folders, user profiles, and even programs that have already been installed, such as applications and games.
For more details about this amazing tool, check out this comprehensive guide.
By using any of the two methods listed above, you should be able to migrate ODBC data between two PCs, even if their have different operating systems.
Did you find this guide to be useful? Let us know in the comment section below.
RELATED ARTICLES YOU SHOULD CHECK OUT: