Windows Panther: What Is It & Should You Delete It?
Safely delete this folder and improve system performance
Key notes
- Windows Panther Folder houses log files for every Windows 11 update, installation, and setup.
- It does so to keep a record of everything and is an important aspect of restoring the system to an earlier build.
- You can delete it to improve system performance without issue, just like deleting any kind of temporary file.
Windows Panther is a folder that houses all the log files for Windows 11 installation, setup, and updates. You can delete it without any adverse effects. These are temporary files, so there’s no problem.
However, there is one instance in which you shouldn’t delete the folder, and that’s if you plan on rolling back to a previous Windows build. Without the Panther folder, the rollback will not work.
Why I should delete temporary files on my Windows computer?
Apart from that scenario, deleting the folder is a perfectly okay thing to do. There are several benefits to getting rid of those temporary files.
- It can free up a ton of space on your hard drive – Deleting unnecessary files is a great way to free up space. It’s recommended that you do this frequently.
- Deleting files can improve system performance – By getting rid of the extra fluff, you may start to experience your computer running much faster and smoother than before.
- Reduces the chances of errors and crashes from happening – An overburdened computer can have multiple performance problems, including constant crashing. Deleting temporary files can solve this.
- Reduces the length of load times – Being able to shorten load times should be music to the ears of gamers who want to get their favorite game as soon as possible.
How can I delete the Windows Panther folder?
There’s only one way to do it when deleting the Windows Panther folder. In addition to showing that method, we’re also going to show you alternate ways to delete temporary files on Windows.
- First, you can use a third-party cleanup tool like CleanMyPC. Software like this will go through your hard drive, find temporary files, and delete them automatically.
- If you want to take things a step further, you can use memory cleaner software like Ashampoo WinOptimizer to free up memory and boost system performance.
- It’s also recommended that you turn on Storage Sense on your Windows 11 computer. It’s a feature that will automatically delete temporary files.
1. Delete the folder via File Explorer
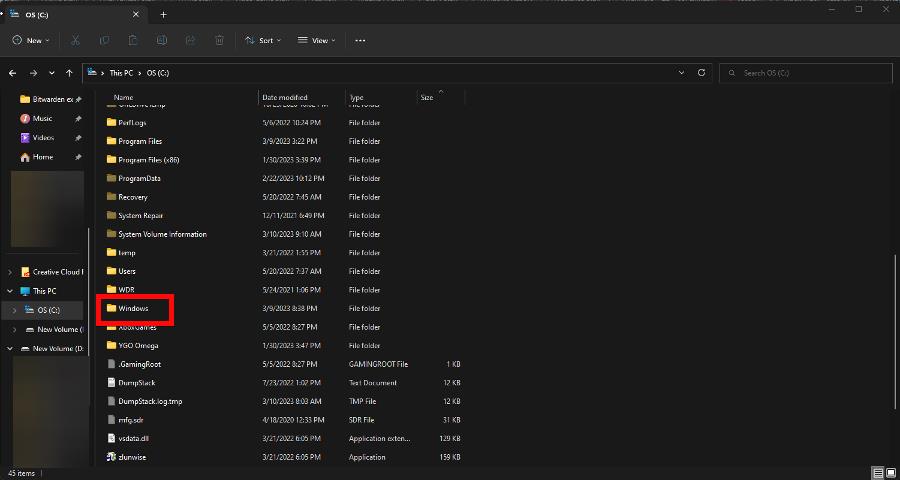
- Launch the File Explorer and go to your computer’s main drive. It’s usually the C: Drive.
- Scroll down until you locate the Windows folder. Double-click it to open.
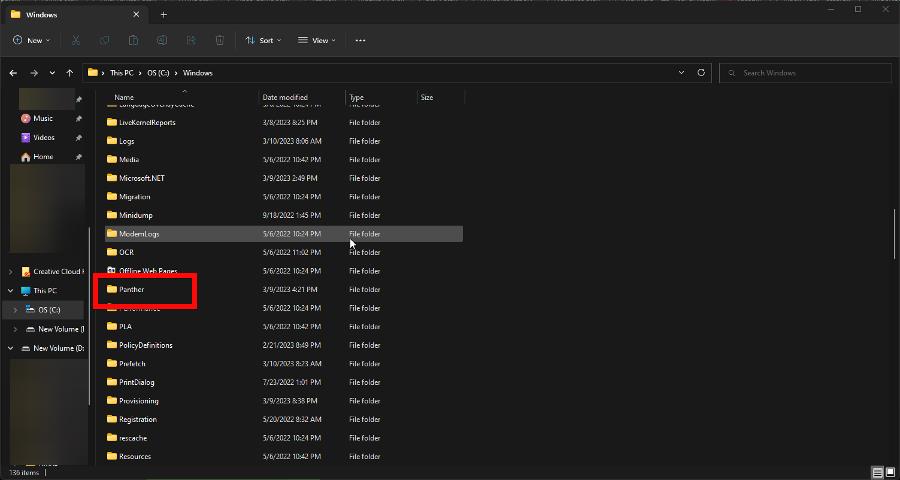
- In this new window, scroll down until you locate Panther. Delete it.
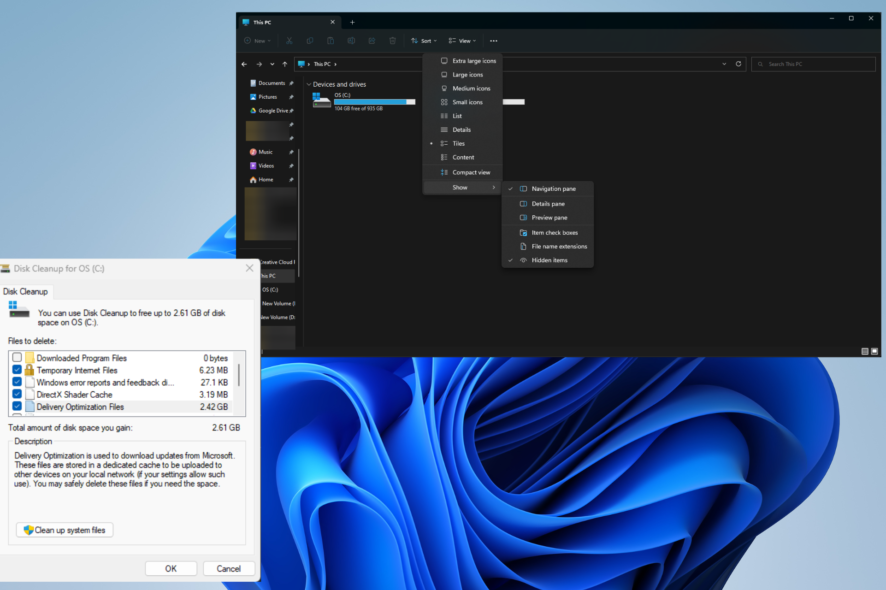
2. Clean up files via Disk Cleanup
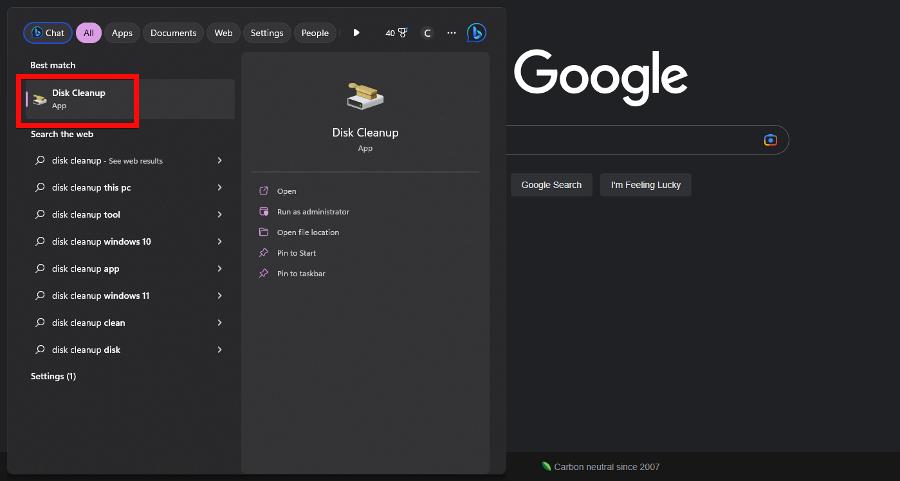
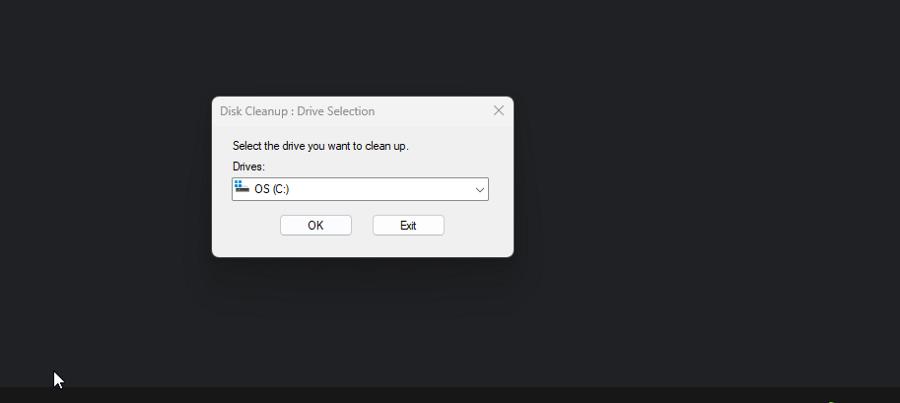
- Search for Disk Cleanup in the Windows Search bar. Click the first entry you see.
- Select the drive that has the Windows Panther folder. Click OK.
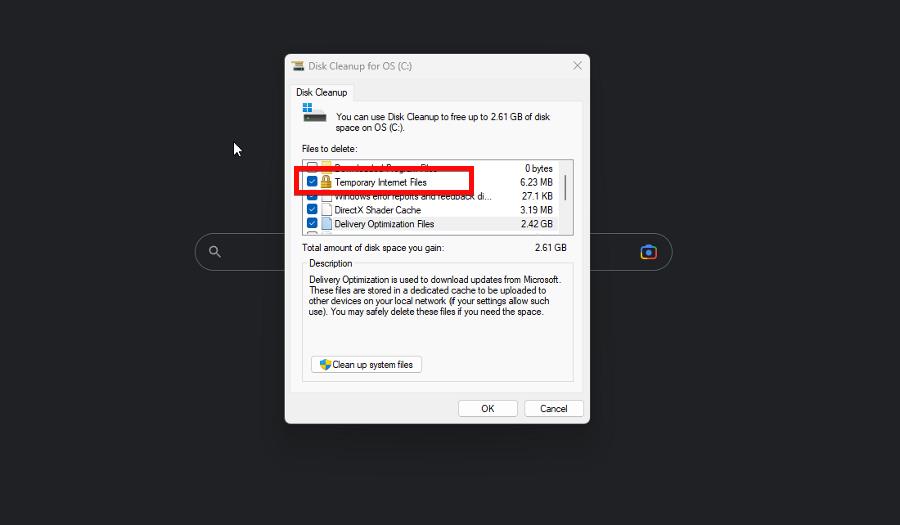
- In the new window that appears, make sure the box next to Temporary Internet Files is checked off. Click OK to delete them. This will include Windows Panther.
3. Delete Panther in $Windows folder
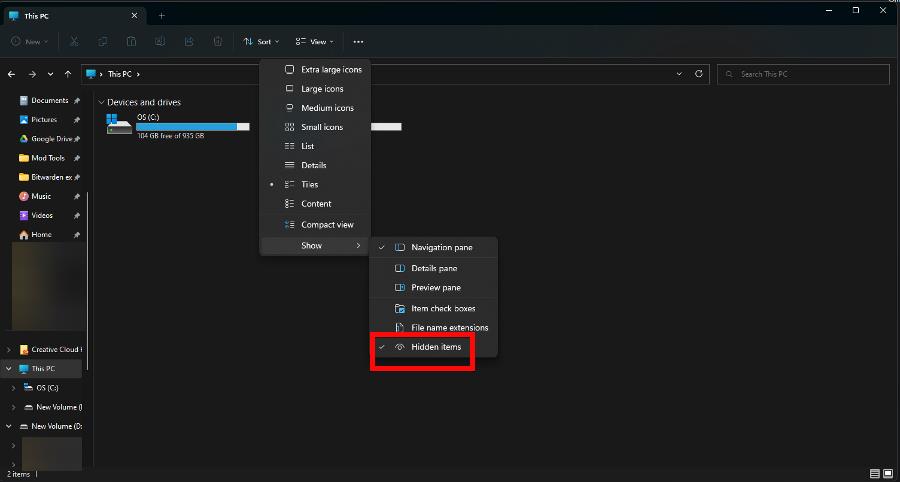
- First, you will need to make the $Windows folder appear. Start by expanding View at the top of File Explorer, then hover over Show, and select Hidden items.
- Click the three dots at the top of the File Explorer. Select Options.

- Go to the View tab. Scroll down and check off Show hidden files, folders, and drives.
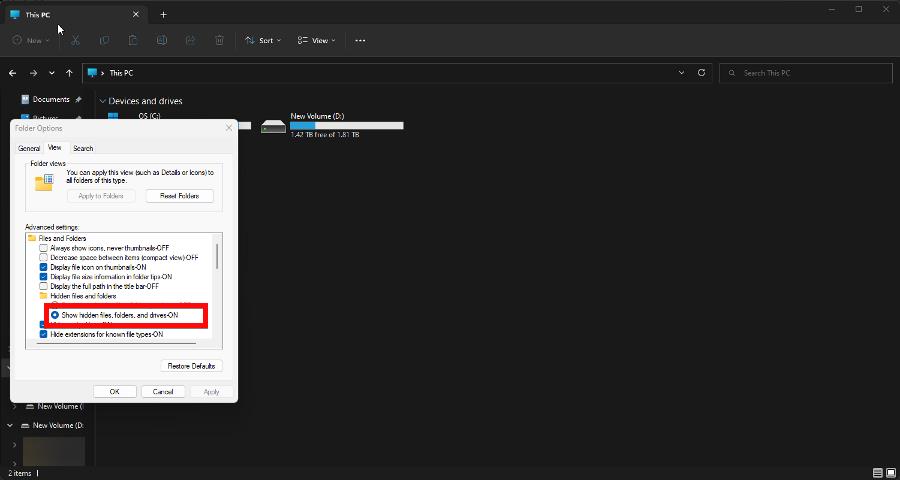
- Scroll down even further and uncheck the box next to Hide protected operating system files. If a warning message appears, select Yes.
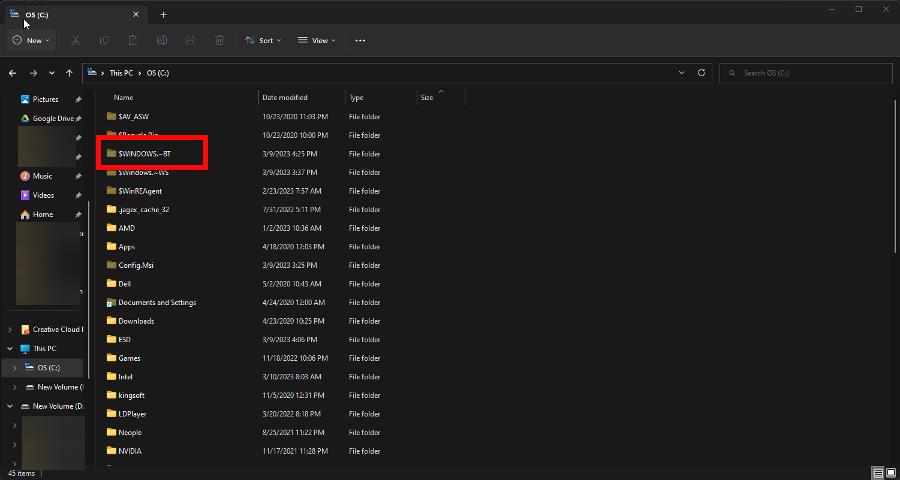
- Now go to your C: Drive, as shown earlier. Double-click $WINDOWS.~BT.
- Double-click Sources. Delete the Panther folder.

What can I do if Windows Manager is taking up a lot of GPU resources?
Windows Manager is a system manager that is the main force behind rendering a computer’s user interface by using your machine’s graphics card onto the monitor.
There is an issue with this function in that it’ll suddenly take up a lot of resources bringing computer performance down to a crawl. It’s recommended that you turn off visual effects on Windows 11.
Additionally, we recommend installing some PC performance monitoring software to help you see which areas your computer may be weak in. You can also use the app to keep an eye out for damaged parts.
Feel free to comment below if you have questions about other ways to improve performance. Also, leave comments about reviews you’d like to see or information on other Windows 11 functions.
Read our disclosure page to find out how can you help Windows Report sustain the editorial team. Read more


Improve this guide


User forum
0 messages