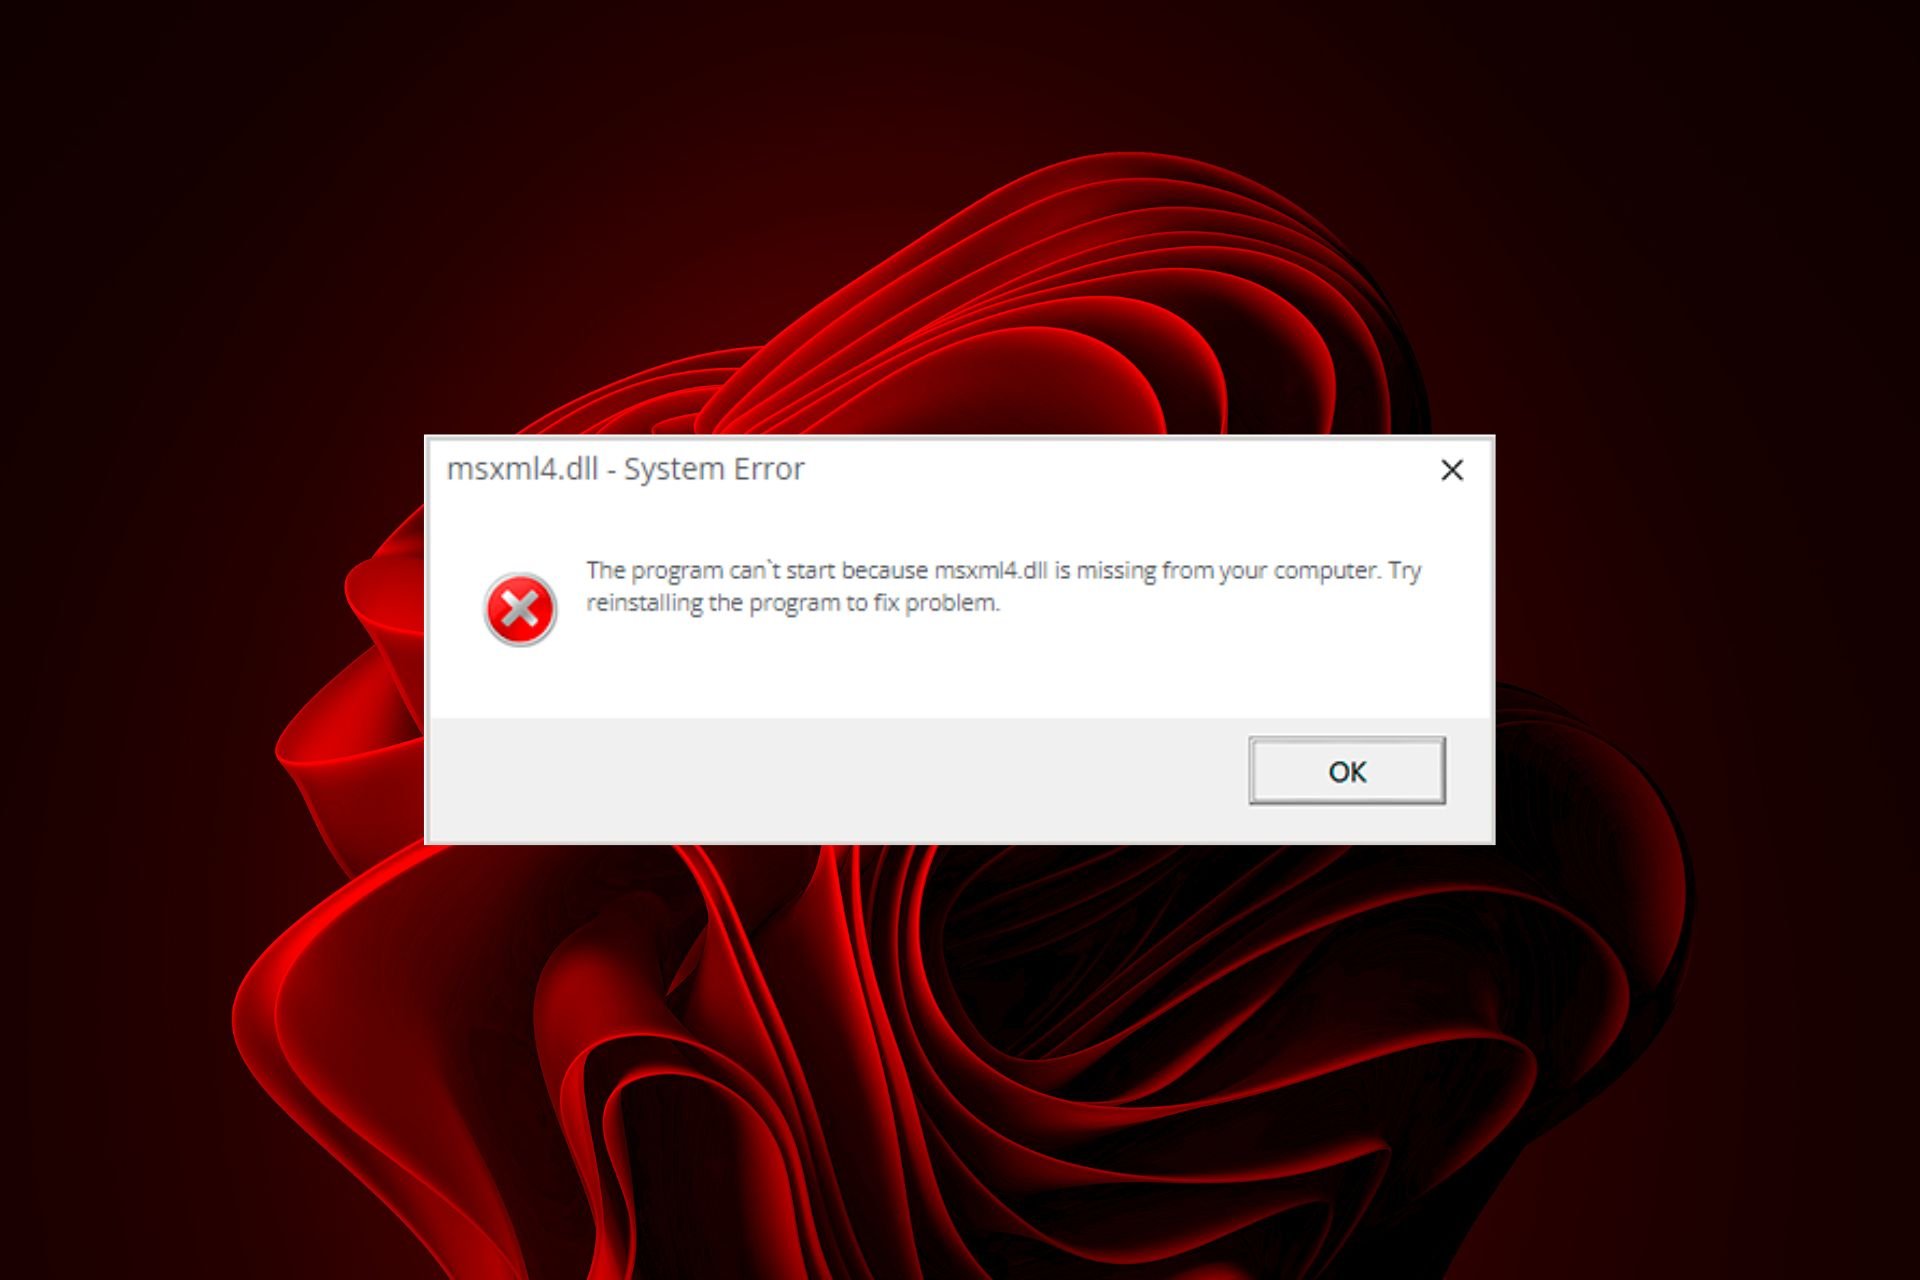
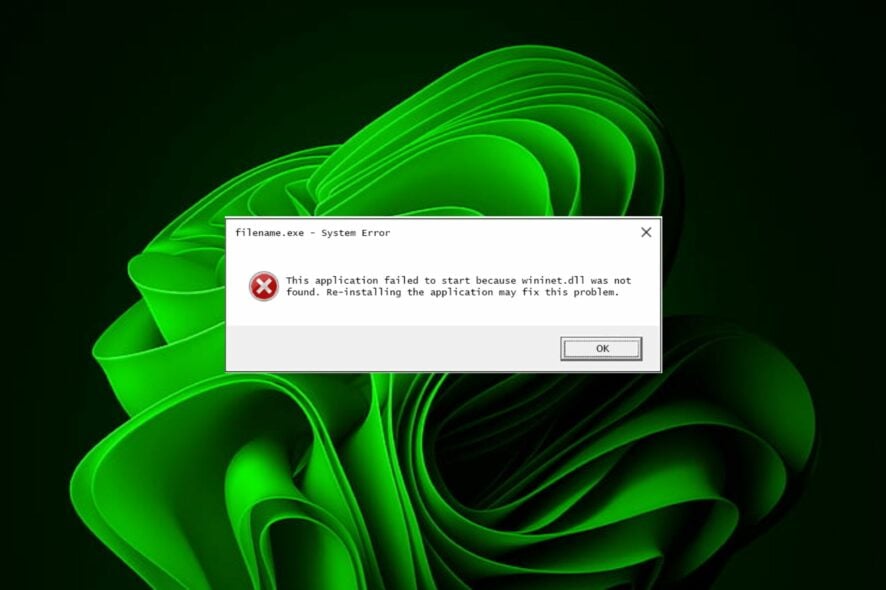
Wininet.dll Not Found: How to Fix or Download it Again
Try creating a new user profile as yours might be corrupt
![]() 5 min. read
5 min. read
![]() Updated on
Updated on
Share this article

Improve this guide
Read our disclosure page to find out how can you help Windows Report sustain the editorial team Read more
Key notes
- The Wininet.dll file is responsible for ensuring you get internet access making it a critical file in your system.
- If missing, it’s probably due to changes in your registry, whether accidental or on purpose.
WinINet stands for Windows Internet and is a library that provides applications with Internet functionality. It is included with Microsoft Windows and can be used by any application written in native code.
If a DLL file is missing from your system, especially the Wininet.dll, accessing the Internet can be hard or impossible. We now explore how to restore this crucial DLL file in your system to keep things running smoothly on your PC.
What is Wininet DLL?
WinINet DLL is a file that contains a set of functions that enable Windows applications to communicate over the Internet. You can find the file in the following location: C:\Windows\System32
It is designed primarily for use by Microsoft Internet Explorer, but it can also be used by other applications that need to access types of data normally found on the Internet.
WinINet is a layered API that consists of several subsystems:
- Internet protocol stack – This component provides basic networking capabilities, such as sending and receiving data over a network connection.
- Authentication – This component allows your application to authenticate itself with network servers when necessary.
- Networking library – This component provides generalized sockets support for various network protocols, including TCP/IP and UDP/IP.
Being a critical component of Windows, you may have trouble opening some programs or accessing the Internet if it is missing. Some of the major causes of the wininet.dll not found error include a corrupt user profile, broken registry entries, and a virus attack on your system.
How can I fix the Wininet.dll file if it is missing?
Try your luck with the following basic steps first before any advanced troubleshooting:
- Run Windows updates to update your system.
- Ensure your drivers are up-to-date.
1. Use a DLL repair tool
The Wininet.dll file is a Windows file, making it easier for a third-party DLL fixer to do the repair job. Such programs have a comprehensive database of DLL files that can replace the missing ones instantly. The repair is 100% guaranteed with this file since is a system file.
2. Run the DISM and SFC scans
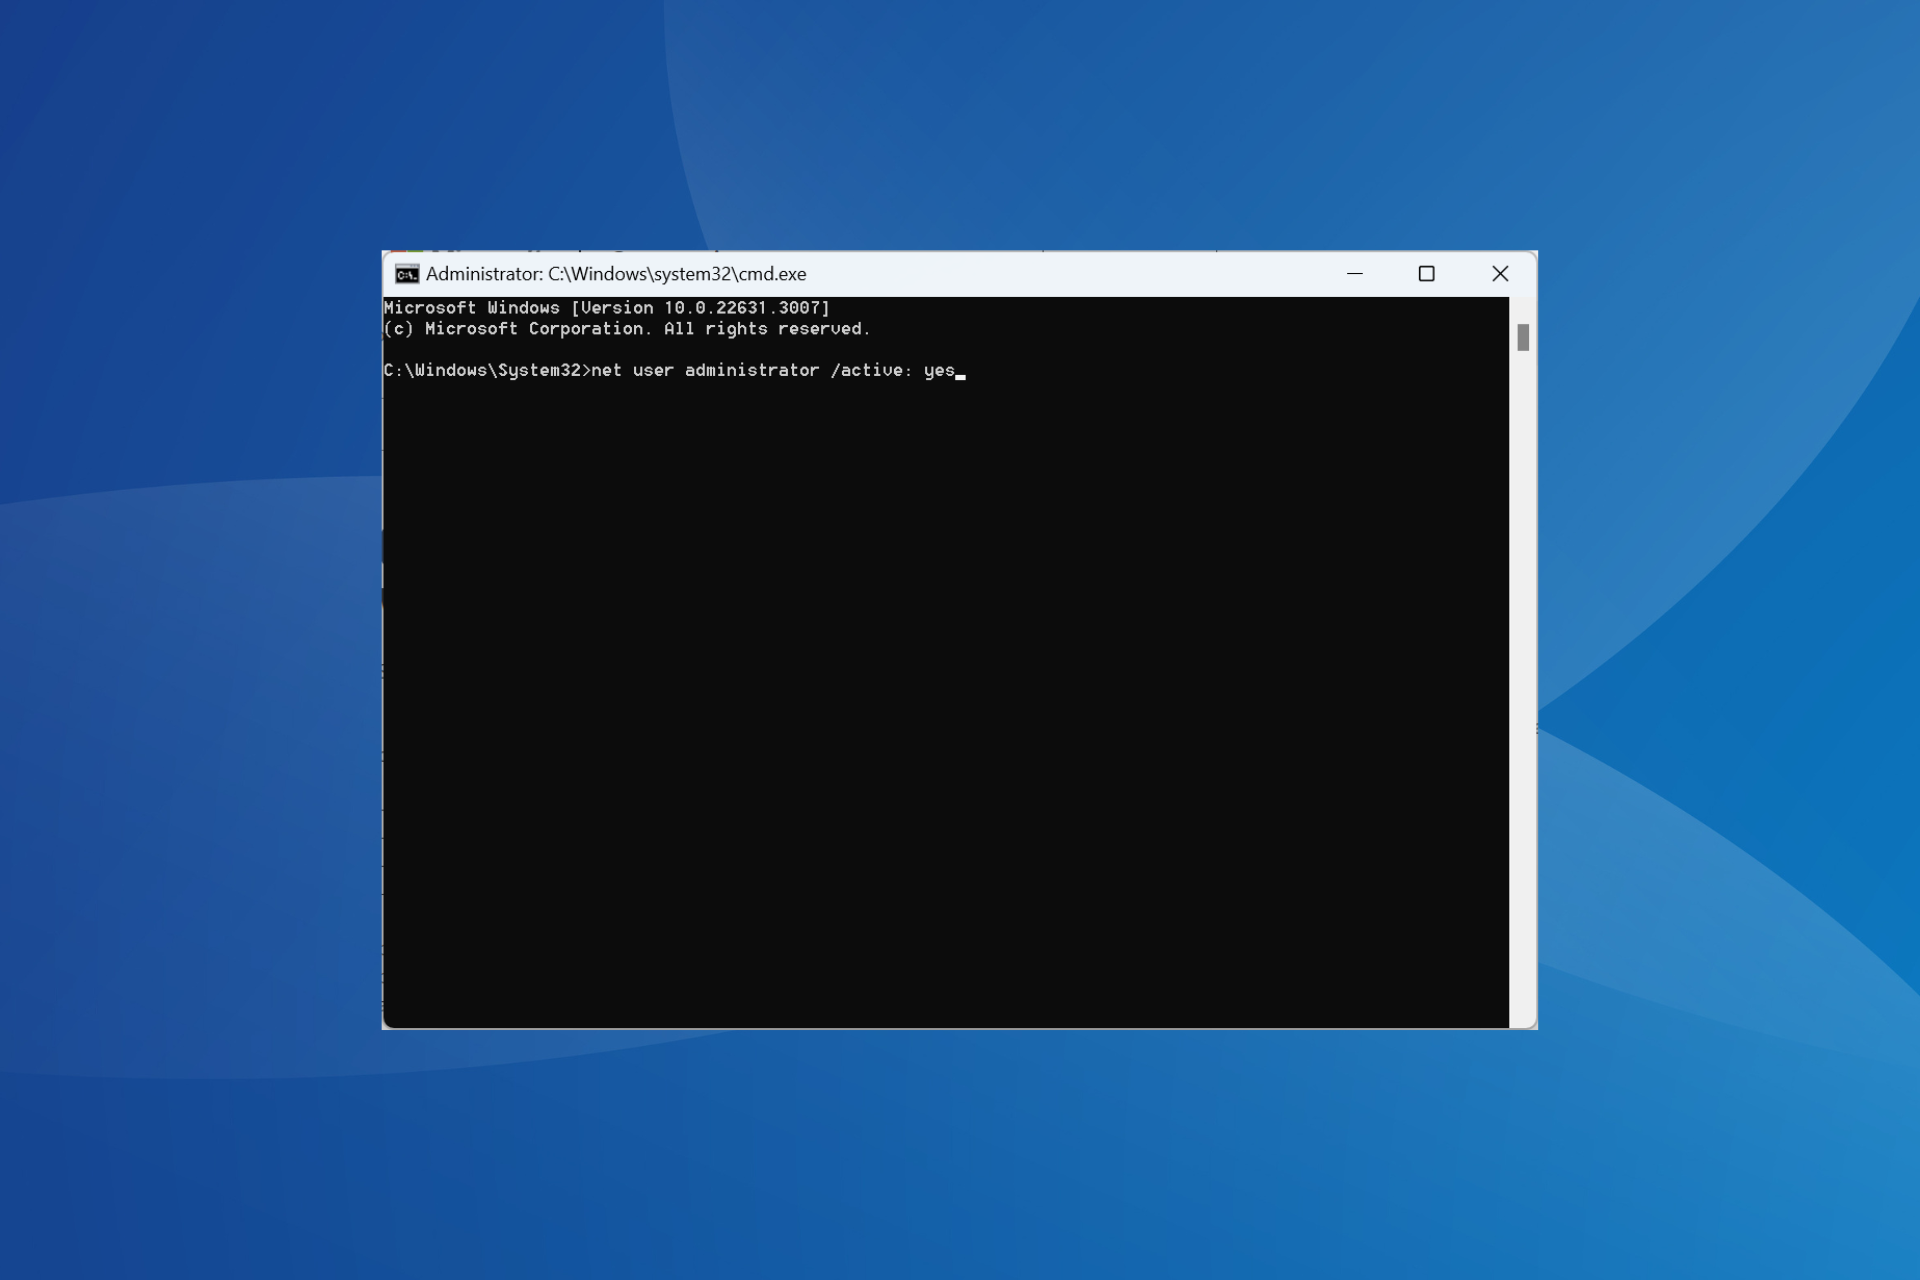
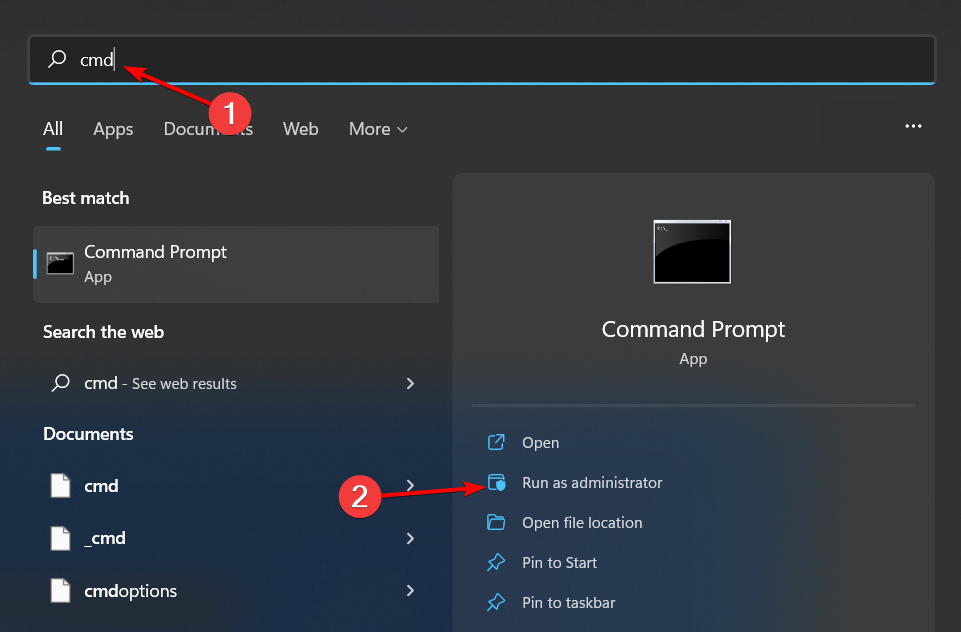
- Hit the Start Menu icon, type cmd in the search bar, and click Run as administrator.

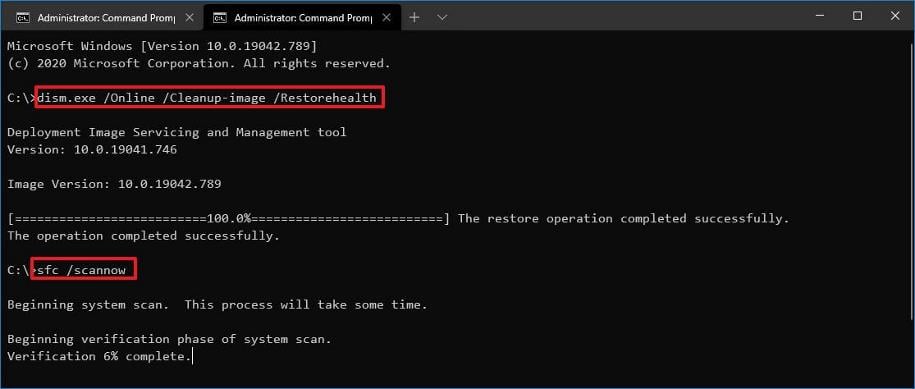
- Type the following commands and press Enter after each one:
DISM.exe /Online /Cleanup-Image /Restorehealthsfc /scannow
3. Run a virus scan
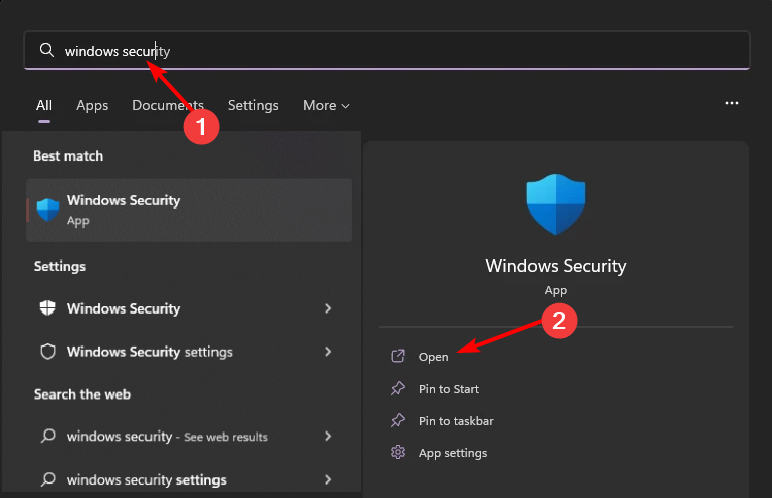
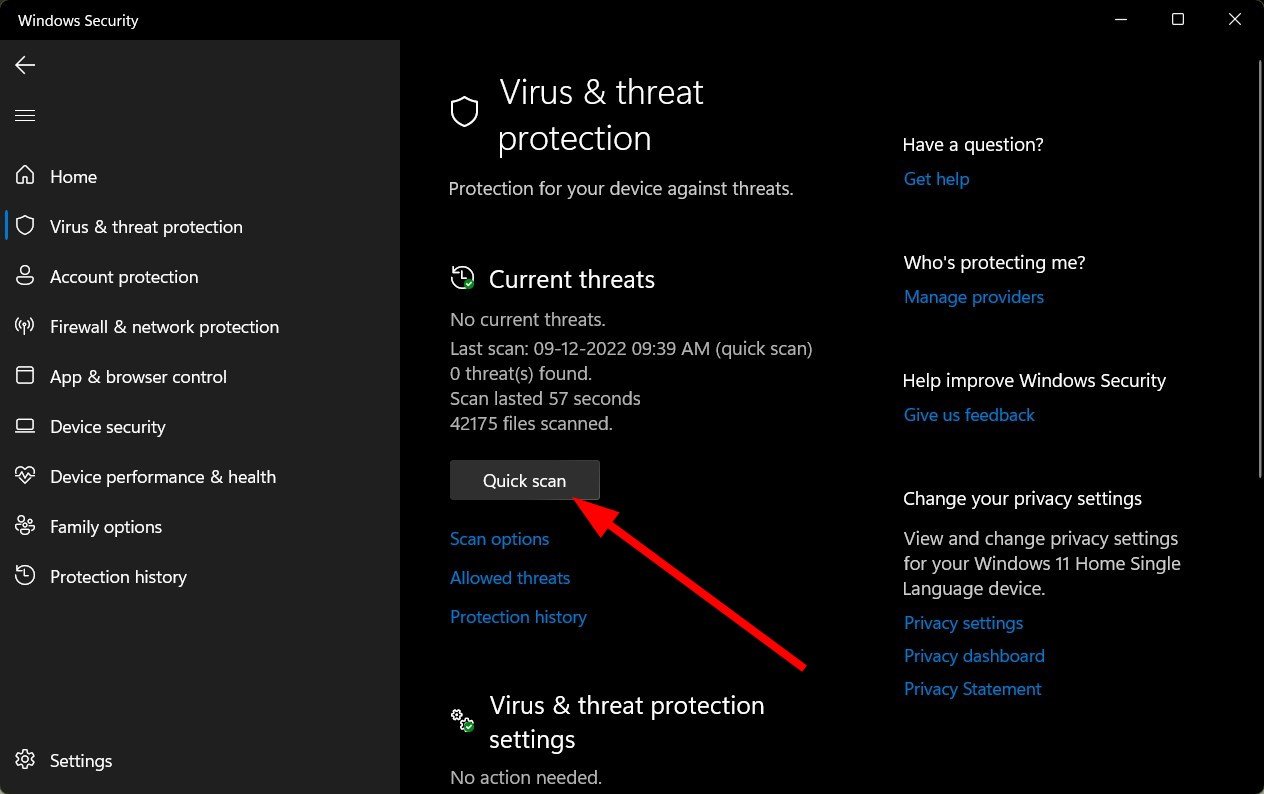
- Press the Windows key, search Windows Security, and click Open.

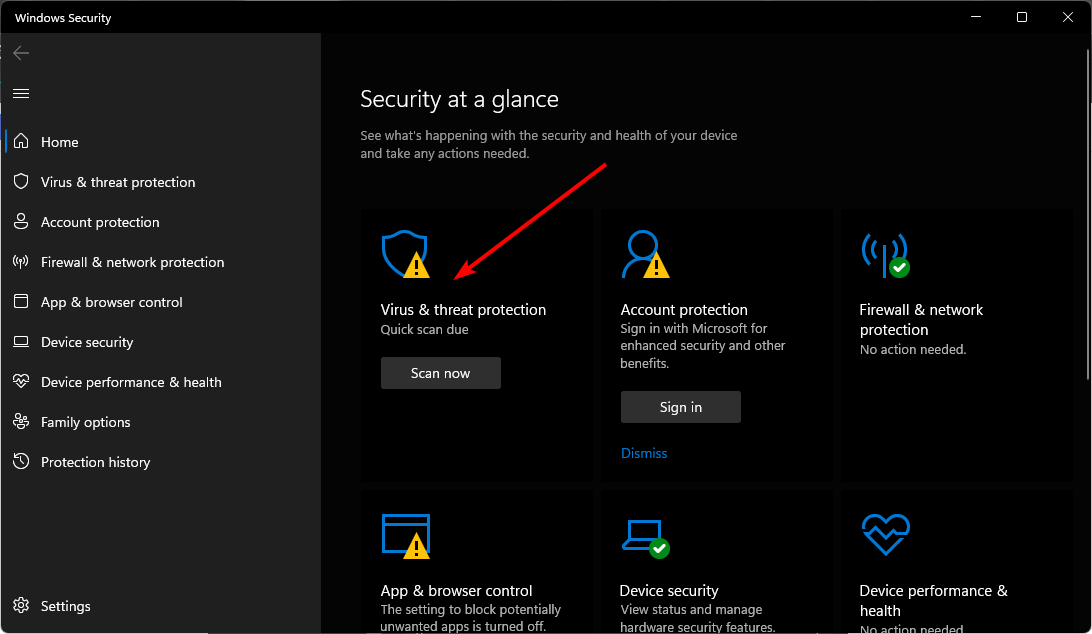
- Select Virus & threat protection.

- Next, press Quick scan under Current threats.

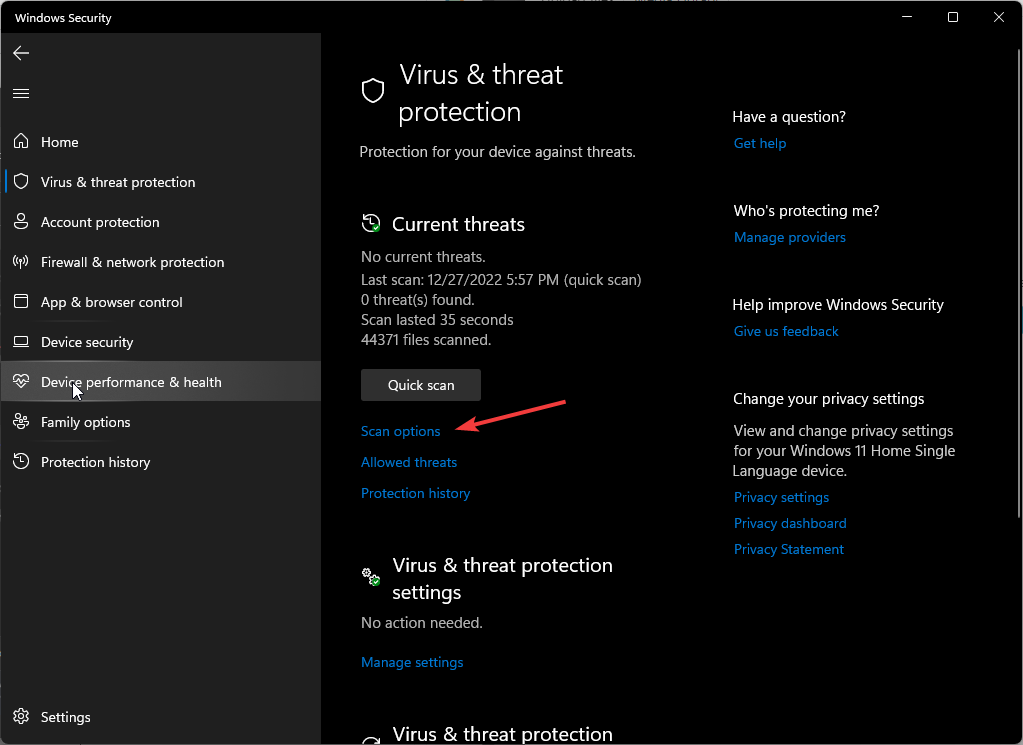
- If you don’t find any threats, proceed to perform a full scan by clicking on Scan options just below Quick scan.

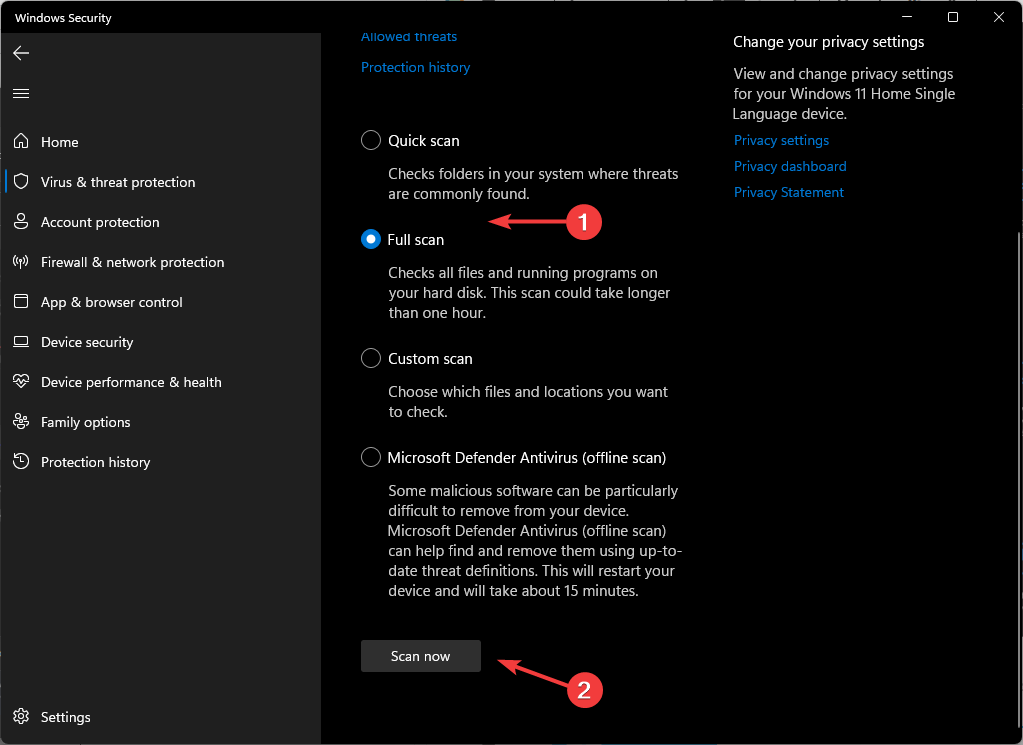
- Click on Full scan, then Scan now to perform a deep scan of your PC.
- Wait for the process to finish and restart your system.
4. Create a new user profile
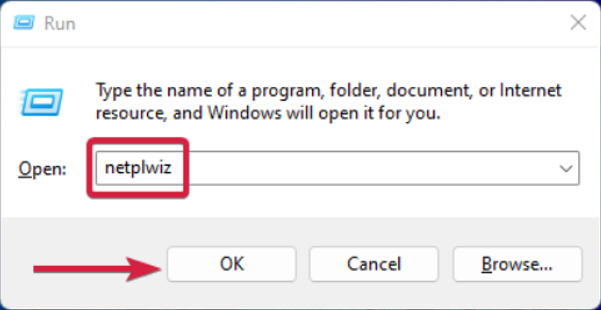
- Press Windows + R to launch the Run console, enter netplwiz in the text field, and click OK.

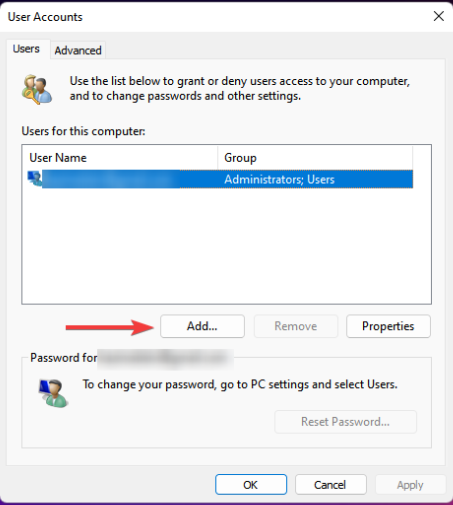
- Click Add in the User Accounts window.

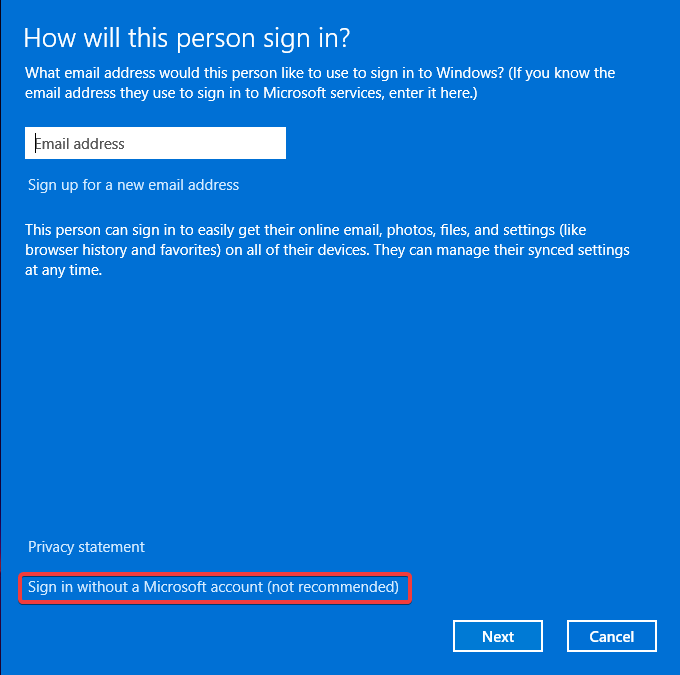
- Select Sign in without a Microsoft account (not recommended).

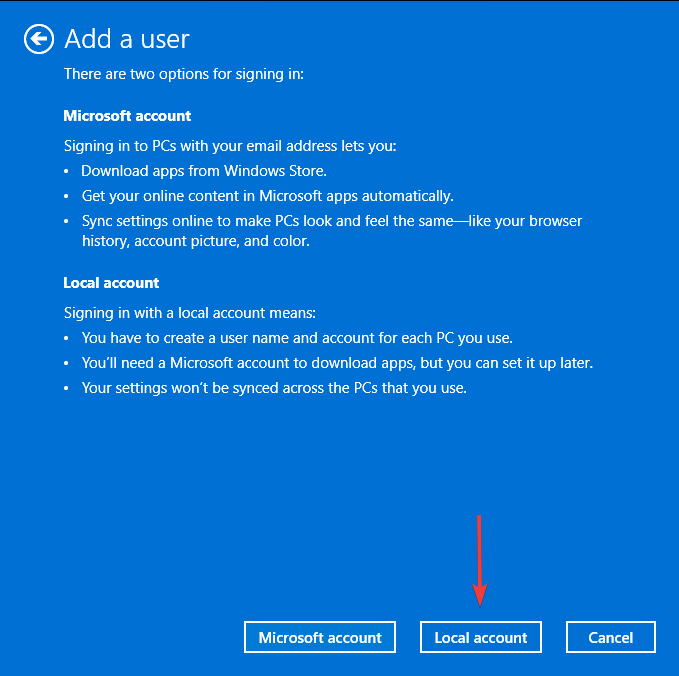
- Click on Local account button.

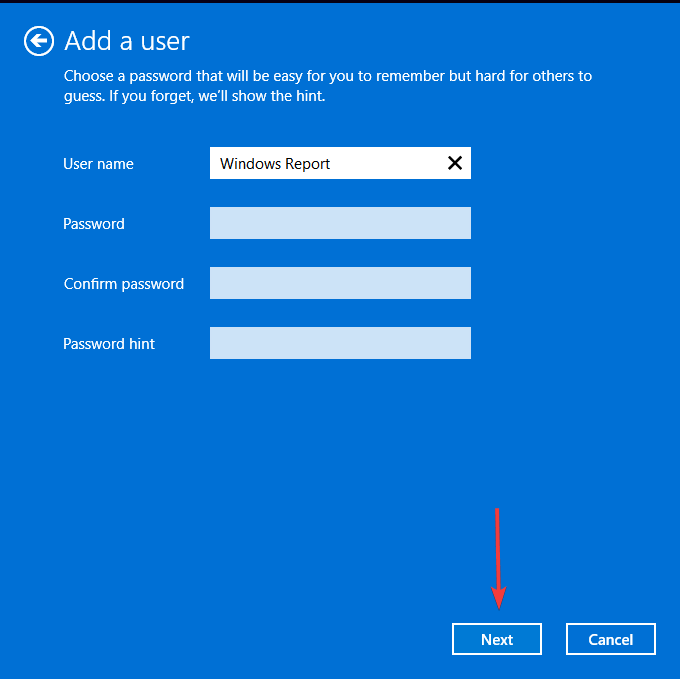
- Enter a username and password (optional) for the new user account, and a hint, in case you set a password. Once done, click on Next.

- Click on Finish to create the Local account.

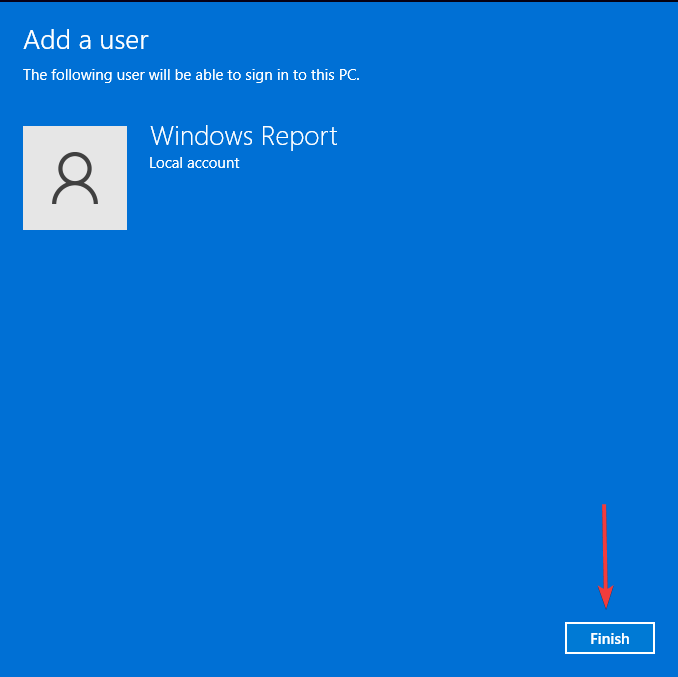
Whereas this step won’t help you fix the Wininet.dll not found error, it will be a step closer to checking off the list whether you have a corrupt user profile. If it works, you can take the necessary steps to repair your profile.
5. Download the file manually
You may have accidentally deleted the file, or if you had a virus infection, it made some changes to your PC. An easy way would be to download the Wininet.dll file from a reliable third-party site such as DLL-files.
Even if it is a trusted site, always ensure you have a backup with a dependable antivirus that will scan any files before they find your way into your system.
6. Perform a repair upgrade
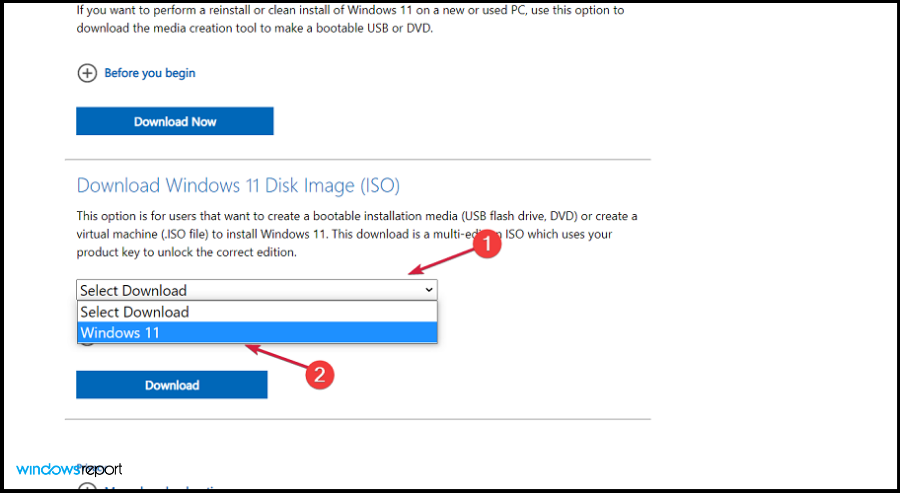
- Navigate to the official Windows 11 Downloads page and click on Select download from Download Windows 11 Disk Image (ISO), then pick Windows 11.

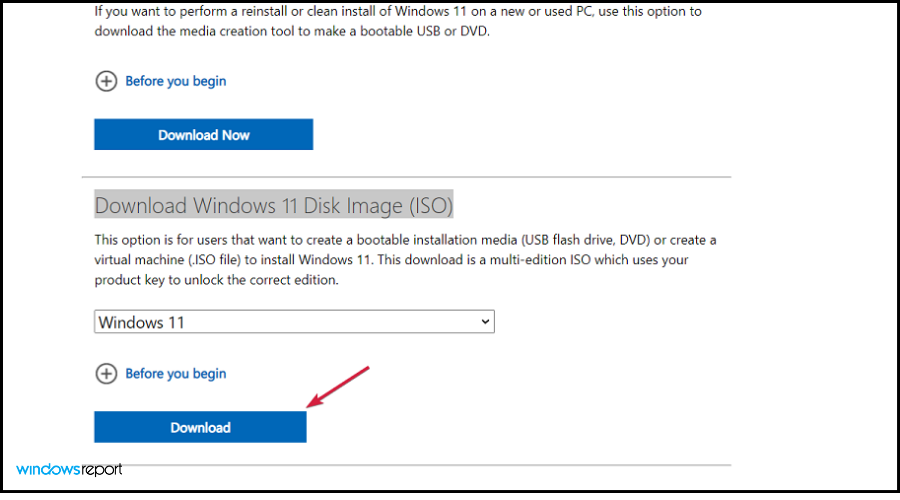
- Now click on the Download button.
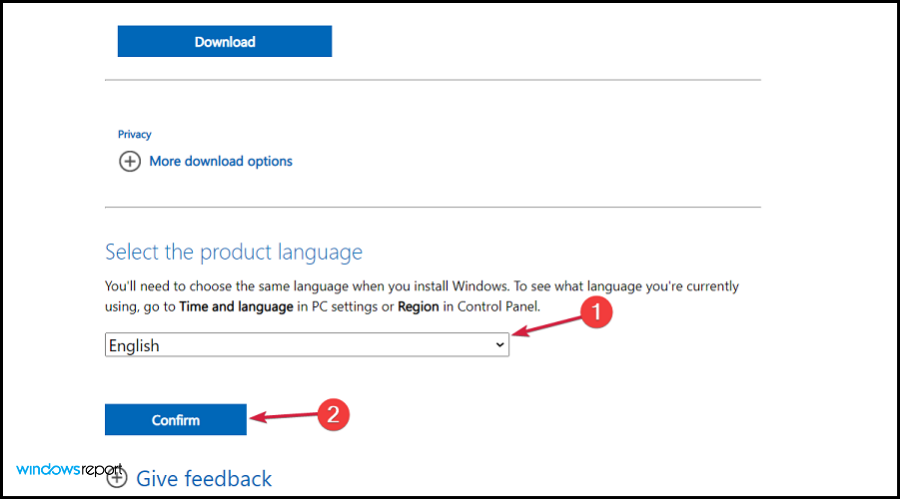
- Select the language, then click the Confirm button. You will receive a download link and you will be able to click on the 64-bit Download button to get the Windows 11 ISO.
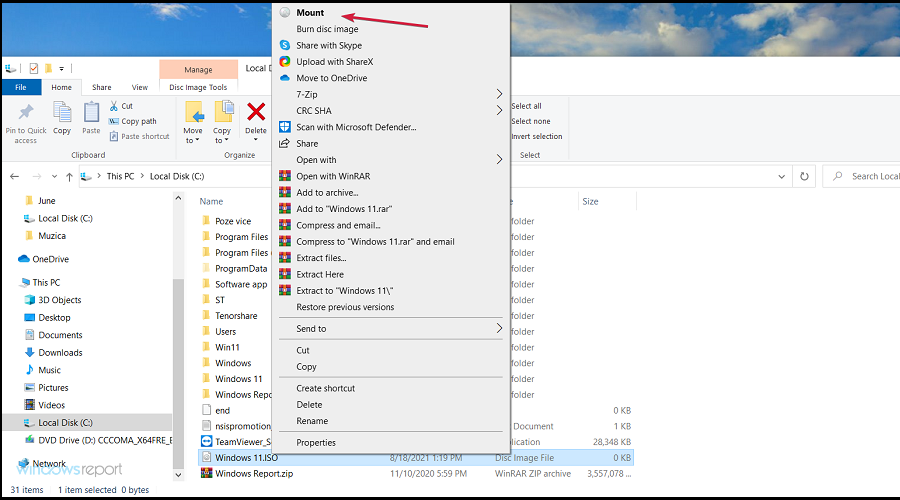
- Now you can create a bootable USB or DVD, or just right-click the ISO and select the Mount option.
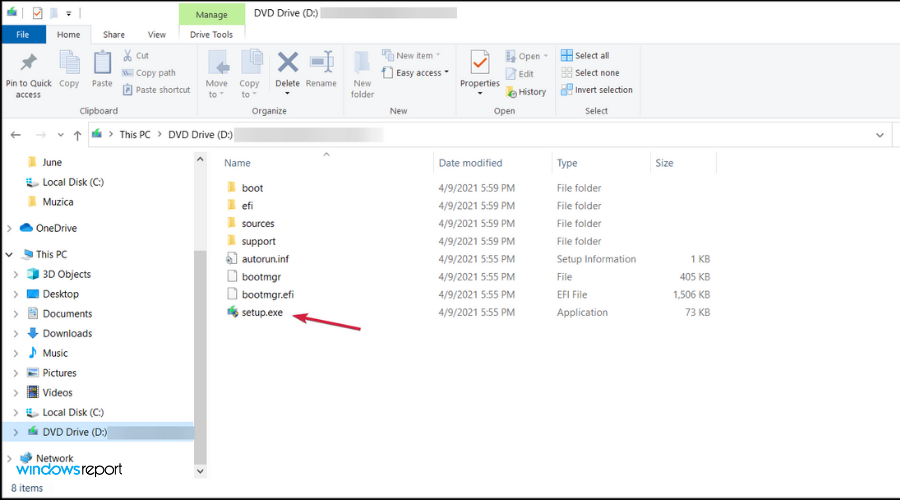
- You will see a virtual drive in the File Explorer window. Just click on it and then double-click the setup.exe file to start the installation process.
- Wait for the installation process to begin. At some point, you’ll be prompted to either keep all your files or install Windows only. Select keep your files, then proceed.
Users who went with this solution also recommended performing a Disk Cleanup after the repair upgrade.
To round up this article, we’d like to direct you to our other article on how to deal with missing DLL files on your Windows 10.
For any feedback on this article, leave a comment down below.