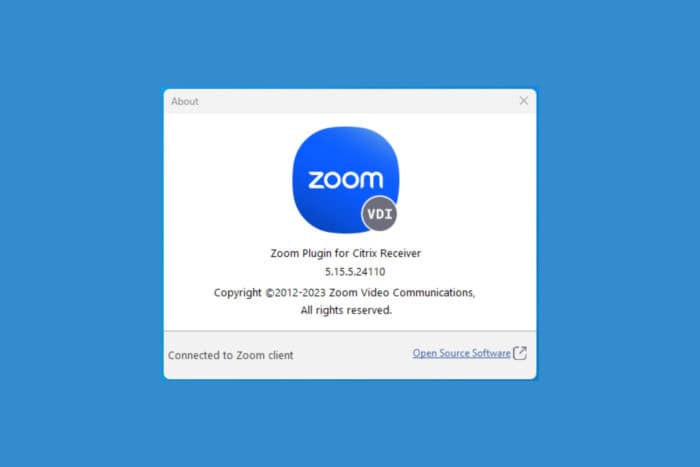
Zoom VDI Plugin Download: Windows, Mac, and PCoIP
Zoom can work perfectly on a Virtual Desktop Infrastructure
3 min. read
Published on
Read our disclosure page to find out how can you help Windows Report sustain the editorial team. Read more

Getting Zoom to work within a Virtual Desktop Infrastructure (VDI) can be a bit daunting, but it doesn’t have to be. Whether you’re on Windows, Mac, or using Citrix Workspace, this guide will walk you through the effortless download and installation of the Zoom VDI Plugin.
How do I download and install the VDI plugin for Zoom?
1. Downloading the Zoom VDI Plugin on Windows
- Open your web browser and go to the Zoom VDI Plugin download page.
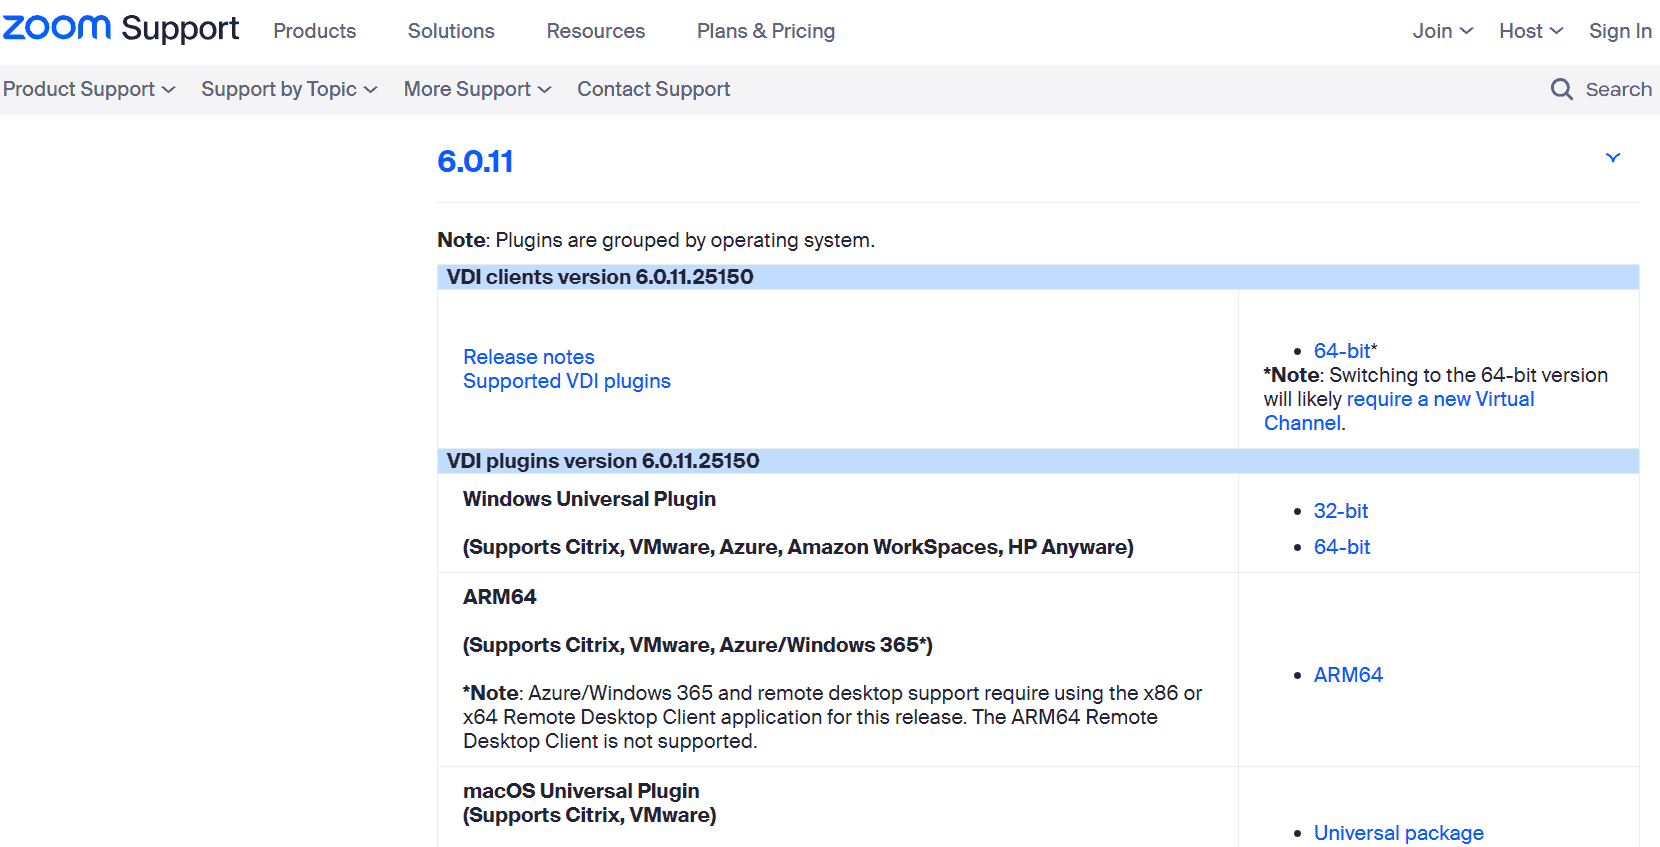
- On the download page, locate and click on the right plugin for your system. In our case, the Windows Universal Plugin.
- Once the download is complete, double-click the downloaded file, usually named something like ZoomVDIUniversalPluginx64.msi.
- Click through the installation prompts, accepting the terms and conditions and following any on-screen instructions.
- After the installation is complete, restart your computer to apply the changes.
Installing the Zoom VDI plugin will allow you to use Zoom within a Virtual Desktop Infrastructure (VDI), improving your video, audio, and screen sharing experience.
2. Downloading the Zoom VDI Plugin on Mac
- Open your web browser and go to the Zoom VDI Plugin download page (the same link as for the previous solution).
- On the download page, locate and click on the Download Zoom plugin for MAC link (ensure your macOS is 10.15 or later).
- Once the download is complete, double-click the downloaded file, usually named something like ZoomVDIUniversalPlugin.dmg.
- Click through the installation prompts, accepting the terms and conditions and following any on-screen instructions.
- After the installation is complete, restart your computer to apply the changes.
By installing the Zoom VDI plugin on your Mac, you ensure that Zoom runs smoothly within a Virtual Desktop Infrastructure, enhancing your virtual meeting experience.
3. Installing the Zoom plugin with PCoIP software client
- First, ensure you have administrator privileges and that the Zoom VDI Client is already installed on the agent machine.
- Access the VDI releases and downloads page in your web browser and download the ZoomVDIUniversalPlugin.msi file.
- Ensure that any PCoIP session is disconnected and quit the Software Client.
- Double-click the downloaded installer to start the installation. Select Custom installation type and check the HP Anyware Plugin box.
- Complete the installation by following the steps in the installation wizard.
Installing the Zoom Plugin with PCoIP Software Client ensures enhanced audio and video synchronization for virtual meetings within the VDI environment.
How do I ensure plugin compatibility and manage updates?
- Periodically visit the Zoom VDI Plugin download page or use the SupportAssist feature to check for the latest driver updates.
- Ensure the Zoom Plugin version matches the Zoom VDI Client version on the agent machine for optimal performance.
- Download the latest compatible Zoom VDI Plugin version from the release notes or support page.
- Follow the installation instructions for your specific operating system and restart your computer after installation.
Keeping your Zoom VDI Plugin up-to-date ensures compatibility with the VDI Client and optimal performance for your Zoom meetings.
By following these steps, you can ensure a smooth and efficient installation of the Zoom VDI Plugin, enhancing your virtual meeting experience. Remember to periodically check for updates to keep your plugin and client in sync for the best performance.
In the meanwhile, you may still check our guide on how to add and use the Zoom plugin for Outlook. Did you know you can use Zoom in Edge? Click the highlighted link for instructions on how to do that.
Hopefully, you managed to install the Zoom VDI plugin and everything is fine. Head over to the comments section below if you want to ask any questions.


User forum
0 messages